I knew from the very beginning that I wanted to introduce a lot of color into baby girl’s room because the gray walls and white furniture I wanted to go with would be very pretty and classy, but maybe a little bland. So I knew that I would need some accessories and fabric to spice up the room.
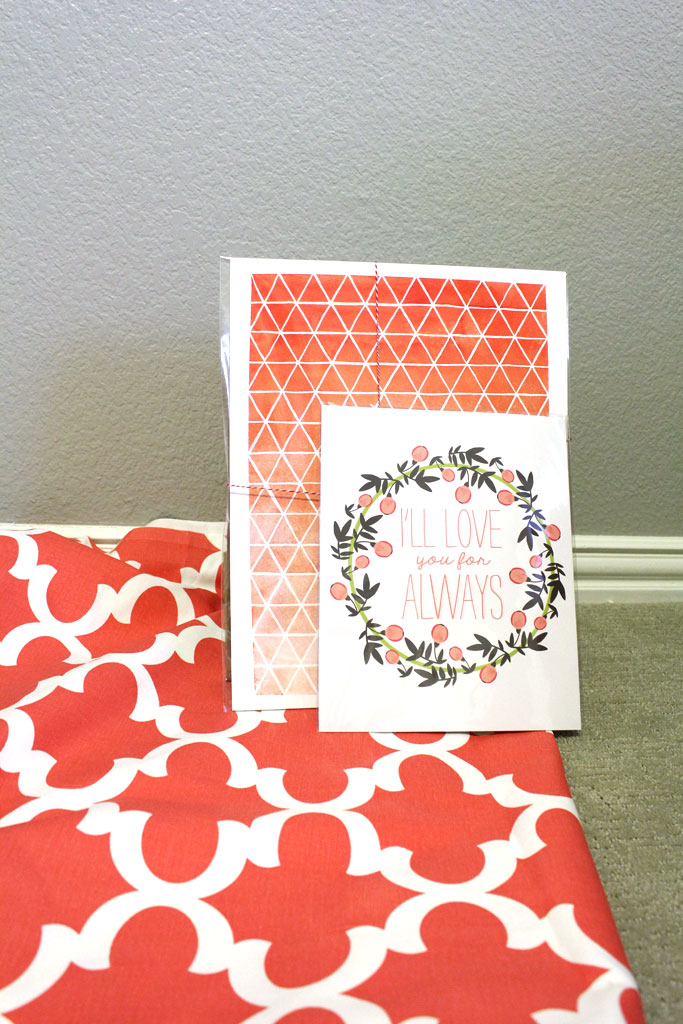
I added the cushions for the chairs which have a little color in them and my mom was able to snag quite a few coral accessories at Nebraska Furniture Mart to add in some color (which you can see in the photos below or the cushion post). But I also knew I wanted a bold statement on the window side of the room, and a box valance was just the trick! These are sometimes called pelmet boxes… not sure if there is a technical difference in them, but I call it a box valance. So I showed you the fabric I bought from Fabric.com in the nursery progress post and it was time to do something with it. Here it is along with a few prints I’ve purchased along the way to hang on the wall:

This is a SUPER easy project (all up until the hanging part…) and all it requires is some wood, batting, fabric and a staple gun. Then we also used some L-Brackets to secure it to the wall.
I promised my husband I would work on using the scrap wood we have stored in our garage before I started buying more, so I measured my window and then went to the scrap pile to see what I had that would work. I had a long piece of scrap 3/4 plywood that was about the right width and then we used another scrap piece of 1/2 plywood for the ends. It wasn’t quite as wide as the 3/4 inch for the front, but since I promised to use scrap and I knew we would be upholstering it AND that those pieces would only be seen from the side… we just decided to make do. IF you are doing this yourself and not trying to use up wood scraps, make them the same width as your front board.
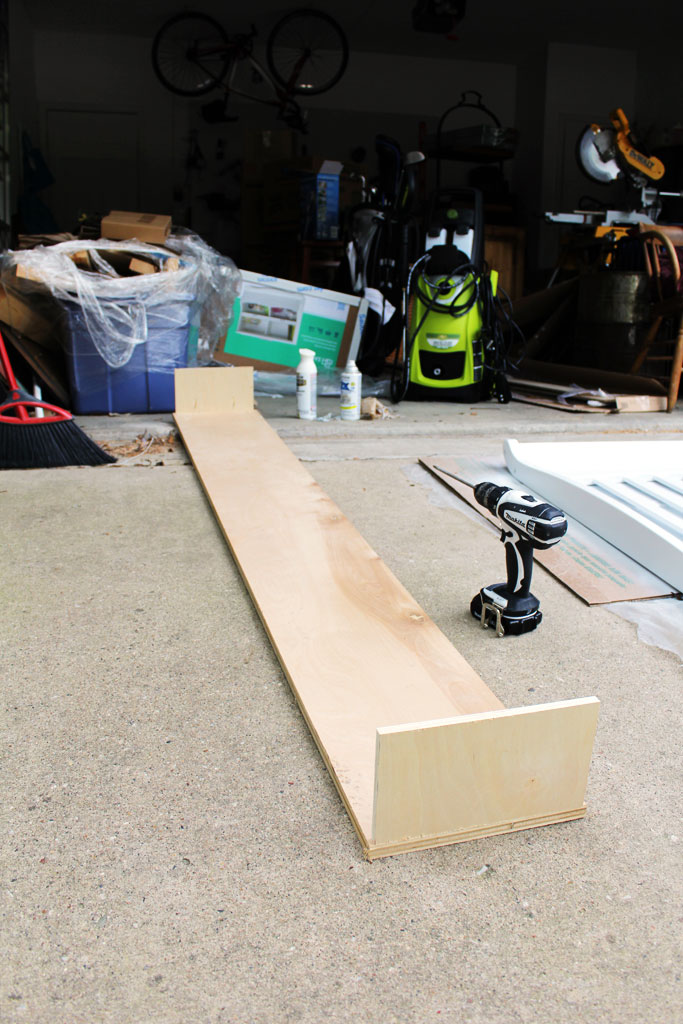

We then used our trusty kreg jig and secured each end at a 90 degree angle on either side. If you don’t own a kreg jig you could also screw these in the old fashioned way from the front. You’ll be covering it with batting and fabric, so it doesn’t really matter what it looks like underneath, just make sure you secure the end pieces. We are covering the existing curtain rod, so when we measured our window we gave it some breathing room on either side as well as measuring out from the wall far enough that it would cover the entire curtain rod. These measurements will depend entirely on your space and the width of your window. Our front board is approximately 8 feet long and 1 foot tall.
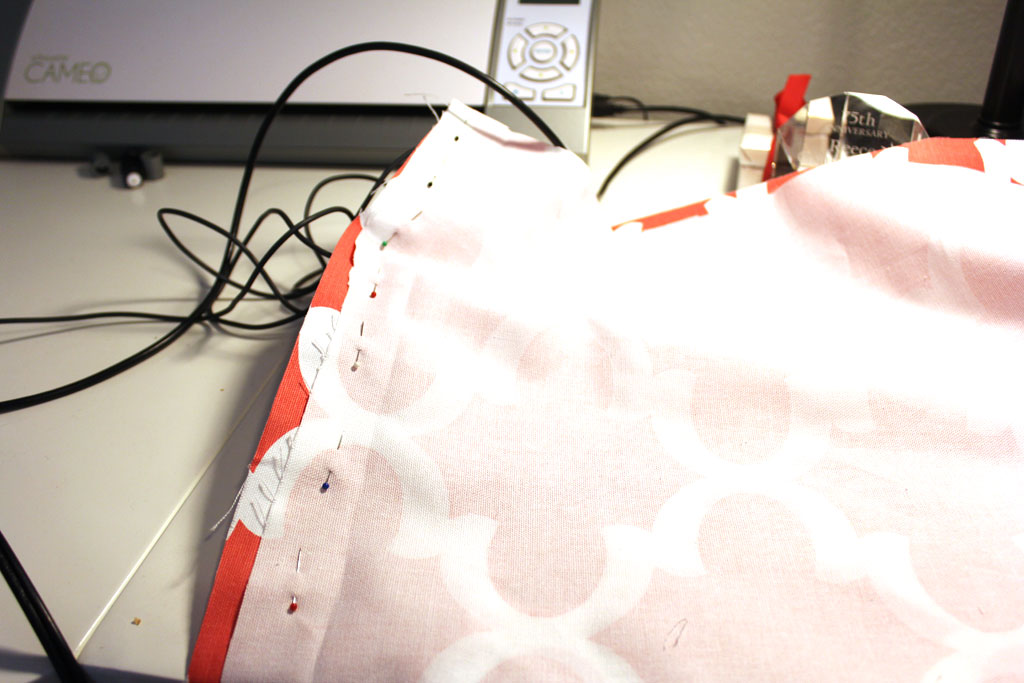
Next up I had the husband carry that inside for me 🙂 then went to work on the upholstering part. My fabric was not wide enough to go the entire length of my box, so I needed to sew two pieces together. I mostly just winged this part to get the two pieces to line up. You can see the crease in the picture below where I had matched it to the piece next to it and then pinned it carefully to keep it together. I then stitched along my crease where I knew the designs lined up.

Next up I laid my fabric wrong side up on the ground and then layered two layers of batting over the top:
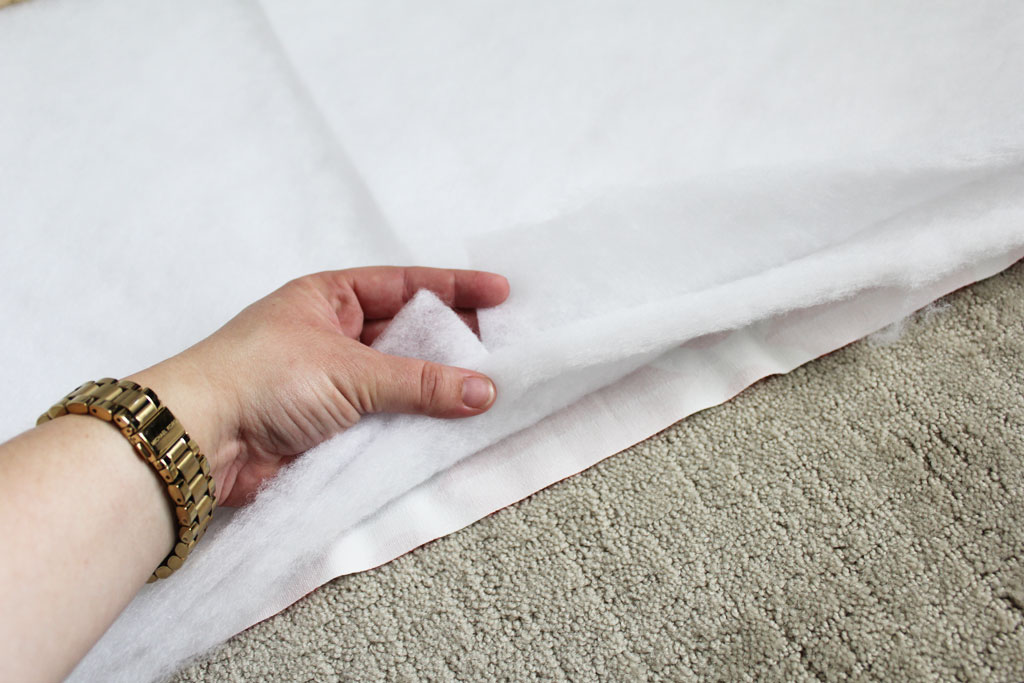

You can see I staggered the two places where I would have a seam in the batting so that I wouldn’t have a seam show anywhere on the valance. Then I laid my piece of wood over the top, centered it on my design, and started stapling. I started at the center of the valance and just stapled every few inches until I got to the ends. I tried two methods of folding the fabric at the corners, and definitely liked doing it like a present better (the one on the left) it didn’t bunch quite as much.
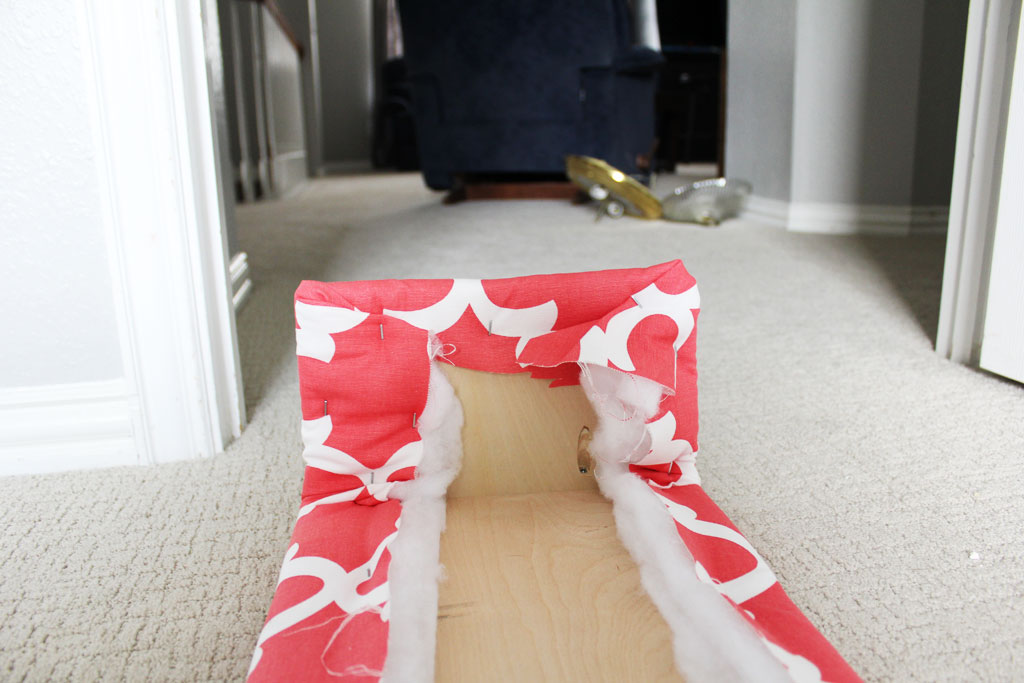

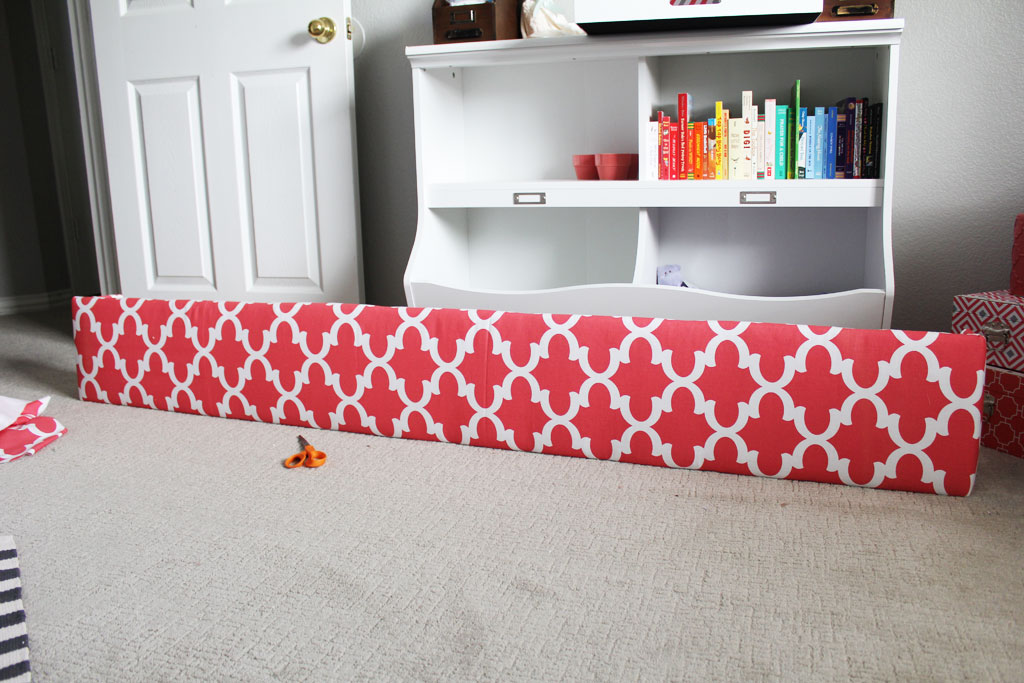
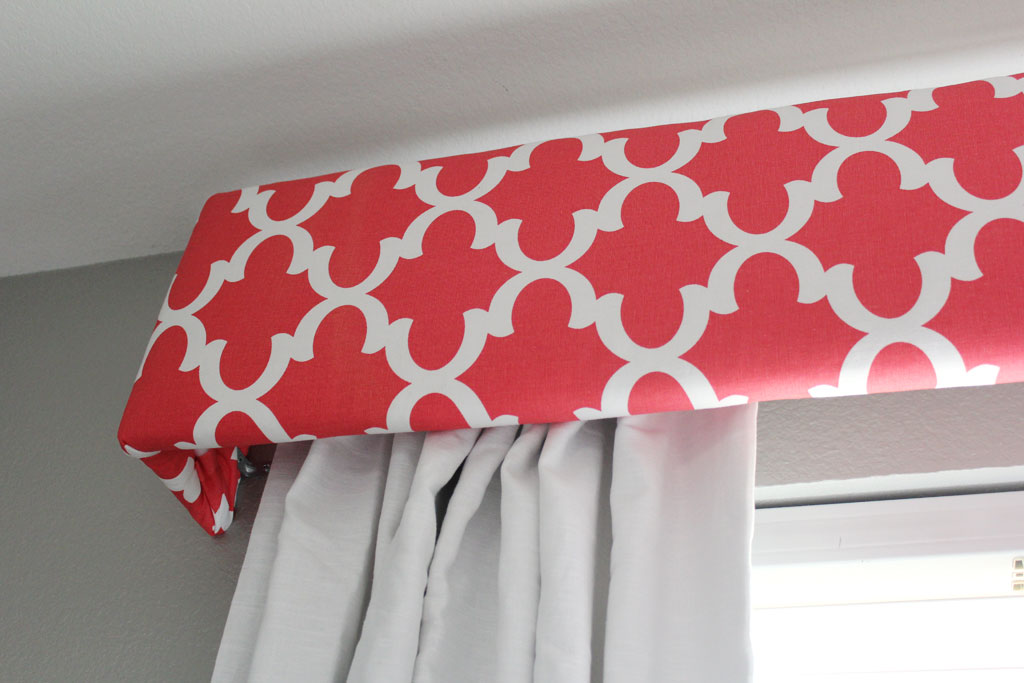
As I was stapling I would lift it up to make sure my fabric was straight across Here it is all wrapped up from the front, what looks like a seam in the middle is actually just a wrinkle even though I SWEAR I ironed my fabric–oh well, it seems to have straightened itself out after hanging on the wall for a few days. The seam of the fabric is actually about a quarter way in on the left side of the valance, but its hard to see in the picture!

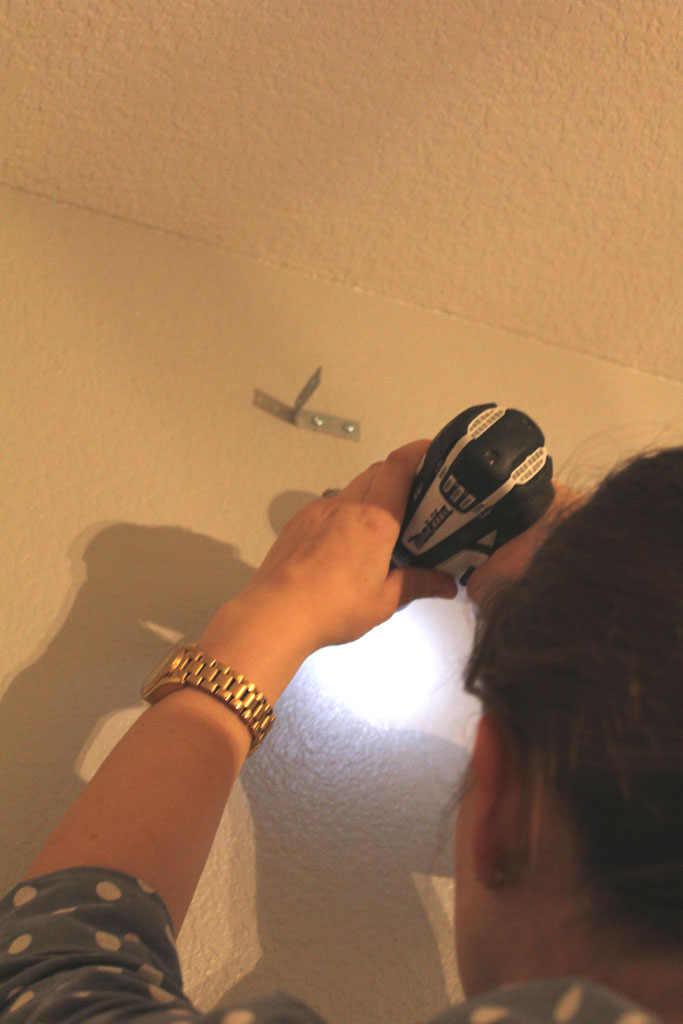
Hanging this guy was the hardest part. Not seriously hard, but harder than the rest. And we hung it late at night, so forgive the bad pictures. To hang this guy, we attached L-Brackets to the wall where we wanted it to hang, and then screwed the L-Brackets into the header. Our logic for this was that we wanted it to be strongly secured to the wall and knew that we would want drywall anchors to hold it, but with the valance in place, it would be impossible to get a drill in to secure the screws. So we attached the L Brackets first:

Here is what they look like installed:
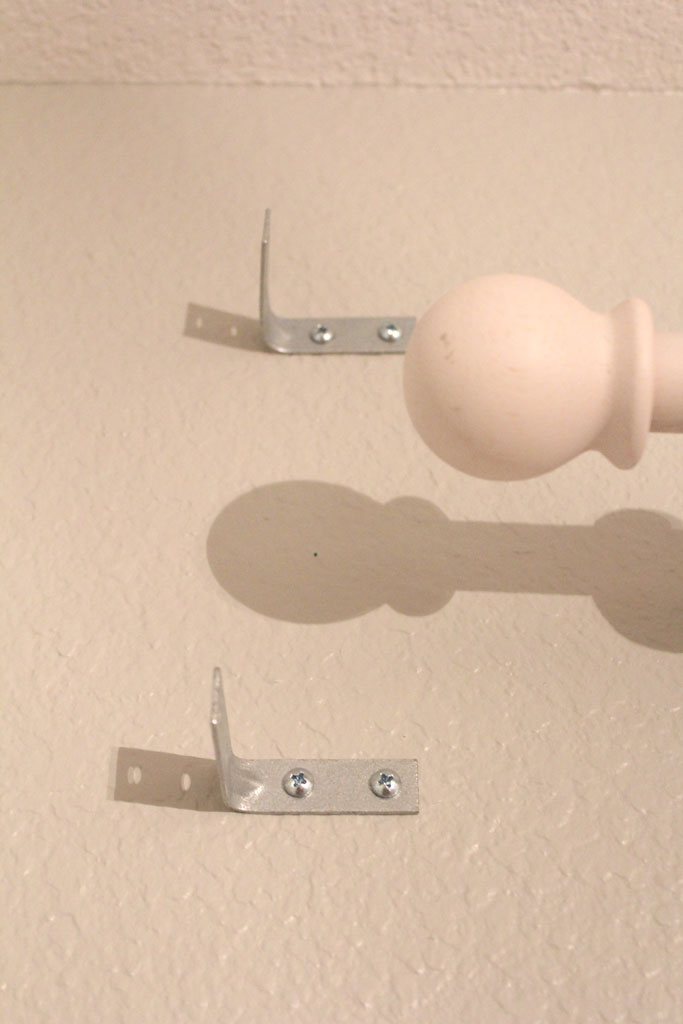

And then once we had that done, we put the valance up and then screwed the side of the L-Bracket into the valance (right through the fabric and batting). We tested it out and it is pretty secure.
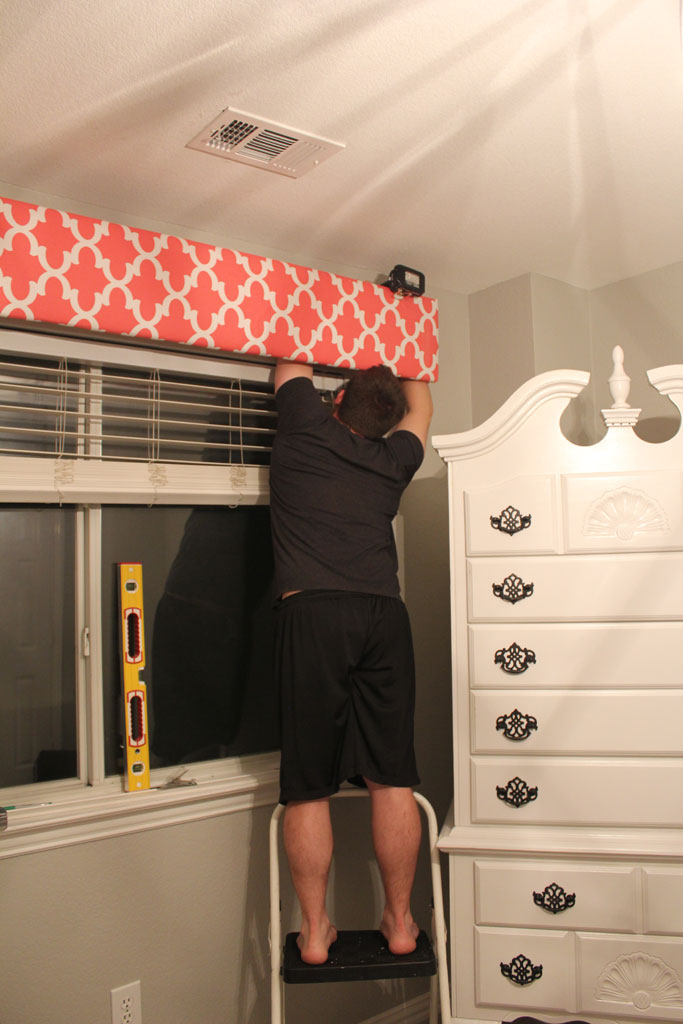

Here the husband is attaching the last screw which was still a trick to get around the window frame and the brackets for the curtains.

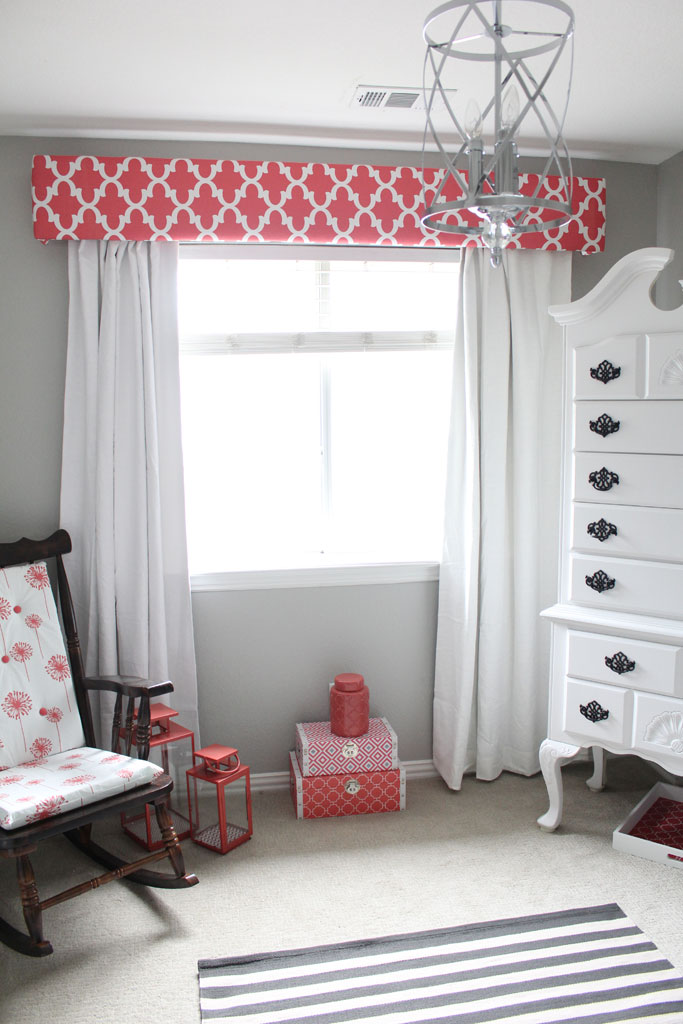
I love the finished product!!
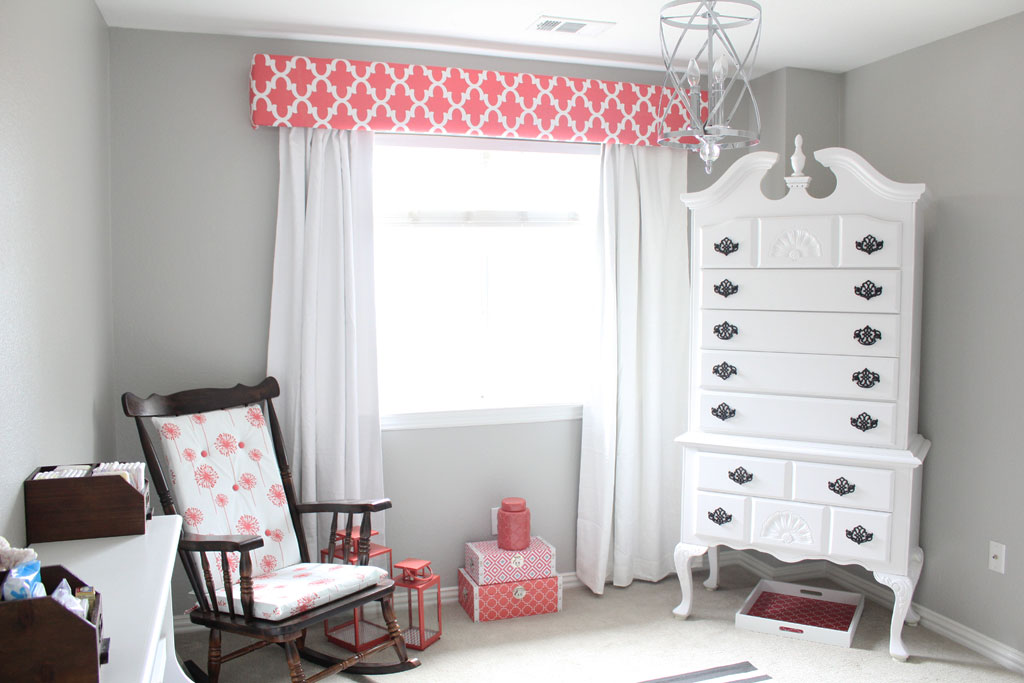

I think it adds exactly that balance of color that I was looking for!

So left on the list for her nursery:
- her crib (actually already painted and put in the room… I’ll post on that later this week)
- hang artwork- I have most of it, just need to hang it
- replace the top of the bookshelf with a wider piece (long story… stay tuned)
- figure out some sort of closet organization
So the first two items on this list are mostly on their way to being completed, the third is the next project on my to do list, and the third is a: I hope I get to this before baby girl is born kind of project! But I absolutely love where this room is going and what it looks like now! It makes me so happy to walk by it and think about how much baby girl will love it!
Have you missed a nursery post?
Here is my inspiration, here’s a little more of the planning, here’s a dresser update, here are the chair cushions.


 Hi, I'm MJ! I'm a DIY kind of girl and this is where I share my projects. I'm taking you along for the ride as I learn how to do woodworking, sew, bake, and renovate!


I love it! Everything is looking beautiful. Such a special room for you all to be in together.