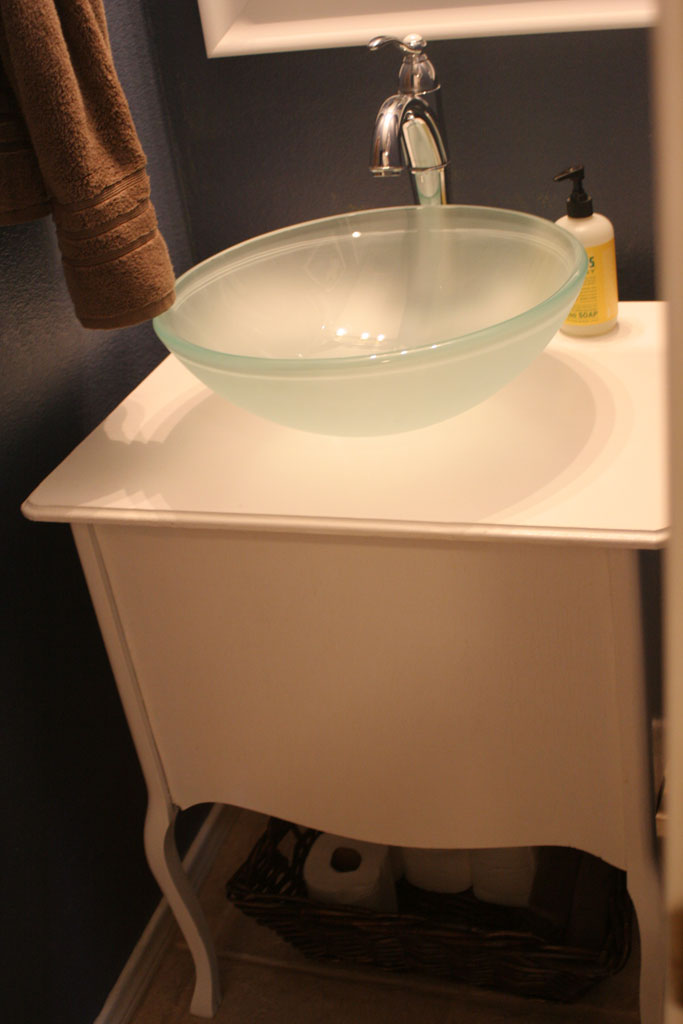
So when we left off in Wendesday’s post the husband had torn out the sink (and the two floor tiles surrounding it) and I had spur of the moment painted it a lovely shade of blue. Meanwhile in the garage I was taking an old record stand from my grandmother’s basement and was trying to figure out how to turn it into a working sink. The top of the stand had been pretty badly water damaged, so I took it off and cut a piece of MDF board (similar to plywood but smoother) to fit the top of the piece. To add a little spark I took my router (not the wireless kind) and cut in decorative edges around the top. I’m still new at the whole routing business but it definitely fancies up the edge quite a bit! Once I’d gotten the edges done, I set the sink on top and drew a pencil line around the whole where the drain would go (the glass bowl that makes the sink comes as just a bowl with a hole in the bottom, so when it is placed on top it makes it easy to trace the hole!). Then I took a jigsaw and cut out my circle…. good thing you can’t see it when the bowl is on… its less than a perfect circle. Then I glued the top onto the boards below and let it sit overnight. The next day I spray painted it white putting about 3 thin coats of spray paint on it. Then it was time for the scary part… assembly.
 The husband and I carefully put all the pieces together like the diagram that came with the faucet showed… and man… screwing together pipes in very tight spaces is NOT EASY. We did have to cut out a piece of the bottom to accommodate the J pipe from the bottom of the sink, and you should also know the part you see above is actually the ‘back’ of the piece. It originally had a hinged door that we took off in order to slide it back over the plumbing (and because clearly no one is going to see the side facing the wall).
Then the worst part EVER… turning the water back on. And what to do you know… drip. drip. drip. UGH.
This is how the rest of the night went: a late night run to HD to buy some plumbing tape. Back home. Google how to put on plumbing tape. Husband and I both trying to fit in TINY LITTLE SPACE with a flashlight and plumbing tape and still need about 4 more hands. Try a few times unsuccessfully to apply the tape before finally getting both hot and cold water tubes attached with the tape. Turn the water back on… SUCCESS!! Wait. Was that a drip? AWWWW MANNNNN!
But this drip was very very slow… so we put a towel underneath it, turned off the water and called it a night. The next evening, we turned the water on just to see… and no leak! And several months later it has never leaked again (don’t worry… I’ve checked). I don’t know if the plumbing tape needed to ‘expand’ or it just molded to the threads better after the overnight, but it worked and has worked beautifully the remainder of the time!
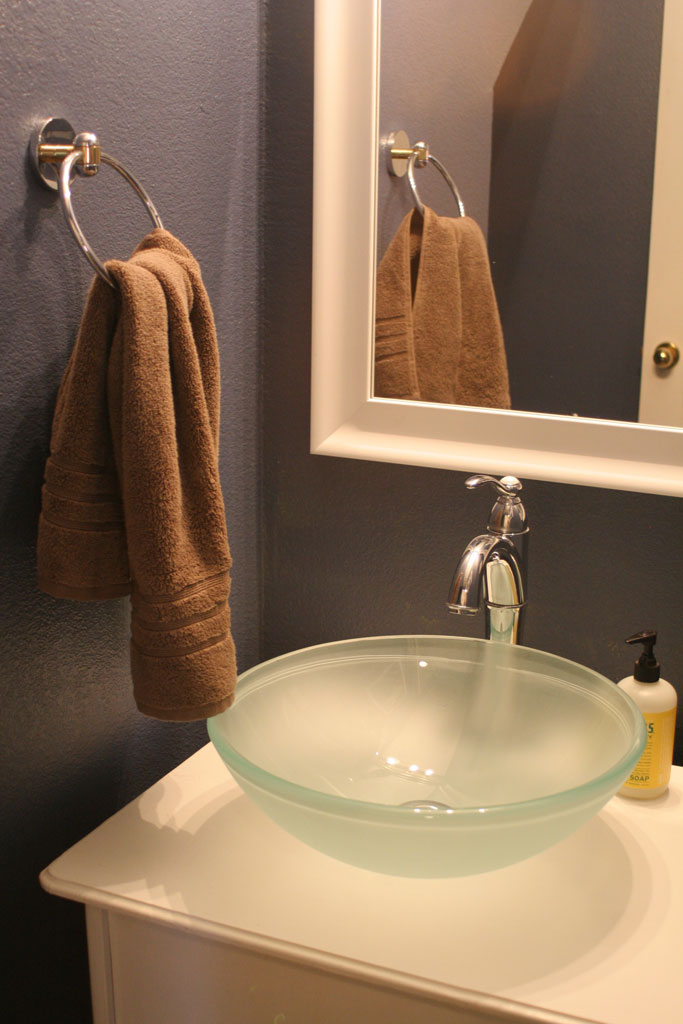
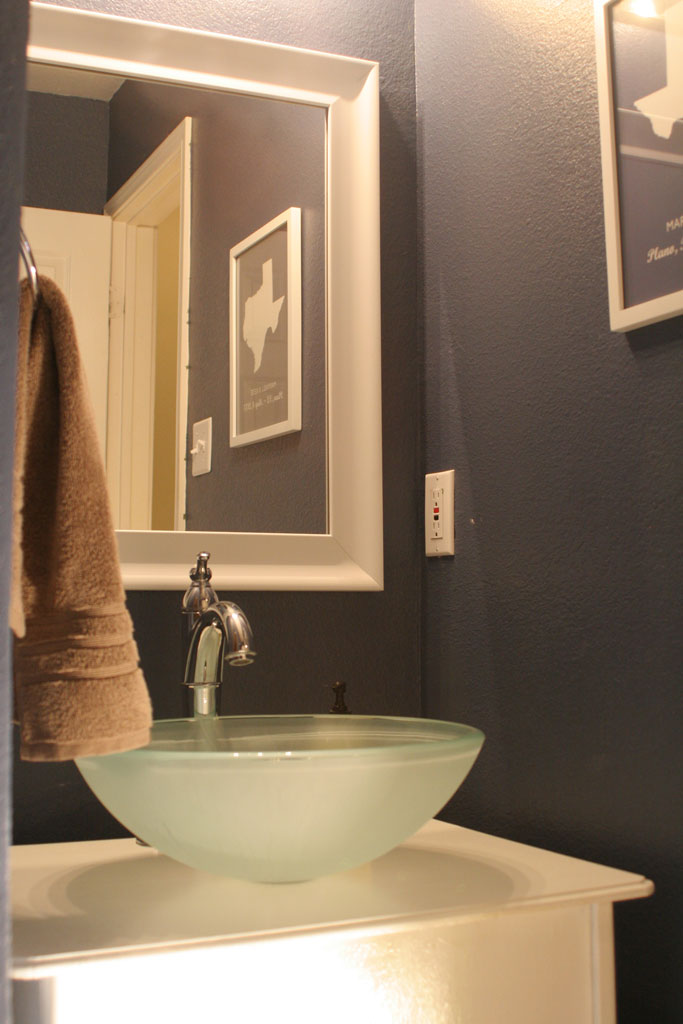
And for approximately the next week and a half the husband and I would periodically walk in to that bathroom just to turn the water on and marvel at our handiwork! And now just for fun a few more pictures of our handiwork!!

 I won’t be rushing out to start any new plumbing projects any time soon, but I will say the hardest part of DIY is definitely being brave enough to start! And I love walking in my tiny little bathroom and seeing the cute little bowl sink.


 Hi, I'm MJ! I'm a DIY kind of girl and this is where I share my projects. I'm taking you along for the ride as I learn how to do woodworking, sew, bake, and renovate!


Speak Your Mind