When I posted my shelves I promised a how to on staining. I have a love hate relationship with staining. I absolutely LOVE the way stain can transform a piece. It can show off the beautiful grain of wood, it looks both rustic and finished all at the same time. I love stained pieces. I do not love staining pieces. Its messy and time consuming, but OH SO WORTH the results. And I’ll show you a few tips and tricks I have for surviving the stain game.
First of all supplies:
- I use foam brushes that are cheap from Home Depot to apply the stain (I’m sure Lowe’s has them too… I just live closer to HD).
- A tshirt or old socks to wipe down
- stain of your choice- I’ve used Minwax for a long time, although recently I’ve been using Varthane because of its shorter dry time and I like the Kona color
- Sandpaper
- An area you don’t mind getting messy or a dropcloth
Steps:
1. Lay your wood out in a place you don’t mind getting messy and elevated a bit off the floor (scrap wood or whatever you have laying around make good elevation so that your stain doesn’t puddle on the floor).
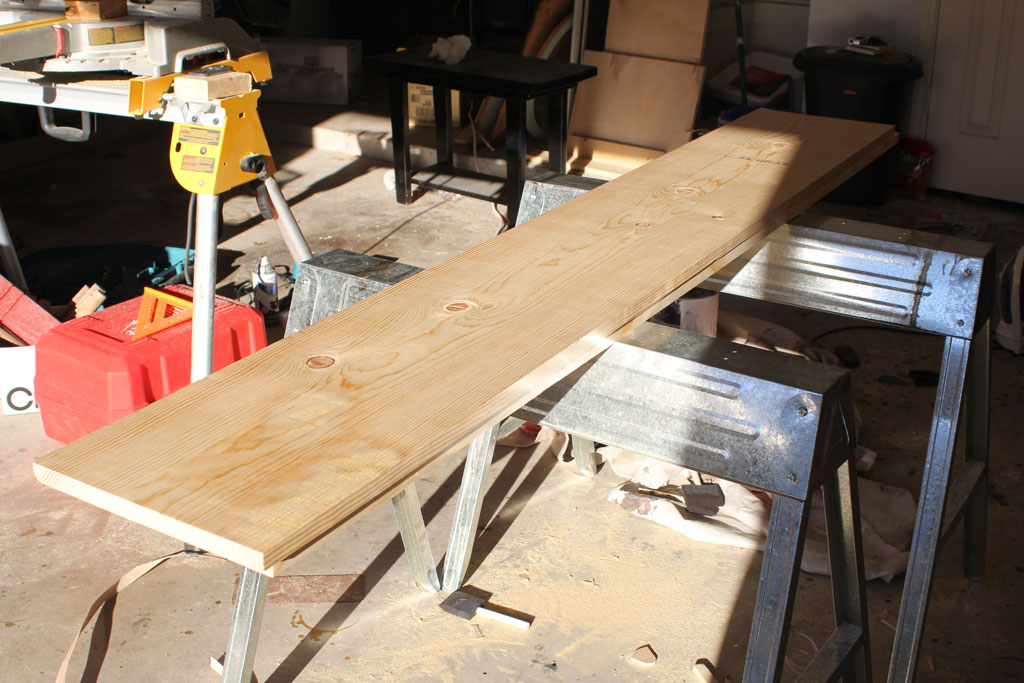

The picture above is before I cut my wood down to size for the shelves… but I basically put the wood back in the same spot to stain it.
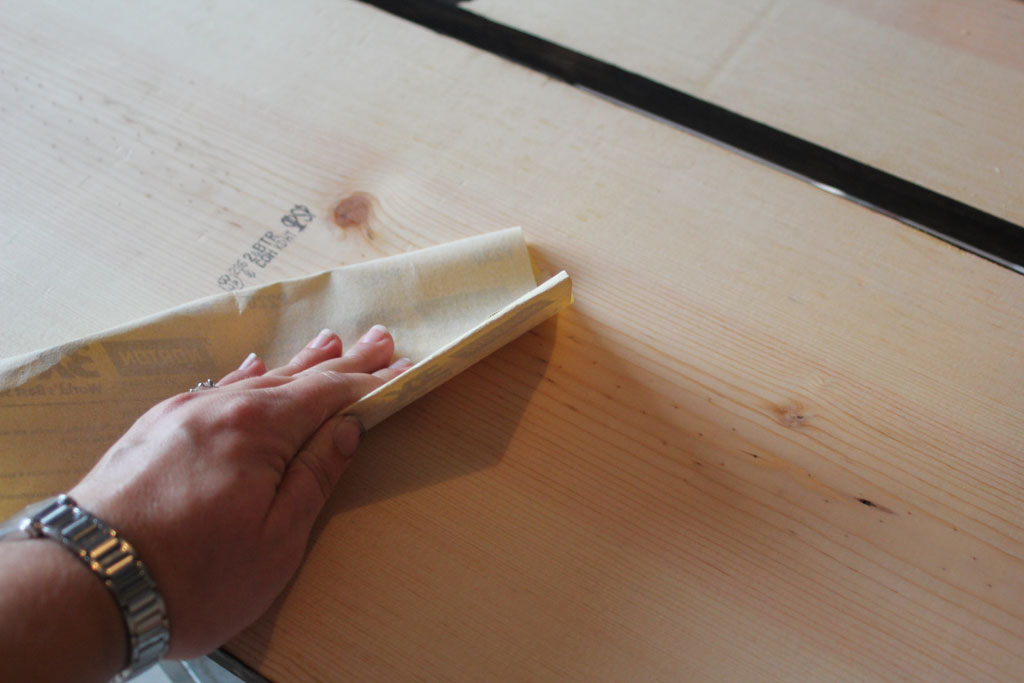
2. Sand it with 220 grit sandpaper. If you are staining an older piece or one that has already been painted or stained before, you’ll need to remove the prior stain/paint. You can either use a sander or stripper for that but that’s a whole ‘nother post on its own! Always sand WITH the grain of the wood… and your whole goal here is to just get it smooth and take away any splinters. On new wood like this, sanding isn’t a long process.

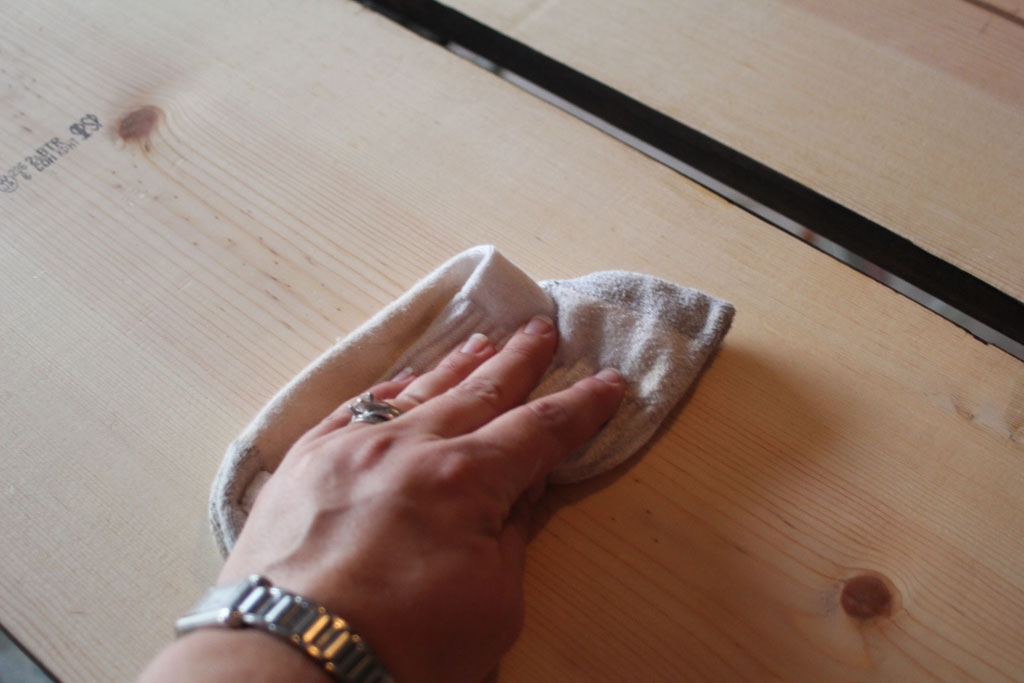
3. Now wipe off the sawdust so you have a clean surface to work with. It may sound silly, but this is a GREAT use for those unmatched socks that the dryer orphans (widows?).

4. Once you have it sanded down to smooth natural wood it is time to put your stain on! There is a product called pre-stain which I have used a few times, and would definitely recommend it for nicer pieces of furniture or fancier stain jobs. But these were just shelves that I wanted to have a more rustic look to, so I skipped that step. (and since I am HIGHLY impatient… I almost always skip this step) Now its stain time…
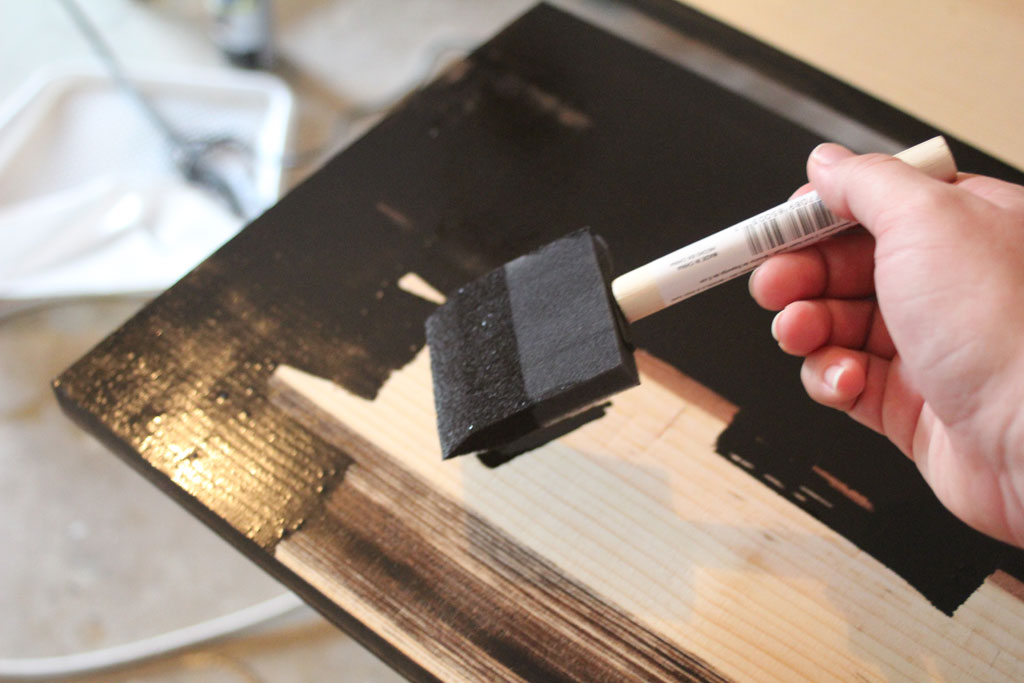

I keep these foam brushes in varying sizes in my garage because they are SUPER cheap and can be used for a lot of different things. But they are great for staining because stain–it STAINS. (I know… rocket science here people). So to keep from ruining other good brushes… I use disposable ones. When you are putting the stain on, always stain with the grain of the wood. See how you can see my brushstrokes in the picture below? I just start in one corner and move my way across the board, going down as you go.
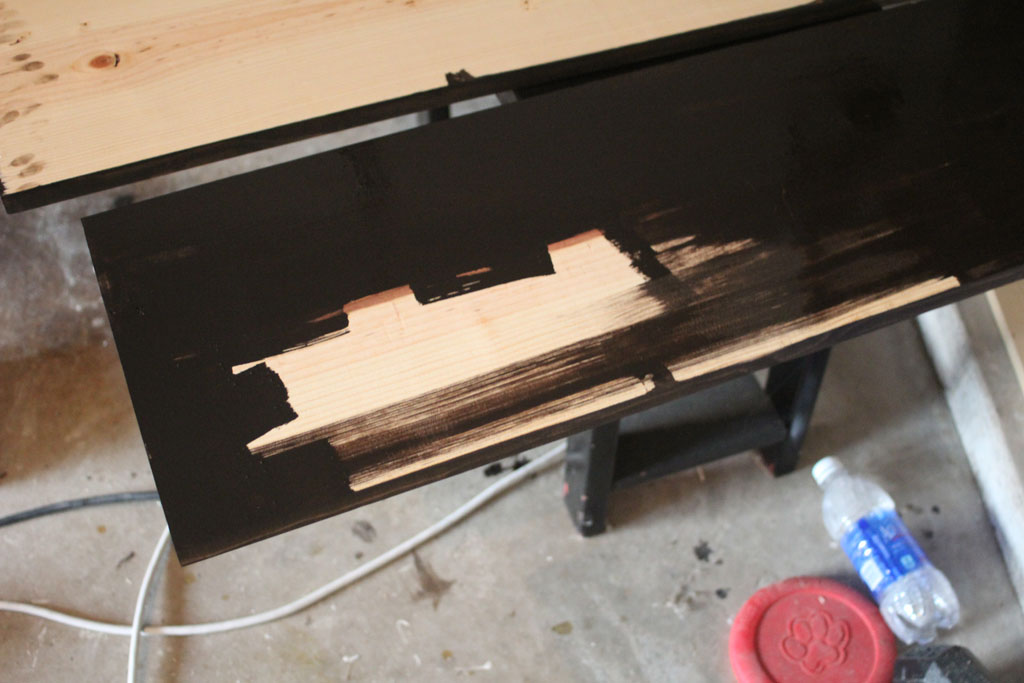

You want enough stain to saturate the wood, but not so much that you have large puddles on the surface. The picture below shows pretty well how much stain is on them. Follow the directions on your particular brand of stain, but Varthane says leave 5-15 minutes. I’m slow enough at this that usually by the time I get to the end of staining, I can start wiping it off.
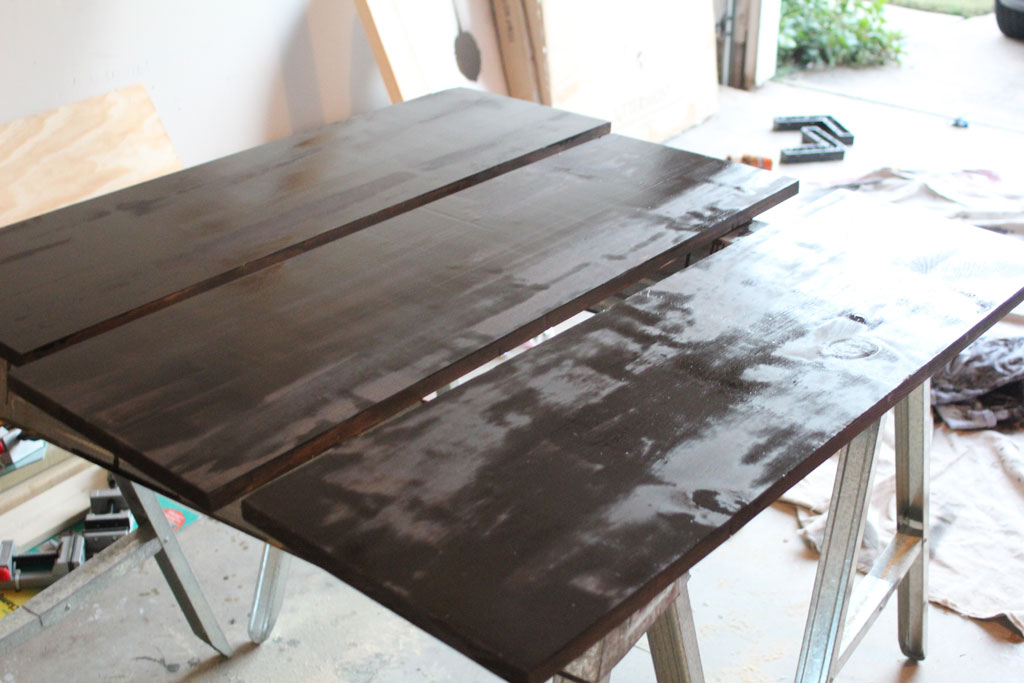

I don’t have any ‘in progress’ wiping them down shots because when I do this… my hands are COVERED in stain and stain+nice camera=disaster. But when you are wiping them down, just make sure you wipe any inconsistently dark spots away. I usually wipe in a mostly linear fashion, but if there is a spot that looks funny or clearly still has stain on the surface I wipe in a circular motion… like an old car wash commercial… Wax on, wax off. OH and I usually use what seems to be my never-ending supply of old t-shirts for this process. One t-shirt usually is sufficient for a coat of stain (depending on the size of the project) and I feel like it is a good use of all those shirts I don’t need anymore… plus, bonus… they’re free! If you don’t have an un-ending supply of t-shirts, HD or Lowe’s will sell shop rags for this kind of thing.
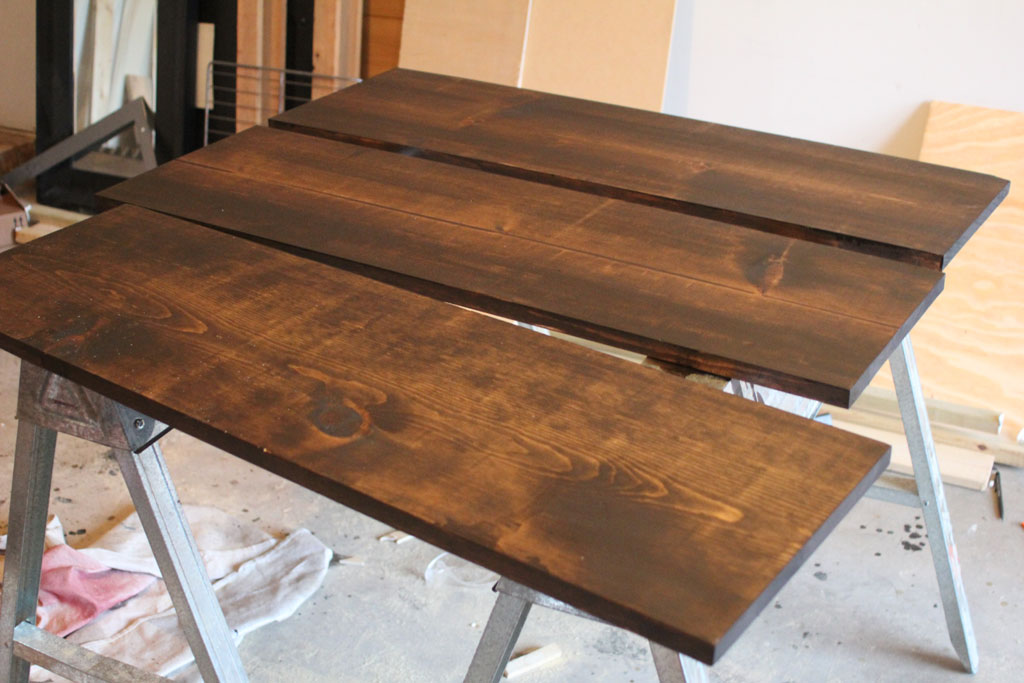

And Voila! nicely stained shelves (after 4-6 hours of drying, and then 24 hours to fully cure)!!
I frequently follow this up with a coat of polyurethane to seal it or protect it from water, but chose to leave these bare. If your color isn’t dark enough for you, you can always apply a second and third coat, just check the can for drying and recoat times. (usually at least 4 hours between coats).
These babies hung in my bonus room when they were finished (see top of post for a link of what they look like all hung up!)
Check back tomorrow and I’ll show you the easiest way to get all that nasty stain off of your hands.


 Hi, I'm MJ! I'm a DIY kind of girl and this is where I share my projects. I'm taking you along for the ride as I learn how to do woodworking, sew, bake, and renovate!


Speak Your Mind