So I warned you in yesterday’s post that I didn’t have any spectacular HEY LOOK HOW ORGANIZED MY GARAGE IS pictures, and this post is no different. This project was purely about performance and not about making things pretty. But as far as I’m concerned, sometimes those are the best projects! Ever since we have moved into this house every time we need a tool- a screwdriver, hammer, nails, level, etc we had to go digging through 3 or 4 boxes to find the right tool. Which really meant that we didn’t hang any pictures, fix any small details etc unless we had enough time to go searching for our tools.
So I was bound and determined to get some sort of organization going on in the garage so that we would better be able to utilize the space! I really liked having our pegboard in the last house, already owned most of the baskets, hooks etc, that we would need to hang our tools, so I just needed the empty wall and a sheet of pegboard. It turns out a giant sheet of peg board isn’t that expensive (ours was just under$18 dollars at Home Depot) and I already owned the scrap wood we would need to mount it. So this whole project cost me about 18 dollars and saves me TONS of time.
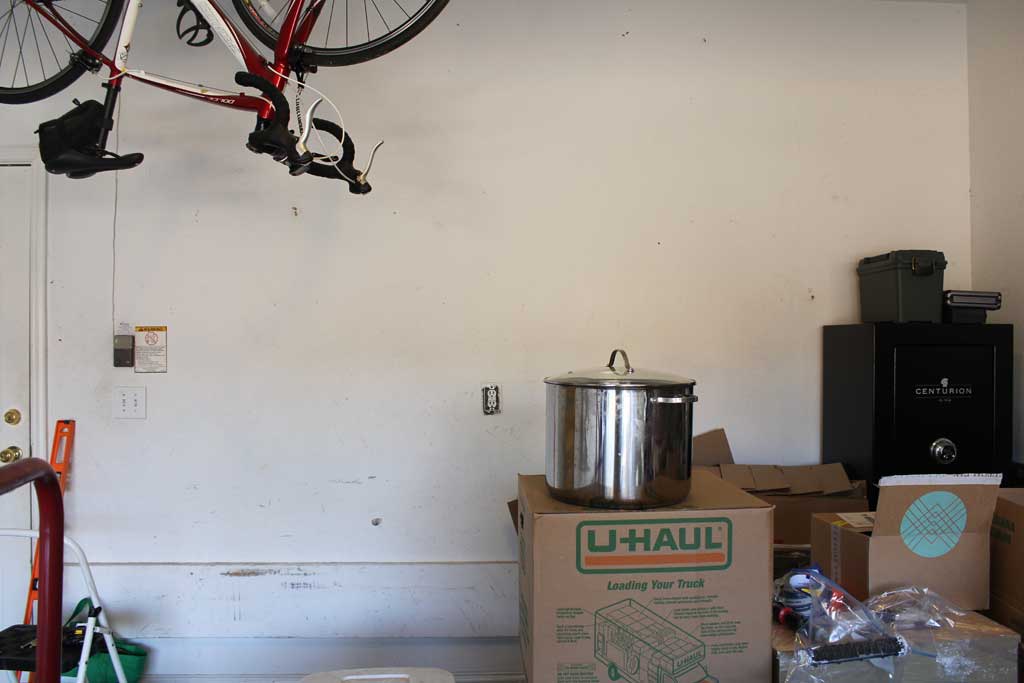

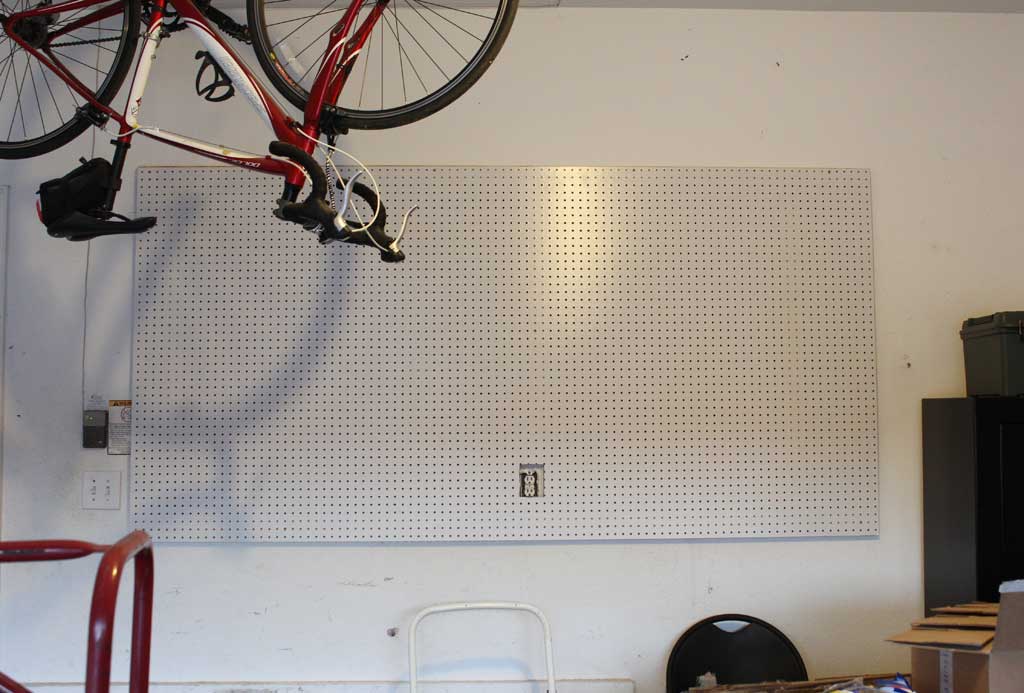
The front wall of our garage was the perfect space for a pegboard. (please ignore the junk–including a pot that doesn’t belong in the garage) We also intend to build a rolling workbench that will fit underneath this and still allow us to park a car in the garage. And since the workbench will be on casters, we won’t be permanently losing any square footage in the garage. (We are never planning on selling this house, but I do realize some people–especially in Texas– drive longer vehicles than the husband and I do, so I wouldn’t want to put anything too permanent that would prevent a truck or large SUV from parking in the garage.)
For pegboard to work it needs to sit a little ways out from the wall (so that when you put a hook in, it has somewhere to go!). So our first step was to locate the studs to hang our top board. I used scrap cutoffs from 8′ plywood boards from a previous project, but you could easily use pine 1x2s if you don’t have a large scrap woodpile your husband would like you to use up rather than to expand. So first up was marking the studs with a stud finder or in this case, my husband:
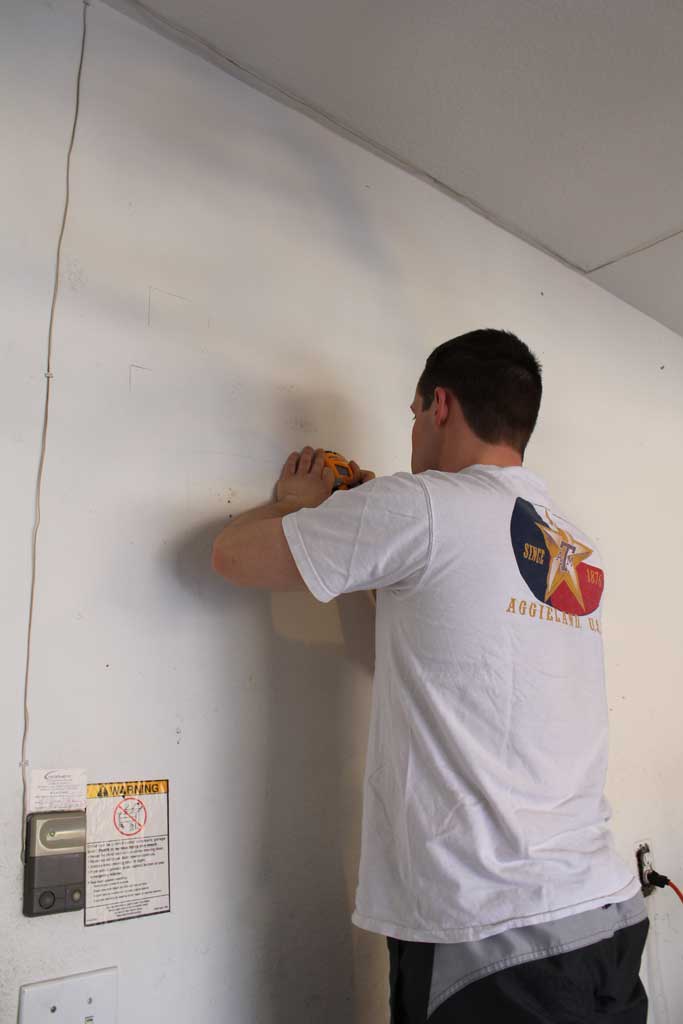

From there we held our top board along the wall (lined up with our top left corner which you barely see marked to the top left of my husband’s elbow) and marked where the studs would hit our board. Because the wood we are using is so narrow, it is a good idea to pre-drill your screw holes so that you don’t splinter the wood.
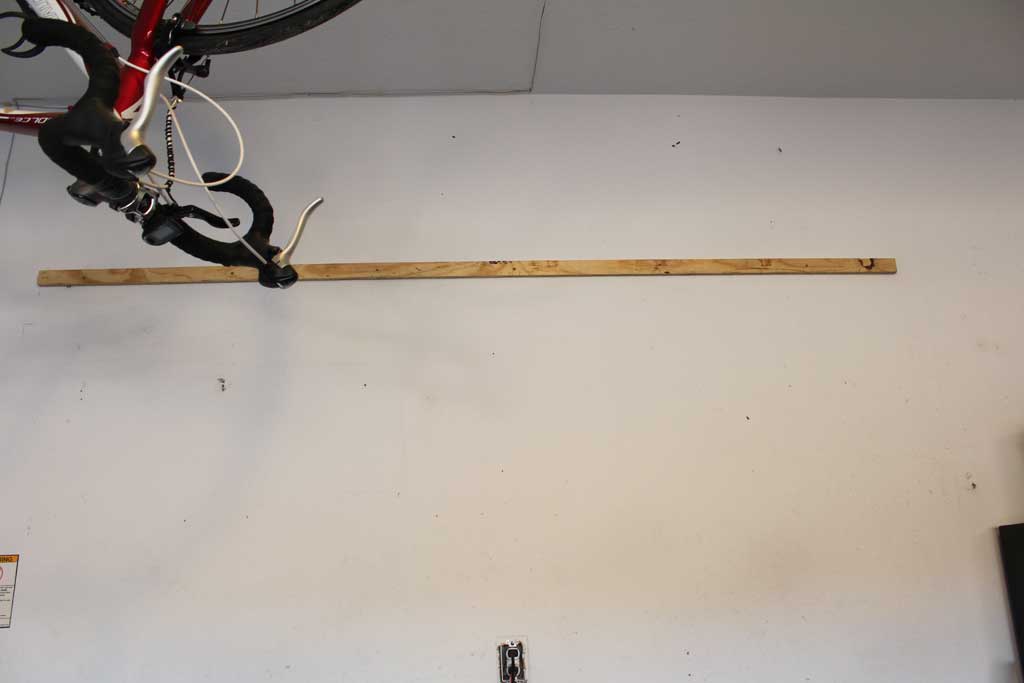

We put a screw on every stud- so had 6 in each our top and bottom boards. Since this took both my husband and me on step stools with a level and the drill, I didn’t get in process pictures, but I believe in your imaginations–you can picture it. We did hold the level up in several places just to ensure our board was level since this is how we would secure the whole piece of pegboard and didn’t want it hanging catty-wompus on the wall. We repeated the process with the bottom board and then for good measure hung three vertical pieces to secure the pegboard to. You’ll notice these aren’t evenly spaced (or maybe you won’t, but I’ll explain anyway). We hung each one onto a stud just to give some extra security for this guy. We haven’t hung many heavy things on our pegboard in the past, but we want to make sure that if we do decide to hang a few tools or heavier items the pegboard won’t come falling out of the wall. And let me tell you… this guy is up there for good.
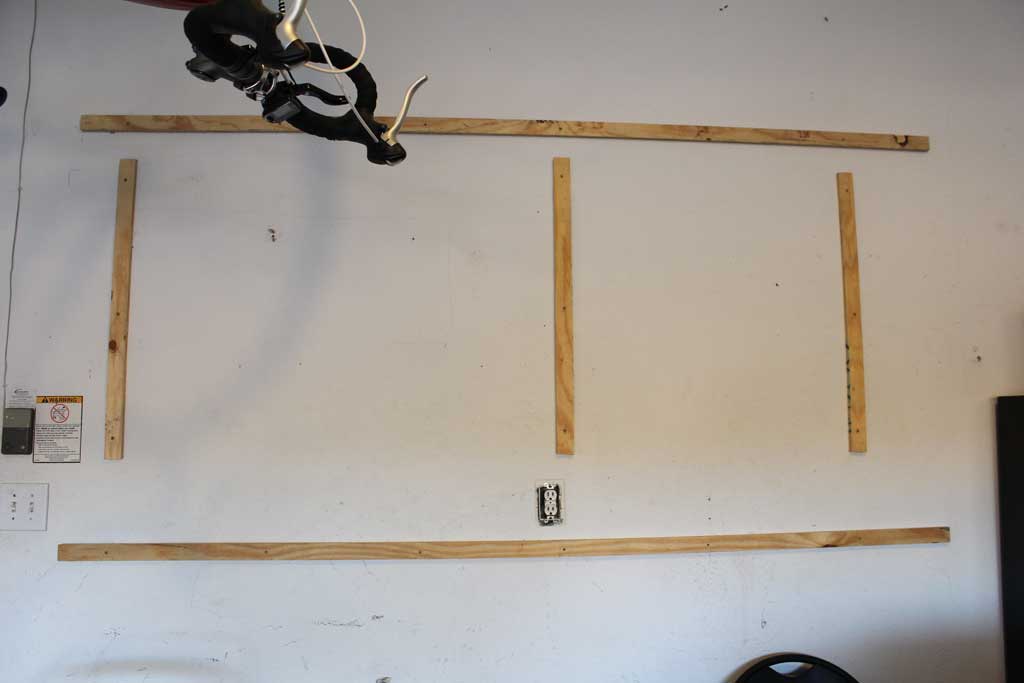

The last step was cutting out a hole for the electrical outlet. (It was missing its cover and I still haven’t gone to the store to get one, but I wanted to cut out hole for it anyway). This was simply a matter of holding the board up, looking through the holes to mark the outlet and cutting it out with a jigsaw, but since I’m a bad blogger I didn’t get pictures of this step.

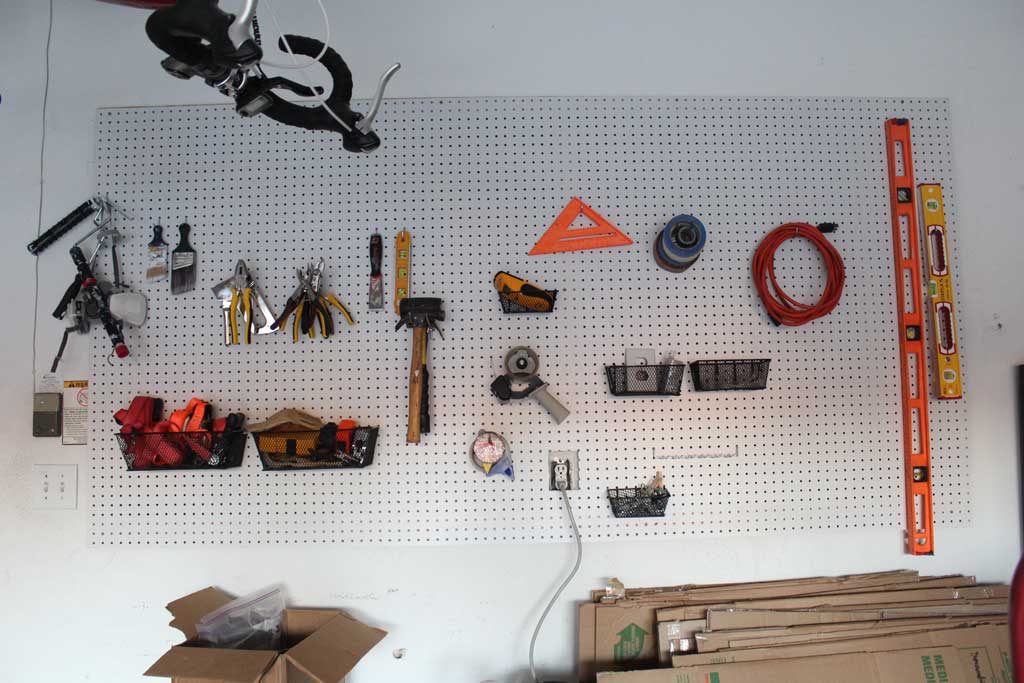
A few more screws into the board and this guy was ready to go!
And about an hour later– I had 2 more boxes unloaded and out for display! And since we got these things hung up, we have hung pictures in the house, fixed an AC duct cover and I am going to credit a lot of that to being able to use our tools easily!

Next up on our to do list is to build the workbench/wood storage. And we have a mostly free Valentine’s weekend coming up… so guess what I asked for?! Its a good thing my husband loves me and my project driven life!


 Hi, I'm MJ! I'm a DIY kind of girl and this is where I share my projects. I'm taking you along for the ride as I learn how to do woodworking, sew, bake, and renovate!


Great job! You go, girl!