One of my ‘extra-curricular’ activities involves leading a group of senior high school girls in a weekly covenant group. I’ve been with these four girls meeting (mostly) weekly for the last year and a half. Although at first I was hesitant about adding another hours worth of activity to my weekly schedule, these girls have been such a HUGE blessing to me. They are a constant reminder to be grateful for the path I have taken and to take life a little less seriously. I love hanging out with them and participating in each other’s lives. Since they are all headed off to school next year they decided that we should spend some of our covenant group times doing crafts for their dorm rooms. Since I love any opportunity to craft, I was game!
Our first night, one of the projects was a fabric/ribbon covered bulletin board. Here are the supplies:
- a quarter sheet of mdf or plywood (or whatever size you want your bulletin board to be)
- cork (I bought a roll of it at Micheal’s)
- spray adhesive
- quilt batting
- fabric of your choice
- coordinating ribbon
- thumbtacks
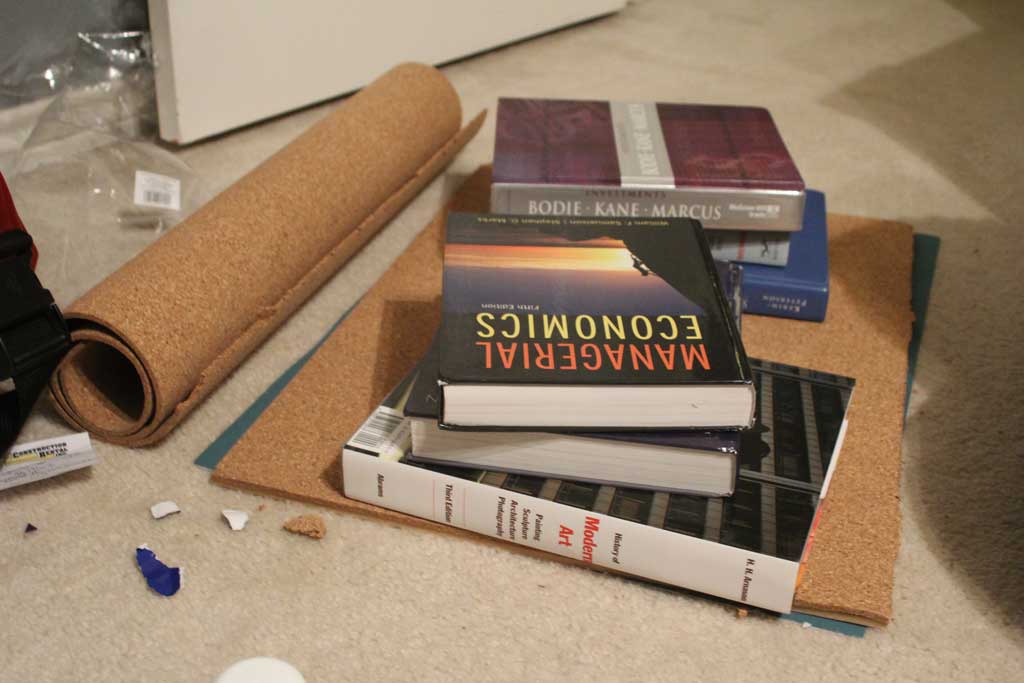
First cut your cork to the same size as your board and use the spray adhesive to secure it to the board. It helps if you have old MBA textbooks lying around uselessly (and a modern art book for good measure) … they make great weights to make sure the cork sticks.

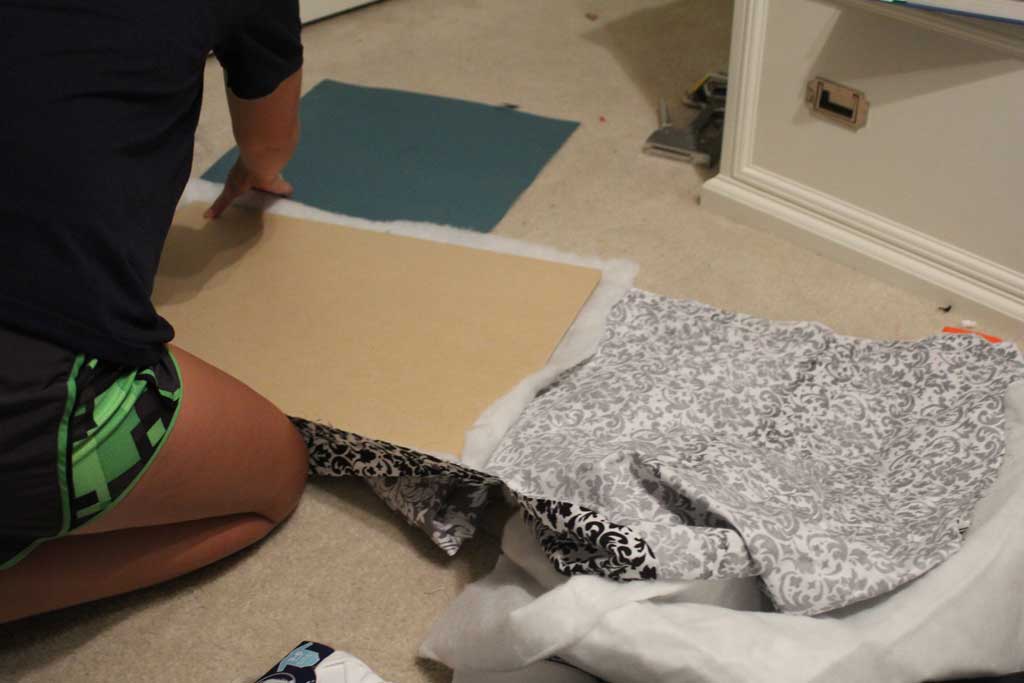
Next take your quilt batting and fabric and cut both to be about an inch or inch and a half wider than your board. If you have a pattern be sure that your pattern is facing the right direction and centered on the front before you cut it! Now lay your board (with cork attached) cork side down on your upside down fabric and quilt batting like this:

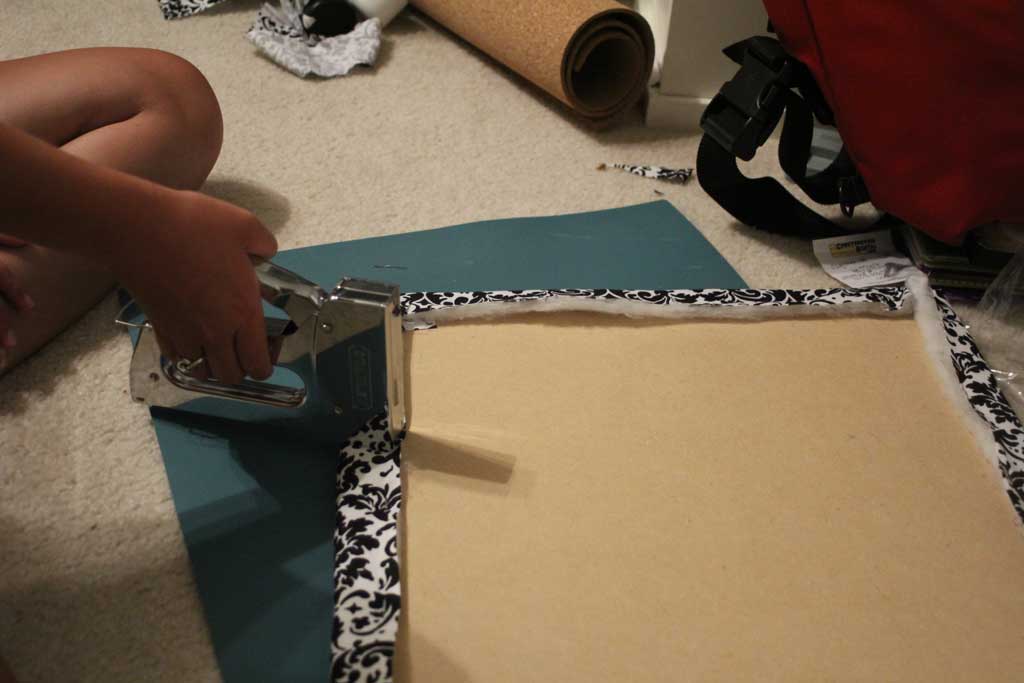
Now use a staple gun to pull your fabric taught on the front. I find it easiest to staple the two long sides first moving from the center out to the edges, alternating sides. For the corners, I take the corner of the fabric and fold it in towards the center and then fold each side on top of that and staple. (sorry there isn’t a picture, it took all our hands!)

Now you can flip it over and lay out your ribbon how you want it to be (we created about 4″ squares on ours). Then at the intersection push a thumbtack into both pieces of ribbon and the fabric and into the cork. On the back, secure the ends of the ribbon down with a dab of hot glue, and you are done! We didn’t put anything on the back to hang it, but you could easily drill some D-rings on the back, or since it is for a dorm room just pick up some double sided Command picture hanging strips.
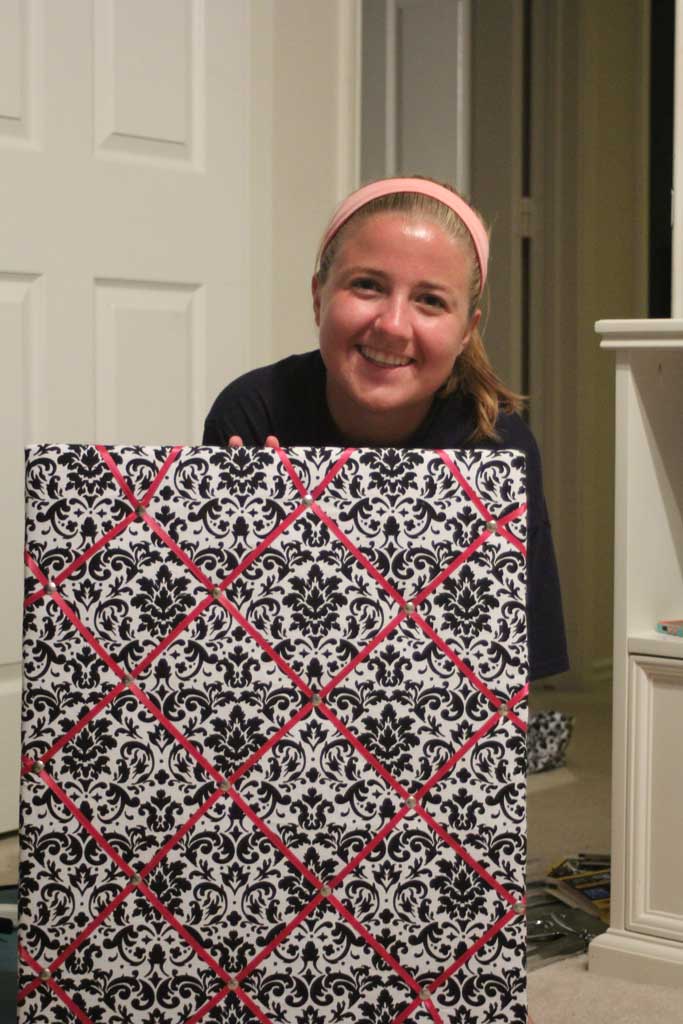
Look how cute Megan is with her new craft project!

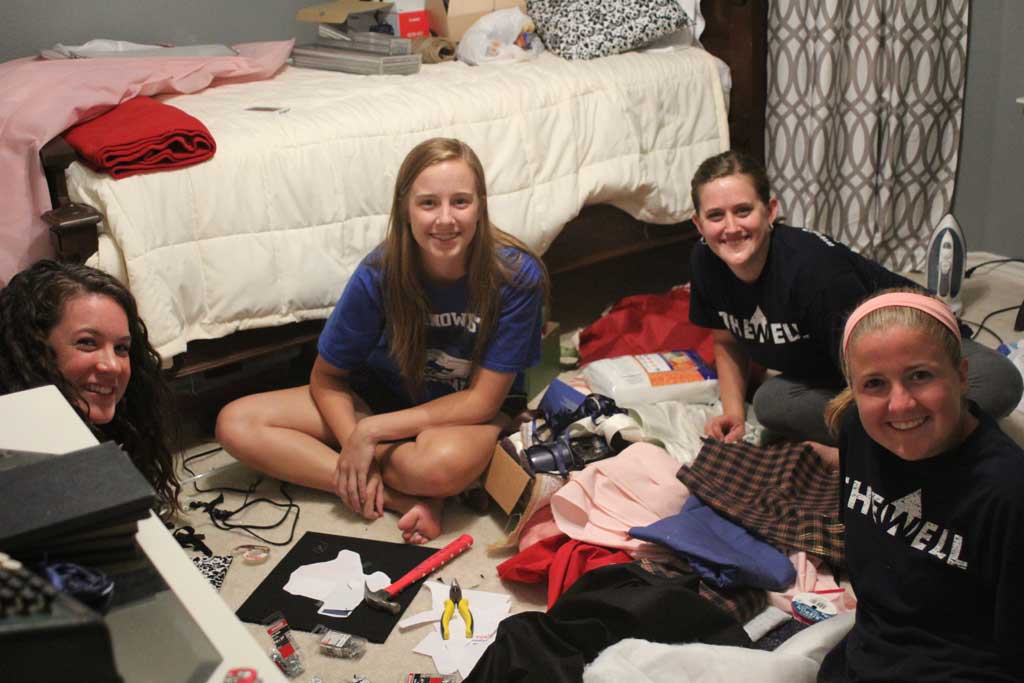
And you’ve seen what this room looks like when its clean, but here’s what it looks like when I get my fabric stash and 4 girls all doing craft projects at the same time!!


 Hi, I'm MJ! I'm a DIY kind of girl and this is where I share my projects. I'm taking you along for the ride as I learn how to do woodworking, sew, bake, and renovate!


