Halloween Recap

I meant to post this this morning, but time escaped me.

I posted last year summaries of all my previous Halloween parties, so if you want to read up on all the fun things I’ve done in the past this post is for you!

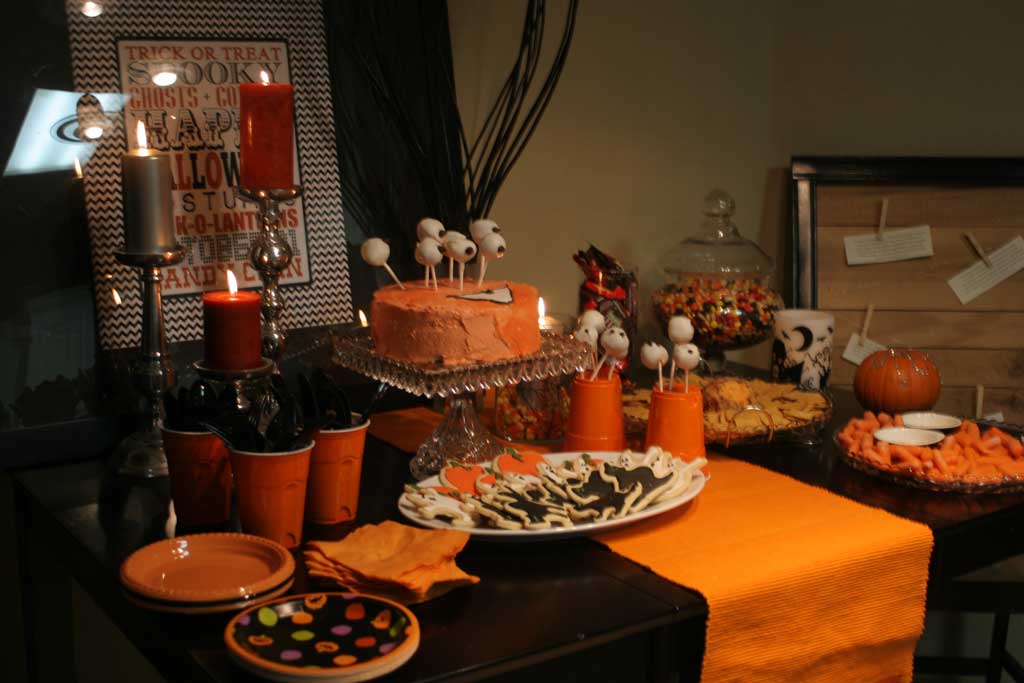
In 2011 I tried my hand at a Pinterest idea making a ‘monster cake’ as the centerpiece of my table, read the post about it here.

2012halloween5


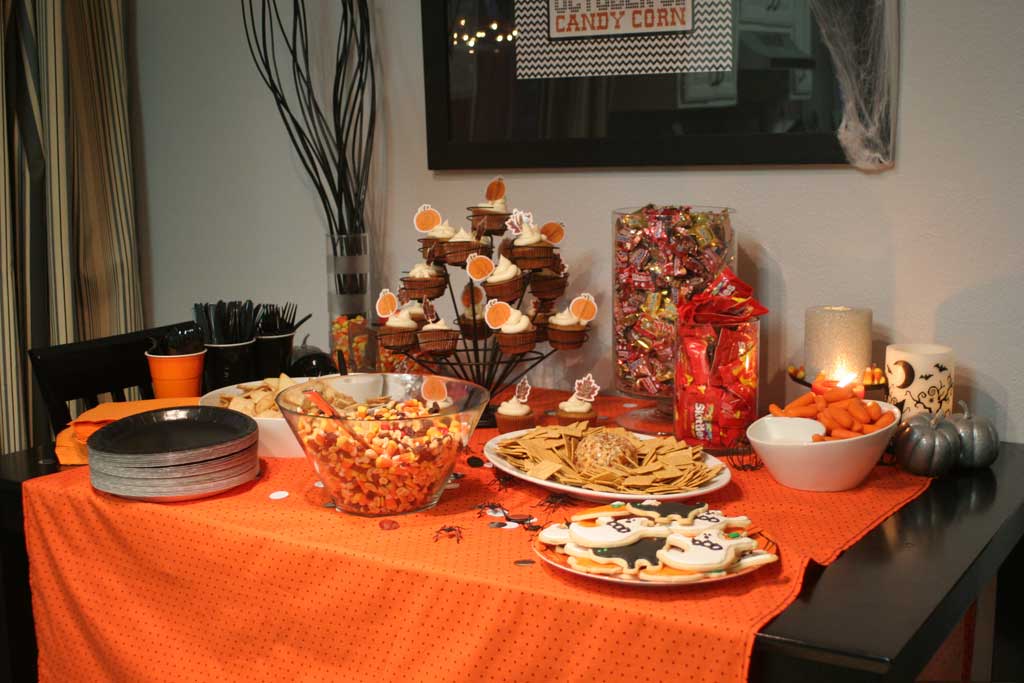
In 2012, I continued with the Orange and Black theme but sewed my own tablecloth… read about it  here

halloween1

And last year I decided to go with a black and white theme, read all about it here.

hwtable

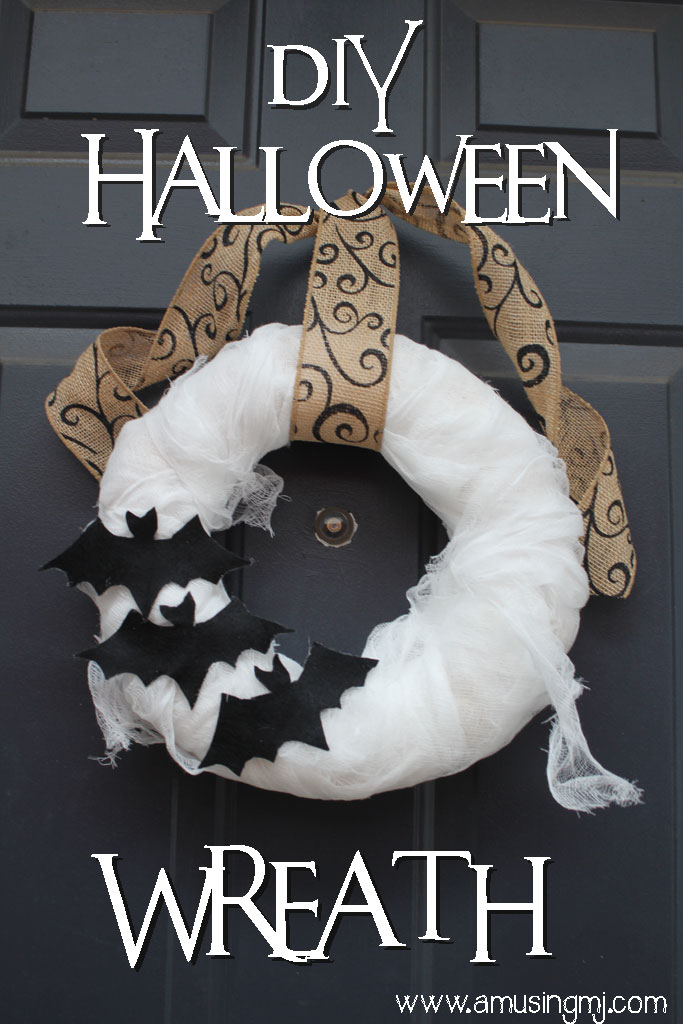
And last year I also made a wreath out of cheesecloth,that if I ever get my act together I’ll get it hung on my door this year (maybe even before Halloween).  Read about it here!

hwreath8

And that recaps my previous Halloween projects, stay tuned tomorrow for a preview of my invitation from this year!


Paper Dot Garland

When we started planning the shower for my brother and his fiancee, I went where I always go for inspiration… PINTEREST!! I had been seeing these cute paper dot garlands around the web and thought they would be perfect for the shower! (the picture below was my inspiration, but whoever pinned it originally didn’t put a link the original site… after some googling you can go here if you want to see the rest of that party)

Pom poms and matching garland.

So although this was about the complete opposite of our color scheme, this was our inspiration pic! But of course I had never made a paper garland before, but it looked like they were just sewn on a sewing machine… so I gave it the old college try! And you better believe you will see more of these at my parties!! IT WAS SOOOOO EASY (and quick and cheap… can’t beat that!).

I bought this guy at Joann’s with a 40% off coupon (seriously if you ever shop at there or Hobby Lobby, download their apps for coupons, they ALWAYS have a 40% off or more coupon!).  I think it cost me about $9.

dotgarland8

I also bought 6 sheets of cardstock paper (and I swear those two gold sheets are the same, but they look very different here!):

dotgarland6

And then I had a date with my couch and Modern Family, so I cut out all my dots

dotgarland5

I made them as close to each other as possible, going around the edge of the paper, then cut off the scraps and kept going on the inner square.  And about one episode later (don’t you love projects you can measure in episodes watched??) I had this:

dotgarland4

Now the really complicated part (here is where I need a sarcasm font): lay them out in the order you want

dotgarland7

And feed them through your sewing machine one by one.  I had my foot pushed down about medium speed and would just wait until the dot before it was just past the needle and would stick the second dot in, that left about an 1/16th of an inch in between each dot.  But since my coordination skills leave a bit to be desired, some have wider spaces than others.  And ladies and gentlemen, we call that character.

dotgarland3

The only other note I have is to leave some extra string at the beginning and end so that you will have something to hang them from.

dotgarland1

And there my friends you have awesome color coordinated decorations for less that $5. (not counting the dot puncher since by the time I’m done making these for every party from now on the cost per garland will be negligible!)  But that’s enough finance talk… lets take a look at the final product shall we!?

shower8

shower1

And because I had a few extra gold ones I added them as a garland for the cheesecake

Paper Dot Garland | www.amusingmj.com

Easiest DIY Candle Holder Ever

So I was sitting in church the other day and saw a project that I haven’t shared here yet, since it was done prior to the blog!

If you are new here, my twin brother is the pastor at a contemporary church service at a United Methodist Church in Plano, which means I am the go-to any time he needs something built or some little odd job done for the church. So far at the church I’ve built two altar tables, helped redo a stage and I am about to do a fun project for the welcome center (more on that one after it is built!).  But a smaller project I did was for the Christmas Eve service two years ago.

On December 23rd, the worship staff decided that they wanted to add some candlelight on the stage for the duration of the service, but they needed them all to be at different heights. I had an easy solution: I went to grab a couple of cedar 4x4s (they were the only ones untreated at my HD… and I didn’t want treated ones since they would be used indoors).

Before we cut them I took my orbital sander to the full length of board to smooth out the sides because I find it easier to sand when it is one long board and just do the top edges after they are cut.  I used my miter saw to cut them into varying lengths: 4”, 6”, 8″ and 12”.  If I was trying to be fancy I could have routed around the edges to make them smoother or a decorative edge, but I was on the clock… I needed these guys cut, sanded and stained by that evening to give them the full 24 hour dry time.

After they were cut, AJ and I sanded the tops down to smooth out any rough spots and take away any sharp edges and then set about staining them.  I used Minwax’s Dark Walnut because it is what I had on hand.

Here is the facebook picture AJ posted of me trying to madly stain them that evening.

Stainingblocks

But they looked beautiful on Christmas Eve (I made somewhere around 20 of them) with pillar candles on top of them.  And I am so happy that they are still using them! Here is an iphone pic (shockingly enough I don’t carry my SLR camera with me all the time!) of them in use last Sunday.

candleholders

candleholders1

They are definitely nothing fancy, but they are a great way to add varying heights to any surface.  My mom has several that I have made her (and my uncle made her a set a while ago) that she uses for candles or even draped under fabric to add height for other decorations.

You can see a white one in this picture from my post about her nativity scenes to make the angel sit higher on the shelf.

nativity24

This would be a great project for any person wanting to learn to cut, sand and stain(or paint) because it is so easy!