Costuming It Up!

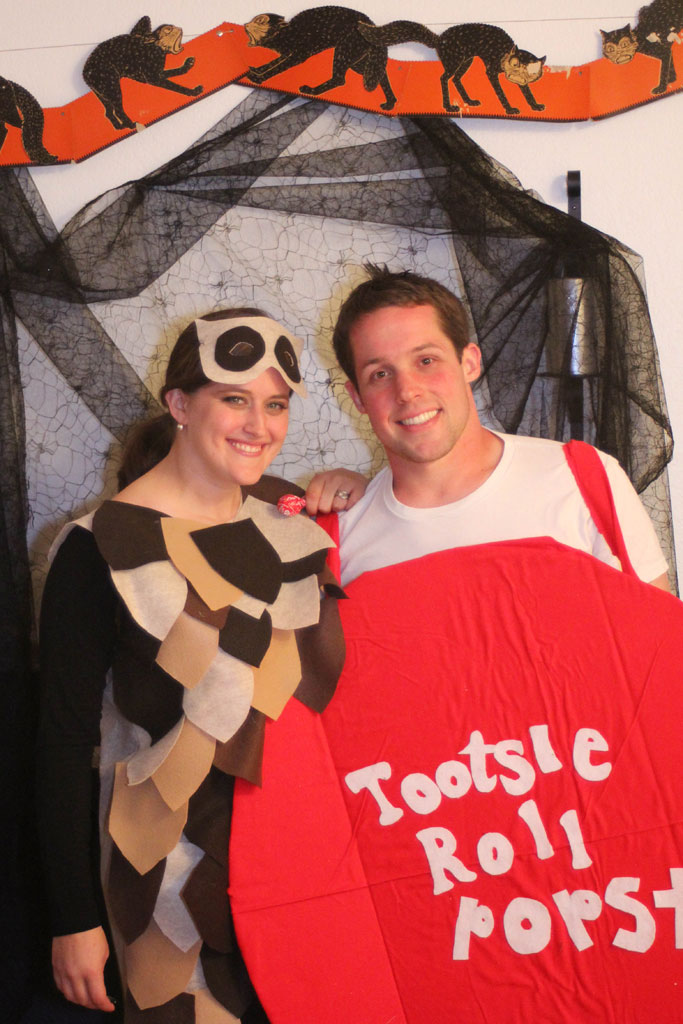
First of all… HAPPY HALLOWEEN! I hope everyone is safe and indulges in a bit of fun imagination and a LOT of candy.  For a Halloween Treat I thought I’d show you guys how I made my owl costume.  I got this idea because my (new!) last name is Popst and we thought it would be a punny play on words to have my husband dress up as a Tootsie Roll Pop (st) and I had long ago pinned this little cutie and thought it would make a cute adult Halloween costume too! And although it wasn’t an exact replica of the Tootsie Roll Pop Owl it was close enough that I thought it would work.

If you follow through on the Pinterest link above, you will eventually find this tutorial on how to make the costume, but 1. I didn’t have time to sew all those feathers on and 2. the beautiful thing about Halloween Costumes is that they only have to last one night.

Here’s what you need:

  • 1 or 2 yards of light colored brown felt (the felt I bought was extra wide, so 1 yard would have done just great)- 1.99/yard
  • 12 rectangles of varying colors of brown felt (usually about .25 cents at a fabric store)
  • Hot glue gun
  • elastic banding- 1.99

Total: $8 dollars!

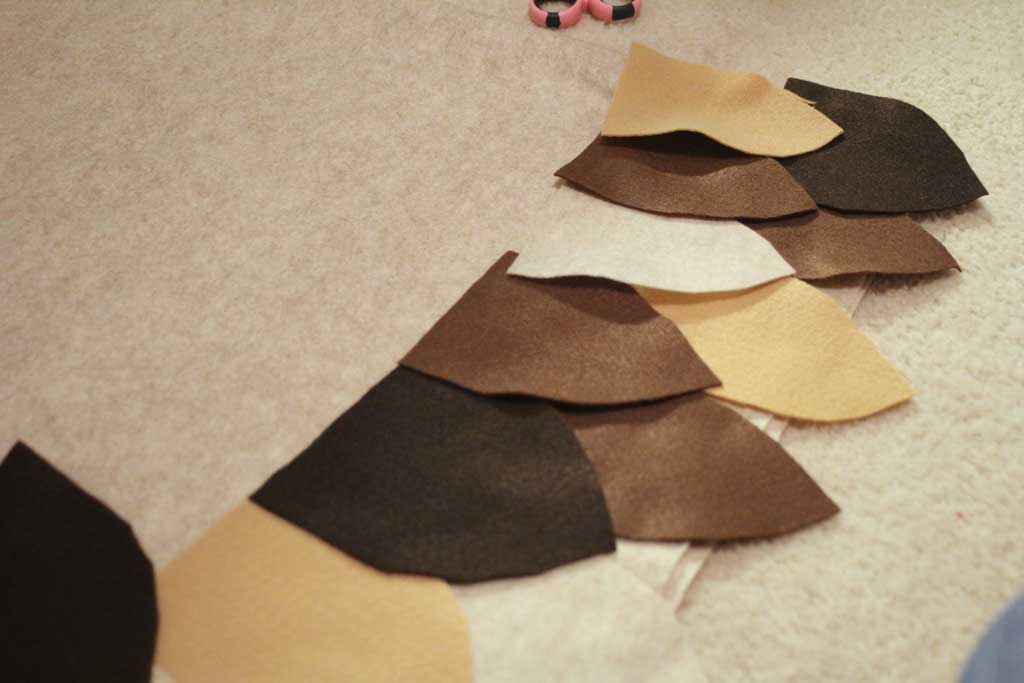
I bought a stack of those rectangles of felt in a few different shades of brown and just freehanded feather-ish shapes and cut them out, I got 4 feathers from each rectangle.

hwowl3

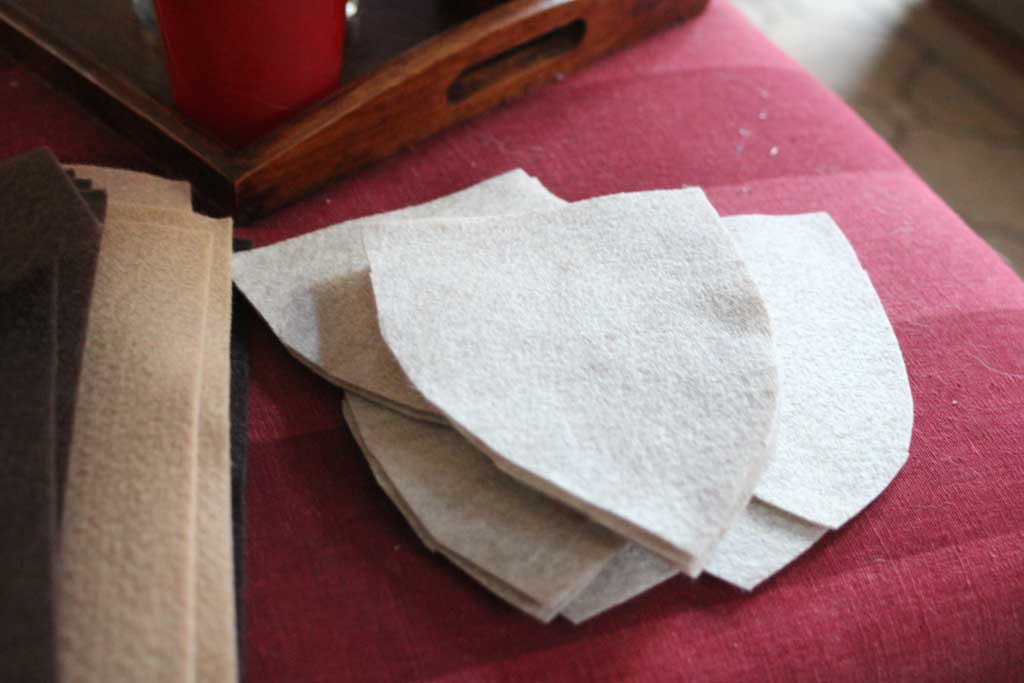
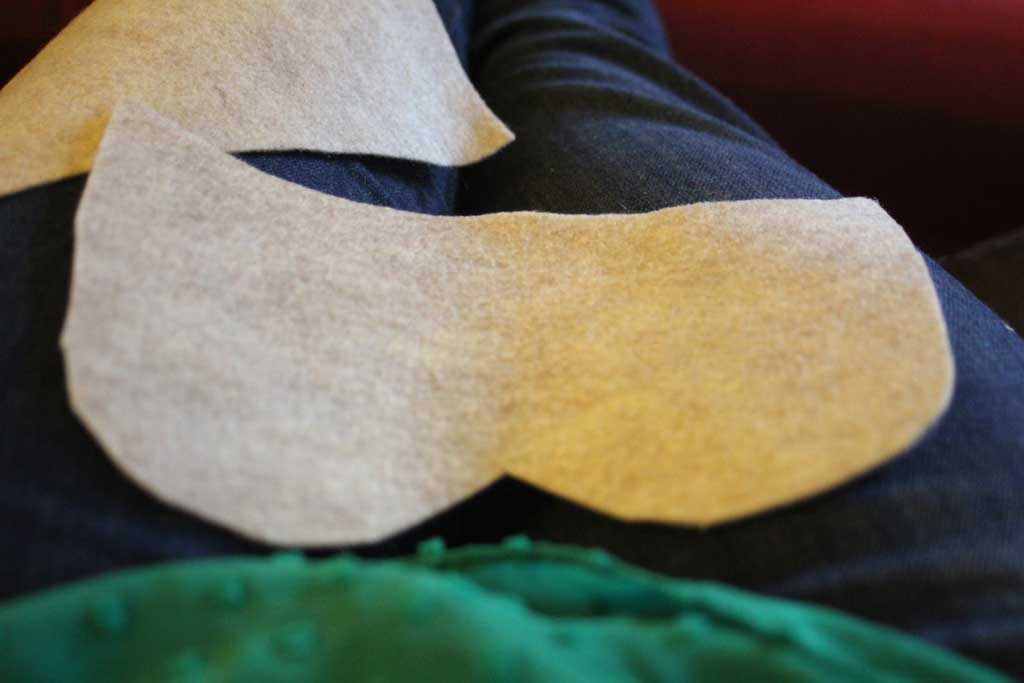
Since this is the tedious part of the project I just cut them out while watching TV.  And while I was at it, I cut out a piece for the mask:

hwowl2

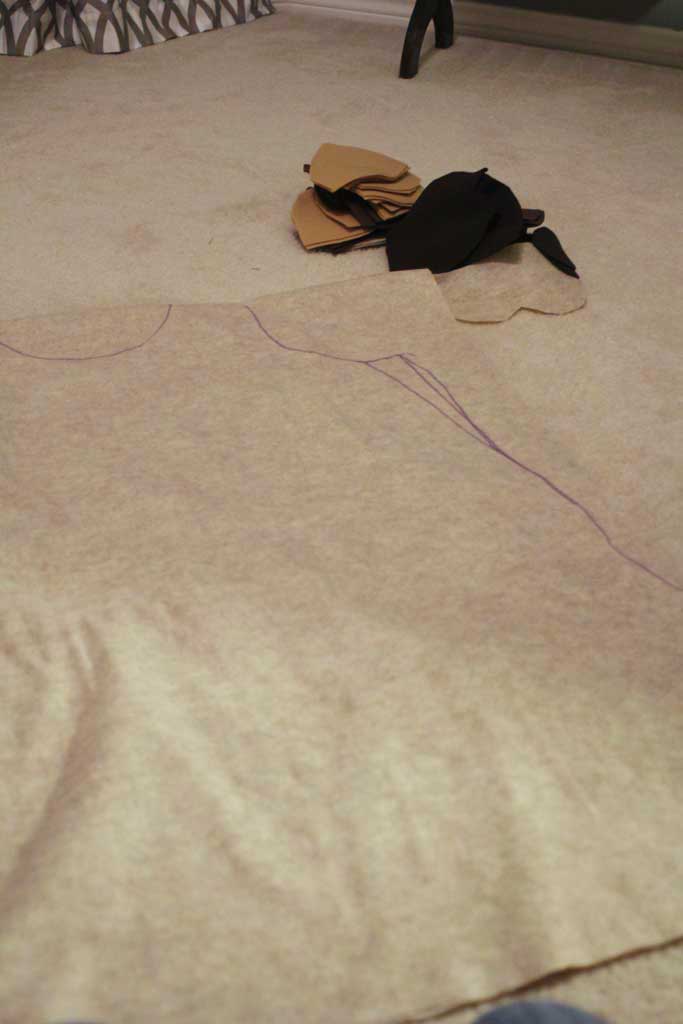
Once that was done, I went immediately upstairs to assemble the project waited until a day before the party to start assembling the costume.  For the part to glue it onto, I folded my large piece of felt in half, and traced a simple A-Line dress onto the fabric.  I erred on the side of too big so that I would have a little room for error.  Don’t forget to cut the hole for your head!  hwowl1


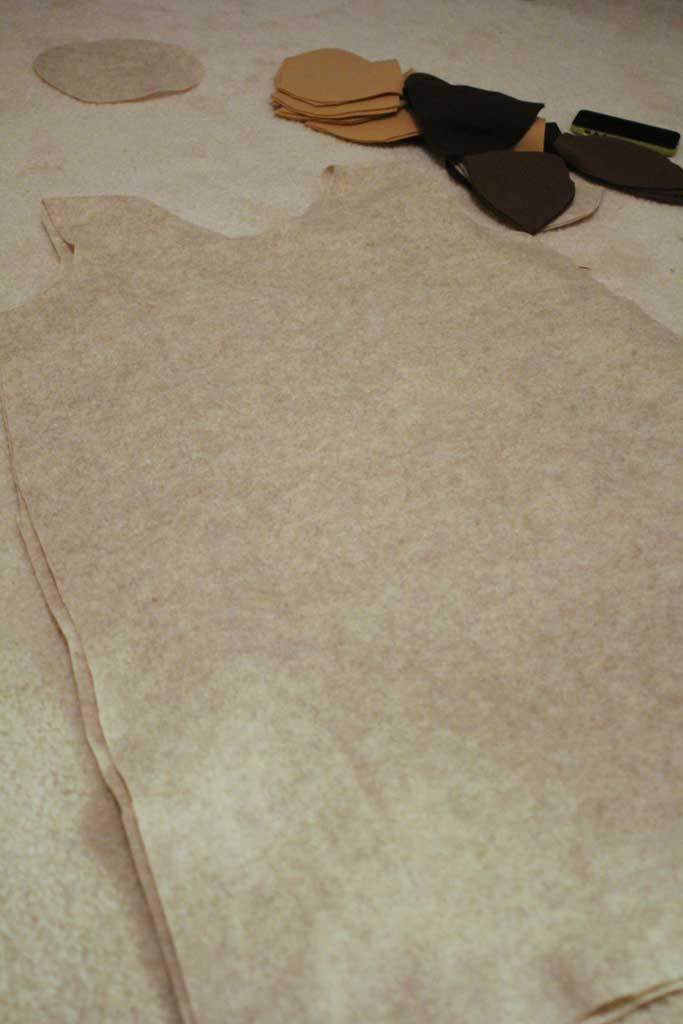
Once I got that cut out, I tried it on and adjusted the width a bit so that it would be a good fit.

hwowl6


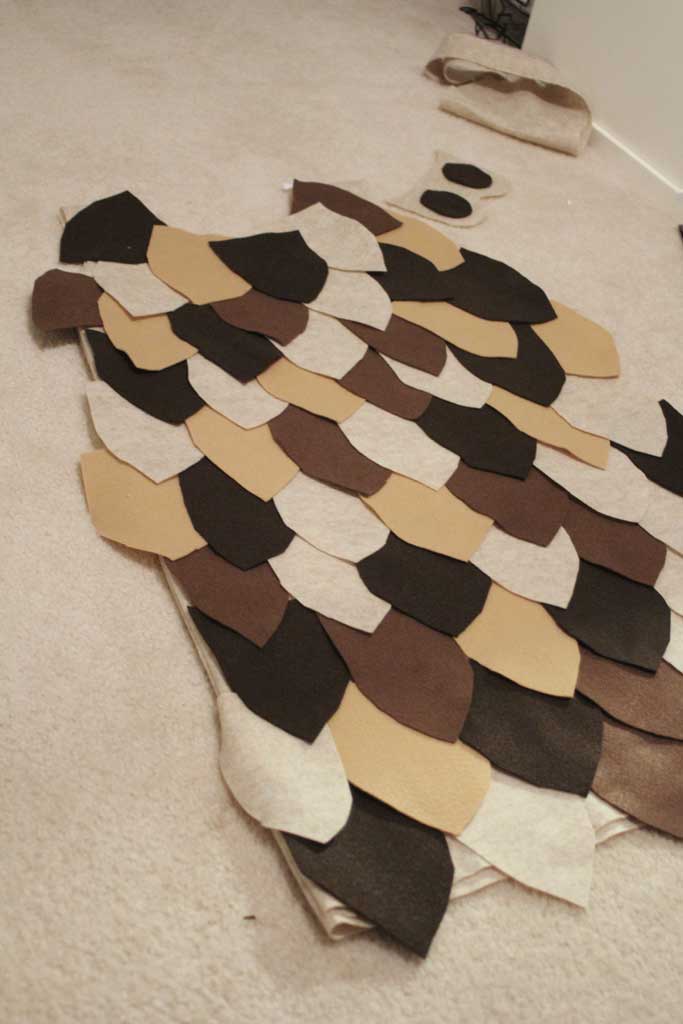
Then I got out my sewing machine and did an EASY single stitch up each side leaving a 1/2 inch seam on each side.  Ooops… sorry, bad blogger… I don’t have any picture of that step.  But close your eyes and picture a sewing machine with this fabric in it… that’s all you are missing! Now it is time to put your feathers on.  I laid them all out to figure out where I wanted which color.  I didn’t follow any sort of pattern, I just laid them out and if it looked like there was too much of one color, I switched a few up.

hwowl5


I secured mine using felt glue, but I DO NOT RECOMMEND that method.  I should have just used a hot glue gun.  The felt glue worked on about 75% of them, but I ended up patching them here and there with hot glue right before the party.  No kidding… I had a hot glue gun plugged in on my bathroom counter during the party. Lesson learned.  Always trust my handy dandy glue gun.  I picked up each row and stacked them to the side so that I could go ahead and glue the bottom row first and go up from there.  Pretty soon it was all done!

hwowl4


And I think it looked GREAT!

hwtable8

Halloween Backdrop

While I was searching around for inspiration for my Halloween table, I came across this awesome party.  While a blood bar is a bit graphic for me, I did LOVE their background.   I did mine just a bit differently, as I thought it would look cool draping down so that it was longer at the center than it was on the sides.  All you need for this project is two bags of cheesecloth (6 yards), some twine and scissors.  (and a broom because this stuff sheds!)

hwbackground1


I took the cloth and just folded it at the length I wanted it to be, cutting the ends of one side.

hwbackgroun3

Then I took my scissors and cut strips that were approximately 3″ wide. The variance is one of the things I like about this project, so I wasn’t too specific about how wide to make each strip.

hwbackgroun4


I used two thumbtacks to string up some twine centered over my table and as I got strips cut I layered them over the twine.  As you can see I cut a few in half to exaggerate the draping. Here is what it looked like before I got the second bag put up and the black fabric background:

hwbackgroun5

Because I knew my life was going to be crazy for the last few weeks, I went ahead and set up my table about 3 weeks ago… so my poor husband has lived without a kitchen table and with our kitchen looking something like this for the last three weeks:

hwbackground6

Yep… he loves me and all my crazy a lot.  And if you missed yesterday’s post about the rest of the party decor… check it out here!

hwtable

Halloween Party 2013

Its Halloween Week!! If you missed how much I love this holiday… check it out here, here and here. We hosted our annual Halloween party this last weekend and I thought I’d show you guys some of our decor! The center of any party is food, so I typically set up one table with food and then have a few places that I set food around the house (like candy corn in bowls near the couches). This year I was inspired by black and white Halloween decor, so I decided to stick with that as a theme.

hwtable

It mostly started with finding the black and white fabric at Joann’s for 60% off and went from there.  I added the burlap to break up the black and white a bit, and then just added all the black and white Halloween related things I could find!

hwtable2

Some quick cutting of Chalkboard Vinyl and I had labels for my glass jars, a few glittery pumpkins, spiders and a spray painted skull rounded out some of the decor.

hwtable6


I saw both of these cupcakes flying around the blog-o-sphere and thought they would be a great addition to the tablescape.  They were super easy to make and look so cute!

hwtable5

I tried to stick with a mostly black and white theme for food as well.  The spread was white cheddar popcorn, chocolate cupcakes with cream cheese frosting, chips and salsa (not white, but a crowdpleaser non-the-less), wheat thins and a cream cheese ball, a veggie tray, and some cookies to finish it off.  These are my favorite sugar cookies (recipe here).  They are so versatile, I like making them for a lot of parties… not to mention they are DELICIOUS. I’m still mastering my royal icing skills.

hwtable3


For drinks we had lemonade and sangria (and beer and sodas):

hwtable7


And for fun we added a spot for people to take their own ‘photo booth pictures’… just a little fabric on the wall along with some super cute vintage halloween decor that my grandmother had in her basement… How cute are those cats?!

hwtable8


My husband and I dressed up as a Tootsie Roll Pop… our last name is Popst so we added a fun twist on the word for his costume… and I was the owl (remember the how many licks does it take to get to the center of a tootsie roll pop commercial??) and made my costume out of felt.  I’ll add a tutorial later this week for my costume!

I hope you guys all have a great week and enjoy your own Halloween celebrations!