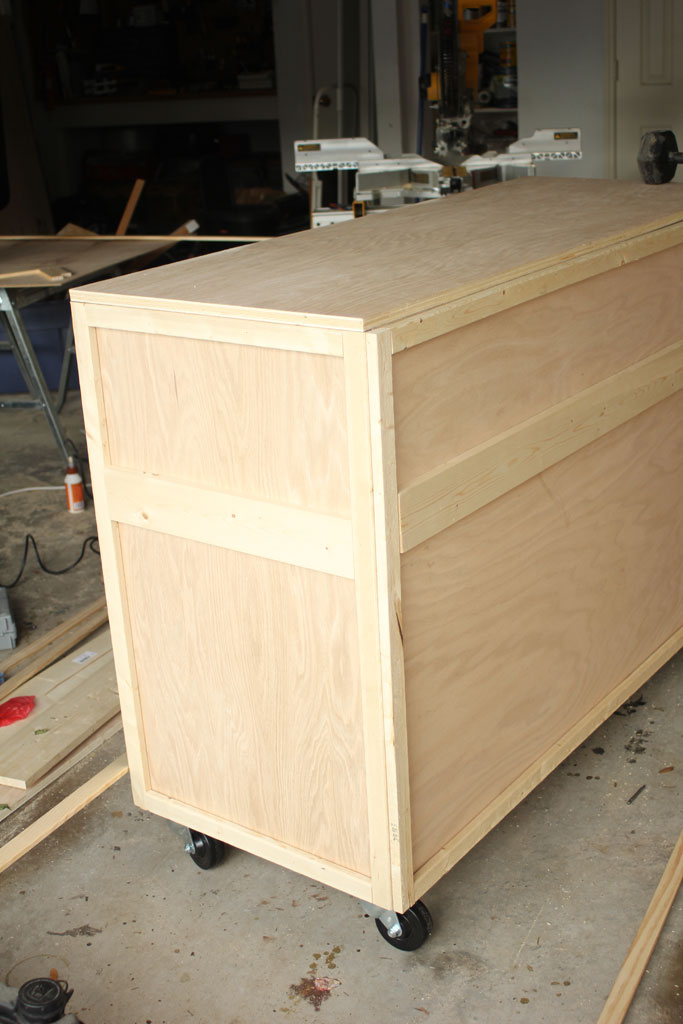
Okay, I left you on the edge of your seats yesterday waiting for the conclusion of our table/kitchen island saga yesterday with this guy:
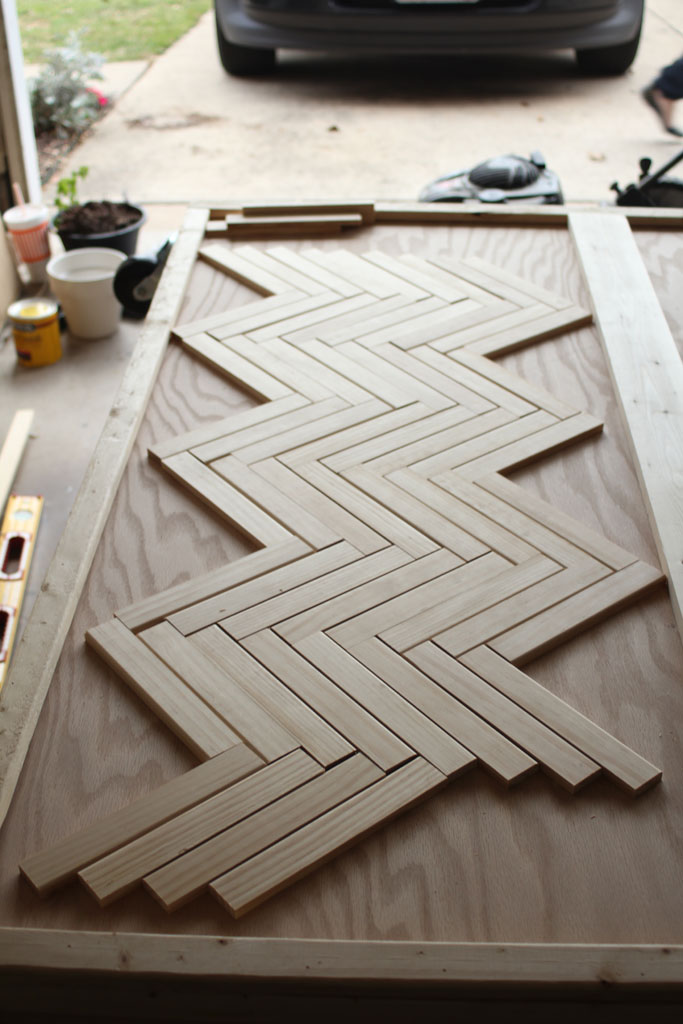
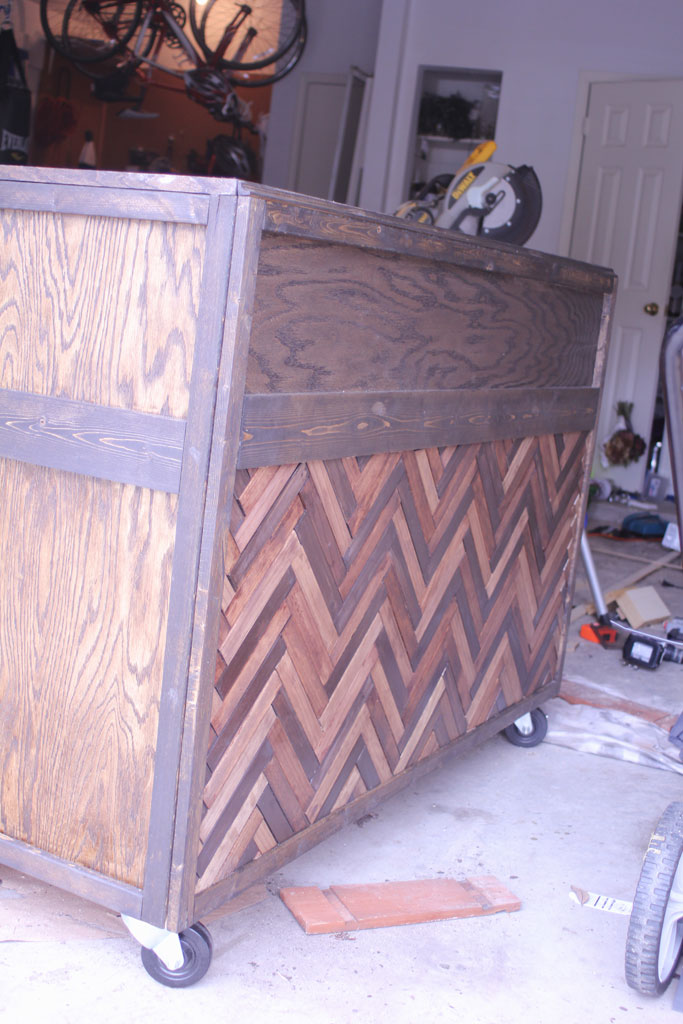
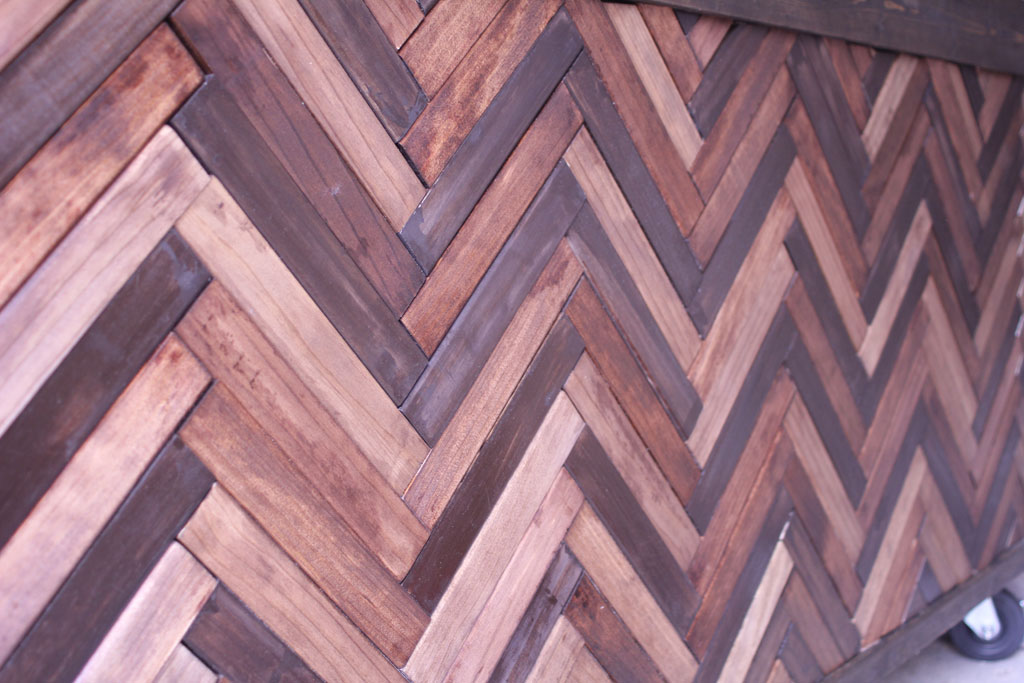
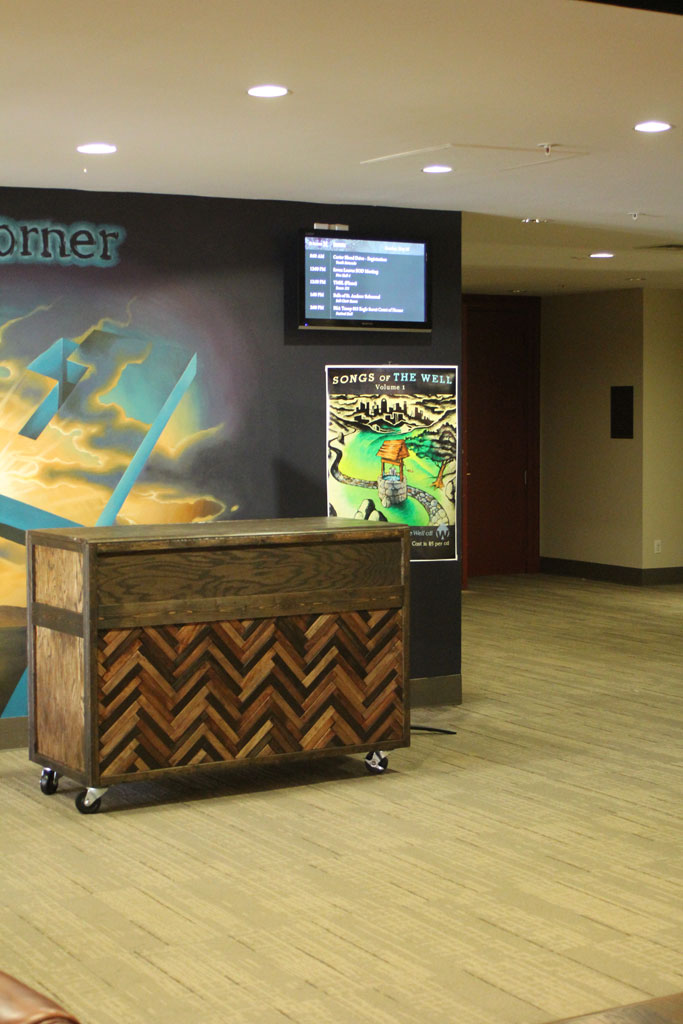
All ready to get stained, but also looking a bit boring. So we decided to spice things up a bit. Claire and I had the brilliant idea of using a herringbone pattern on the front of this guy to give him a little pizzazz. (PS TOTALLY WORTH IT NOW, but partway through this project I was DEFINITELY regretting this idea). If you’ve been around here for a little while you may remember the stage project that we did for the youth area of the church with different shades of wood stain, so we decided to carry that trend through the church for this project. I used wood molding from Home Depot and just started out cutting 8″ long pieces and laying them out in a herringbone pattern.
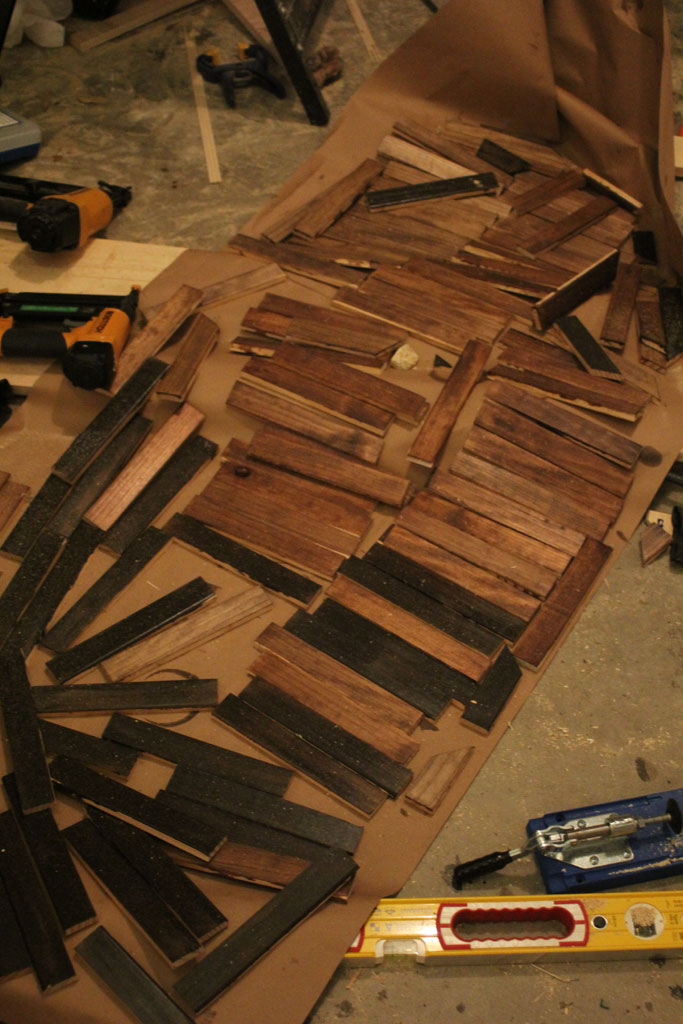
Once we had all of the pieces cut, we stained them in 3 different shades of stain:
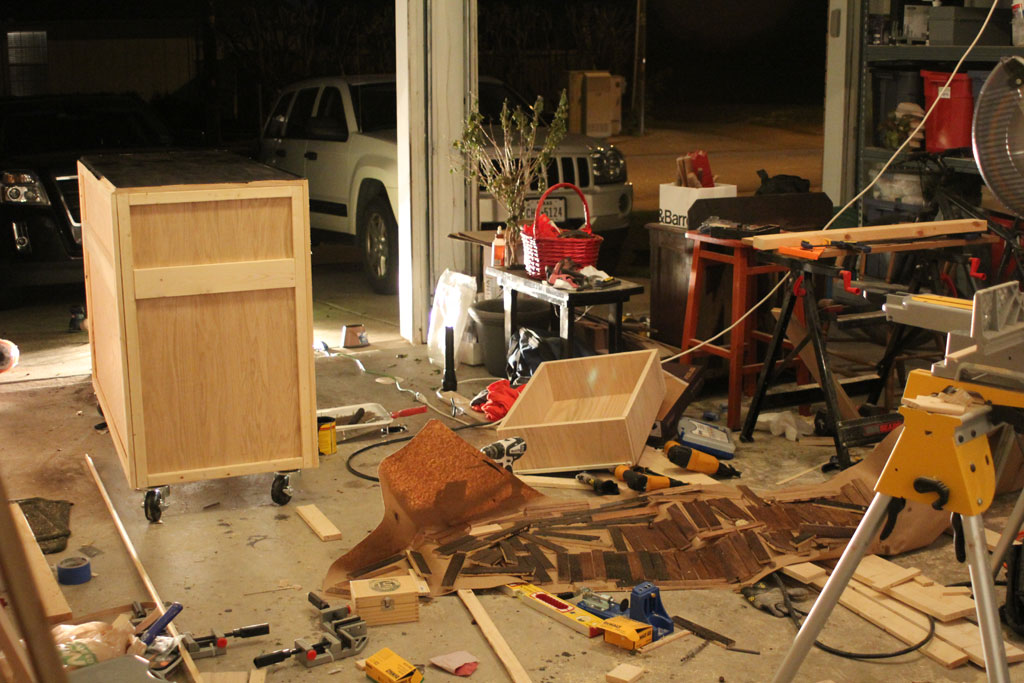
And in case some of you who have known me forever have seen my recent organizing posts and said: That is NOT THE MJ I KNOW! Rest assured, I’m still the same old me… here’s what the rest of the garage looked like during this project:
Anyway, the next part was the hardest part of the whole project: painstakingly piecing together all of the smaller pieces of the herringbone pattern. And here is where I have to say that it is SO IMPORTANT to have good friends and family, I was on a deadline to get this done and I had to go to an event I had promised someone I would attend. So I left my husband, my brother and his wife to finish up the final steps of this project. We figured out the easiest way to do it was take the already stained pieces and lay each one over the spot it needed to go, mark it and cut them individually. So it worked best to have someone marking them and someone cutting them (CAREFULLY) on the miter saw.
Once they were all cut, we just wood glued them down. The fit was pretty tight already, so the wood glue was just a little extra insurance. And this isn’t going to get a lot of wear and tear since it is on the front of the piece.
BUT OHHHHH it was worth it… Check out how cool it looks!!
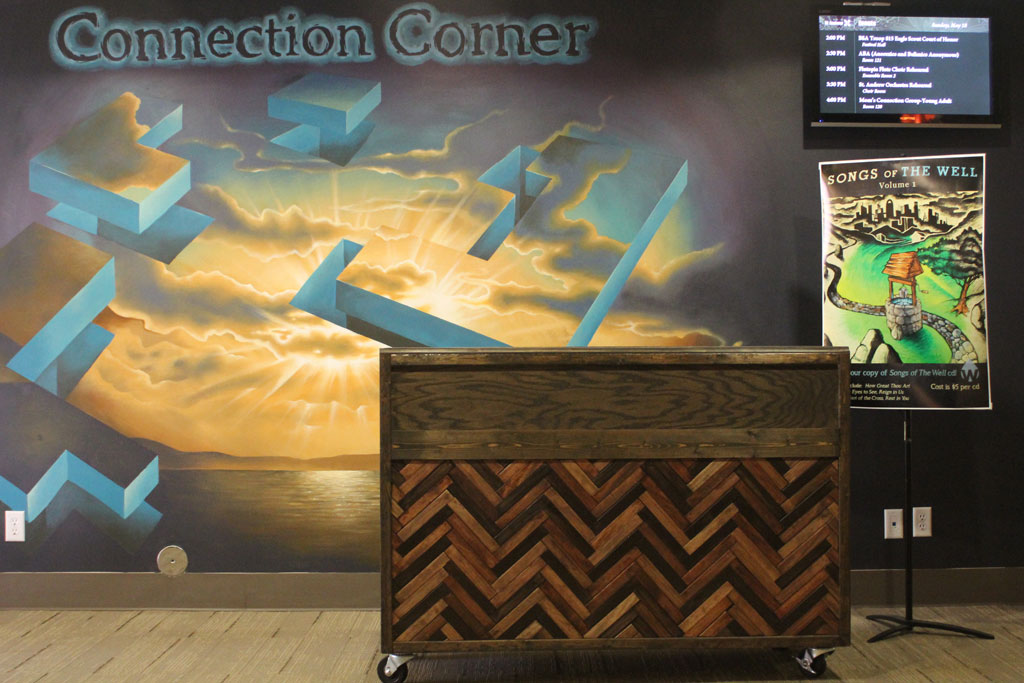
Like any home made piece, it isn’t perfect. But I love it! And I love seeing it in its home at church:
We have an artist who works for the church who painted that mural and hand-drew with chalk the cover to the CD that is displayed on the right. CRAZY talented. CRAZY.
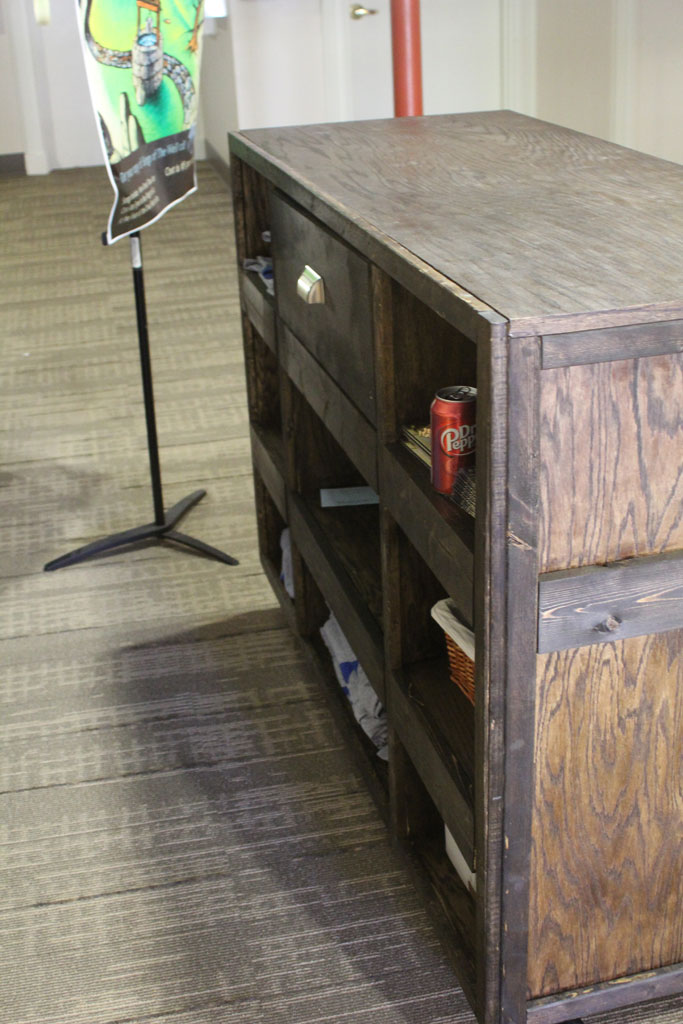
The backside is a little rough, but the drawer works (mostly) and it has enough room for all the things they needed to store, so its perfect! (PS Can you tell I worked connection corner on Sunday and had my Dr. Pepper addiction fulfilled?)
Looks pretty good if I do say so myself!!



 Hi, I'm MJ! I'm a DIY kind of girl and this is where I share my projects. I'm taking you along for the ride as I learn how to do woodworking, sew, bake, and renovate!


That looks awesome! And, I am so impressed by you, Reese, Becky and Arthur. Nice work!