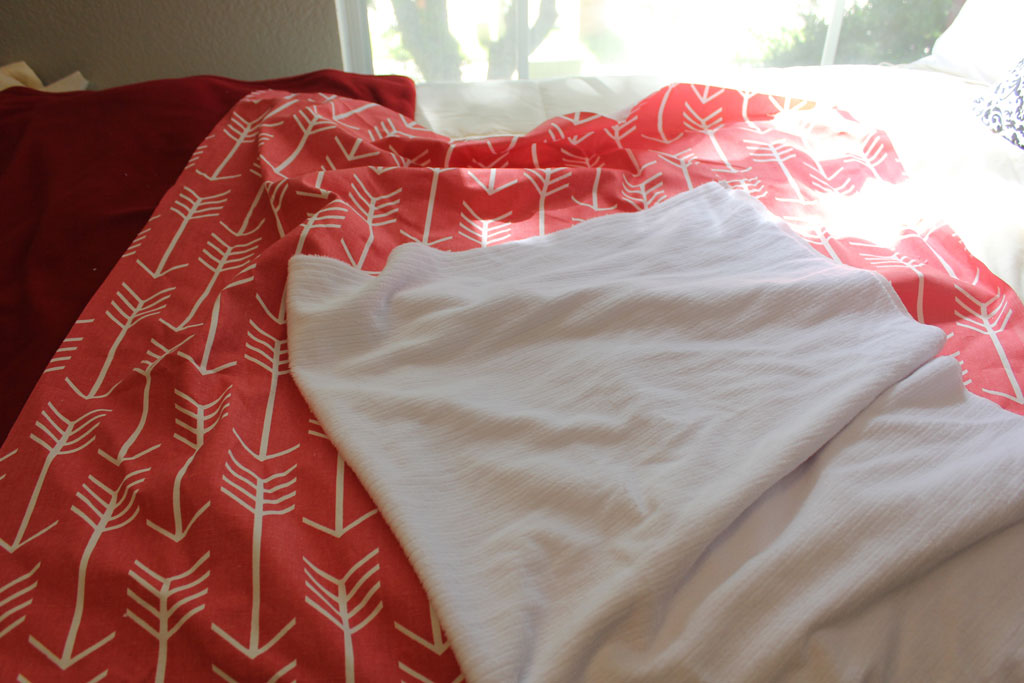
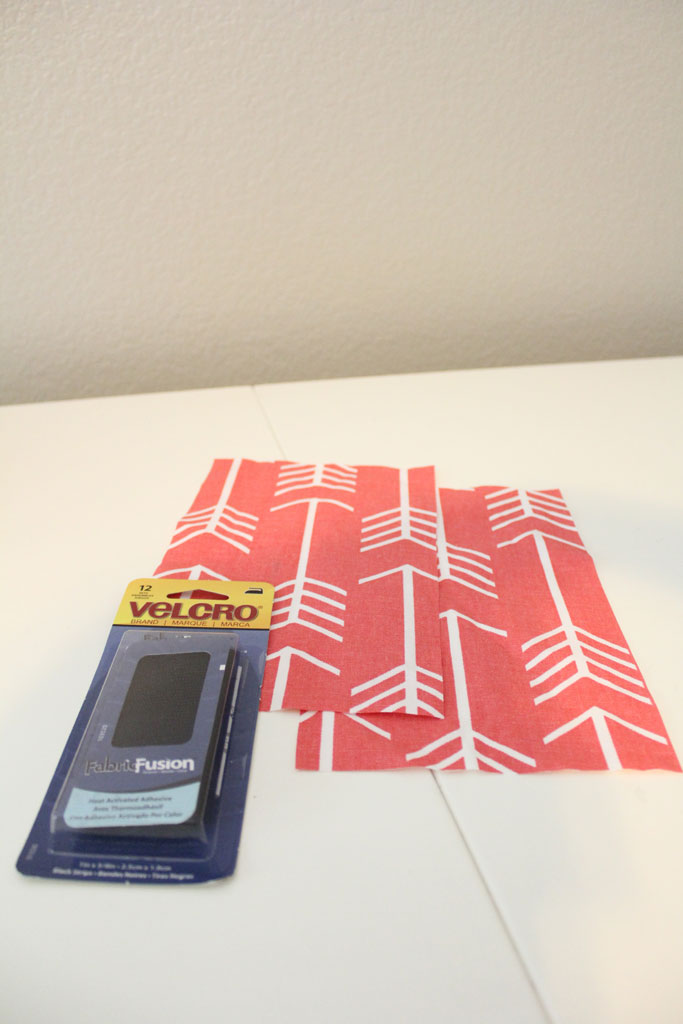
One of the things I knew I wanted to DIY for baby was the carseat cover. I had found a ton of cute coral fabric at Fabric.com, some I used for the rocking chair cushions and some for the box valance for Taylor’s room. The third coral fabric I found was this super cute arrow fabric and I knew I had to use it for something for her, so the car seat cover was the perfect thing!! This is a super simple project that includes your fabric, a second piece of soft fabric lining, and some iron on velcro.
Each car seat is a little bit different size, so measure yours to make sure it fits, but then cut your fabric into one large rectangle. Mine is 41″x 33.5″ and that allows for a half inch seam allowance on all sides. Once you have cut your two pieces, put the right sides together and sew around the edges, leaving a small opening to turn it right side out (but before you do that, be sure to trim your corners off so that your corners are crisper).

Once you have it right side out, topstitch around the entire piece.
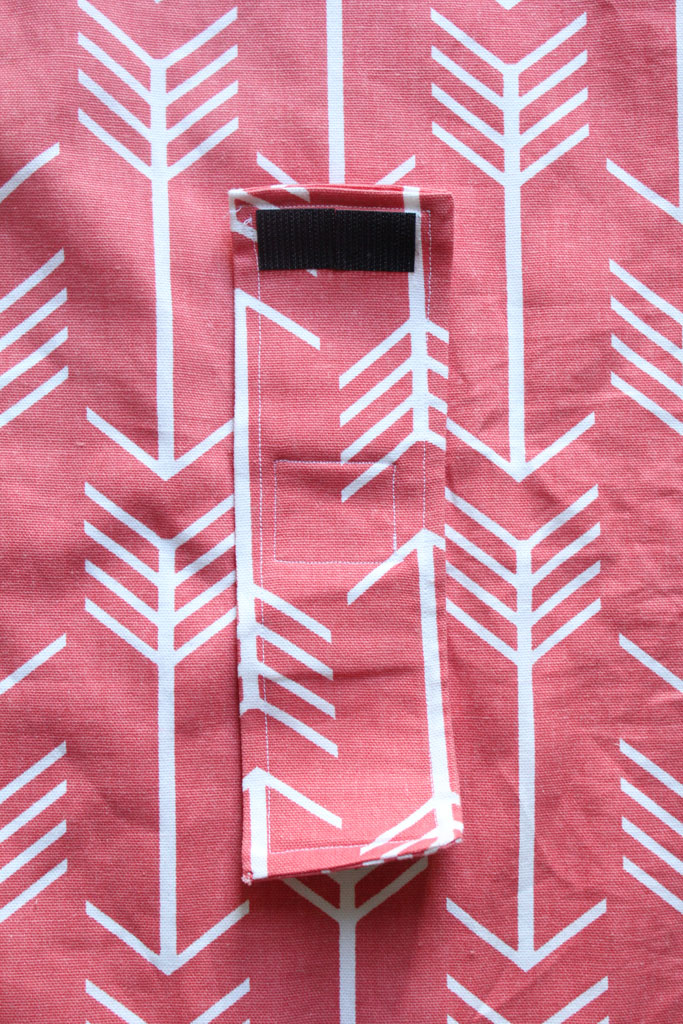
For the next step cut two pieces of your fabric for your straps. Again, measure your handle and adjust the width and length accordingly, but mine is 6″x 9″. You’ll also need some iron on velcro, you can see what mine looks like in the picture below.

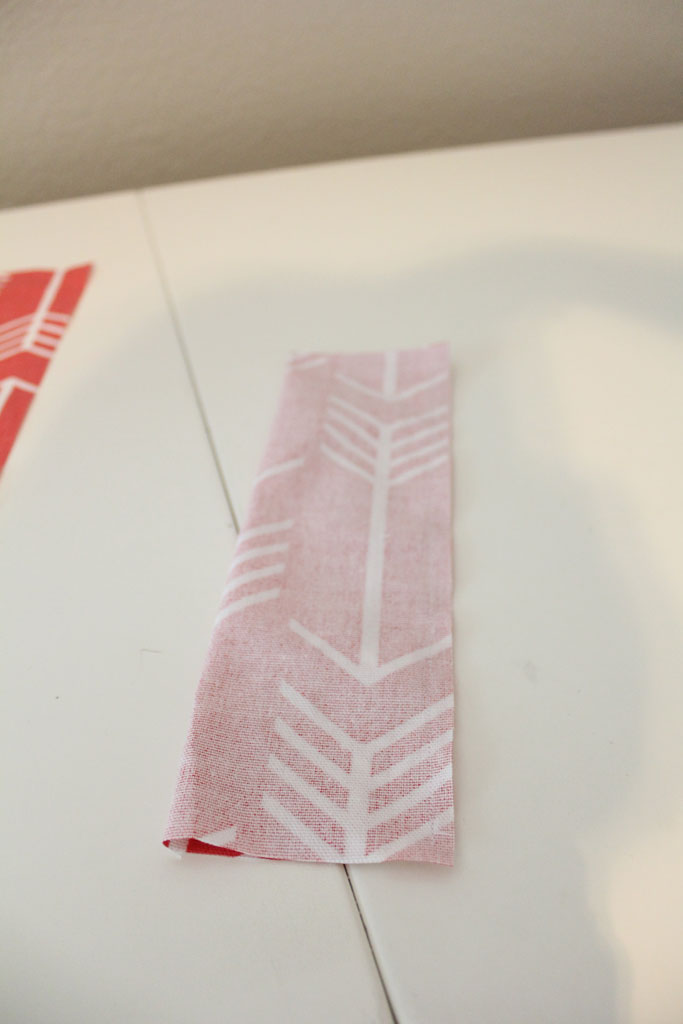
To make the straps, fold the fabric in half, with the right sides together. Stitch the long side and one short side together, leaving one short end open to turn your piece right side out (you’ll topstitch it closed in the next step.

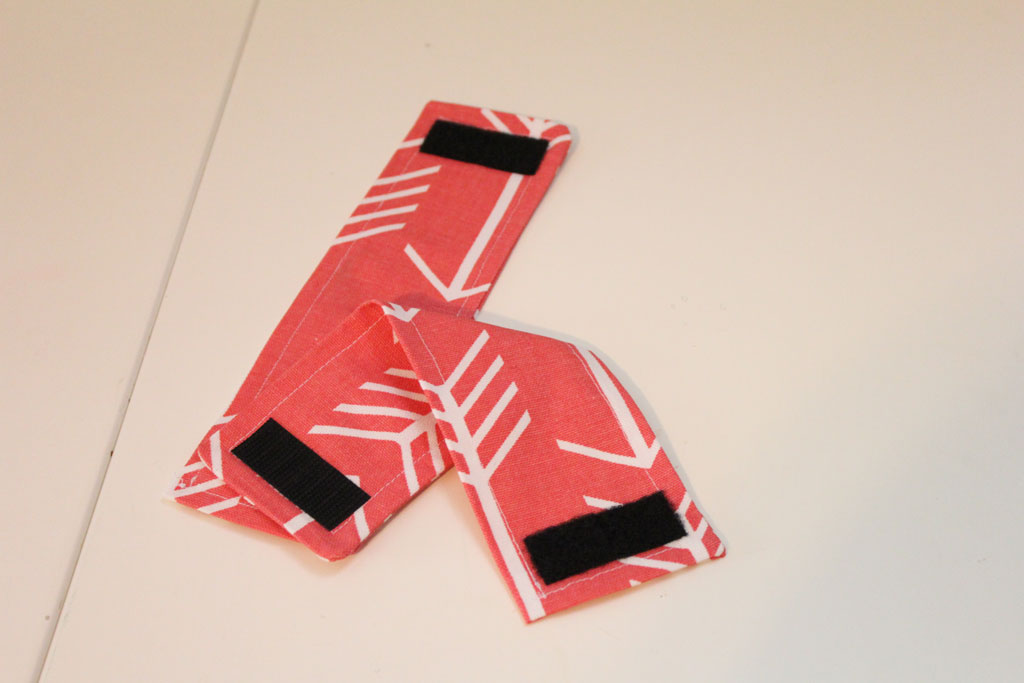
Now turn it right side out and top stitch all the way around. Now follow the instructions on your iron on velcro and iron it on both ends, but on opposite sides of the strap (so that when you loop it into a circle the velcro sides meet. I took this picture before I tested mine out, I actually needed to have one of my velcro pieces closer to the middle to make mine tight enough around the car seat handle, so I had to add a second velcro strip on mine, so test your strap on your individual car seat to make sure it is tight enough not to slide around all over the place. My velcro instructions say to hold the iron on for 90 seconds until the glue melts and trust me… when that glue cools… it is on there GOOD.

Now just mark out where you want your cover straps to be (approximately halfway down the long side and mine are about 9″ in from each side… you can see in the picture below).
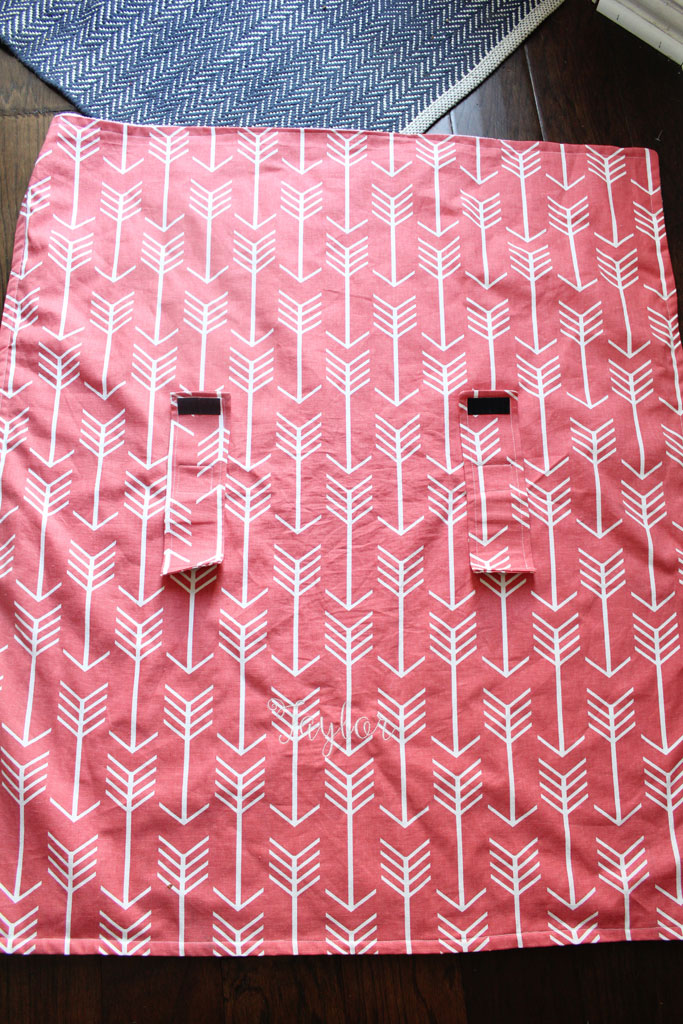

Then to secure them to the cover, just sew a square through all the layers in the middle of the strap, as you can see below.

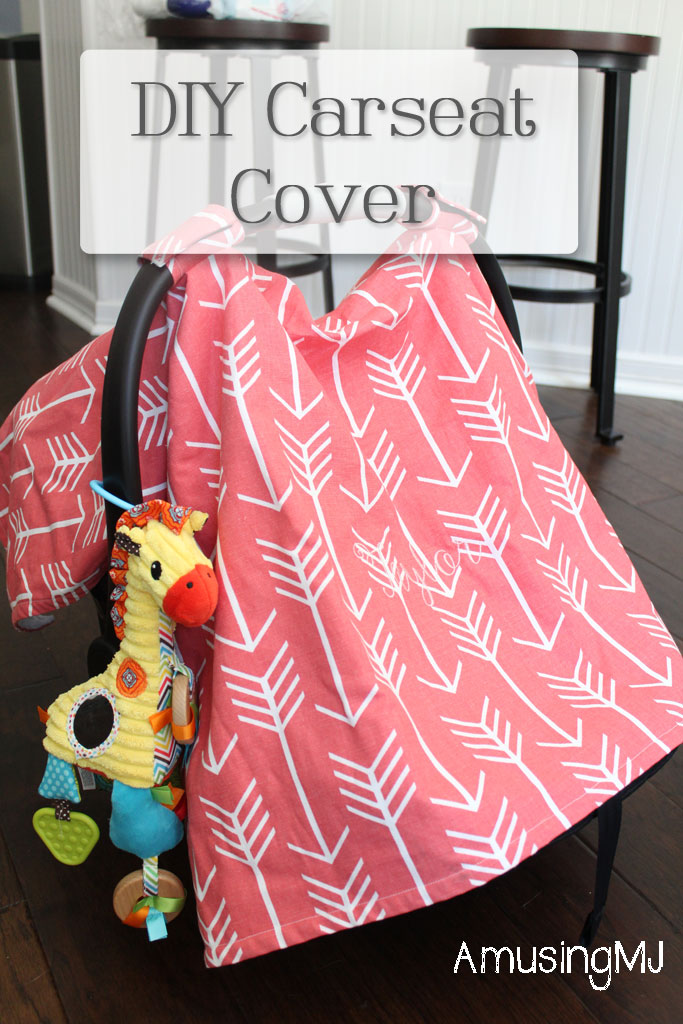
And that’s it, you are done! As you can see in the picture that is up a few, I went ahead and embroidered her name on it, but I thought I was going to publish this post before she was born so I put it on backwards so I wouldn’t show anyone her name before she was born. (HA! 5+weeks later I am just getting around to it!) But the picture below shows really well what it looks like on her car seat!
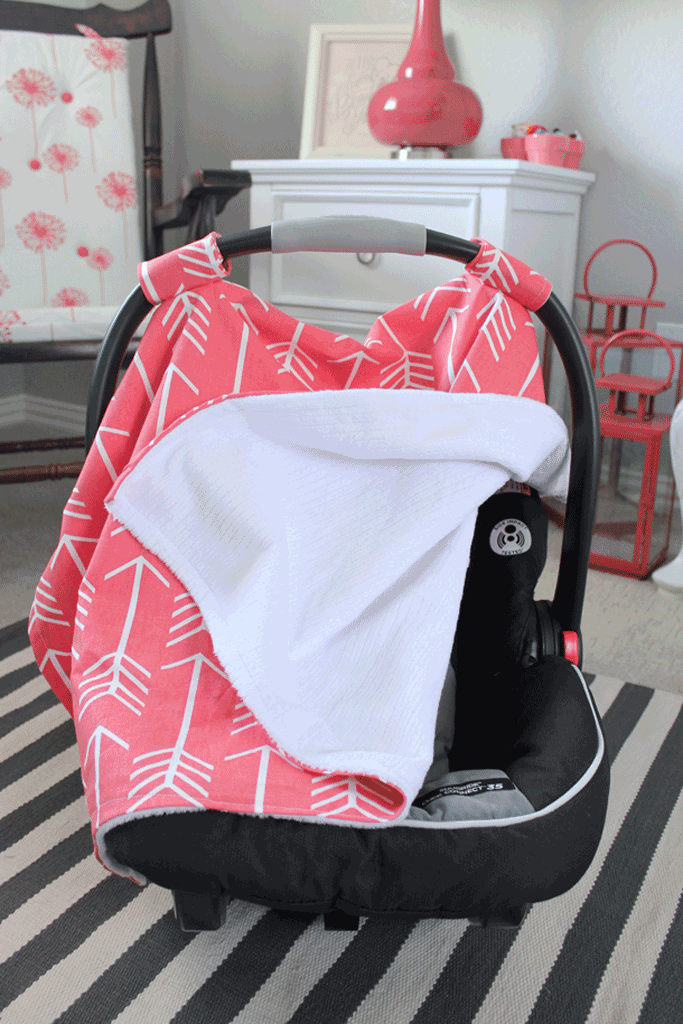

I love the fabric and its been a great little protector for her from sun and light and I hope maybe it keeps a few germs out!


 Hi, I'm MJ! I'm a DIY kind of girl and this is where I share my projects. I'm taking you along for the ride as I learn how to do woodworking, sew, bake, and renovate!


This is amazing! I love the addition of the velcro. That is so helpful!