Applique T-Shirts

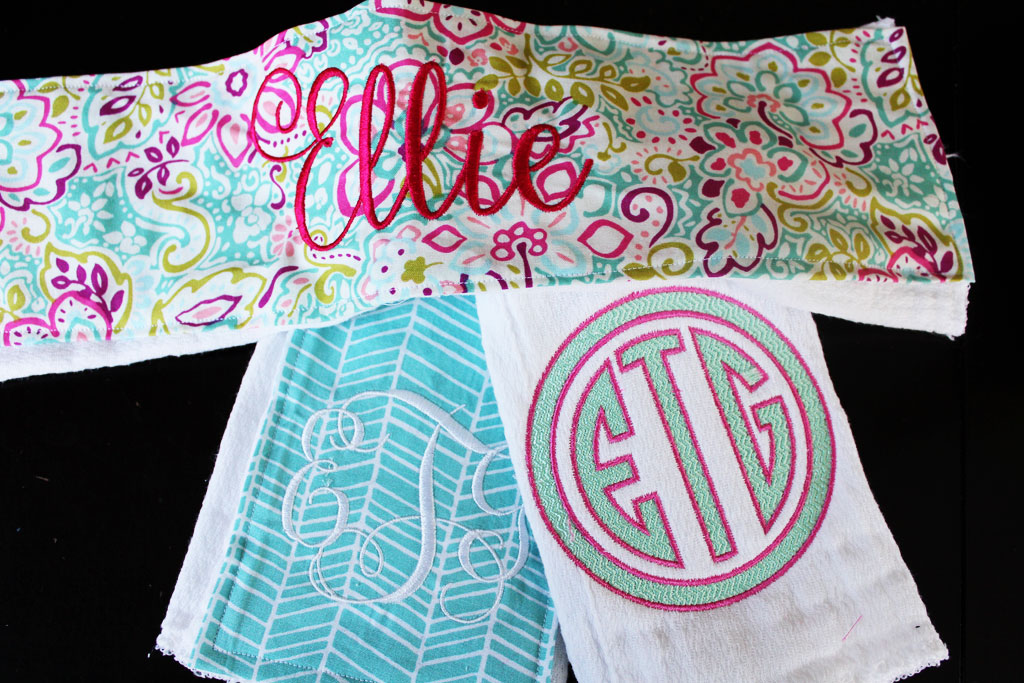
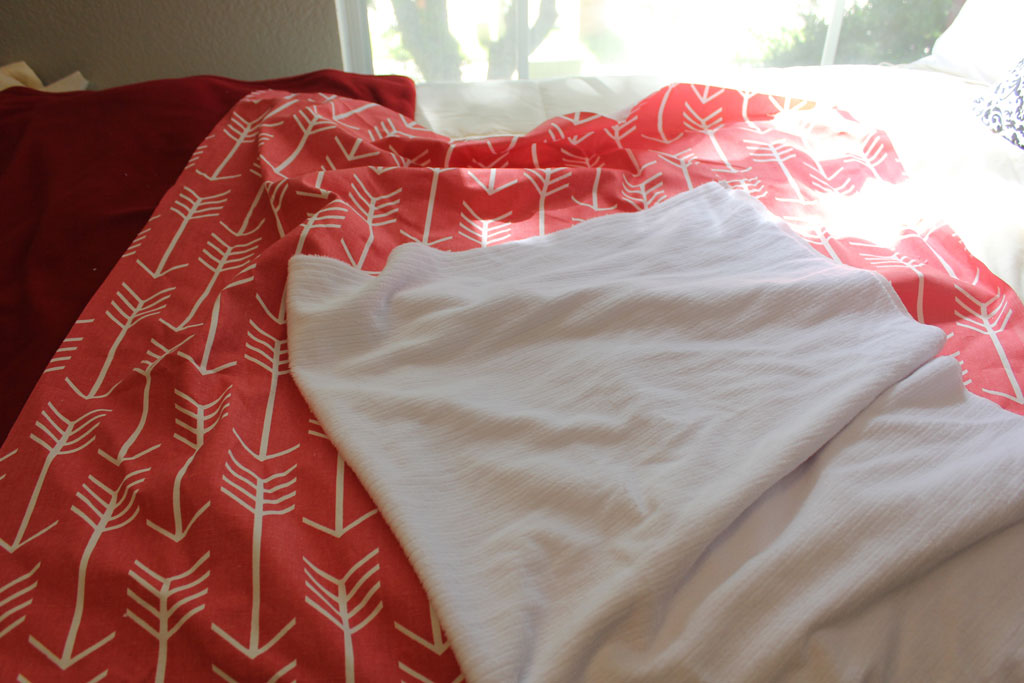
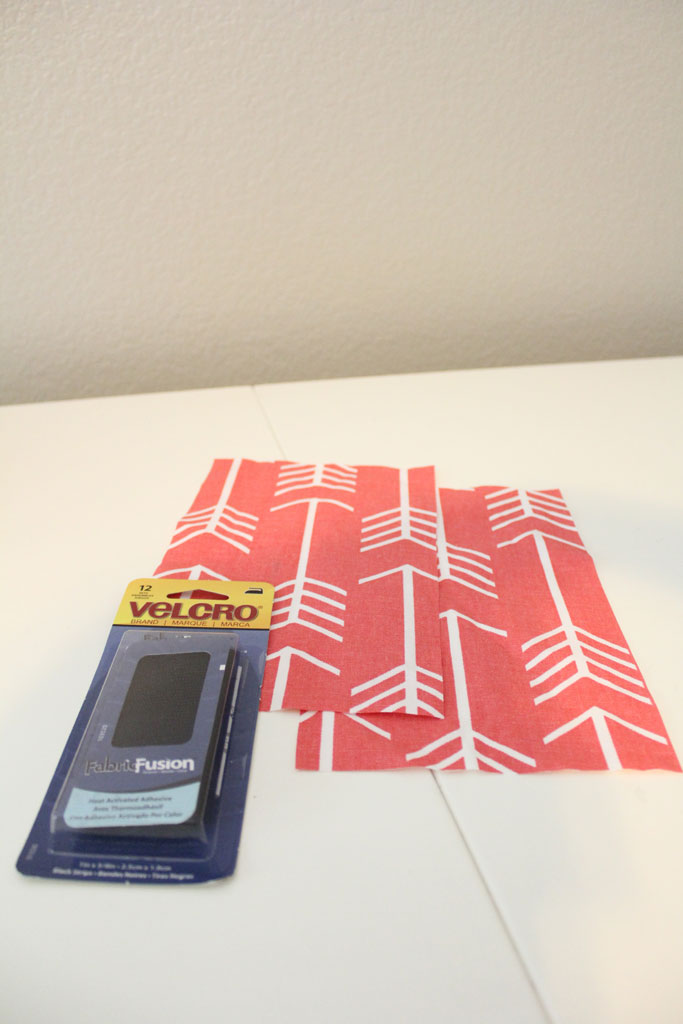
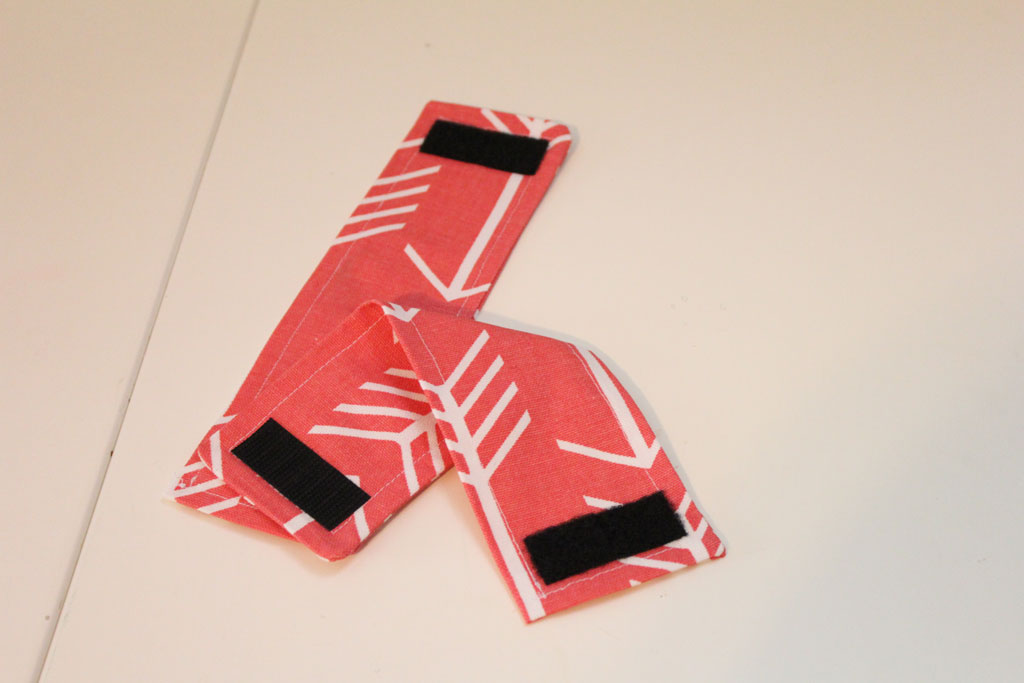
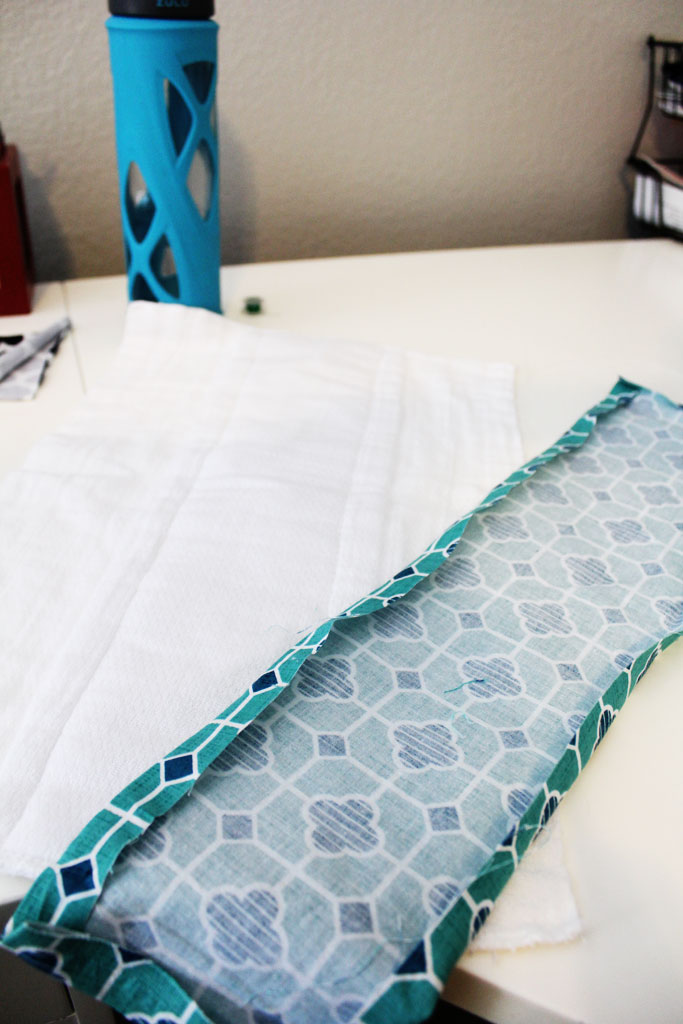
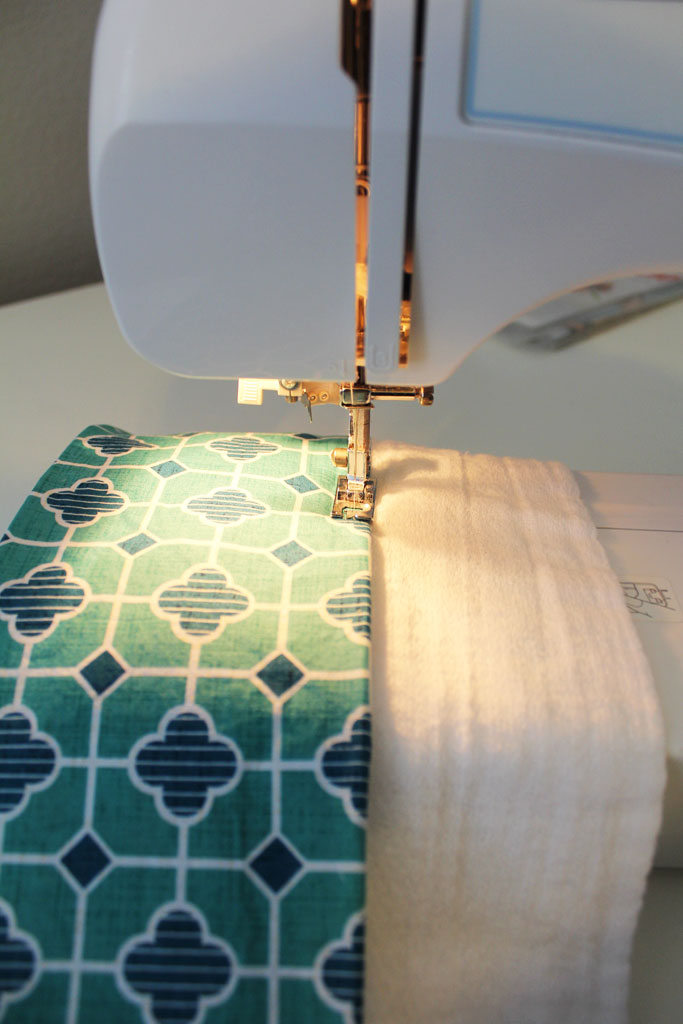
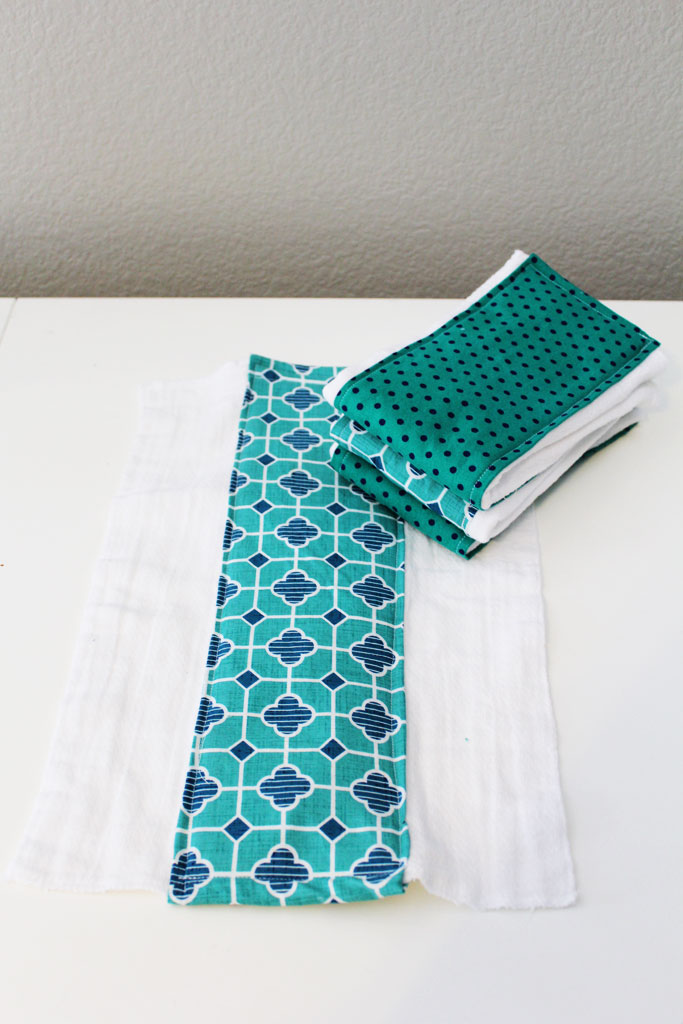
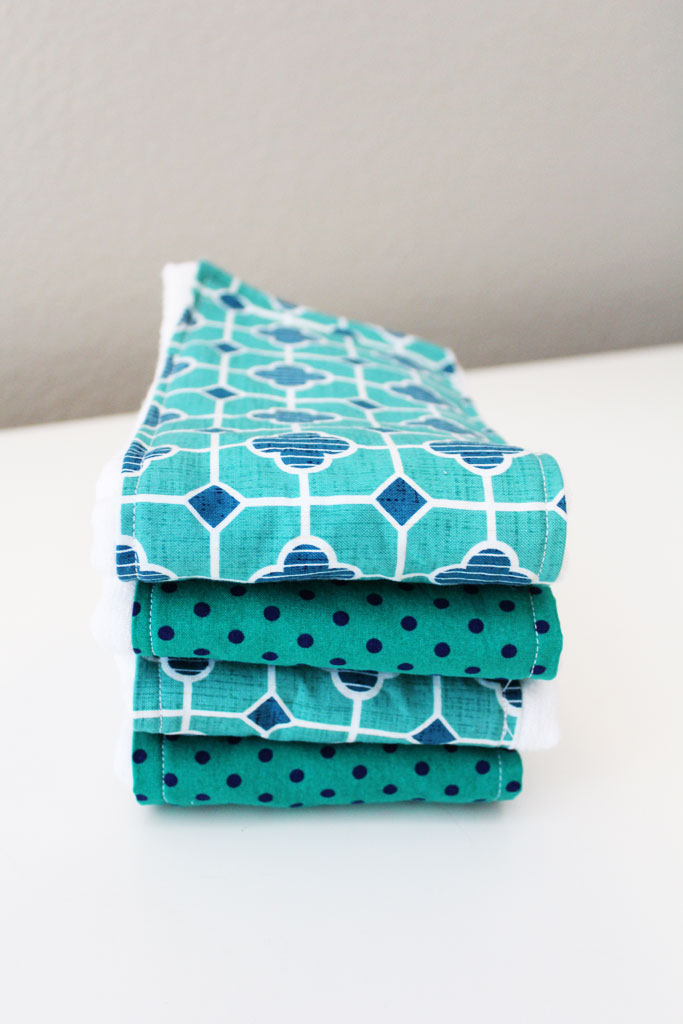
While I’ve been on maternity leave, mostly I’ve been soaking up time with Taylor, but I’ve also managed to squeeze in a few craft projects.  I shared the burp cloths I made for Miss Taylor, but I also made a set for my good friend Lauren’s little girl Ellie… and even embroidered them with her name/monogram (Because who doesn’t love a good monogram)!

DIY Burp Cloths | www.amusingmj.com

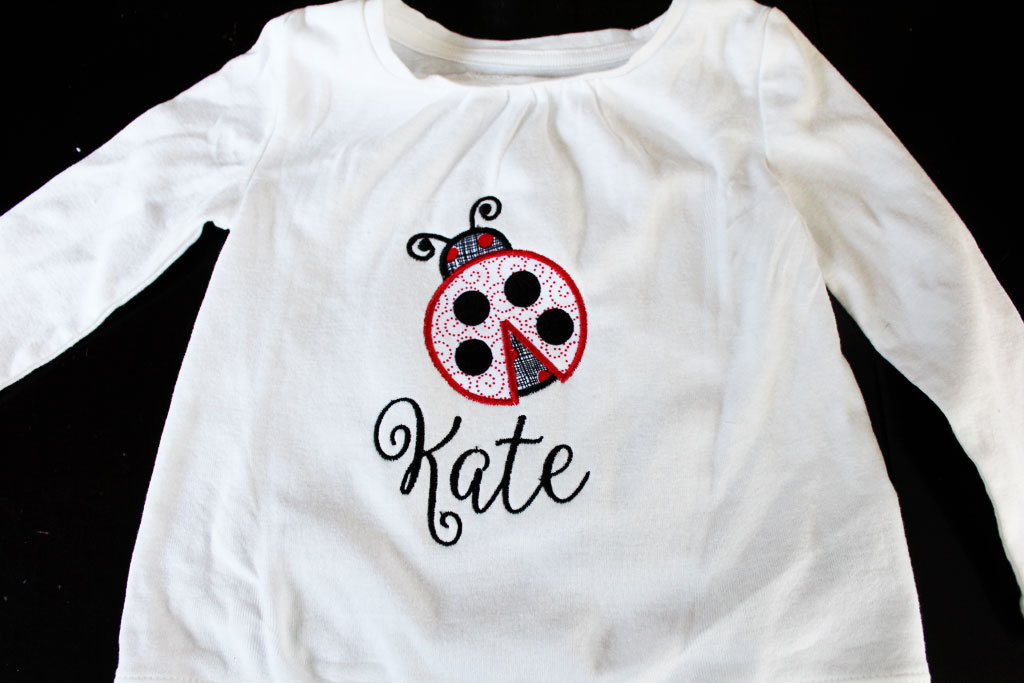
But because I believe that older siblings shouldn’t be left out during the new baby process, I decided her older sister Kate needed her own shirt.  So I got onto Etsy and found a few Applique designs I liked and settled on a Ladybug for Miss Kate. (I used this one from Rivermill Embroidery… and so far all my purchases from this shop have been awesome!)  Next week I’ll post about how I do the applique on my embroidery machine, but I wanted to go ahead and show you my results! (Update: I blogged about my tips and tricks here)

Machine Applique T-shirt | www.amusingmj.com

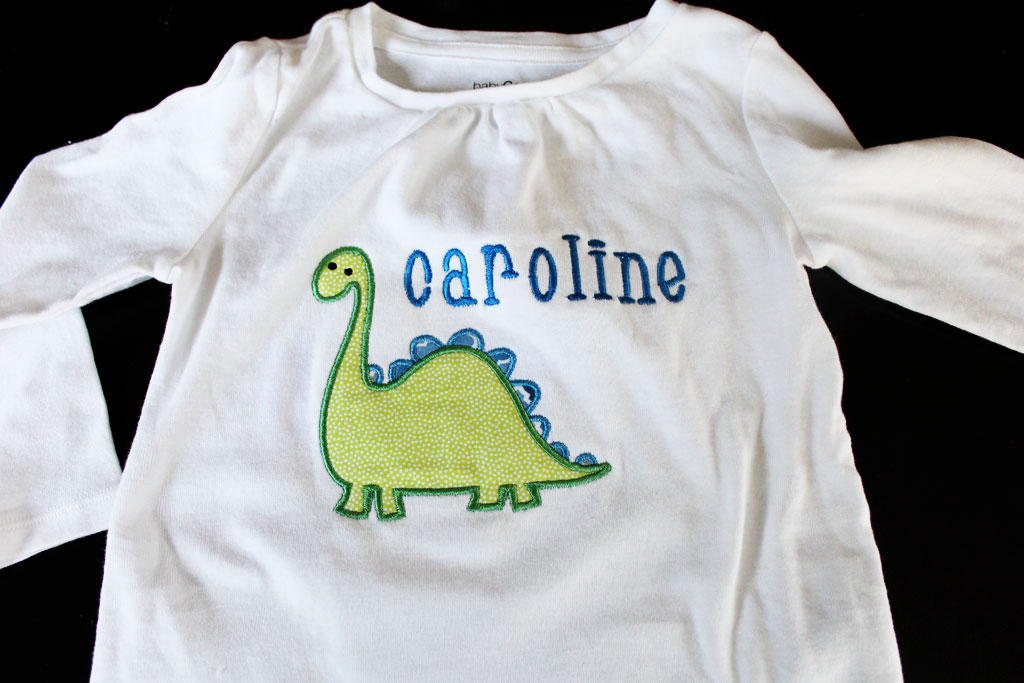
And because I was having so much fun I texted another good friend with a daughter around the same age to ask what her favorite animal was, her answer (as every awesomely imaginative 2 year old is…) was a moose cow.  Well, I couldn’t find any of those on Etsy, but since her mom told me she also loves dinosaurs, I found a super cute brontosaurus to applique for her! (That one is from Applique Cafe Designs on Etsy).

Machine Applique T-shirt | www.amusingmj.com

My niece also loves Myrtle the Turtle, so I decided she needed a Sea Turtle on her shirt! This SUPER cute design is also from Rivermill Embroidery and you can find it here.

Machine Applique Tee | www.amusingmj.com

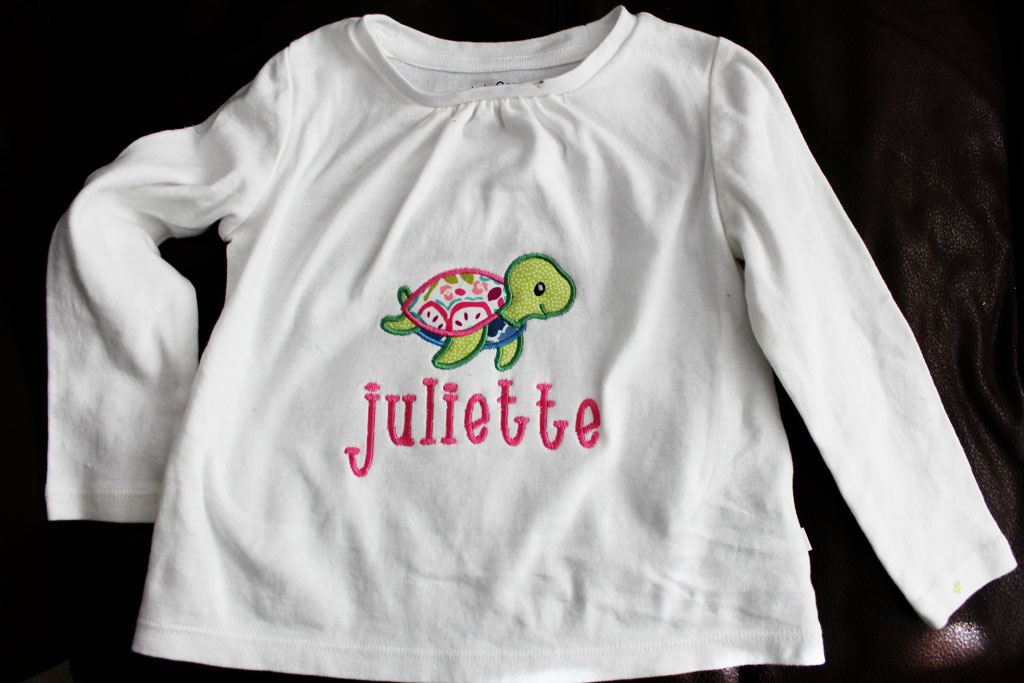
For the shirts, I bought long sleeve playtime favorite tees from Gap Kids when I had a 40% off coupon.  The shirts are a great thickness and when they are 40% they are pretty affordable.  And the great thing about applique is that it is a great use for small pieces of fabric! I got a great video of Juliette opening her present saying… Myrtle Turtle! Right there!!  I love being able to make things for friends and it makes me sort of ridiculously excited to have a project come out this cute!! That feeling? When I see a project come out like it looks in my head? That is why I love to craft and make things!

DIY Carseat Cover

One of the things I knew I wanted to DIY for baby was the carseat cover.  I had found a ton of cute coral fabric at Fabric.com, some I used for the rocking chair cushions and some for the box valance for Taylor’s room.  The third coral fabric I found was this super cute arrow fabric and I knew I had to use it for something for her, so the car seat cover was the perfect thing!! This is a super simple project that includes your fabric, a second piece of soft fabric lining, and some iron on velcro.

Each car seat is a little bit different size, so measure yours to make sure it fits, but then cut your fabric into one large rectangle.  Mine is 41″x 33.5″ and that allows for a half inch seam allowance on all sides. Once you have cut your two pieces, put the right sides together and sew around the edges, leaving a small opening to turn it right side out (but before you do that, be sure to trim your corners off so that your corners are crisper).

carseatcover1

Once you have it right side out, topstitch around the entire piece.

For the next step cut two pieces of your fabric for your straps. Again, measure your handle and adjust the width and length accordingly, but mine is 6″x 9″.  You’ll also need some iron on velcro, you can see what mine looks like in the picture below.

carseatcover2

To make the straps, fold the fabric in half, with the right sides together. Stitch the long side and one short side together, leaving one short end open to turn your piece right side out (you’ll topstitch it closed in the next step. carseatcover4

Now turn it right side out and top stitch all the way around. Now follow the instructions on your iron on velcro and iron it on both ends, but on opposite sides of the strap (so that when you loop it into a circle the velcro sides meet.  I took this picture before I tested mine out, I actually needed to have one of my velcro pieces closer to the middle to make mine tight enough around the car seat handle, so I had to add a second velcro strip on mine, so test your strap on your individual car seat to make sure it is tight enough not to slide around all over the place.  My velcro instructions say to hold the iron on for 90 seconds until the glue melts and trust me… when that glue cools… it is on there GOOD.

carseatcover5

Now just mark out where you want your cover  straps to be (approximately halfway down the long side and mine are about 9″ in from each side… you can see in the picture below).

DIY Car Seat Cover |www.amusingmj.com

Then to secure them to the cover, just sew a square through all the layers in the middle of the strap, as you can see below.

carseatcover8

And that’s it, you are done! As you can see in the picture that is up a few, I went ahead and embroidered her name on it, but I thought I was going to publish this post before she was born so I put it on backwards so I wouldn’t show anyone her name before she was born.  (HA! 5+weeks later I am just getting around to it!) But the picture below shows really well what it looks like on her car seat!

DIY Car Seat Cover |www.amusingmj.com

I love the fabric and its been a great little protector for her from sun and light and I hope maybe it keeps a few germs out!

DIY Car Seat Cover |www.amusingmj.com


Burp Cloths Version 2

So I’ve shown you my ‘make from scratch’ burp cloths I make as a standard gift for baby showers that I attend, and they continue to be one of my most popular posts on Pinterest.  I still love this gift and make them all the time, but I saw some on Two Twenty One that I knew I had to try out for myself! Especially since they would be perfect to use with my new little nugget.  So as I was waiting for her to arrive, I tried them out, and they are perfect!

Two Twenty One actually got the idea from Thinking Closet who has a tutorial, and I don’t want to steal their thunder, so hop on over to get the full set of instructions, but they really are quite simple and depending on your fabric selection, they can be quite flexible to match any decor or design.  I also recently made a set for a friend to give as a gift, and added some embroidery to the fabric before sewing it on and they turned out SO CUTE (bad blogger, I forgot to snap pictures of those… blame it on the pregnancy hormones!)

Anyway, the simple instructions are: go buy a pack of cloth diapers (I got mine from Target… they are fairly cheap and in the baby section).

Cut a strip of fabric to go down the center stripe:

DIY Burp Cloth | www.amusingmj.com

Iron your edges down (I used a cereal box template like Two Twenty One did)

DIY Burp Cloth | www.amusingmj.com

And then top stitch it to the cloth diaper.

DIY Burp Cloths | www.amusingmj.com

Here are the finished product laid out so you can see:

DIY Burp Cloths | www.amusingmj.com

They are so useful and super easy to make.  Plus there are endless possibilities with embroidering names and designs on them! I’ll have to show off a few when I get back to crafting those! (Go figure with not much sleep and a whole lot of baby laundry and snuggles to be had, I’m not getting my crafting done right now!)

DIY Burp Cloths | www.amusingmj.com