I shared a post last Friday about my favorite baby shower gift and there is something I just really love about making gifts for little kids. So a few weeks ago a friend had a birthday and I wanted to make something for her and her brand new baby girl, but I was fresh out of ideas. So I went to every girl’s virtual wish list Pinterest and scoured her boards for something fun to make. I saw these cute little owls and thought… I can do that! The one I’m about to show you how to make is version 2.0 which I made for my brand new niece. I made a few upgrades to this one!
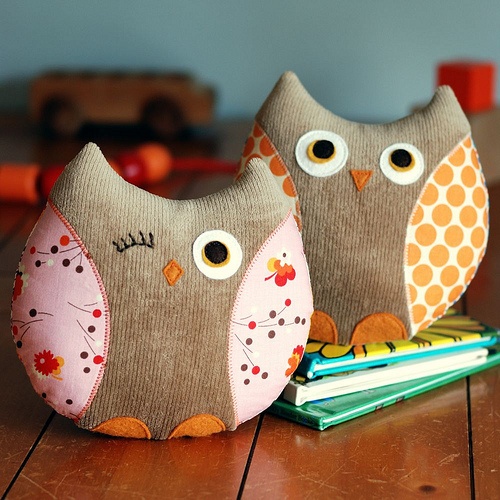
This was my inspiration piece:

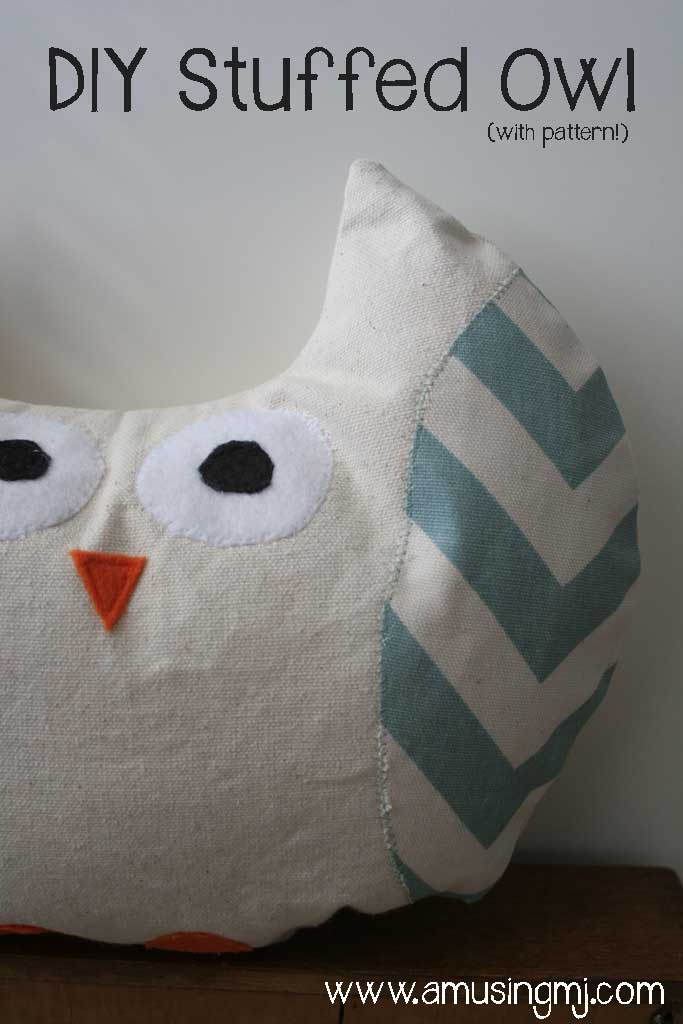
And here is my final result:
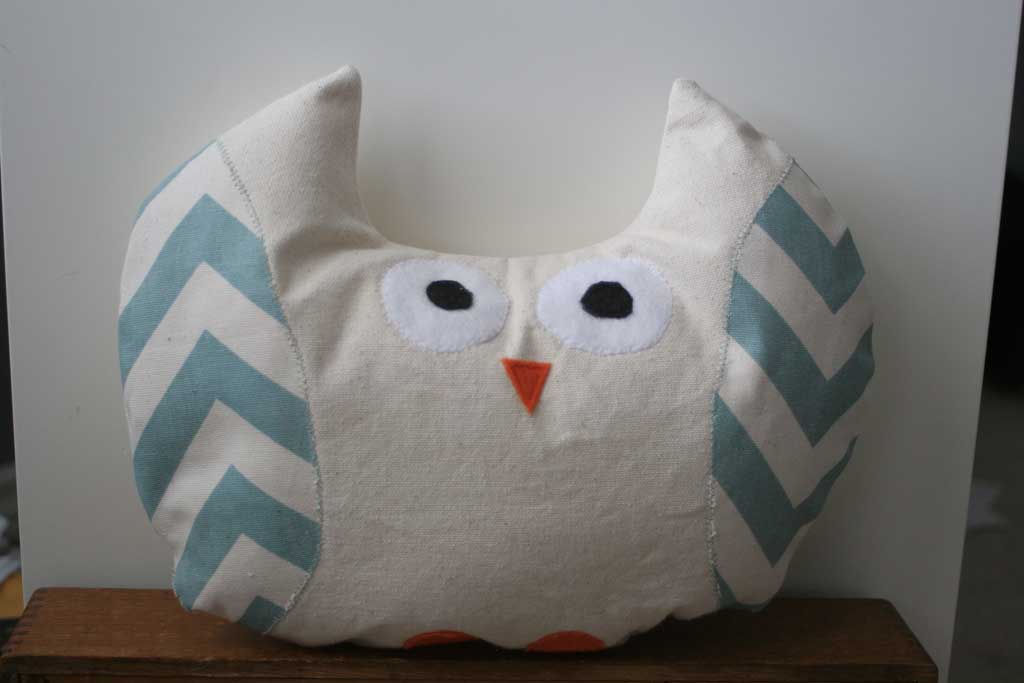

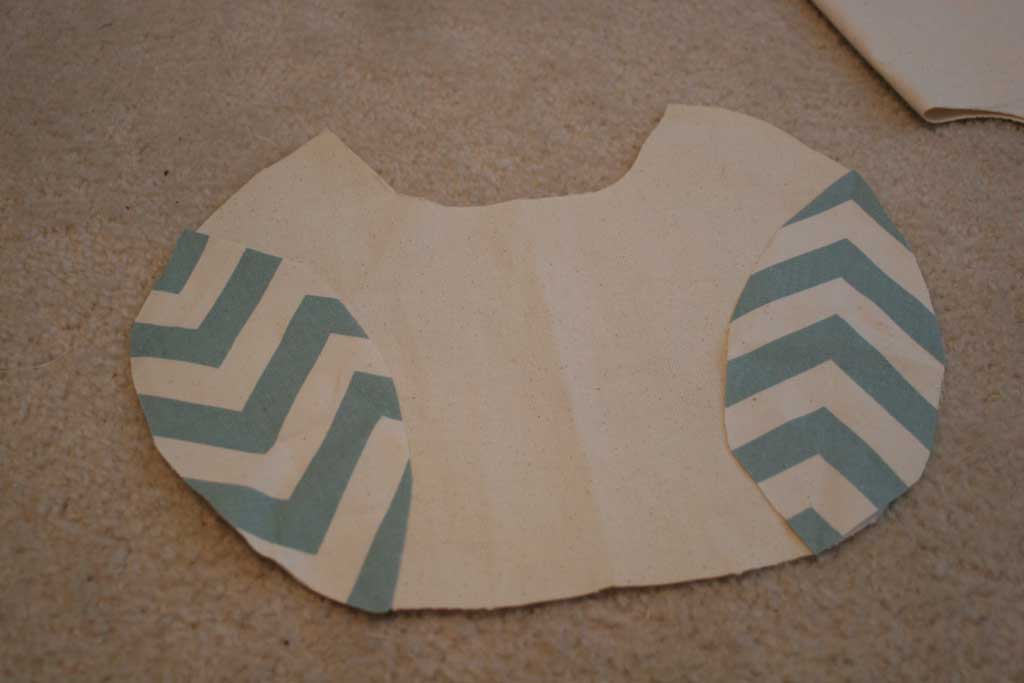
Funny enough, they don’t sell corduroy in Texas in August, so I found a canvas type fabric that I thought would work. For my pattern I just free-handed half of the owl onto the piece of fabric, but for those of you who want to make this but don’t feel so comfortable doing that, there is a pattern at the end of this post.
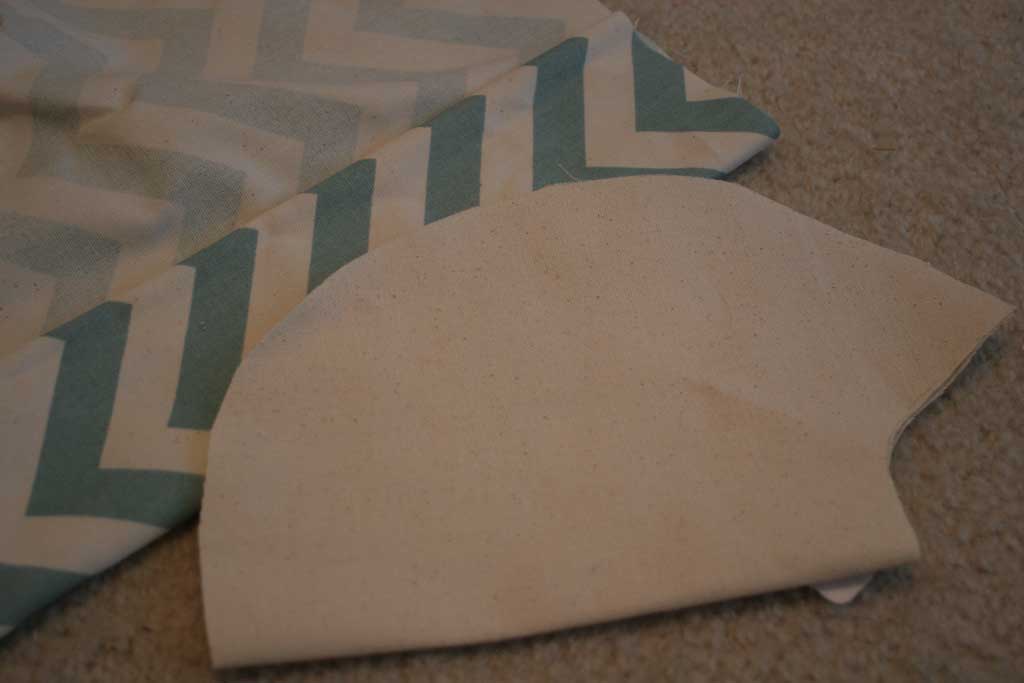
 After that I folded my decorative wing fabric into fourths and traced the same arc as the side of the owl. You’ll want to place the owl on top of the fabric where you will want the top and bottom points of the wing to be.
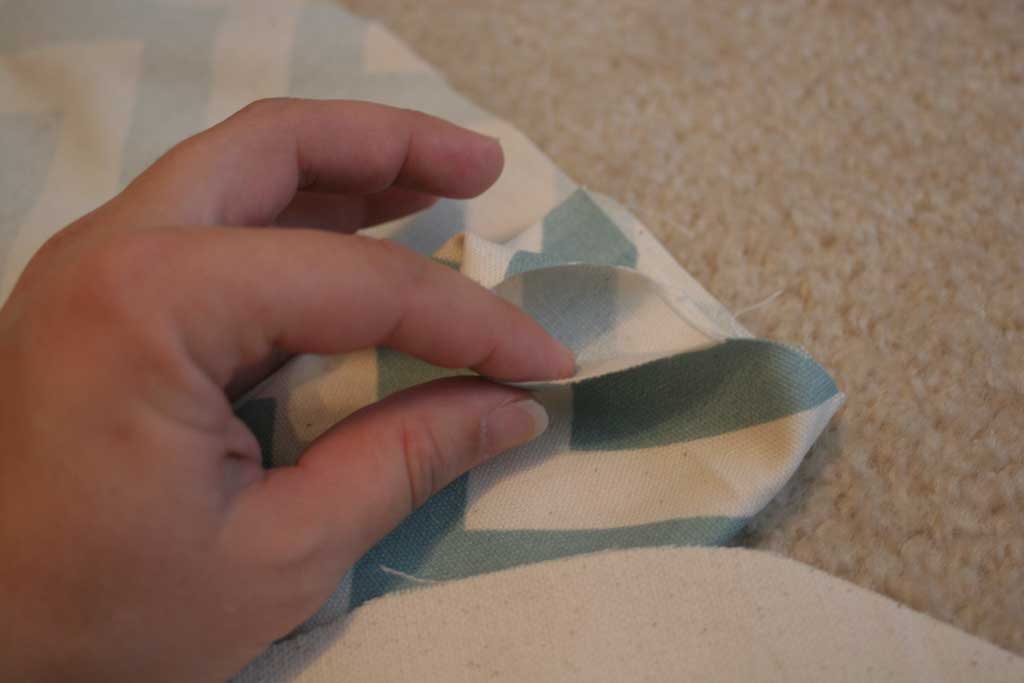
 Now cut your fabric in that arc, since you folded your fabric in fourths, when you cut it out you should have two wing pieces like in the picture below. (Again… if you are using the same size as me, you can just trace the pieces on the pattern at the end of this post, but if you want to make them smaller or larger, here is how to make your own pattern).
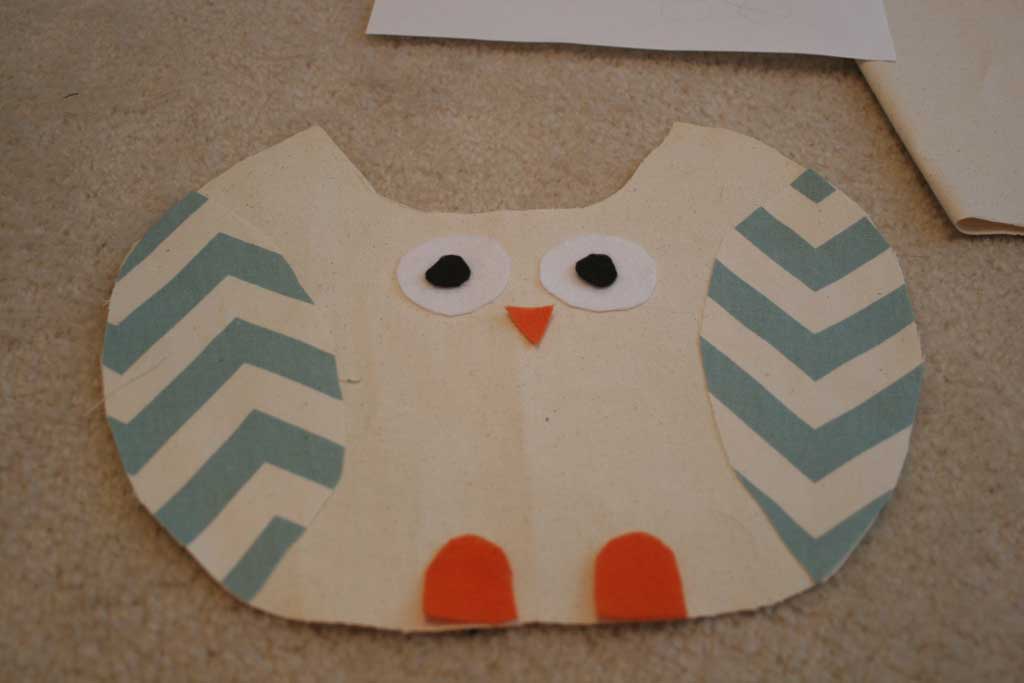
 Now it is time to cut out the eyes, feet and beak. I used orange, black and white felt for these parts and just eyeballed the sizes.

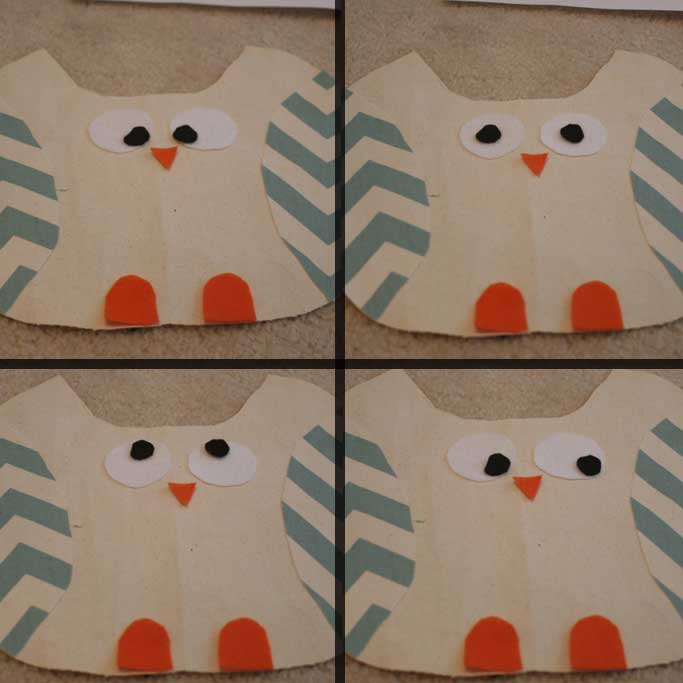
Here is where you can have fun with his layout… I tried out several different eye placements:

Once I had him laid out to make sure he was going to look cute I sprayed some basting spray (similar to this kind) on the back to keep all the pieces in place. Next I took him over to my sewing machine and did a little applique sewing to spruce him up and make sure the fabric stays in place. But you just want one of the beige canvas pieces (the one that you put all the decoration on… the other one should be blank still… leave it where it is, you’ll use it later.
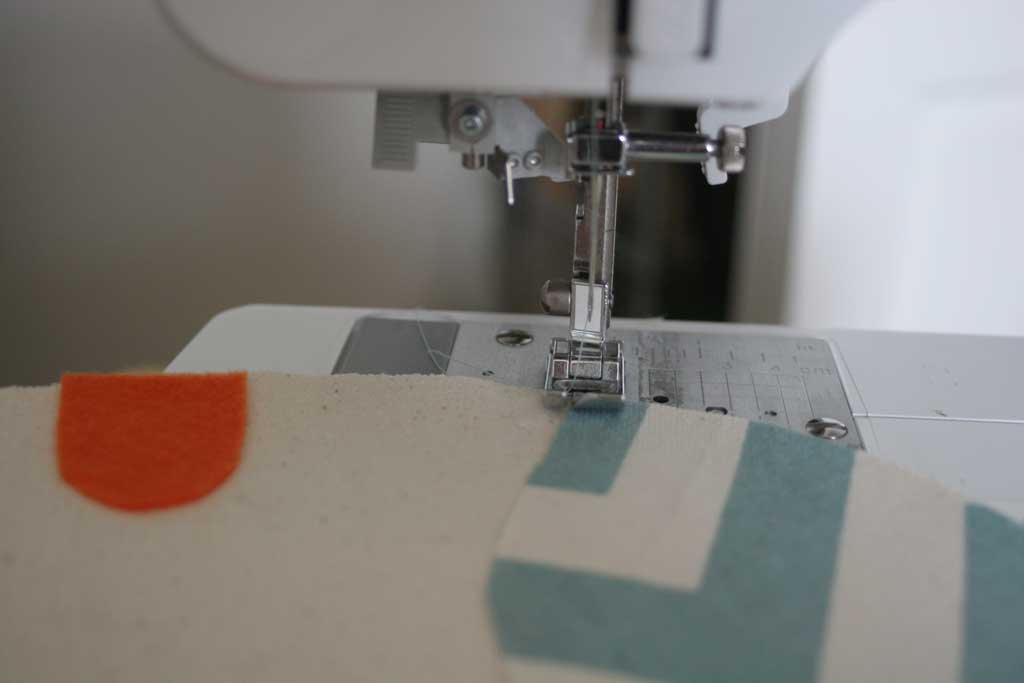

Now here’s the deal, I’m not a great seamstress. I have mastered a straight line, but curves? Not exactly my forte. But since I already sprayed the pieces down with basting spray, as long as I MOSTLY got it covered with thread, I figured he was okay. I used coordinating thread on all the parts, but you could easily use contrasting for an added bonus.
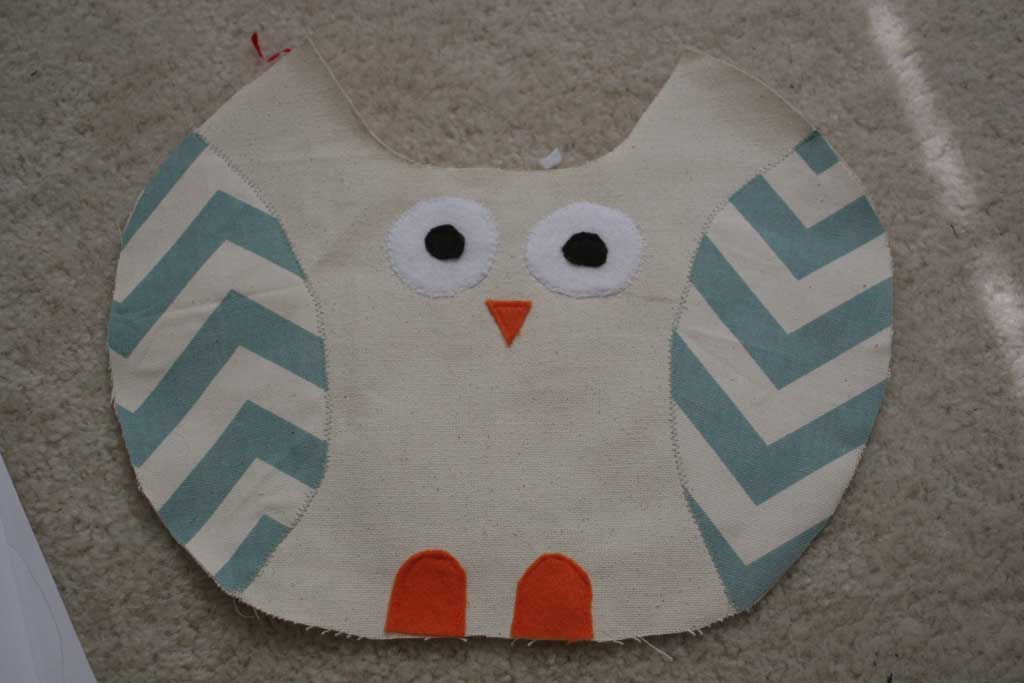
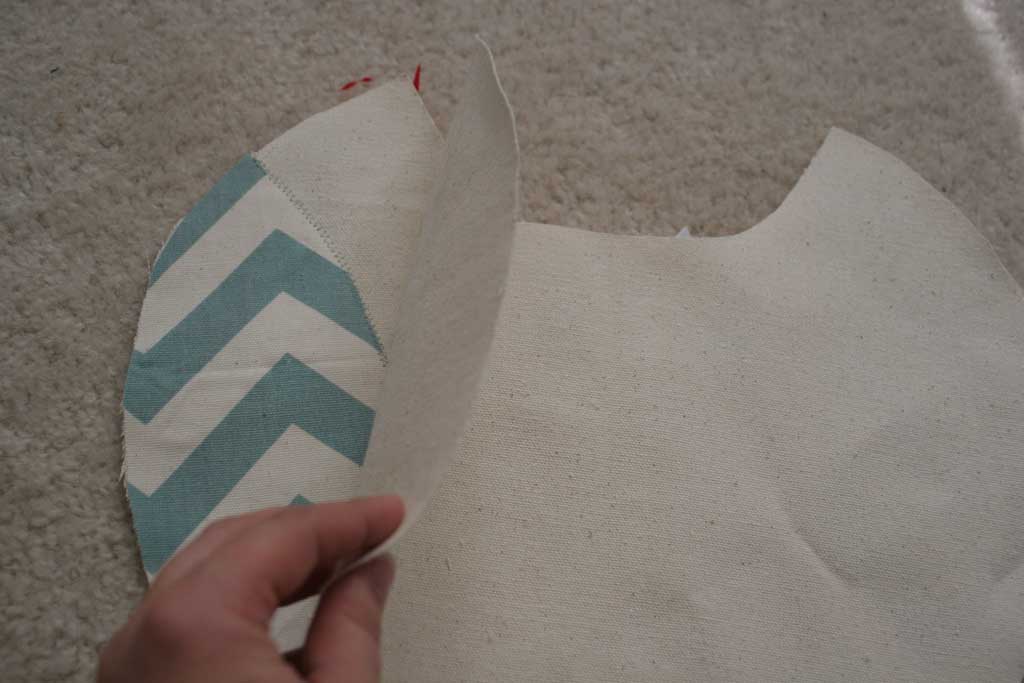
 Here is what he looks like after I’ve traced around all his parts with thread. I used my zigzag stitch for his eyes and wings and a straight stitch for his feet and nose. And see even this close you can’t see all the places where my lines aren’t straight. Imperfection=part of the love of homemade. Now lay your other piece of owl fabric face down on top of the piece above (you don’t want to see all the decorations now). Like this:

Now take him back over to your sewing machine and start at the bottom, sewing about a 1/2 inch seam allowance, but leave a small opening at the bottom that you can stuff him with. Make sure to back stitch both sides of your seam since you’ll be turning him inside out you don’t want your thread to start to unravel. He should look like this now:
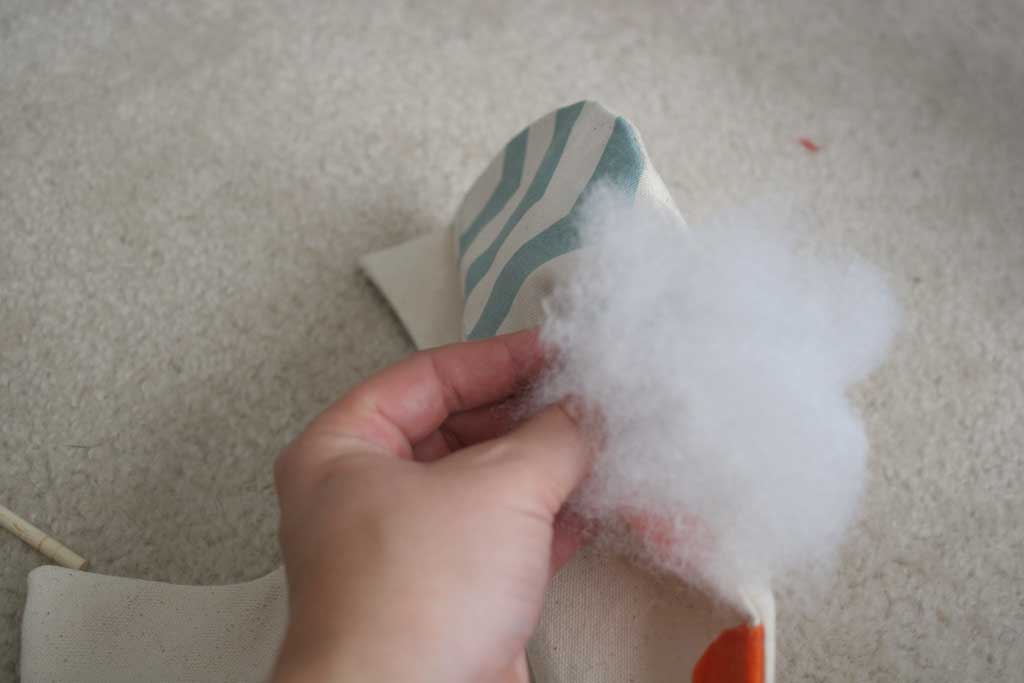
 After turning him inside out (my fabric was pretty stiff so it was kind of hard to do, I needed to iron mine. Once you have ironed him, stuff him full of cotton batting:

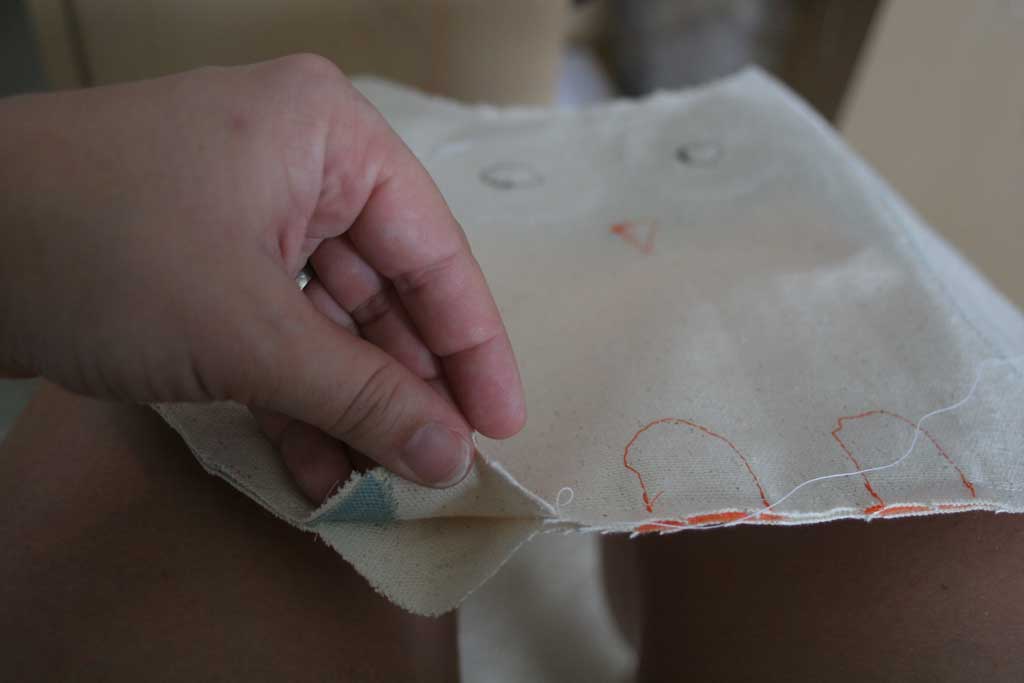
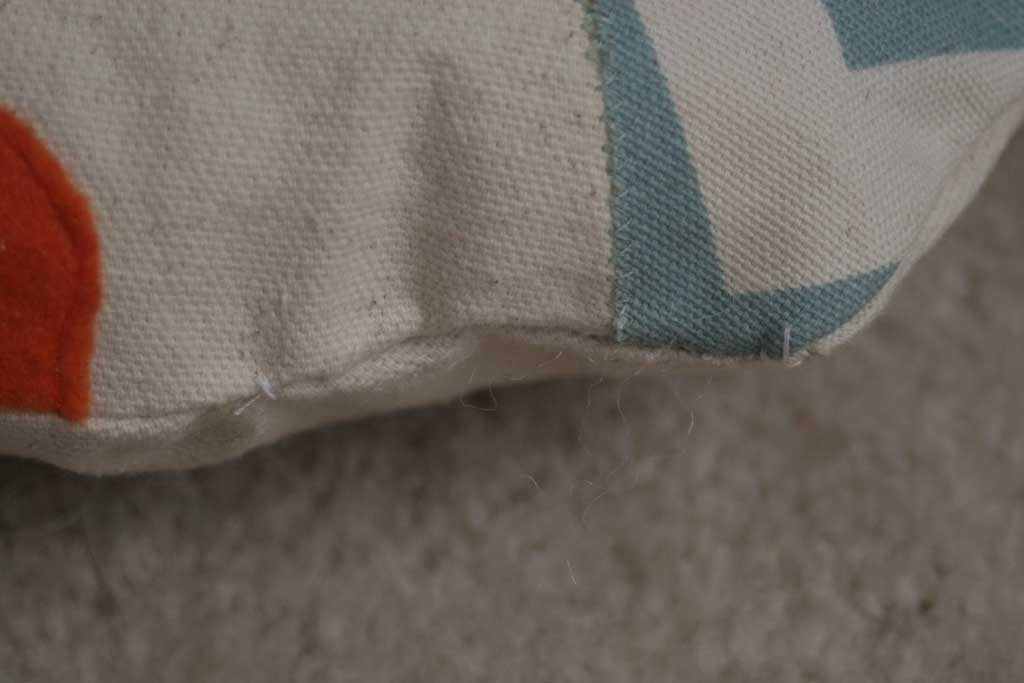
Now I had a problem… I had a hole in the bottom of my owl. On owl 1.0 I topstitched it with my machine, but it didn’t look quite as good as I wanted him to. So I did what I always do when I get stuck and Googled it. I found this tutorial on how to do a blind ladder stitch. It is a pretty simple stitch, but hard to explain… so go watch her tutorial. But its quite effective, here is an up close of where I did the ladder stitch… and my first time, so I’m sure if you are more patient than I am and guinea pigged on a different piece of fabric yours would look even better, but from far away you can’t even tell!

And here is my final owl, I think he is awfully cute:

Here is the pattern:
NOTE* They are not drawn for perfection… perfection is boring, but they should be good enough for you to make your very own owl!
The owl shape: owl pattern1
The “decorations”: owl pattern2


 Hi, I'm MJ! I'm a DIY kind of girl and this is where I share my projects. I'm taking you along for the ride as I learn how to do woodworking, sew, bake, and renovate!


So cute, MJ! I love the colors and the chevron fabric on the side. I haven’t broken out my sewing skills lately… this inspires me to! The kiddo that got this is lucky! : )
Ok…so I see these as tooth fairy pillows for baby gifts it you put a little pocket on the back! Darling! We need to hang out and share!!! LOL
Judy I love that idea!!! I hadn’t thought about that… but will definitely add that on my next one!