One of the things on my 30 Before 30 List was to build and plant a vegetable garden. This is one of those “I’ve never done this but always wanted to try” projects… so I’m kinda winging it here. But as always, I’ll share the results, positive or negative as they happen!
I got the plans for the raised vegetable garden from DIY Diva and the vegetable beds she built for her farm. And true to her info, they cost less than 25$ to build (not counting the soil and plants to go inside). I bought 6- 6′ ceder fence boards and two 6′ rough hewn cedar 2×4’s. Other than that you’ll need a drill with a 3/8 drill bit, some screws (I used some I had on hand, but if you are buying some you should buy deck screws 1.5″), a shovel and a mallet.
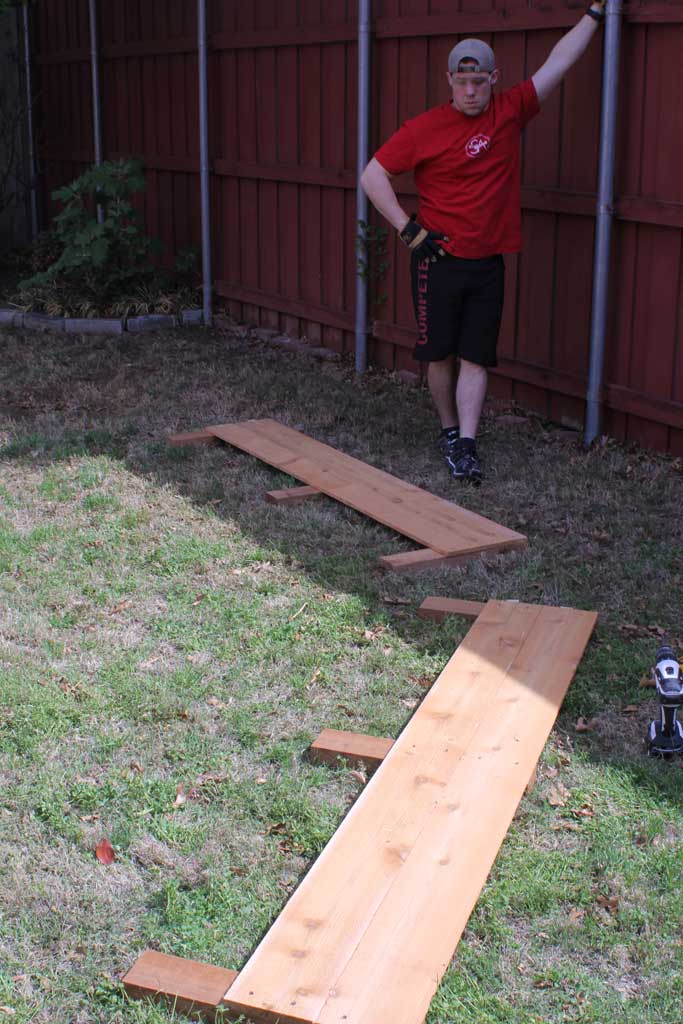
Building the bed is pretty simple, first step is to cut your boards. Cut two of you 6′ boards in half, and the 2x4s into 19″ sections (that gives your bed 7″ into the ground)


Then predrill the holes for the boards. 6 holes in each of the long boards (two on each end and two in the middle) and 4 on the shorter boards.
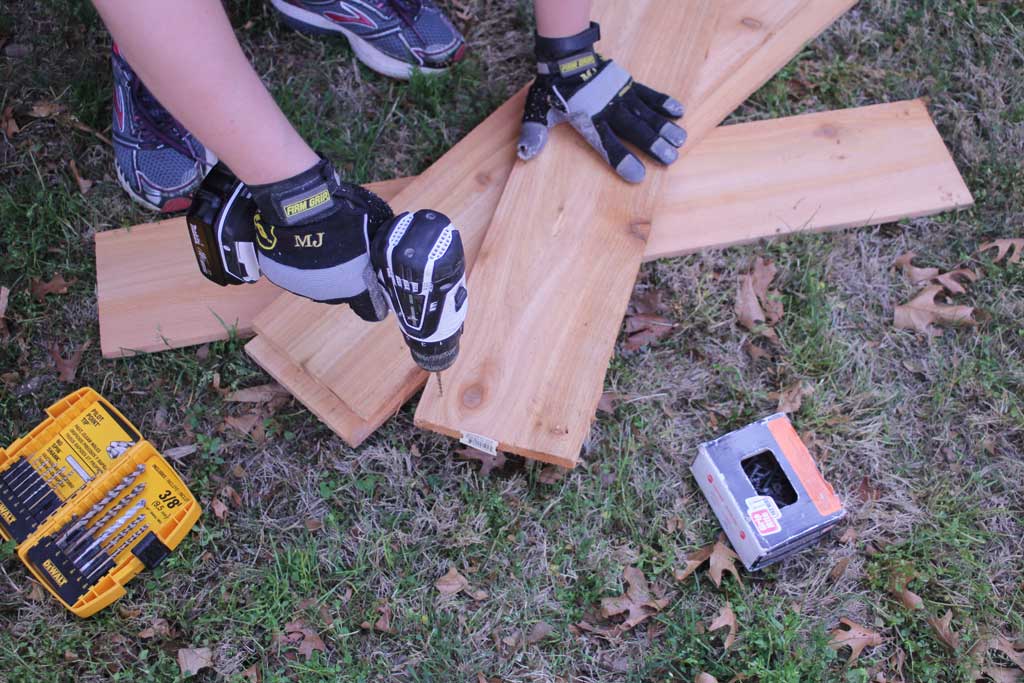

Once you have that done, its time to assemble all the pieces. I just lined up the top of the boards and screwed them in, the long sides first.
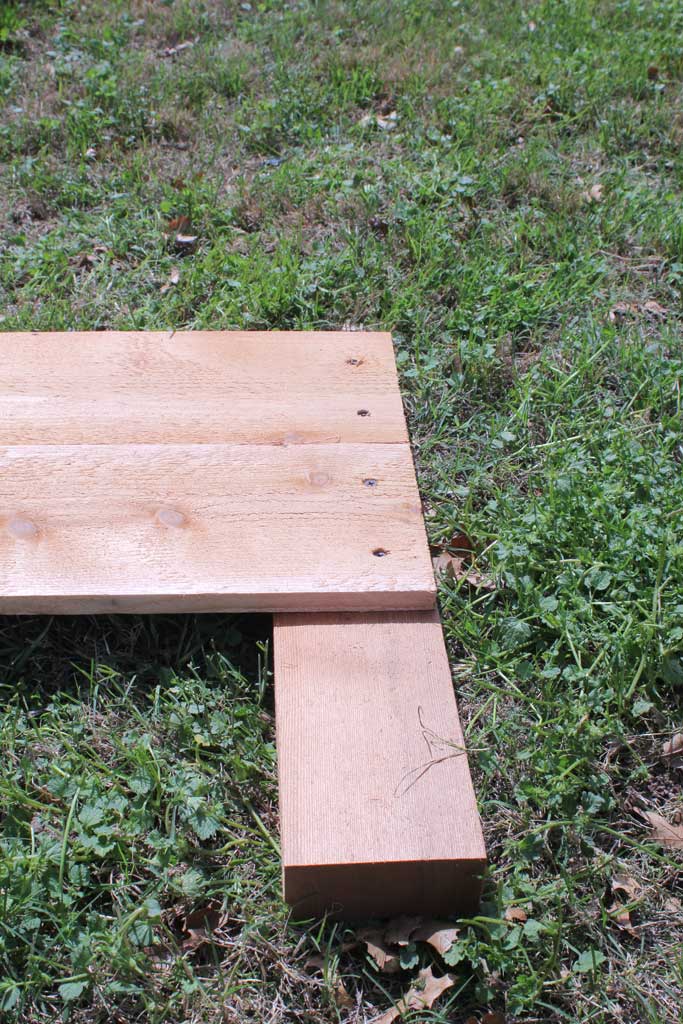


From there, just attach the shorter ends and make sure the box is square.
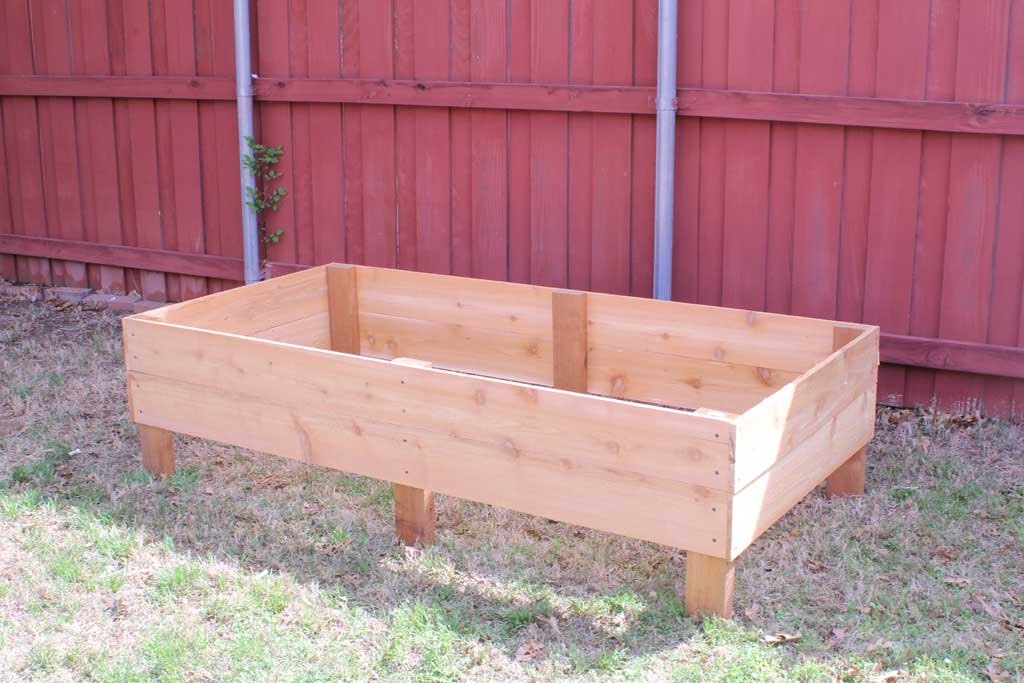

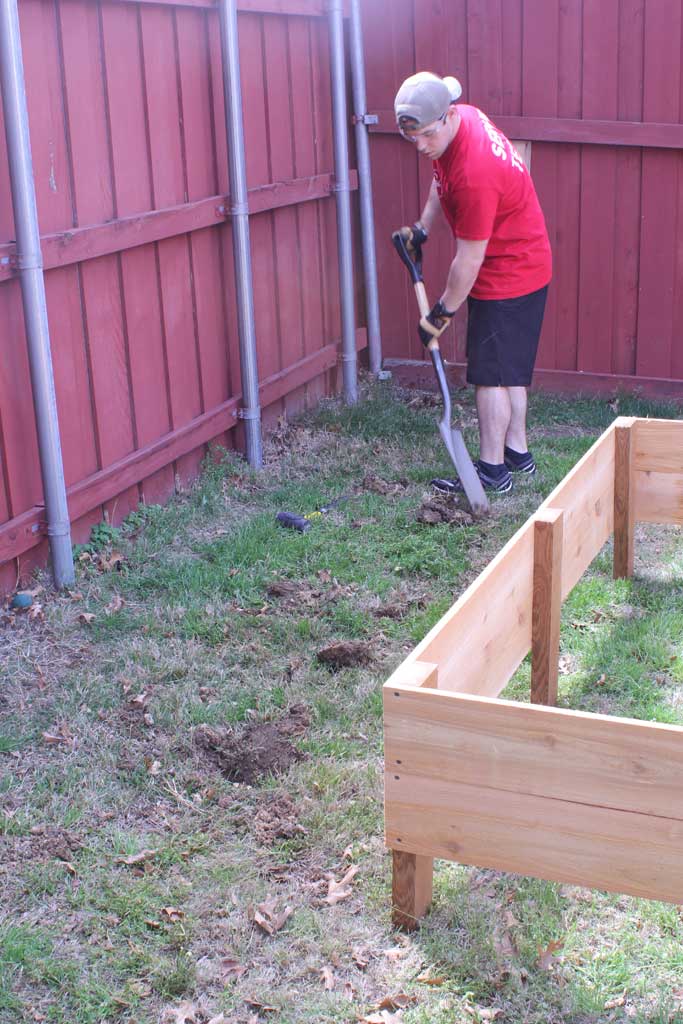
If you have softer soil you can probably mostly just hammer this into the ground with a mallet, but since we have clay soil mixed with quite a bit of rock we found it easiest to dig a few holes first. We picked the placement mostly because I didn’t want to have to reconfigure the sprinkler heads, so we simply placed it between the two in the area we wanted the vegetable garden to be in.

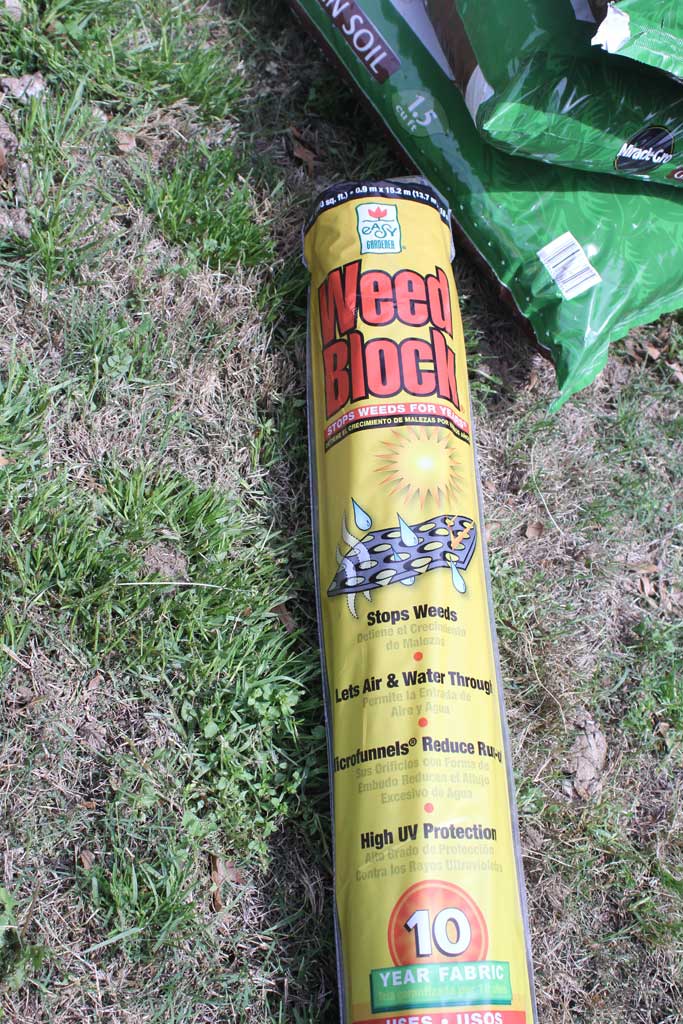
From there I laid down some weed-blocker and started to put in my bags of soil.

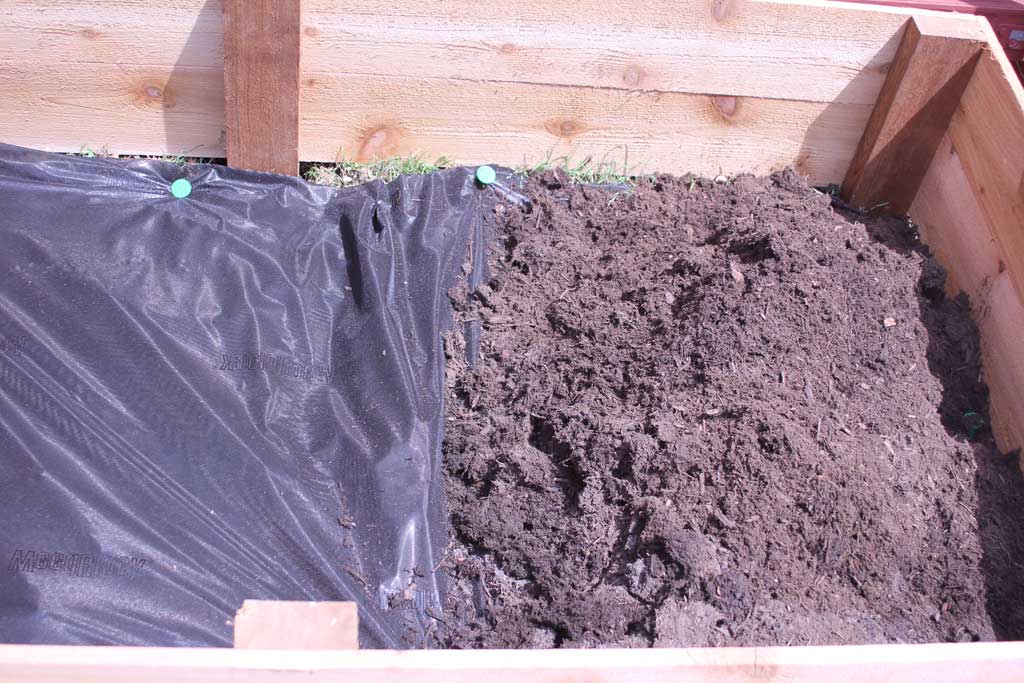
I pegged down the weed blocker to prevent as many weeds as possible.

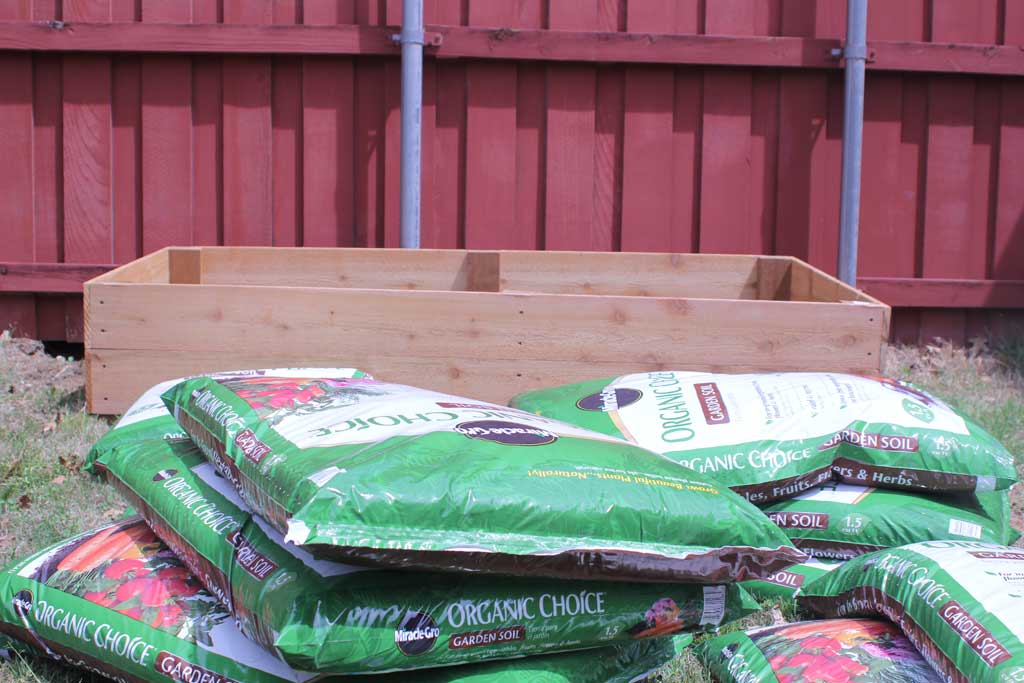
My Home Depot was having a sale on the Miracle Gro organic soil for vegetable gardens, so we bought 12 bags of that. I only used 11, but I also mixed in some peat moss I had on hand for a little bit more organic matter.

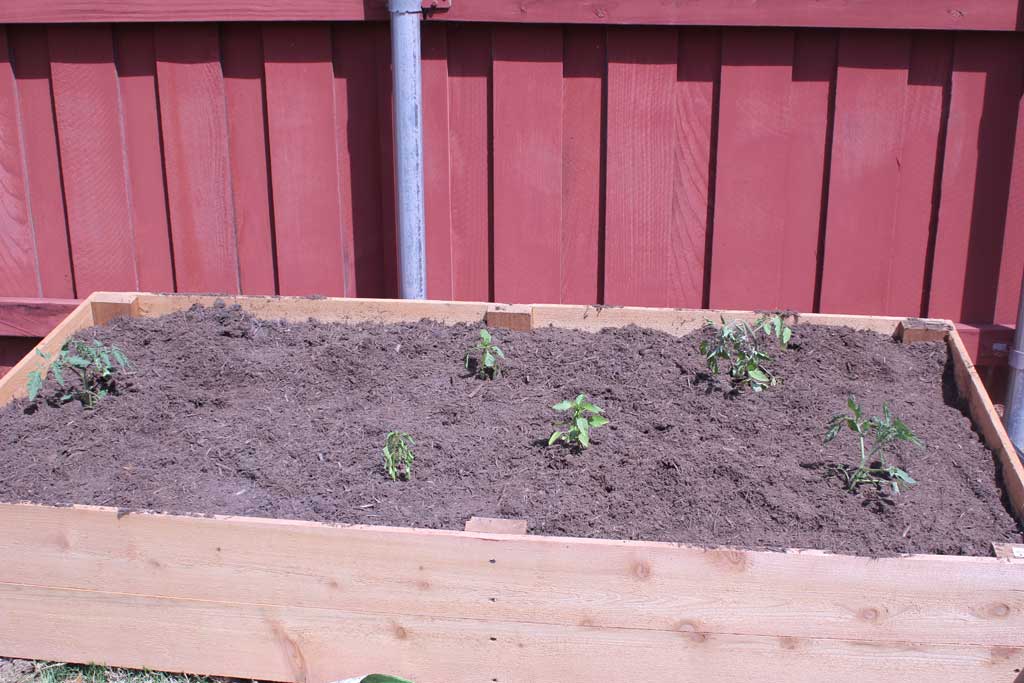
From there when I got close to the top I started to lay out my pots of veggies. These came in little pots that you are supposed to plant along with the vegetables. Just get them moist and peel off the bottoms to put them in the holes. The ones you see below are tomatoes and peppers. I put a diagram below of what all I planted so I can keep track.


I filled in the rest of the soil and then gave them a good soaking (the pic below is before watering) and some vegetable fertilizer.

If you follow me on Instagram you saw this last week and also got to see my post yesterday that the zuchinni and squash seeds that I planted peeked out of the soil on Easter Sunday. SPRING IS DEFINITELY HERE!
If you want more detail on what all I planted, I drew up a ROUGH diagram on Photoshop and I have some details about the types of veggies I planted. After I had planted them I did some more research and I think maybe I planted things a little too close together, but we’ll see when they reach full height!
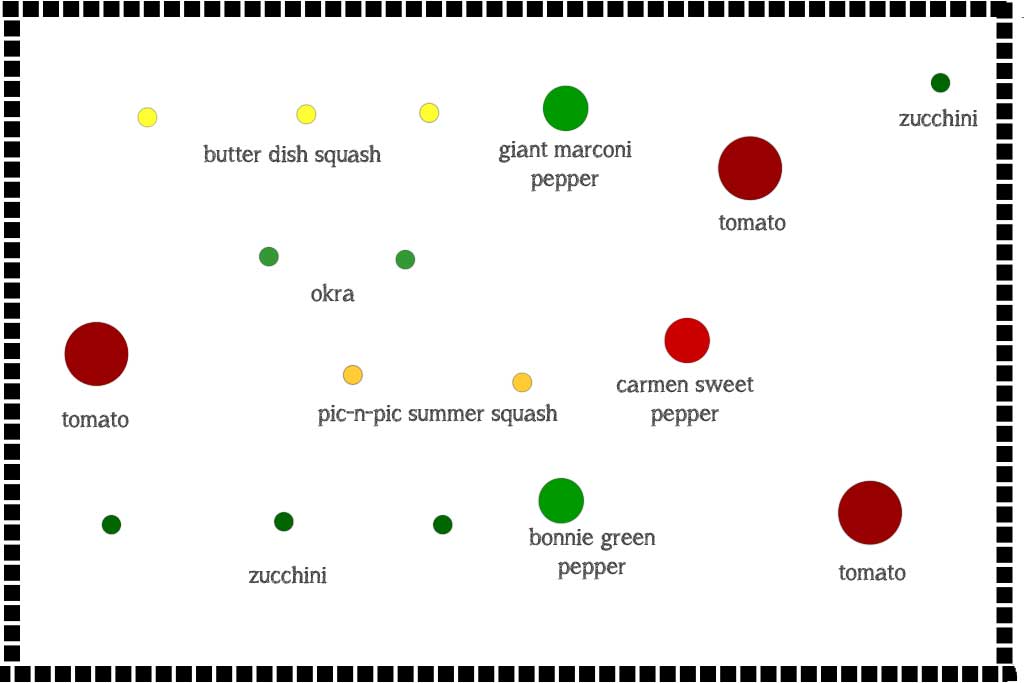

All the seeds (everything but the peppers and tomatoes) are Burpee Brand from Home Depot, the zucchini are summer squash Bush Bounty, I used two different types of yellow squash: Butter Dish and Pic-N-Pic Hybrid and the Okra is Baby Bubba Hybrid.
The tomato plants are all Big Boy Hybrid Tomatoes. All the tomatoes and peppers are Bonnie Brand.


 Hi, I'm MJ! I'm a DIY kind of girl and this is where I share my projects. I'm taking you along for the ride as I learn how to do woodworking, sew, bake, and renovate!


What?! No okra?!
I did plant 2 okra seeds!! Did I forget to say those? I’ll have to edit!
Next year, see if you can find emerald green okra seeds . They are a spineless okra and are delicious!!!