A Little Outdoor Sprucing

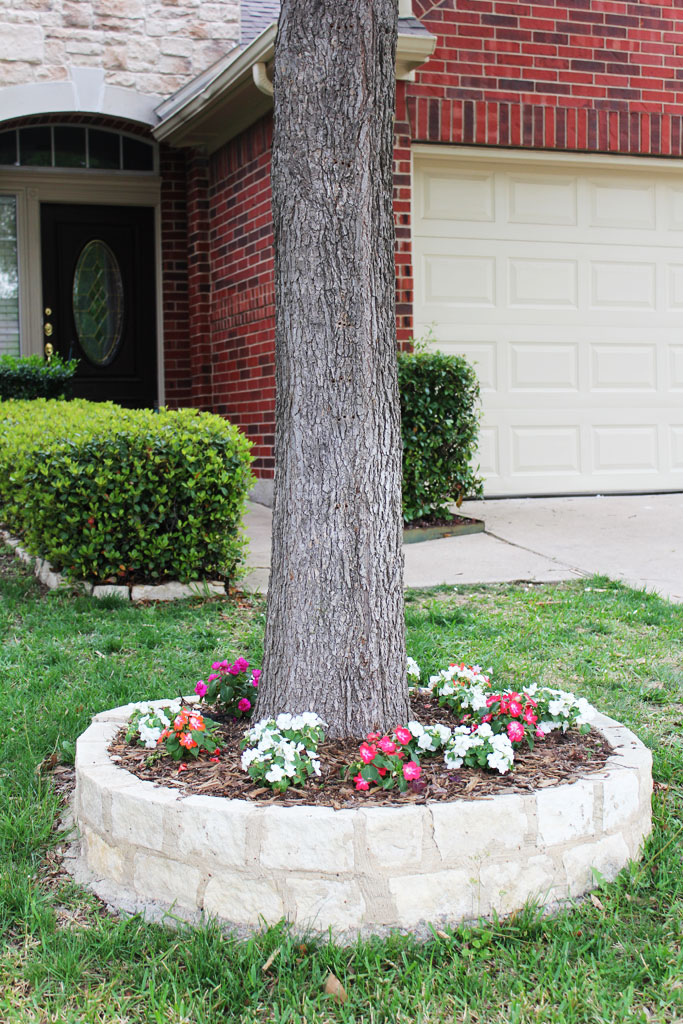
We have started to have a few days of nicer weather here in Texas and judging by my allergies… SPRING has sprung.  And since it was so beautiful out last Saturday I jumped on the chance to do some spring flower planting.  Our new house has two stone planters around the base of our trees out front, and they were just begging for some spring color! The trees are really starting to green up and I wanted some color on the ground to balance it out!

frontofhouse

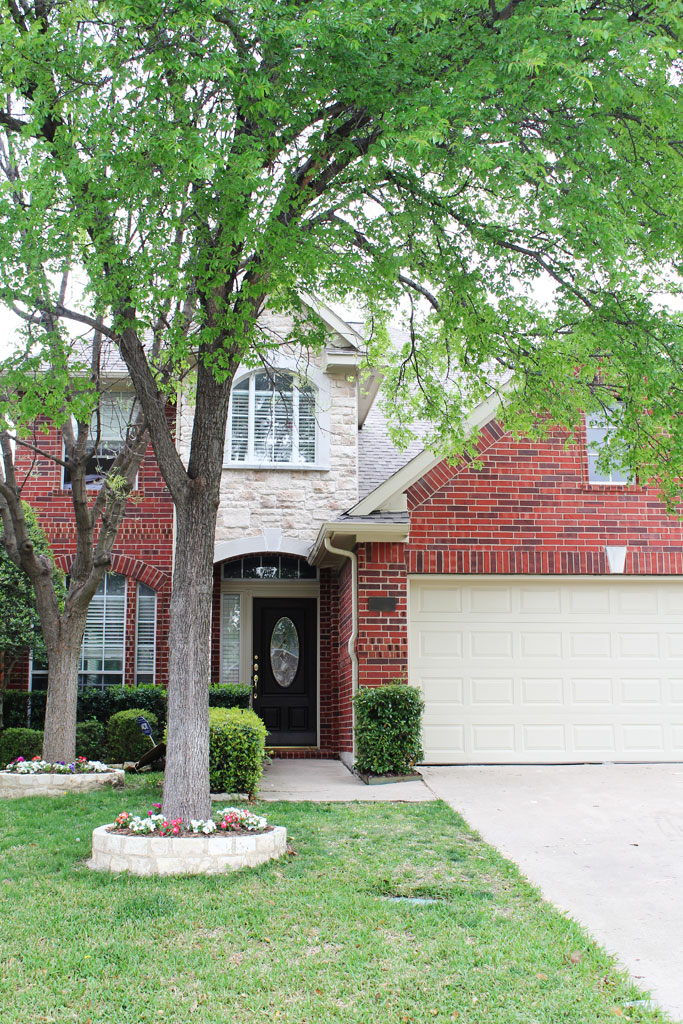
It is amazing to me what a few small flowers can do for a yard! Under the trees they get quite a bit of shade, so I planted 2 different varieties of impatiens.  I’ve had good luck with those in the Texas heat as long as they don’t get too much sun!

flowers

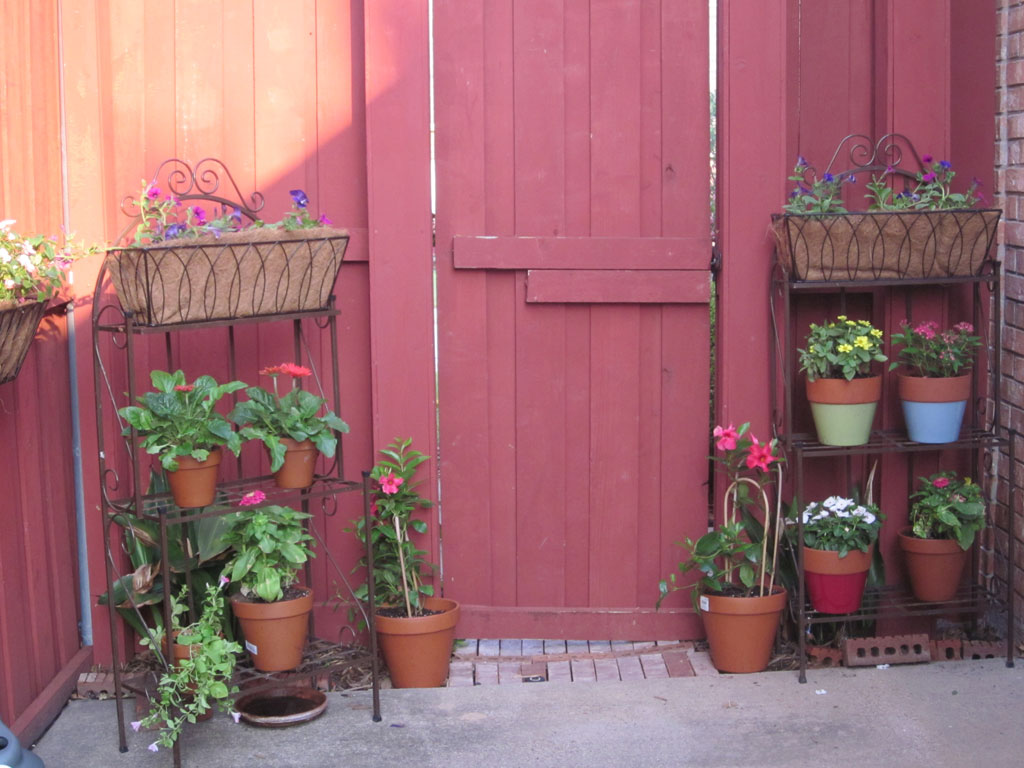
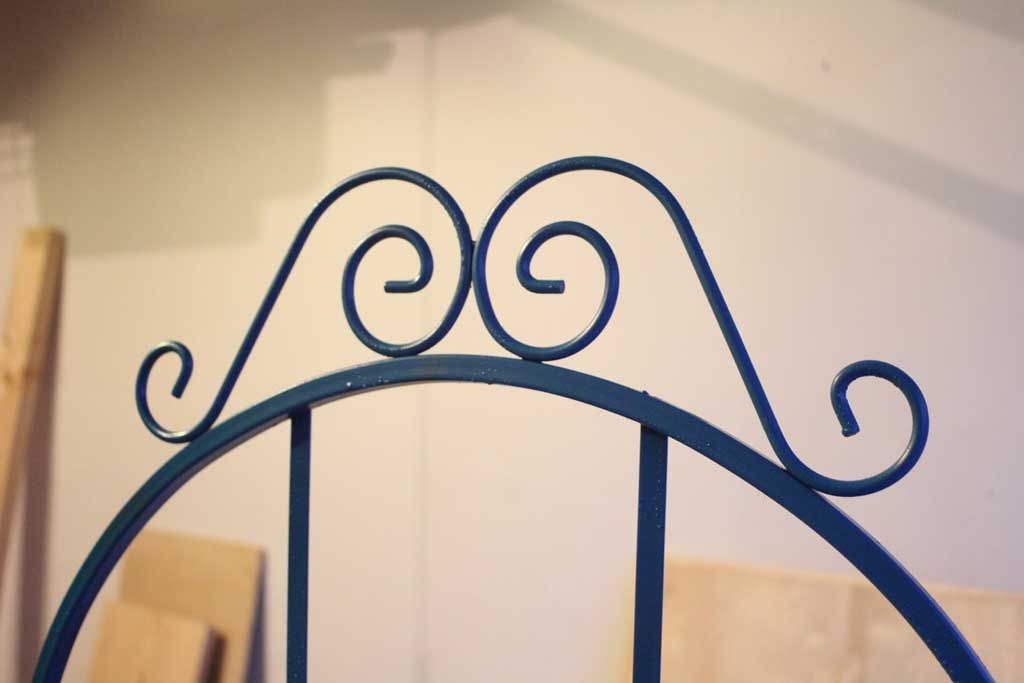
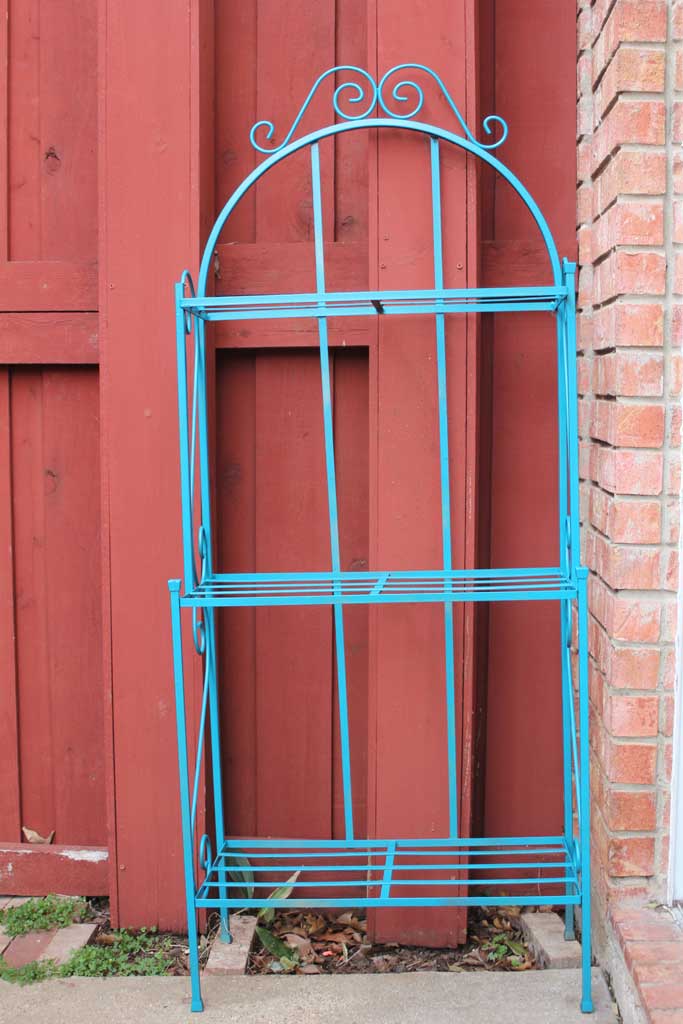
In our last house we had a great patio which we saw each morning out our kitchen sliding glass door, so I regularly planted pots and pots of flowers to add some color to the side patio (some that survived and some that didn’t, and even gave my metal flower towers a coat of happy teal paint.  We have good landscaping around the pool in our backyard, so a ton of pots weren’t strictly necessary, but I just love how cheerful they make things, so I planted a few.  The two top baskets are dianthus, one I just planted with new flowers, but the other one survived from last summer (even through the move) so I’ve just watered and fertilized it and it is starting to bloom again.

flowers2

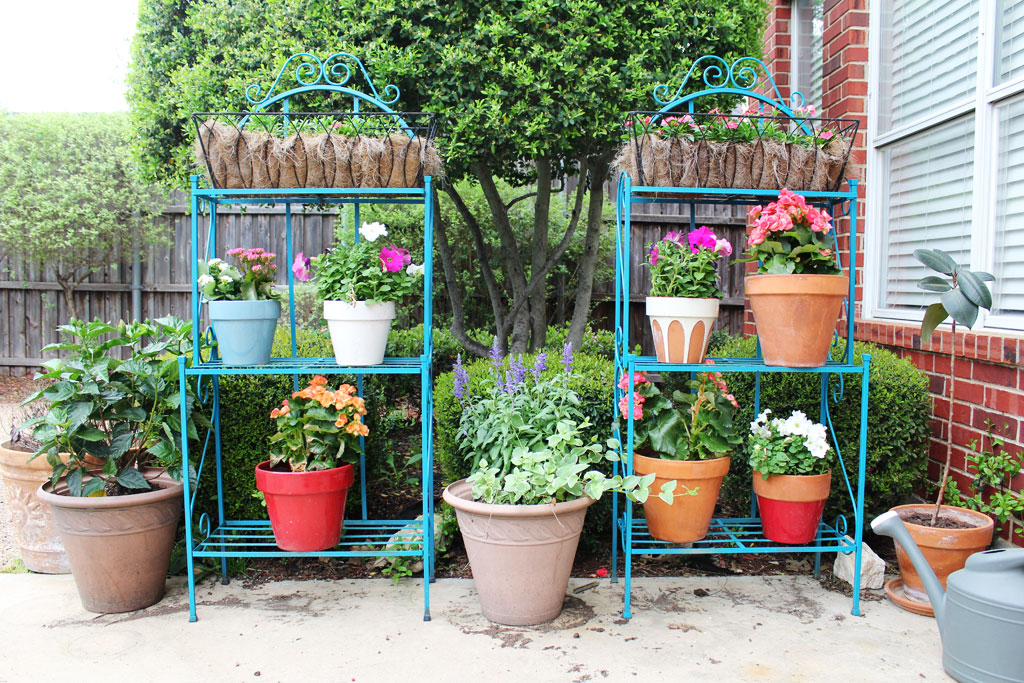
On the second shelf from left to right are Kalanchoe, Petunias, Petunias, and a Rieger Begonia.  I know the petunias will thrive in pots in the Texas heat, and I had moderately good luck with the Kalanchoe the last time I grew one… it is a desert flower, so hopefully it will survive.  The rieger begonia I just couldn’t resist, but after getting home and doing some research it looks like maybe it won’t survive in its flowering state for very long, so that may have been a waste, but they were SO PRETTY!! The bottom shelves have two more rieger begonias and another pot of white pansies.

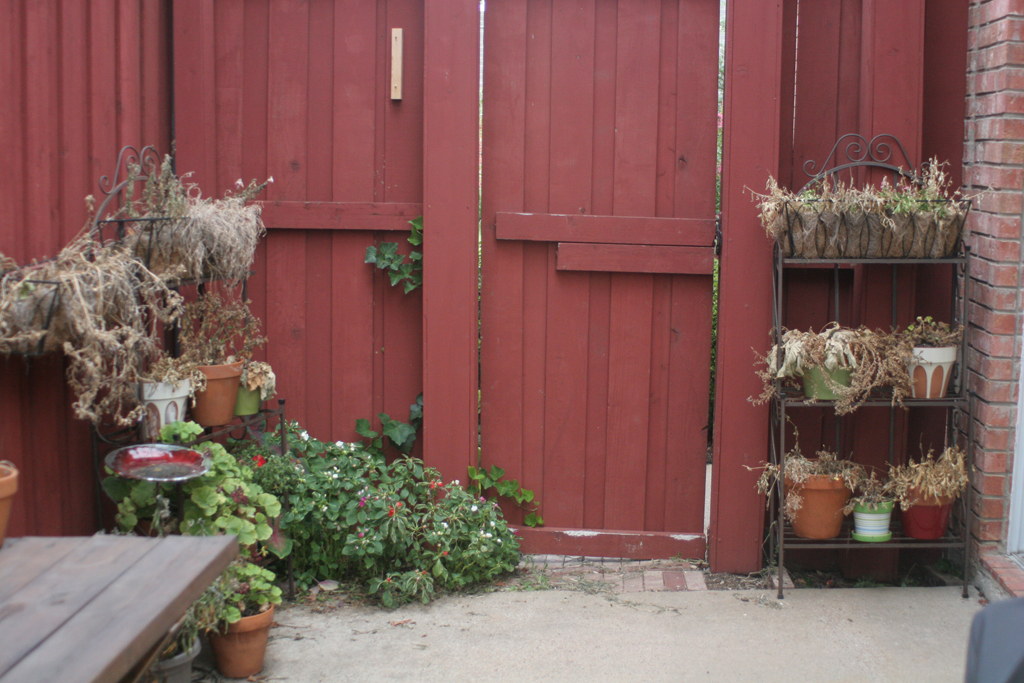
Then the big pot on the left has hibiscus, the pot in the center has Salvia and some other green ivy that has survived the last year in that pot, and the sad plant on the far right I got after my grandfather’s funeral almost 5 years ago.  Between my dog deciding to eat its soil a few times, me forgetting to water it when it lived indoors for a while, it is on its last limb.  But I can’t bring myself to throw it out until it is REALLY dead.

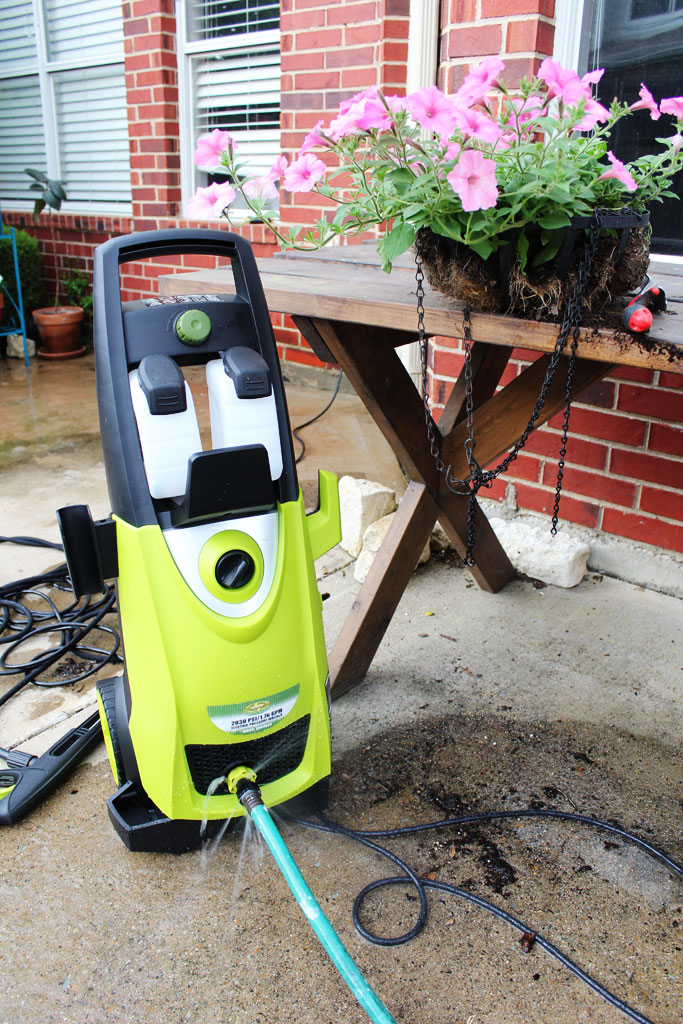
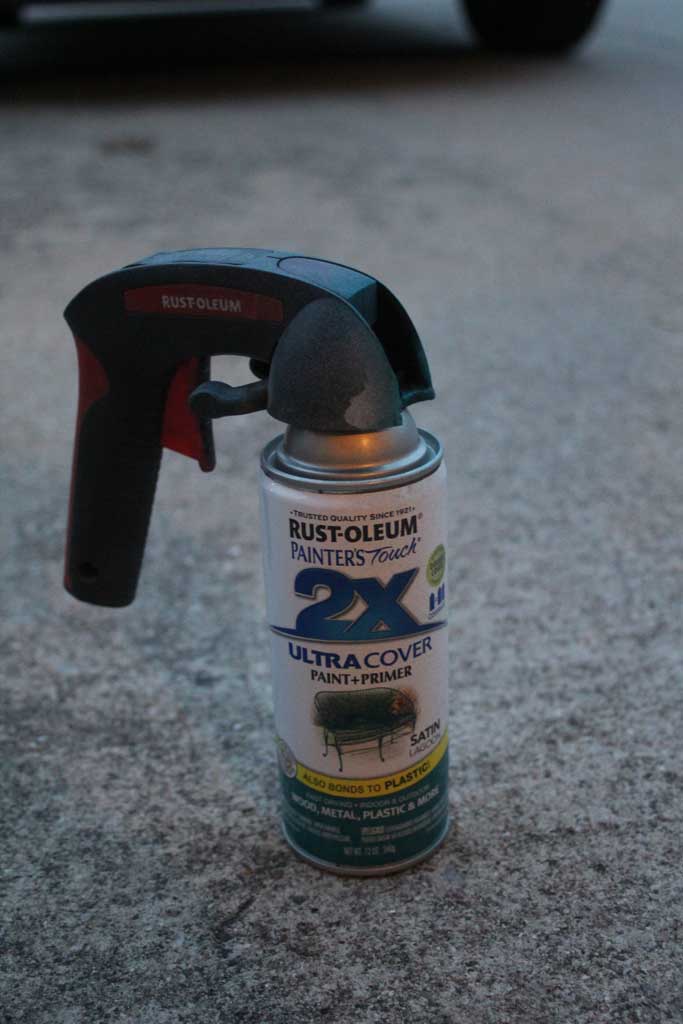
The other outdoor sprucing I did was to purchase a power washer.  (I bought this guy from Amazon because it got good reviews) Our patio looks a lot worse for the wear after the winter and all the dead patio things we had laying out after our move but before we have cleaned up.  For a couple of years I have been borrowing a friends pressure washer, but decided after about 10 times of borrowing one, it was time to buy my own.  Especially since this house has some places that could really use it!

pressurewasher2

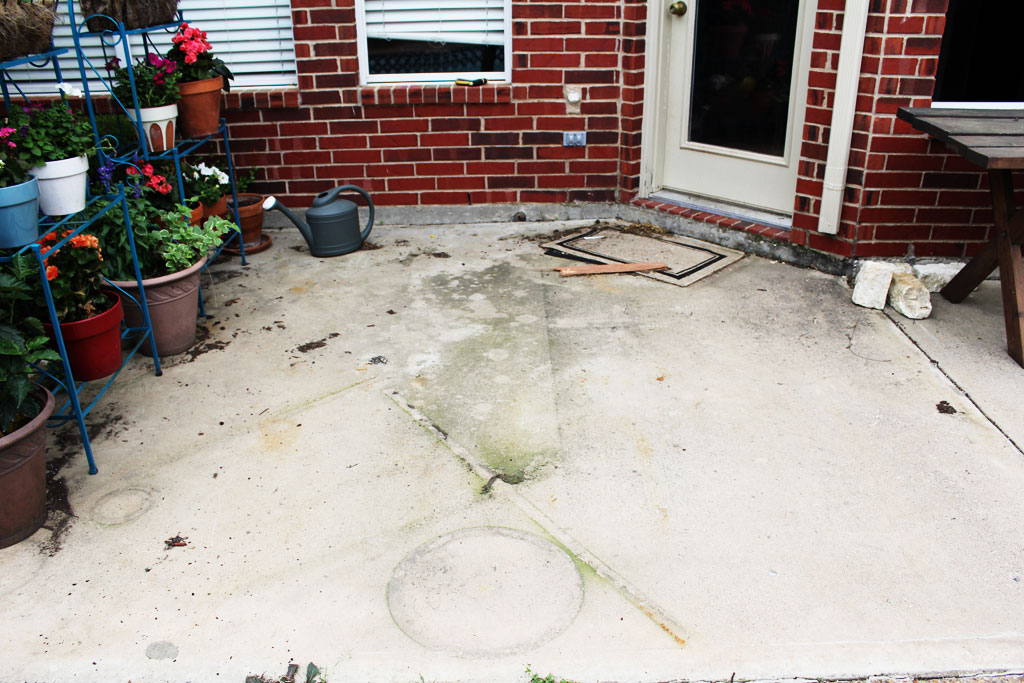
Here’s the worst area: I’m not quite sure what the big black and green stain in the center is from, but the line down the middle and the round circle at the bottom are where a piece of our hammock and umbrella stand sat all winter.  Needless to say this area tracked a LOT of dirt into our house, and looked a little too redneck for my tastes.

patiobefore

But after about 45 minutes of pressure washing?

pressurewasher

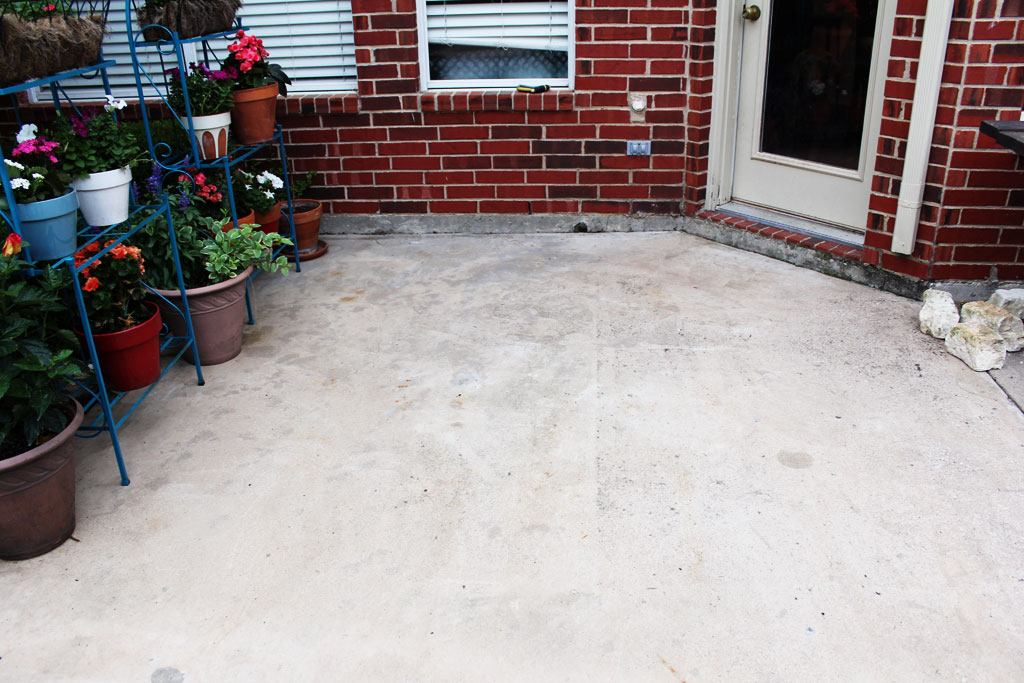
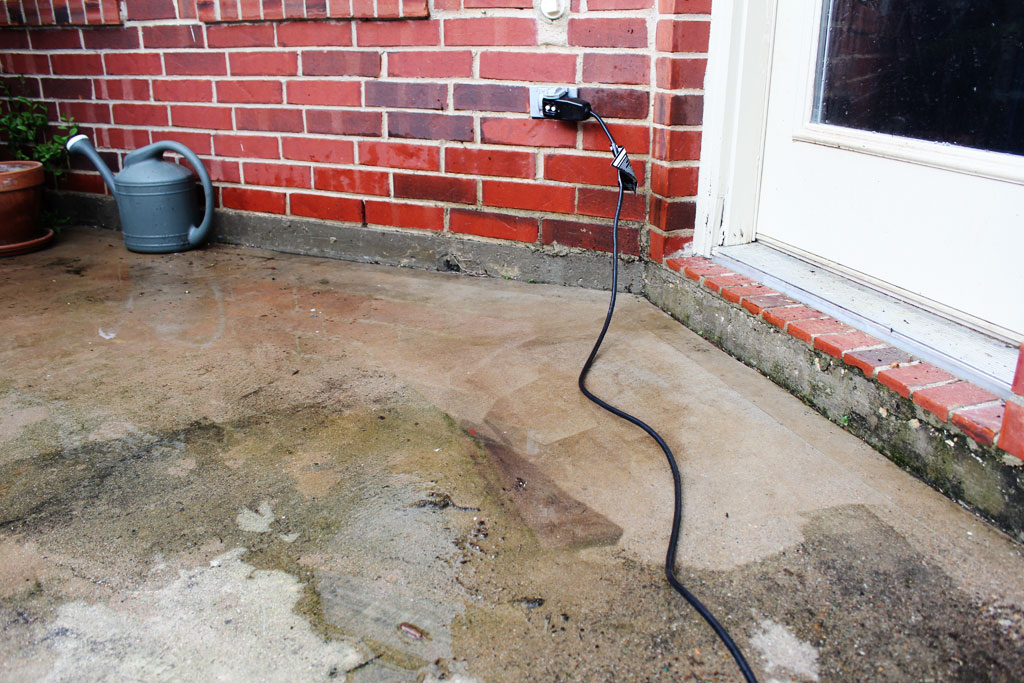
That is much better!!! Pressure washing is one of the most rewarding cleaning projects because you get to shoot a water gun and can literally watch the dirt disappear! See where I’ve pressure washed and where I haven’t??

pressurewasher1

One more last look at the final results after they have dried out a bit:

pressurewasher3

Have you guys been out enjoying the nicer weather? Do you have any favorite flowers to plant in pots in the Texas heat?

Vegetable Garden

One of the things on my 30 Before 30 List was to build and plant a vegetable garden.  This is one of those “I’ve never done this but always wanted to try” projects… so I’m kinda winging it here.  But as always, I’ll share the results, positive or negative as they happen!

I got the plans for the raised vegetable garden from DIY Diva and the vegetable beds she built for her farm. And true to her info, they cost less than 25$ to build (not counting the soil and plants to go inside).  I bought 6- 6′ ceder fence boards and two 6′ rough hewn cedar 2×4’s.  Other than that you’ll need a drill with a 3/8 drill bit, some screws (I used some I had on hand, but if you are buying some you should buy deck screws 1.5″), a shovel and a mallet.

Building the bed is pretty simple, first step is to cut your boards.  Cut two of you 6′ boards in half, and the 2x4s into 19″ sections (that gives your bed 7″ into the ground)

garden1


Then predrill the holes for the boards. 6 holes in each of the long boards (two on each end and two in the middle) and 4 on the shorter boards.

garden12


Once you have that done, its time to assemble all the pieces.  I just lined up the top of the boards and screwed them in, the long sides first.

garden10


garden9


From there, just attach the shorter ends and make sure the box is square.

garden8

If you have softer soil you can probably mostly just hammer this into the ground with a mallet, but since we have clay soil mixed with quite a bit of rock we found it easiest to dig a few holes first. We picked the placement mostly because I didn’t want to have to reconfigure the sprinkler heads, so we simply placed it between the two in the area we wanted the vegetable garden to be in.

garden7


From there I laid down some weed-blocker and started to put in my bags of soil.

garden5

I pegged down the weed blocker to prevent as many weeds as possible.

garden4

My Home Depot was having a sale on the Miracle Gro organic soil for vegetable gardens, so we bought 12 bags of that.  I only used 11, but I also mixed in some peat moss I had on hand for a little bit more organic matter.

garden6

From there when I got close to the top I started to lay out my pots of veggies.  These came in little pots that you are supposed to plant along with the vegetables.  Just get them moist and peel off the bottoms to put them in the holes. The ones you see below are tomatoes and peppers.  I put a diagram below of what all I planted so I can keep track.

garden3

I filled in the rest of the soil and then gave them a good soaking (the pic below is before watering) and some vegetable fertilizer.

garden2


If you follow me on Instagram you saw this last week and also got to see my post yesterday that the zuchinni and squash seeds that I planted peeked out of the soil on Easter Sunday.  SPRING IS DEFINITELY HERE!

If you want more detail on what all I planted, I drew up a ROUGH diagram on Photoshop and I have some details about the types of veggies I planted.  After I had planted them I did some more research and I think maybe I planted things a little too close together, but we’ll see when they reach full height!

garden13

All the seeds (everything but the peppers and tomatoes) are Burpee Brand from Home Depot, the zucchini are summer squash Bush Bounty, I used two different types of yellow squash: Butter Dish and Pic-N-Pic Hybrid and the Okra is Baby Bubba Hybrid.

The tomato plants are all Big Boy Hybrid Tomatoes.  All the tomatoes and peppers are Bonnie Brand.

Happy Teal Flower Towers

The sun is shining, the weather is turning beautiful and giving us hope that spring may eventually, actually be sprung.  I am not a cold weather fan (umm… duh, I live in Texas) and this winter has drug on and on and on.  Is anyone else ready for winter to finally be gone and to welcome springtime, flowers, warm weather?!?  I am for sure.

Which probably explains why I did something a bit out of character.  I’m not usually one for bold color or lots of patterns, but spray painting my flower shelves that sit outside my kitchen table had me picking a table I would never otherwise have chosen.  Turquoise.  Or technically “Lagoon”.  I’ve you’ve been around the blog a while you may remember that I didn’t have much luck with my flower containers last year (I blame the intense heat):

flowers-dead

But these pictures do give a pretty good glimpse of what the flower towers looked like before.  And just so you can see what they looked like with living flowers in them:

flowers


Well I got in the mood to spray paint something the other day, and while its not quite time to plant my spring containers, I did decide to do a little “garden prep”, aka I spray painted these puppies with Rustoleums Lagoon color in Satin.  But it being dark outside so early I was racing against the clock, so I didn’t get any ‘in progress shots’ sorry… bad blogger.

flowertower5


PS… if you have to spray paint anything, invest the 5$ for one of the handle things.  It makes it WAAAAAAY easier to get nice even coats and your hand won’t look like The Claw afterwards.  (Friends reference anyone?)

I love these flower shelves, they came from my grandmother’s basement and were the perfect addition to this side patio, but since they were a few years old, their brown color was looking a little tired and worse for the wear, so they had been on my list of things to paint for a while! I think one of the reasons I love these so much is that they reminds me of the wardrobe character in Beauty and the Beast

(src)

 See what I mean:

flowertower2

Anyway, check out how well the color pops against my red fence:

flowertower1

Now they are ready for it to warm up just a little bit more and be covered in beautiful flowers!

Stay tuned next week… I’m hosting a shower for my brother and his fiancee and I have some super cute decor coming your way!