Archives for July 2013

Half Bath

Just off of the living room and kitchen is a small ‘half bath’ guest bathroom.  And if you can picture the space underneath a stairway… then you will know how TINY this room is (and therefore impossible to photograph!).  And to top it all off the previous owners had chosen a color that was a very unattractive shade of green (it might also be that i’m not a huge fan of green… and I was a bit biased against their other green choices in the house) and painted THE WHOLE ROOM… ceiling and all.  Doing so made this tiny little room feel even tinier!

guest-bath-before 
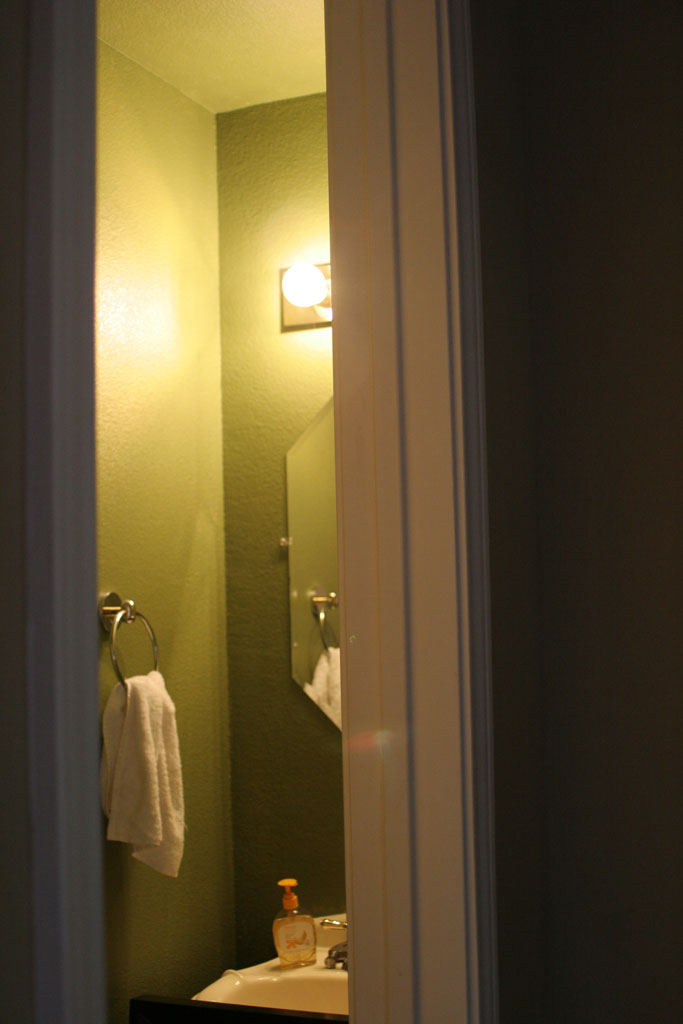
And with a builder grade octogon shaped mirror, I knew a little bit could go a long way in this room.  And this was definitely a room I did a little bit at a time.  One weekend I got fed up with the mirror… and switched it out.  About 6 months later I decided the ceiling needed to be white.  And somewhere around that time I found a glass bowl for a sink at the Habitat ReStore for about 50$.  Since I’d always wanted an above the counter glass bowl sink, I went ahead and bought it with ABSOLUTELY no idea what the next step in how to actually make it function as a sink.  And so… like the tile in our Backsplashing Project it sat in my garage for a LONG TIME.  But I knew if I could figure out how to convert it into a sink it would look PERFECT in this location.

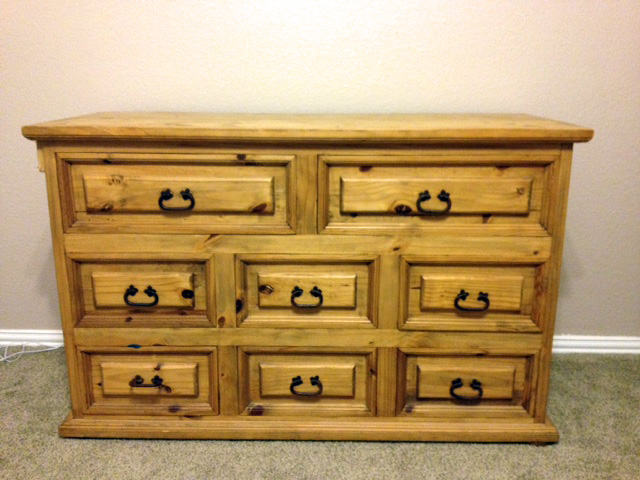
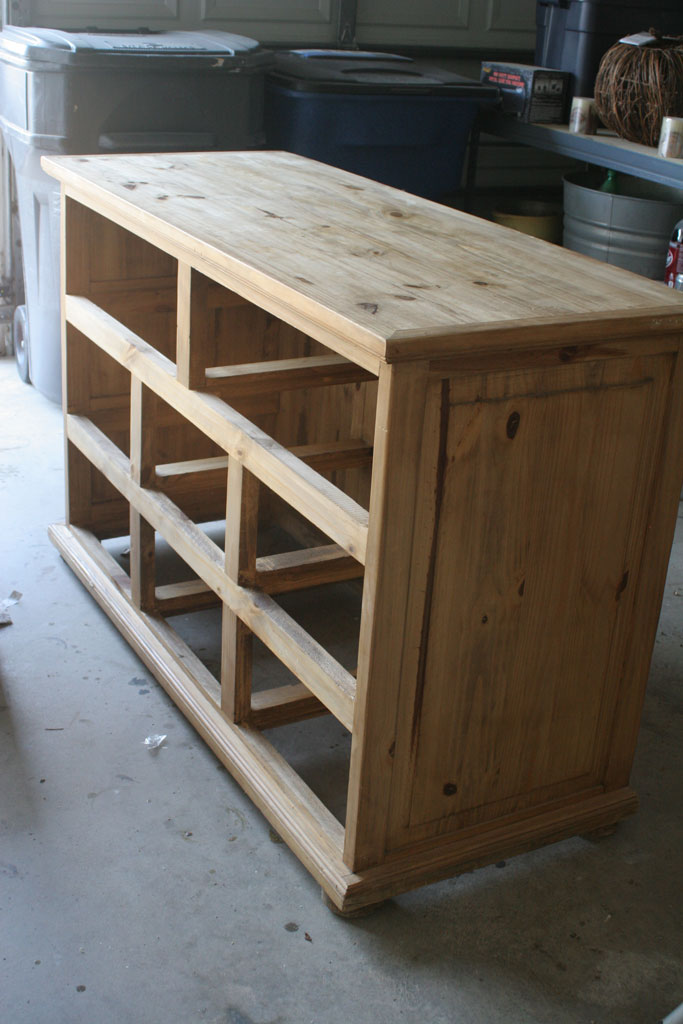
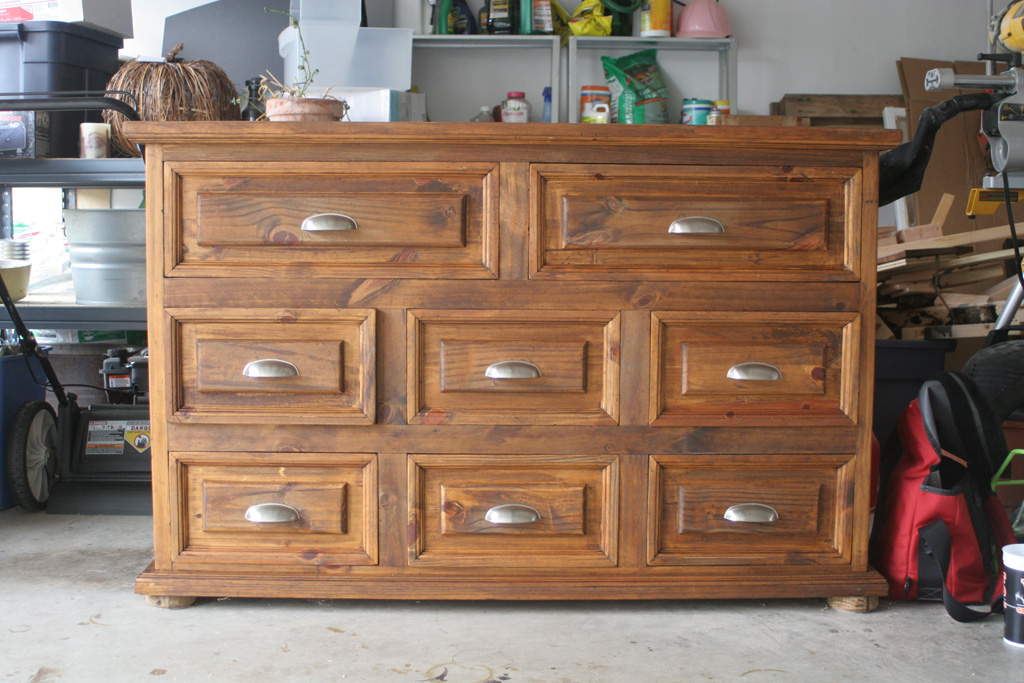
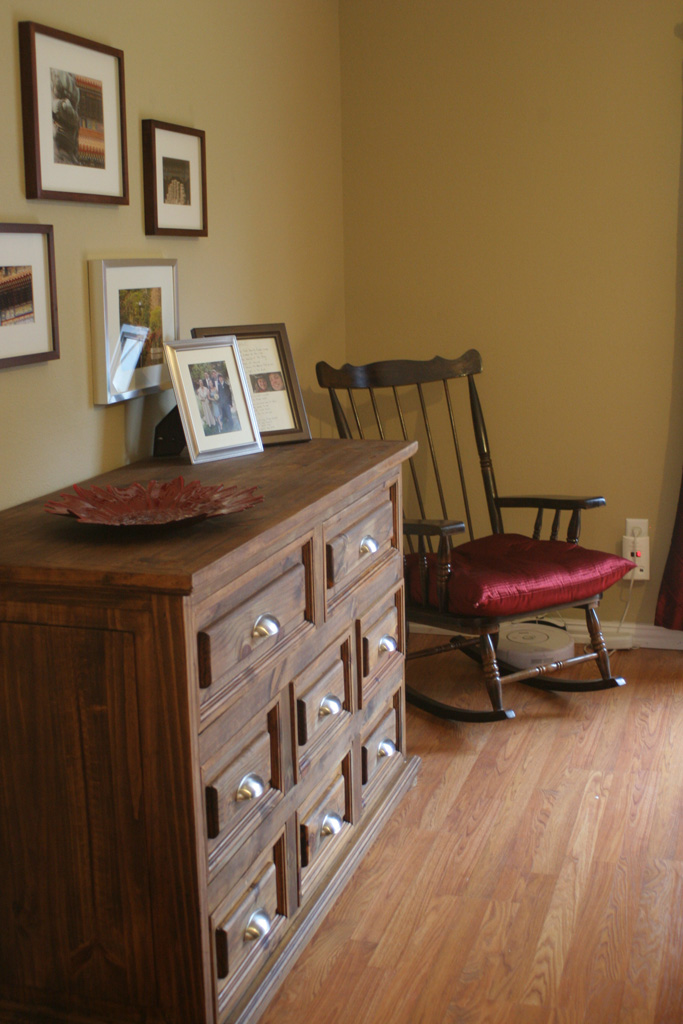
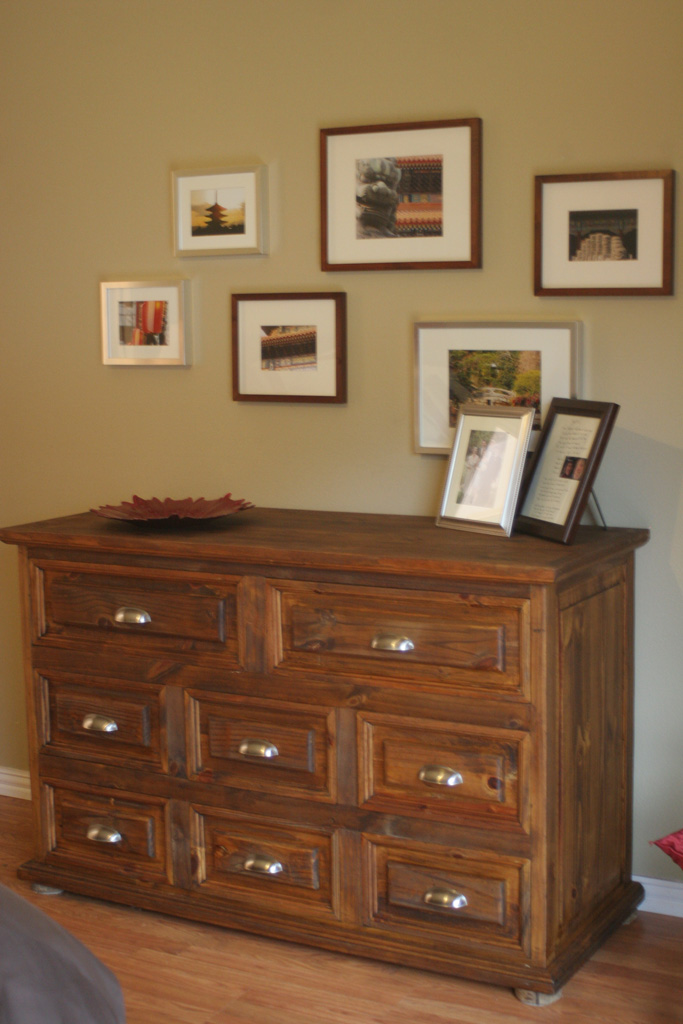
And then a few other pieces of the puzzle fell into place.  I was perusing faucets on overstock and found one that was perfect at a deep discount and when I looked closer it mentioned it had the sink stopper to go with it! I immediately purchased it and added it to the now growing stack of sink materials in my garage.  The other piece that fell into place was realizing that the old record holder which was sitting in my garage awaiting its furniture destiny was the exact right size to fit in that little corner of the bathroom AND the sink and faucet could comfortably sit on top.  You would think with all the pieces I would jump right in… but life has a tendency to get in the way and all these pieces sat in my garage.  Party because I didn’t have any time… and partly because I was scared to start, I mean lets be real… if this goes wrong it means I have a leaky sink and plumbers ARE NOT CHEAP.

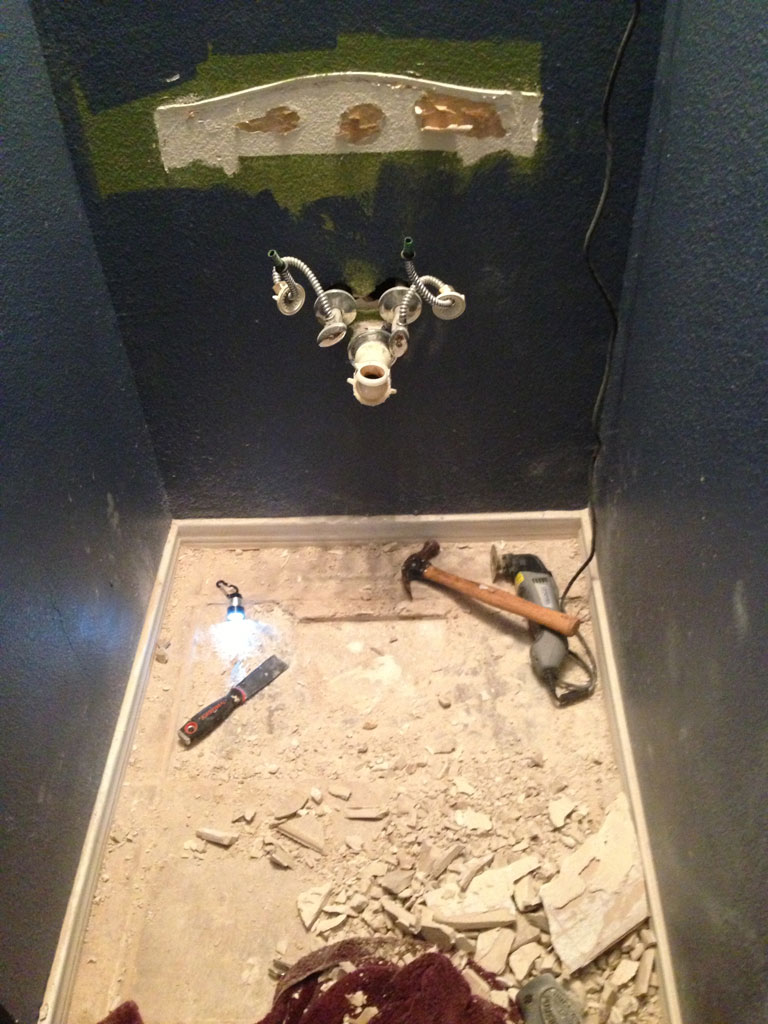
And this is when I know I married the right guy (or at that point was going to marry the right guy).  One Saturday afternoon the guy who isn’t a big fan of projects says to me… do you want to go to a movie tonight… or do you want to rip out the old sink and start the bathroom renovation? (I might have accidentally kickstarted it by randomly deciding I couldn’t live with the green anymore and needed to paint the walls…oops) So I immediately answered yes and got in the car to go get all our supplies before he changed his mind.  So we jumped right in and started to remove the pedestal sink.  I knew it would be kinda tricky because the tile had been laid after the sink and so along with the sink needed to come out two other pieces of tile (fortunately the previous owners had left several spares in the garage).  So I did what any good DIYer does… and googled how to remove a pedestal sink.  I followed instructions… cut the caulk around the back and gently pull away from the wall.  HA… easier said than done. We ended up having to take the Dremel with a grout removal attachment and cut all the way through all the grout and break up the pieces before that sink would even budge an inch.  But thanks to the husband’s perseverance… it finally came out. The ‘progress’:

guest-bath-progress

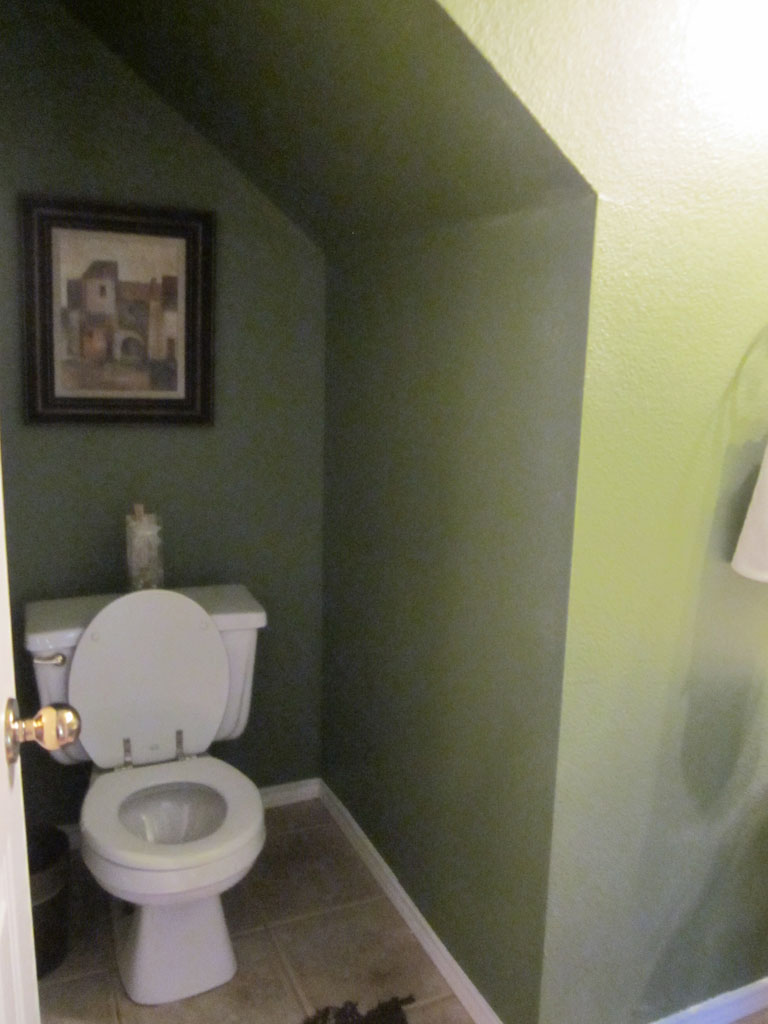
I like the picture above because it gives a very good picture of the old paint color vs the new paint color.  I decided to paint so spur of the moment that I just mixed my own paint using leftovers from the kitchen, living room and office paint jobs to find a happy medium.  Which is a little sad because I LOVE this color and wish I could use it in more places! I might have to get it color matched sometime!!

Since this post is getting a bit long and unwieldy I’ll save talking about how we converted the old record holder into a bathroom sink for Friday’s post.  And I’ll leave you with the before and after of the paint job in this tiny little bathroom.

guest-bath-before1 guest-bath-after1 
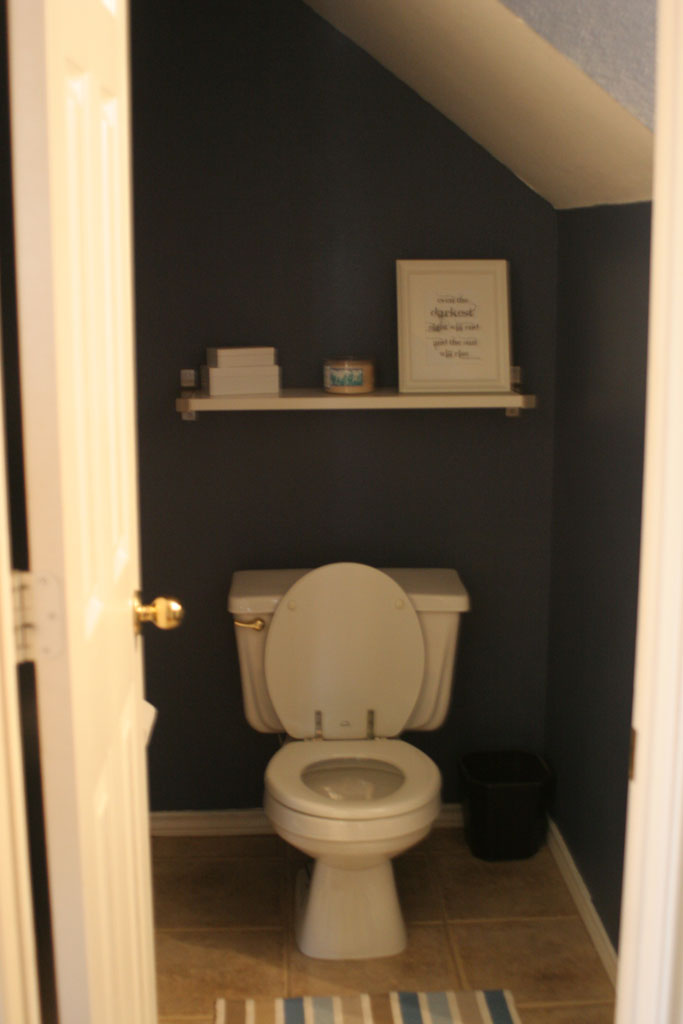
I think the biggest difference in the painting was turning the ceiling back to white.  It definitely made the room feel bigger.  (again… sorry for the blurry pic!)

Stay tuned for Friday’s post about the sink!

Crafty McCrafterson

I’ve never really considered myself an artsy person… I can’t draw to save my life, and i’m pretty sure my middle school art teacher just gave me a decent grade because I was friendly and chatty (and I wasn’t quite as bad as the guys in there who couldn’t care less).  That being said… I love being crafty.  I am a novice seamstress (although that word sounds fancy… I assure you I am not) and I am addicted to my hot glue gun.  AND I have this unbelievable ability to think I can do anything, half the battle is just getting started.

So there is this store in downtown Lawrence, KS (home of my Alma Mater… Rock Chalk!) and its called Made, and its like a real life Etsy shop. Everything is home made and super cute, but I have a problem with it.  I walk in the store and think… I could make that! Don’t get me wrong… I’ve spent plenty of money in there, I mean, their stuff is super cute BUT if there is something I like that is too expensive or looks easy to make, I think I can!

I was in there with a friend a month or so ago, and she really loved a wreath they had.  It was selling for about $40 dollars, and wasn’t much more than a Styrofoam wreath covered in twine with some fabric flowers on it.  I had a ton of leftover materials from DIY Wedding things so I decided to see if I could make it for my friend! craft-wreath8

So I stopped by Hobby Lobby with a 40% off coupon for the Styrafoam wreath (I think it was bout $3 for the wreath).  And I had this ball of twine like material and so I put a dot of hot glue to hold the end down and then started wrapping.  And wrapping and wrapping.   craft-wreath11

I highly suggest doing this while watching a tv show or movie, because its a bit tedious.  It took me maybe 30 minutes to wrap the whole thing. I wasn’t too careful about wrapping exactly even because I liked the disheveled look of the criss-crosses.   craft-wreath7

I knew I had seen a post on Bower Power about how to do fabric flowers. So I brought that back up and watched her tutorial.  I mostly had leftover ribbon, which looks a little different than the fabric, but the different textures added some variety.

So one by one I twisted the little flowers and hot glued them on (I used hot glue, which the tutorial linked above doesn’t, but I felt like it kept my flowers in the shape I wanted)  craft-wreath6

After hot gluing each individual flower, I put a layer of hot glue and stuck it onto the wreath.

craft-wreath2


craft-wreath5
The important trick that finally helped me understand how to make the flowers was to twist the ribbon AWAY from the knot in the center.  You can see below (sorry for the fuzzy picture, but I think you get it…) You tie a knot at the end, then just twist the ribbon away from the flower and continue until it is the size you want it to be.  Whenever mine was starting to get a bit unwieldy i’d just add a dot of hot glue to the back and keep going.  However… be careful not to burn your fingers.  Also BTW… if you bought your hot glue gun at Home Depot instead of a craft store it is 10x (scientific number) more likely to burn your fingers. And smoke. THAT SUCKER IS HOT.  craft-wreath4 craft-wreath3 Keep doing this until you have all the flowers you want for your wreath.  For the final step I looped a piece of blue and white polka dotted ribbon and hot glued it at the top so the wreath would have something to hang from.   craft-wreath1

The bottom flower in the picture above turned out really cool and is made from some ribbon that comes already bunched up… I love the added frilly-ness that it added.  craft-wreath9 craft-wreath10


And there is the final product! It cost me approximately $3 and a few of the materials I had on hand, but it would be a great way to use up extra fabric scraps or extra ribbon you had lying around the house!

I’m going to be making one for my front door very soon!


Dresser Upgrade

I know I haven’t really posted much on the master bedroom here on the blog yet.  I feel like it is one of my most unfinished rooms.  BUT I just finished one project for this room which definitely puts this room one step closer to being finished.  When my husband moved into the house we knew we would have to figure out some additional storage for our clothes.  I had two dressers, but I already had them packed to the max! Both were hand-me downs that I had refinished with Minwax Jacobean stain and put silver handles on.  But one of them was still in pretty bad shape from being stored in the back of a warehouse for a while (the top was warped and even though I had ‘repaired’ the bottom drawer, it broke again and was pretty much beyond repair).  So when a friend posted on Facebook about a dresser she had for sale I jumped at the chance to get it.  We rented a truck from HD (long story, but I don’t recommend it!) and paid her $200 for the solid wood dresser, but it wasn’t really our ‘style’…yet.  So I stored it in the garage (for about 6 months) until I could put the MJ stamp on it.  I planned on staining it with the same Jacobean stain I had used for the other dressers (one of which is still in the room with it).  But I read about someone using Danish oil instead of stain and thought I would try it out.  (bad blogger… I forgot to take a true ‘before’ picture, this is the one my friend sent when I bought it)  dresser-before

Fortunately the dresser was already mostly in a natural wood state so it wouldn’t require hours of sanding or using stripper, so to start out I just went over it once with a 220 grit sandpaper (its mostly what I had on hand and a good grit for ‘prepping a surface’).  FYI in case you aren’t a sandpaper aficionado, sandpaper has different degrees of roughness and most that you’ll see at your local home improvement store are from 80 grit up to about 220 (there is a superfine that is somewhere in the 300s, but I don’t use it all that often). I have this cheap random orbital sander that I bought a few years ago and it works perfectly fine for most of my projects!

master-dresser-before

So I sanded it down a bit while the hubby removed all those handles, they were wired in with rusty wires and the holes were only 2″ apart.  I discovered in this process that they don’t really sell 2″ wide handles, so I knew I’d have to drill new holes and because the old holes would still be there I needed a handle that would cover up the old holes too.  Fortunately the handles I had JUST BOUGHT for my bathroom cabinets (which sits adjacent to where this dresser would be) would fit the bill.

master-dresser-drawers1 Then we started applying the danish oil.  We used Watco Danish Oil in Dark Walnut that was somewhere around 8 dollars per bottle.  I thought I would only need one bottle, but with all the outsides and insides of the drawers I ended up using about a bottle and a half, so I had to go back to get another bottle before finishing up.

master-dresser-danish-oil I prefer to use these little disposable foam brushes for applying stain and things like that.  They don’t leave any brush marks and since stain and Danish Oil are oil based they are harder to clean up, and nothing makes cleaning brushes easier than being able to throw them away. (that’s the husband’s hand brushing the oil onto the top in the picture below)

master-dresser-in-progress The directions on the can call for you to put it on, let it penetrate the wood and then to apply a second coat after 30 minutes, then 15 minutes after the second coat wipe it down.  I use old t-shirts to wipe things like this down (I seem to have a never-ending supply of old t-shirts around the house!).  They say that after 8-10 hours it will be dry.  I came back 8-10 hours later and still had a few spots that felt a little oily and made me worry about putting all my clean clothes into it.  But since I finished up this project on my own and although I think I’m very strong moving this behemoth of a dresser on my own was definitely a no go, I just let it sit in the garage for a few days, and sure enough by 4 days later it had no oily feeling and left no residue on the white cloth I wiped all the surfaces down with just to be sure.  master-dresser-1

Back to the handles.  Sorry I seem to be skipping around a bit… hang with me.  After putting the oil on and letting it try a bit, it was time to drill the handles.  (you can see I already tried one out before remembering to take the ‘in process’ picture).  AAAAAND don’t mind the super messy garage.  In Texas we don’t have basements… so all that storage is either in an attic or in my case… the garage. I bought a template from Home Depot that helped you figure out where to drill the holes and the right distance apart for 3″ handles.  I just eyeballed the top to bottom height for where I thought the cup handles looked centered and found the closest set of holes. From there I lined the center line up with the center of my drawers (from side to side) and marked them with a sharpie.   master-dresser-with-templat The instructions said to use a 3/16th drillbit (and even came with one in the package).  It looked too big to me, but I trust that they knew what they were doing… so I went with it, and what do you know?! the manufacturers knew what they were doing, it was the perfect size.  You can see below that the new holes were slightly wider and set down a bit from the previous holes.  That was what looked most centered and what would also cover the other holes up.

master-dresser-drilling Rinse and repeat on all 8 drawers and this is what it turns out like! I bought these pulls from Home Depot.  They weren’t cheap, but they look great, and match the ones in the bathroom, so I went with them. I feel like drawer hardware is a lot like area rugs… they are way more expensive than I think they should be and I’m not sure why… but sometimes you just have to bite the bullet and go for it.  master-dresser-garage

I let it dry for a few more days (mostly because we got busy and didn’t have the time to move it and switch out all our clothes).  But once we got it moved in it made a huge difference! (I’ll try to find a before picture with the way too small dresser in this location).

master-dresser-after2

For the first time in our married life we have places for all our clothes to belong, which definitely helps with the clutter in the room and keeping up with laundry. The pictures on the wall were all there before in a sort of random gallery wall design.  I’ll show them in more detail when I show you the rest of the master bedroom, but the ones in the brown frames are all from a trip to China I took with my graduate school program, and the ones in the silver frames are from my trip to Japan to visit our foreign exchange students (we had two from Japan when I was a little girl and we still keep in close contact with them and their families).

master-dresser-after1

I love the way it turned out and I really love the extra storage!