So I left you guys last week with a glimpse of what the house looked like after the painters came. But I didn’t have time to put the upstairs back in order and take pictures, so I’m back today with a part 2 post for you! And I think the upstairs is the biggest transformation!! So… pictures:
And I am going to apologize, I apparently got pretty light happy when taking these yesterday afternoon (I’m not used to all the sunshine we are getting in TX!) so excuse the overly lightened pictures, but the wall color is actually pretty true in most of these!
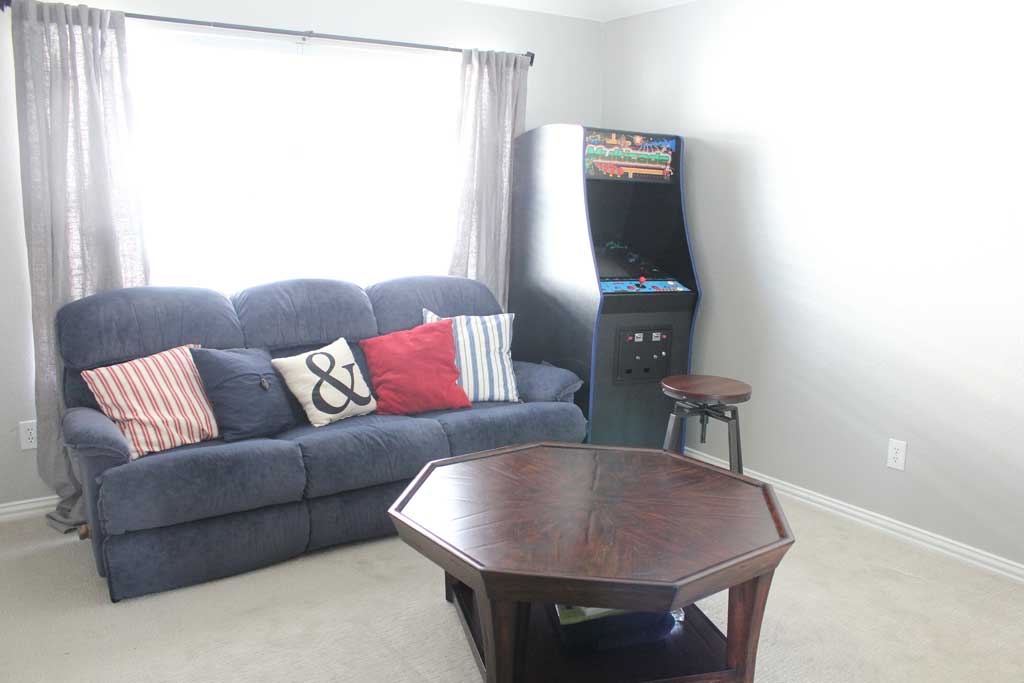
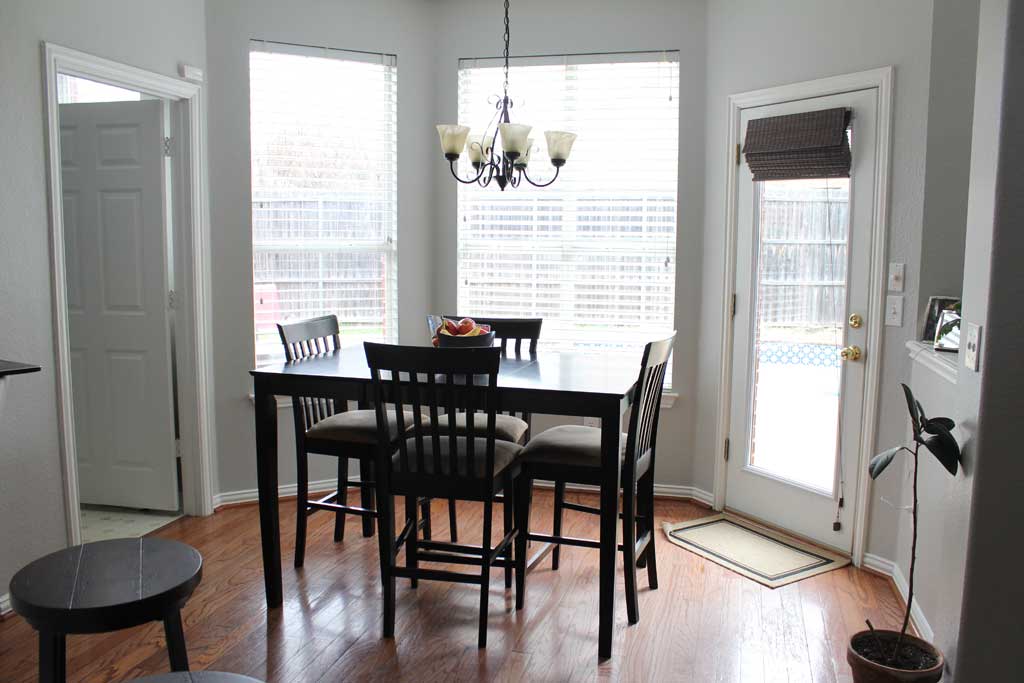
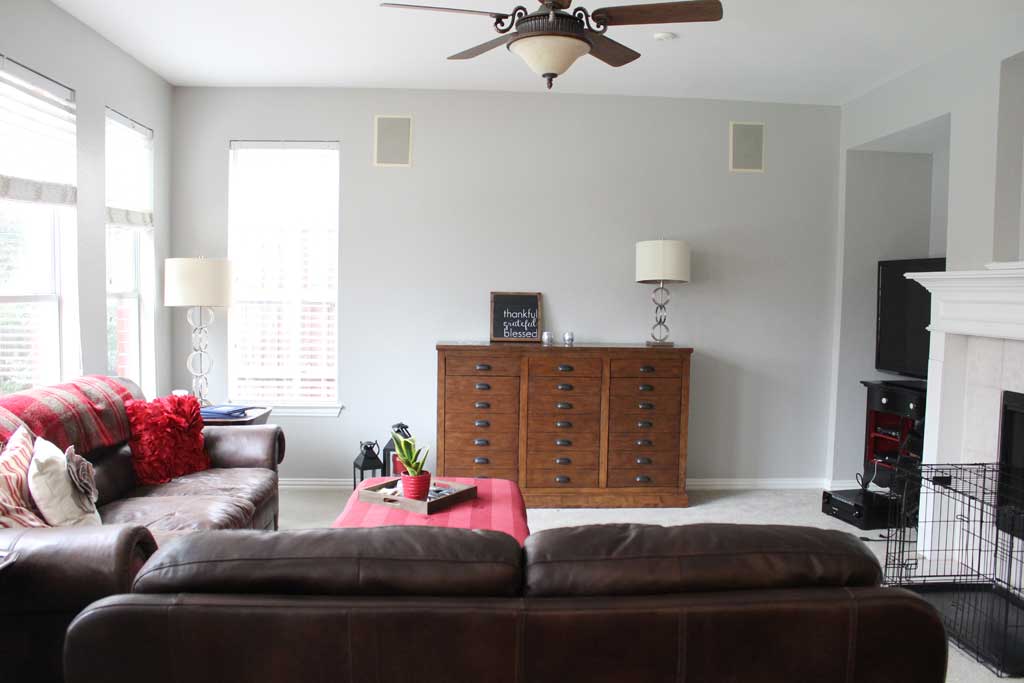
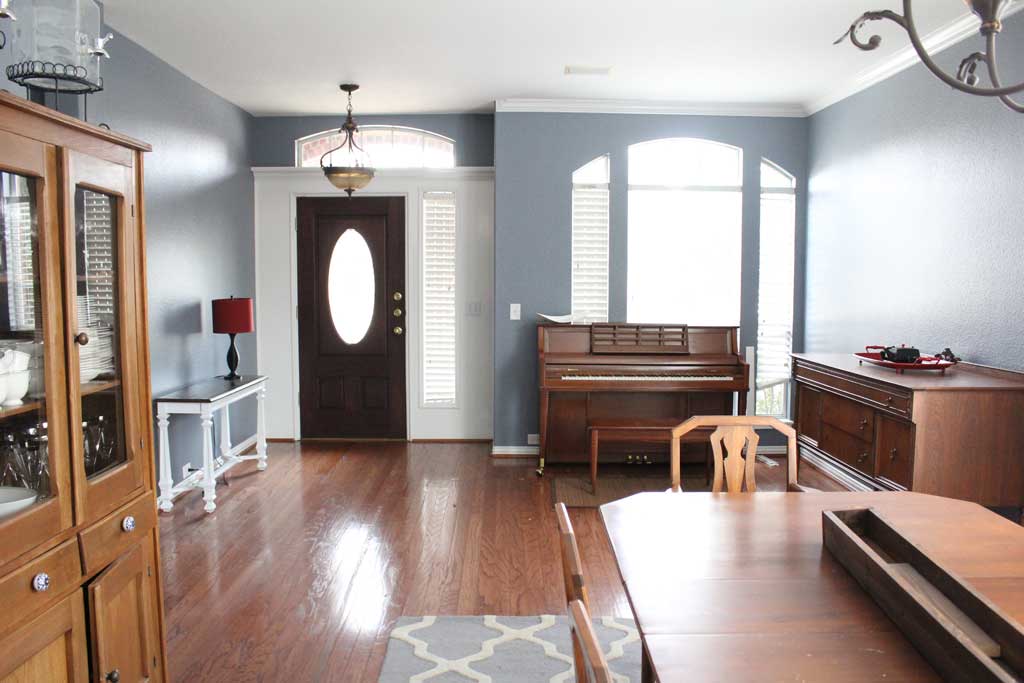
Again we went with all Light French Gray by Sherwin Williams in all of these rooms. Eventually in this room we want to add some shelving to that wall on the right to be able to put our board games/decorations, but this room is actually probably the closest of any of them to being done.

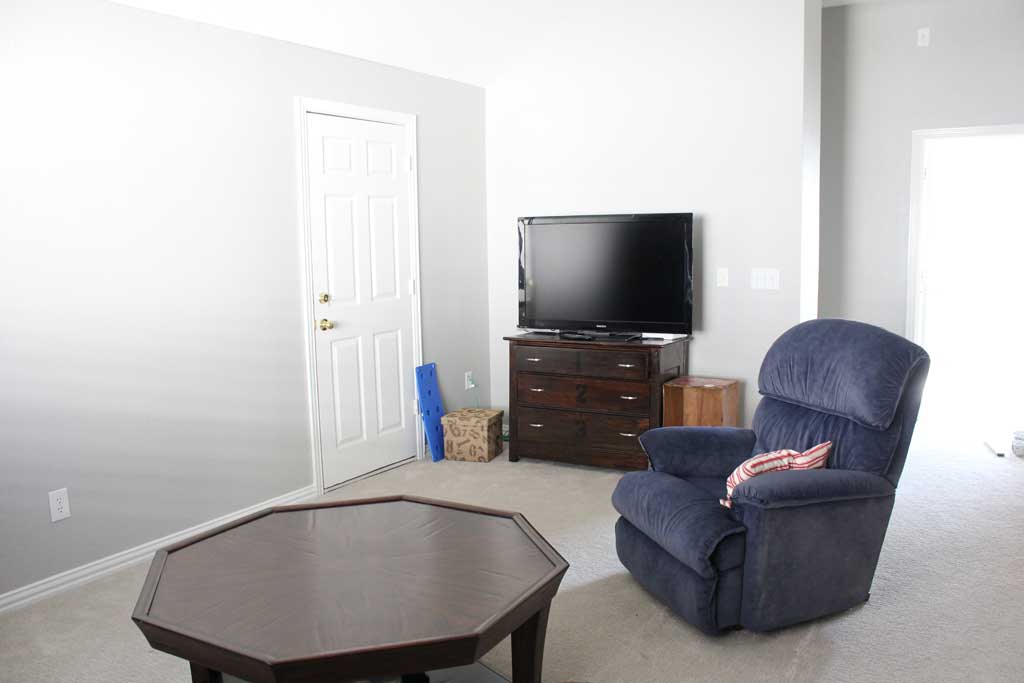
And from the other view (the door in this picture leads to our walk-in attic storage):

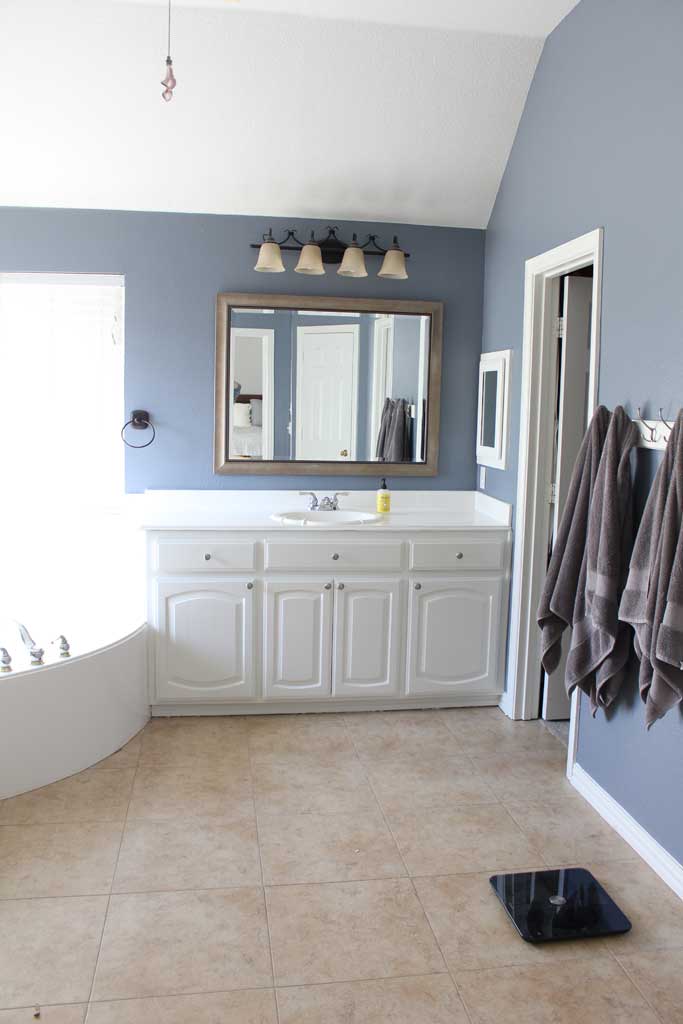
For me the biggest change in the paint has been our master bedroom and bathroom:
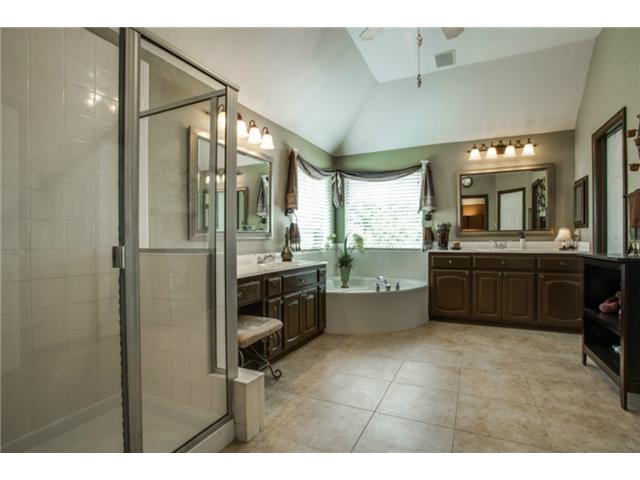
Just to remind you where we are coming from, here are the pictures from the realtor listing:
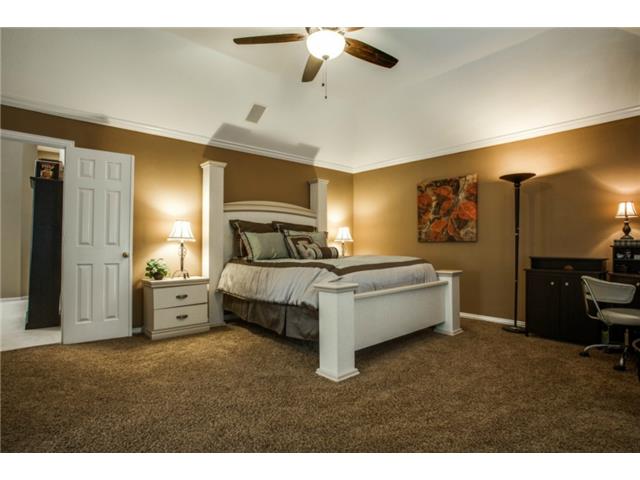
 "Pin It")

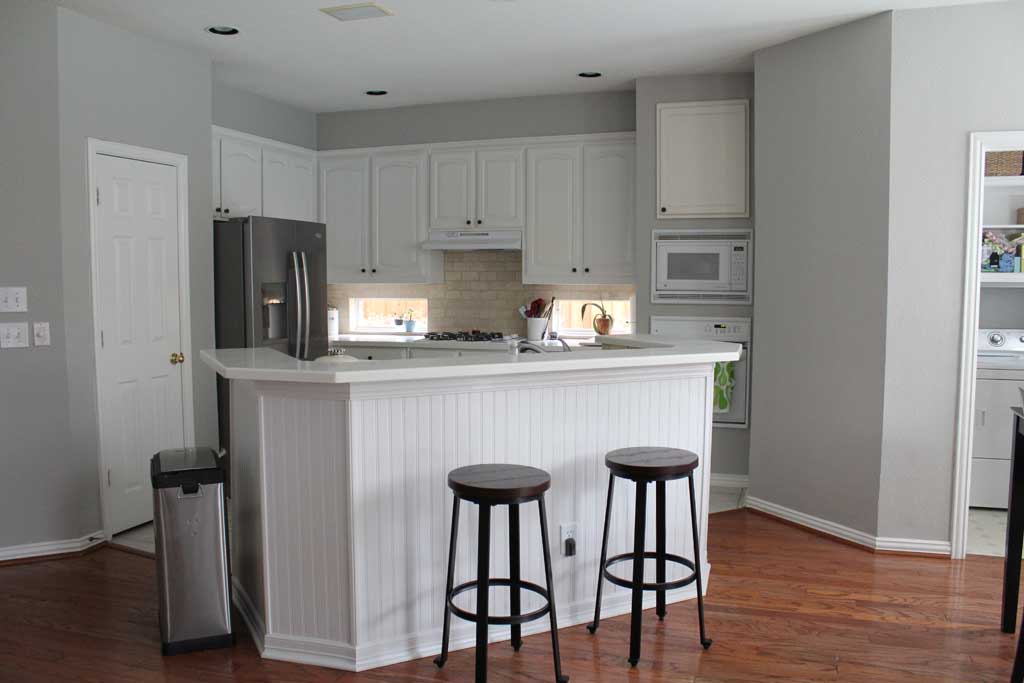
And now:
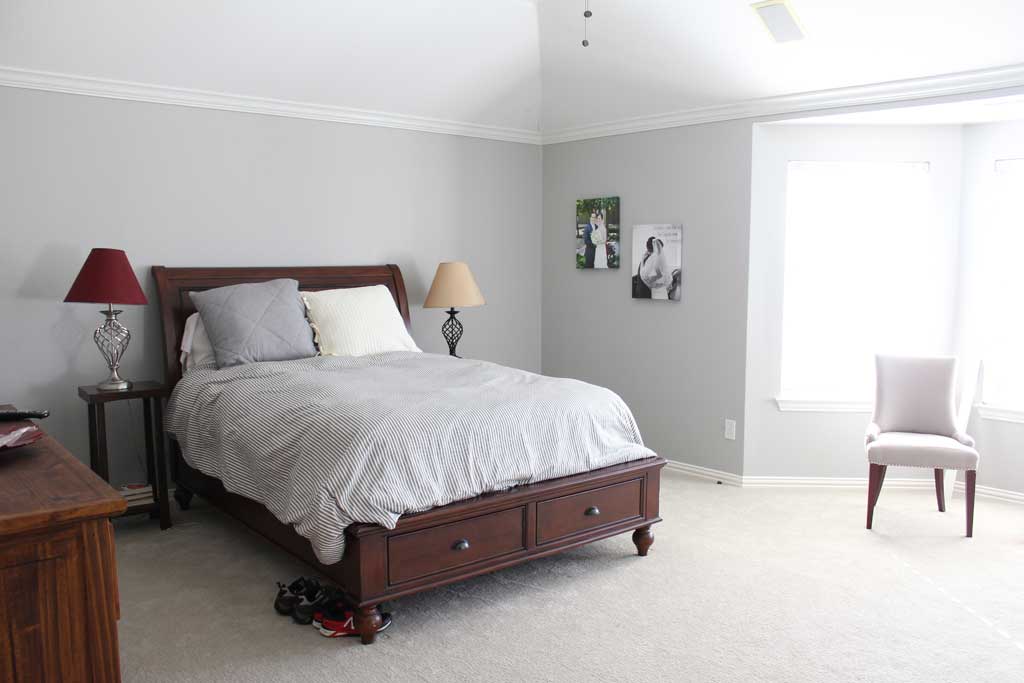

It looks so light and so airy! We originally didn’t have the painter painting the cabinets in the master bathroom. But the morning they showed up, he asked us about it. So we of course said… well how much would you charge? I kid you not… his answer was $100. We couldn’t say yes FAST ENOUGH. And what a huge difference it has made in here! I love how fresh and clean it feels and just a lot more ‘us’. Nothing was wrong with these rooms before, they just felt more dark and heavy than we like! It feels like these rooms are really our own now! The color in the master bathroom is Storm Cloud by Sherwin Williams (the same that is in the dining room downstairs).

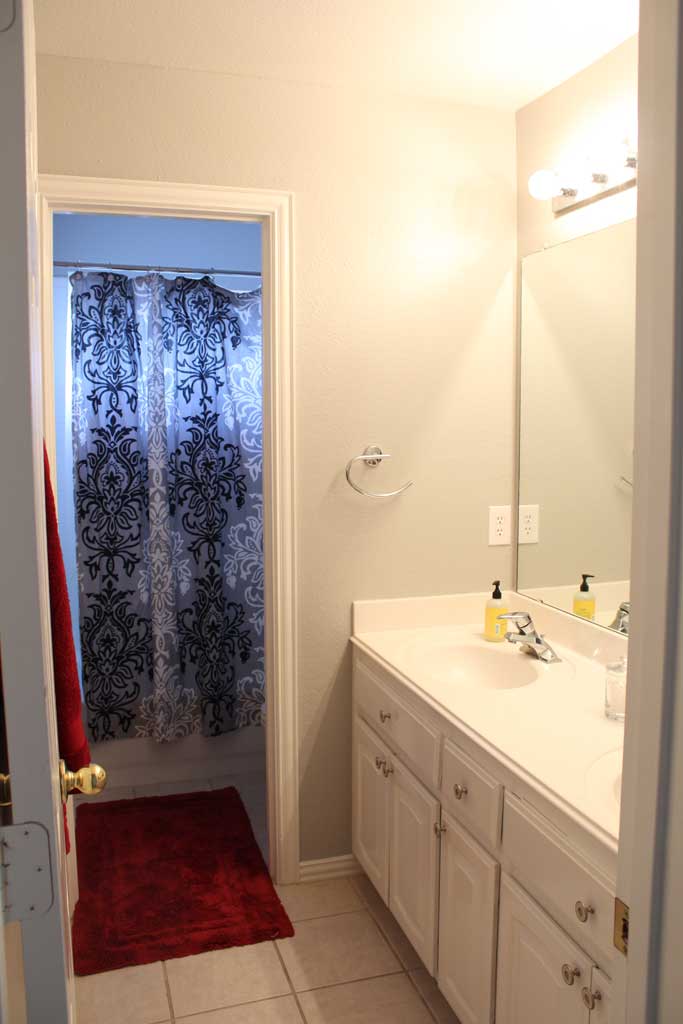
The upstairs guest bathroom: (the lighting in this room is hard… why are all small bathrooms so hard to photograph!?)

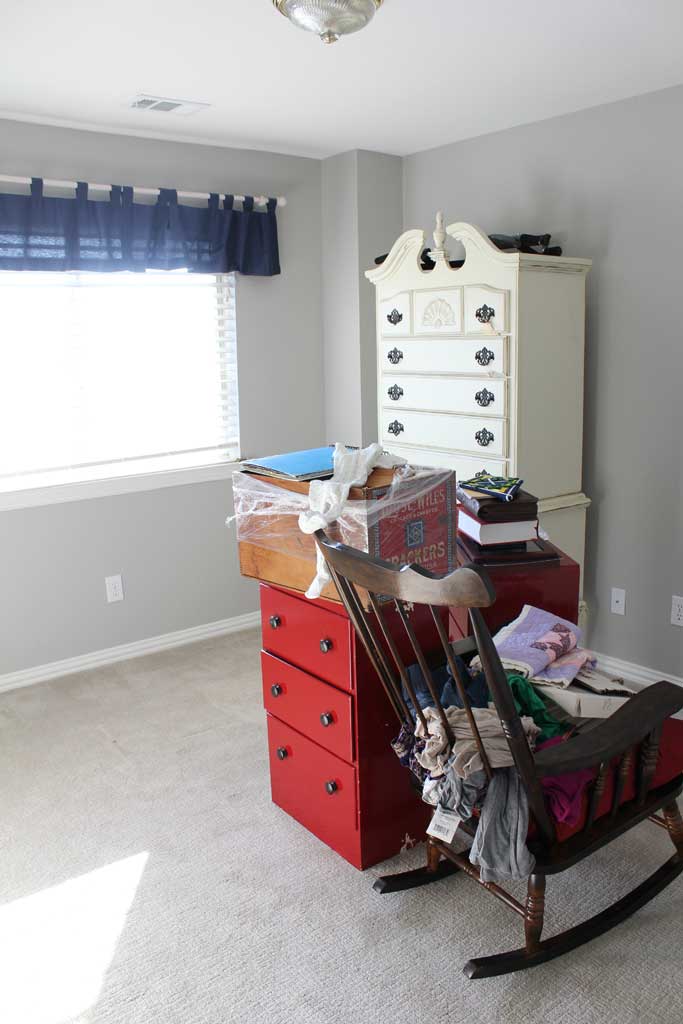
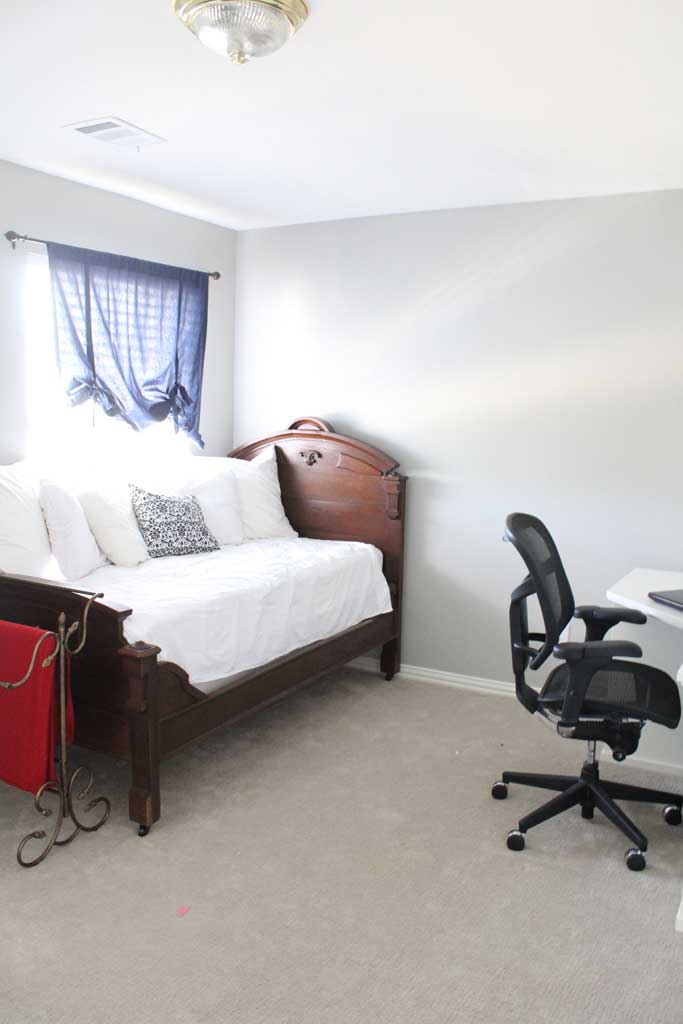
The very “in progress” nursery: Those red dressers aren’t staying in there, they just haven’t had time to move to their new home in our attic storage yet. And since we know it is a girl, that blue curtain will be coming down soon. Oh and that boob light… has got to go. Yay for getting to look for a fun girly light fixture for baby girl’s new nursery!

The office/craft room looks a little sad since I stole it’s bedspread for our master bedroom! Now I need to hang some pictures and find a new bedspread and this room won’t be quite as sad!

And that concludes the upstairs with fresh paint! Stay tuned this week since I’ll have another baby update and a garage update for you! Spoiler Alert: you can walk through the garage now. AMAZING.


 Hi, I'm MJ! I'm a DIY kind of girl and this is where I share my projects. I'm taking you along for the ride as I learn how to do woodworking, sew, bake, and renovate!


