Downstairs Bathroom

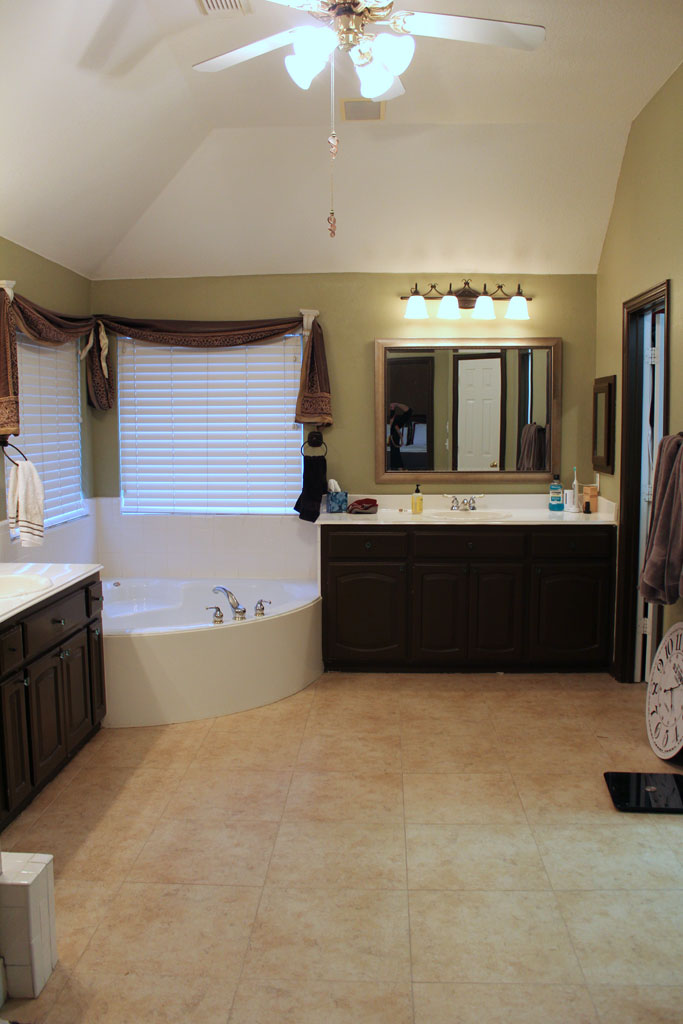
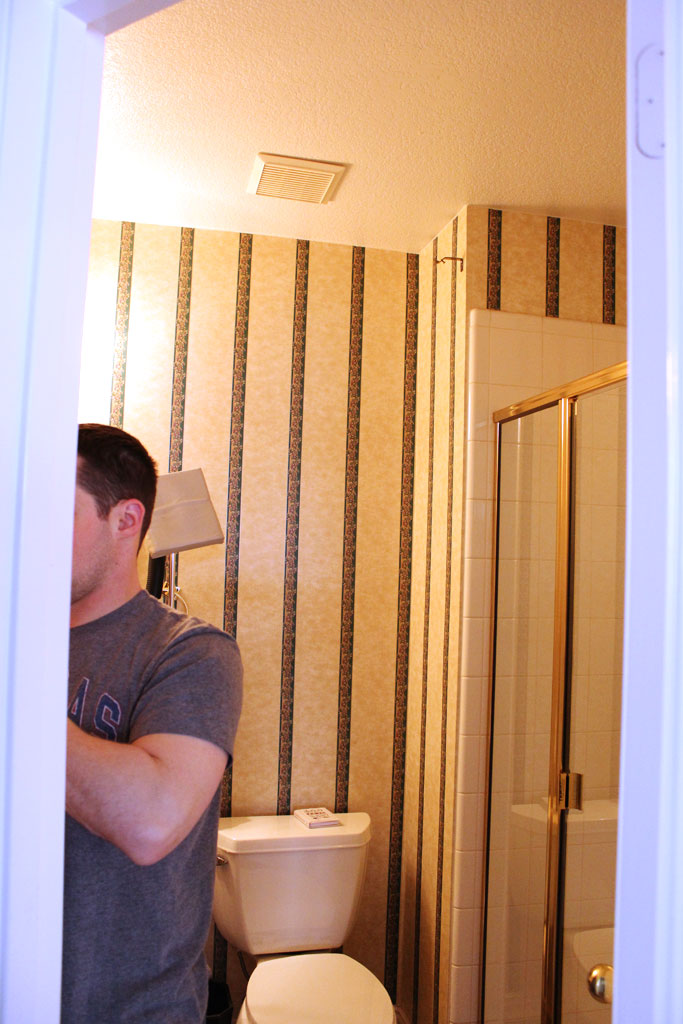
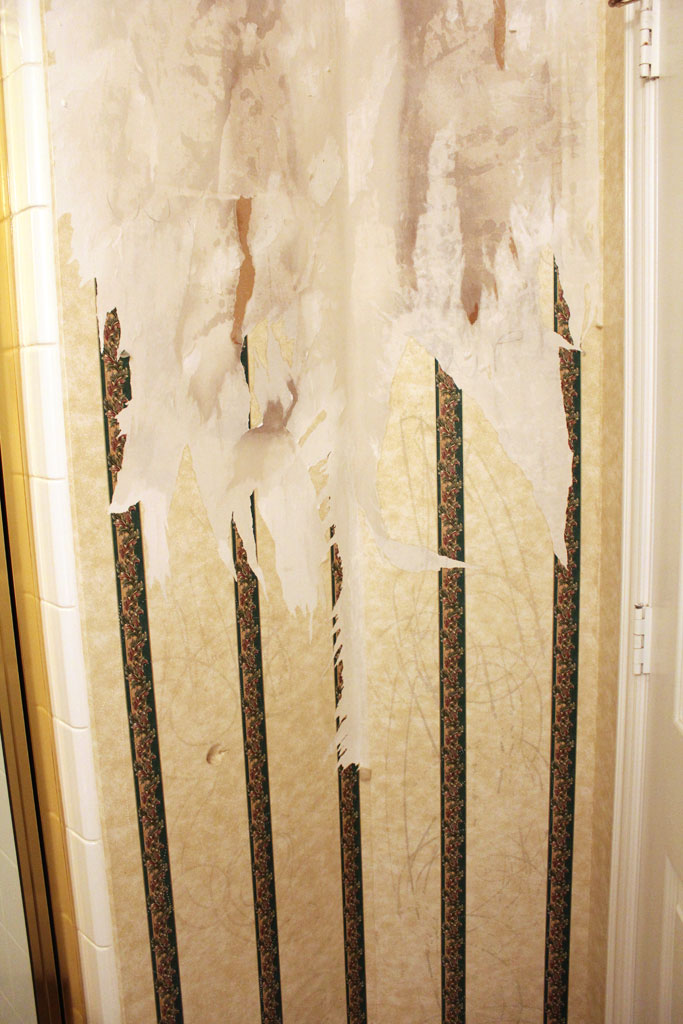
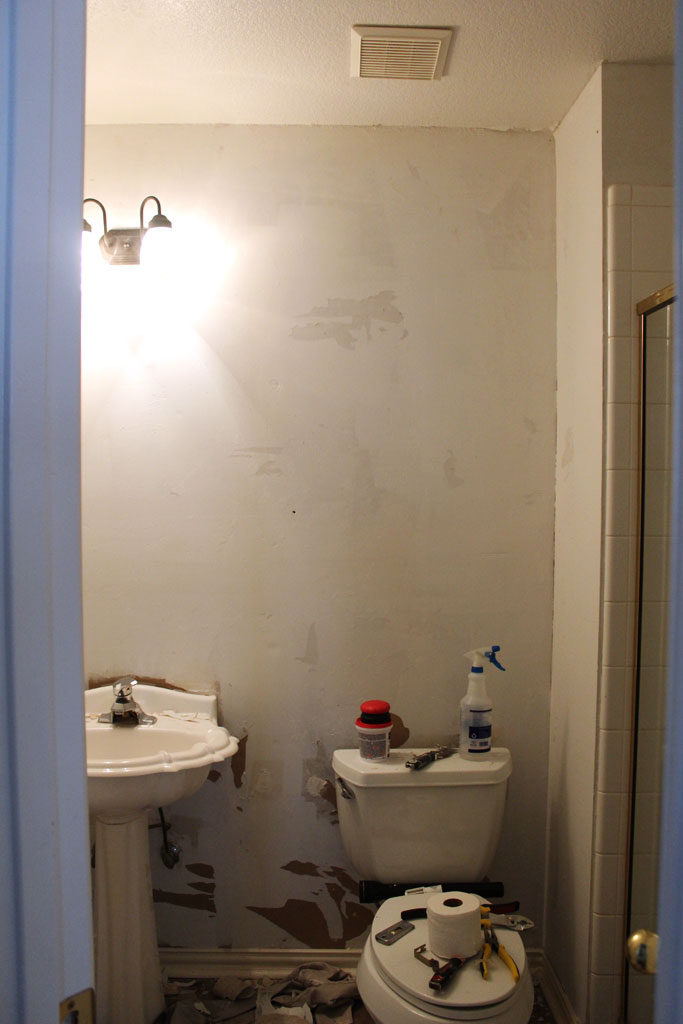
So I left you guys hanging on our guest bathroom downstairs.  I think the last time you saw it, it looked something like this:

wallpaper4

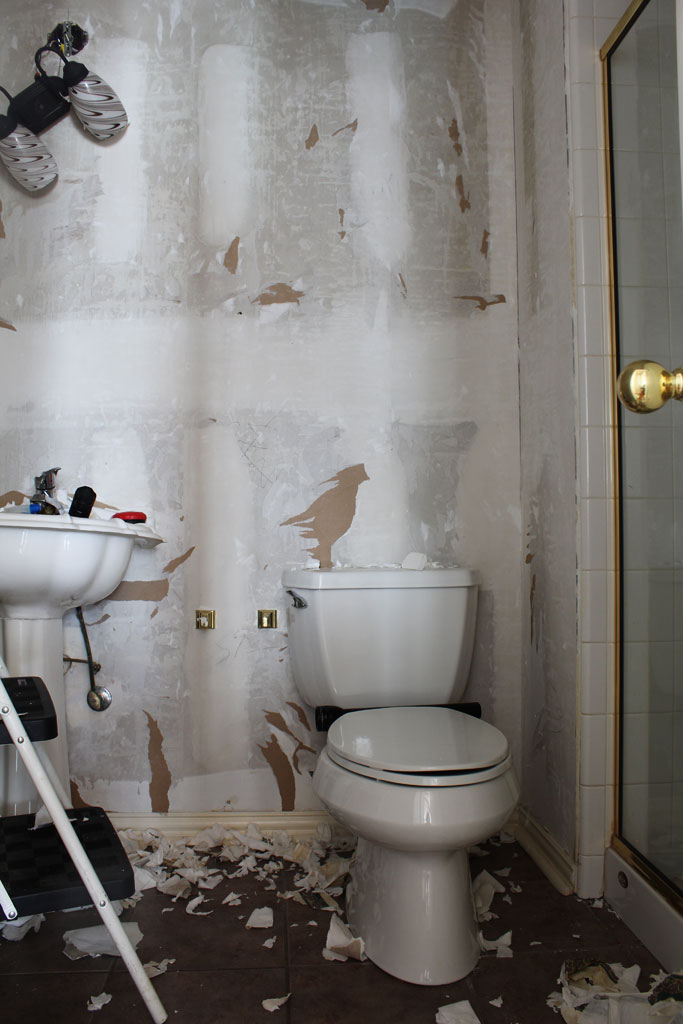
Man if that isn’t just the most appealing picture ever!! If you missed how we got to this point check out this post. And that post was a little over a month ago… oops! I promise it didn’t take us that long to get the bathroom put back together, just that long to get it finished, photographed and posted about! My husband was a trooper on this project since so much of it was things I can’t do right now (like prime walls with KILZ… not a good idea for a preggo).

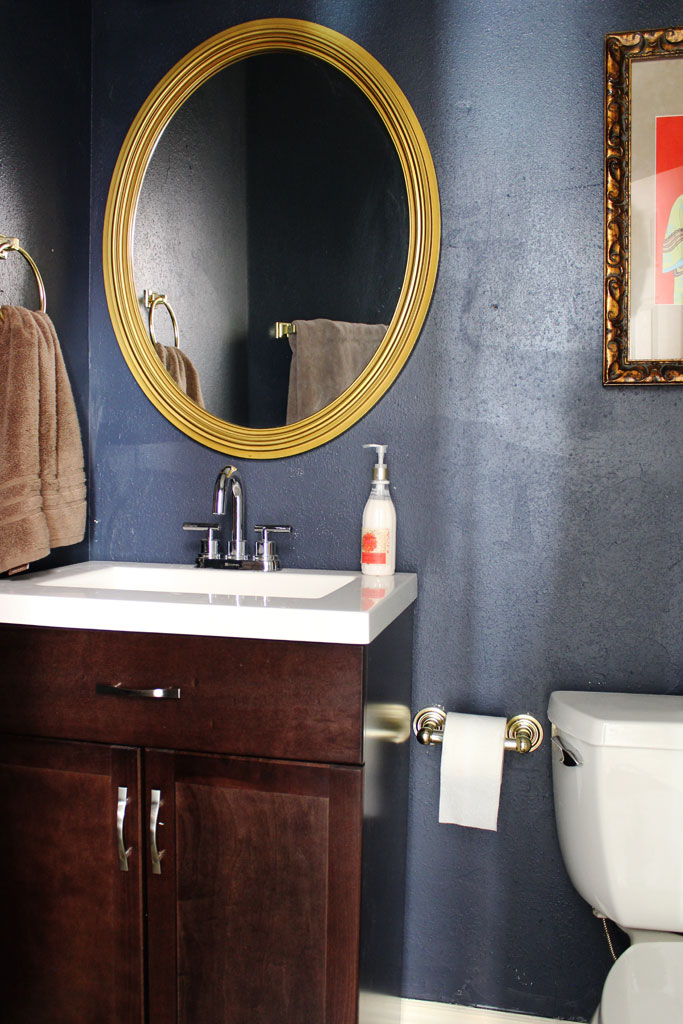
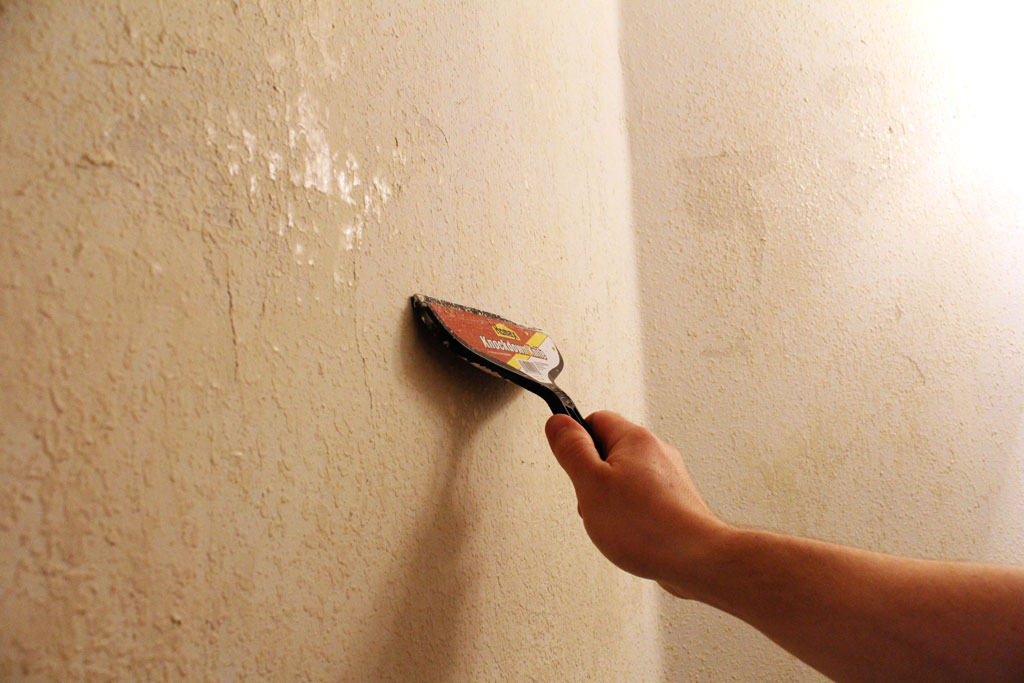
So I left you off with having removed the wallpaper, had a plumber tear out the ridiculous plumbing and deciding to re-texture the walls.  The next step was to procure a vanity.  This was supposed to be a quick and cheap renovation, so we didn’t want to spend a fortune on a vanity.  Plus this is a really really small space, so we needed to pick something small.  I went to Home Depot on my lunch break to just browse what they had in stock.  Well… they were selling one of their less expensive models for even less, and I liked the sink style and the dark brown finish, so I texted the husband and told him I was just going to get it.  It was on sale for $159.00.  So I get a nice man at HD to help me load it up onto my cart, take it up front and the guy checking out scans it and it rings up as $80.00.  And being the responsible person/rule follower that I am… I said… Is that really $80? The guy looks at it, looks at his computer and says yes.  So I quickly paid and rushed right on out of that store with my cheap $80 vanity.  I felt a little like I was stealing!

But we were going to have guests in town the next week and needed them to be able to use this bathroom space.  So even though I was out of town that week, the husband painted the whole room (we still have a tiny bit of touchup to do in a few places) and installed the vanity all while I was gone!

Here’s what she looks like now! (forgive the weird lighting… this is a completely interior bathroom and therefore VERY hard to photograph!)

Hale Navy Guest Bathroom | www.amusingmj.com

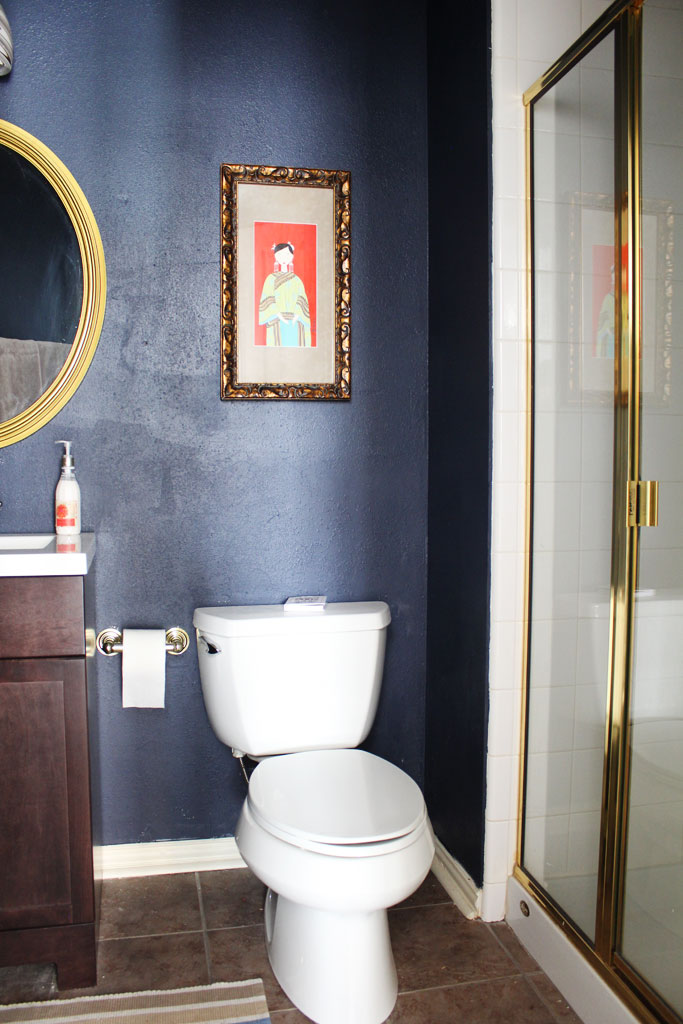
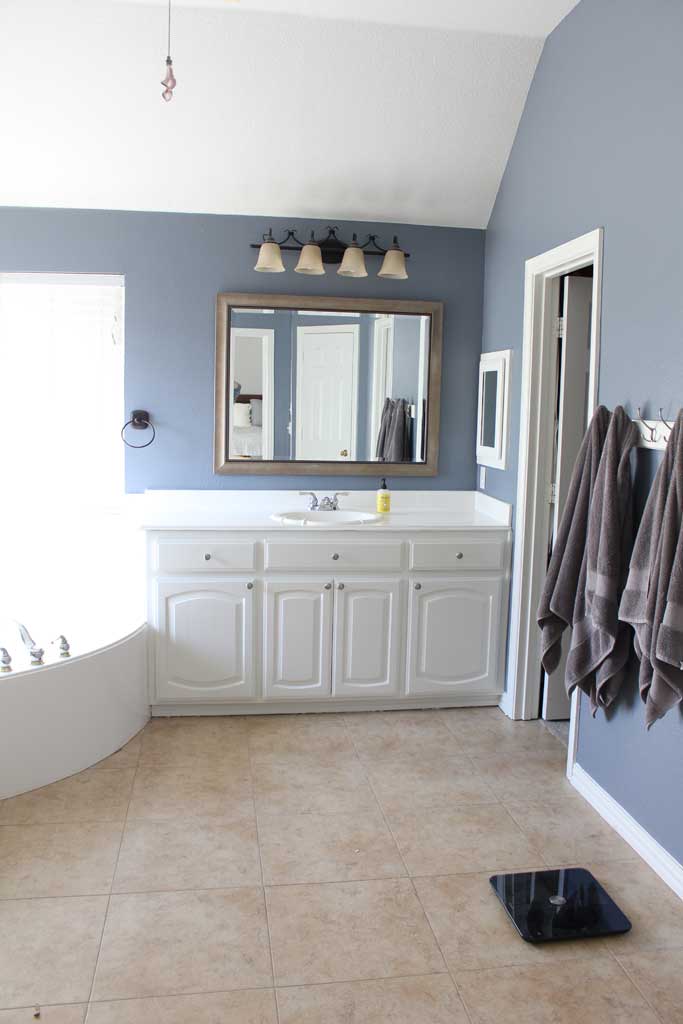
I’d like to get some shelves to hang where that picture is and move the picture to another wall, and we have a bit of paint touch up to do, but I love how dramatic the blue and gold are! I think it actually makes the shower look intentional instead of dated!

Hale Navy Guest Bathroom | www.amusingmj.com


The wallcolor is leftover Benjamin Moore’s Hale Navy from when we painted the office in the last house. I eventually need a different rug in here, but for now, she is a long way from where she started!

newhousetour6

Master Bedroom Update

Things have been a little baby-centric around here… so sorry for all of you who aren’t so interested in that sort of thing! But we have found some time to settle into our house in other ways, and one of the big rooms that I feel is getting close to that ‘settled’ point is our master bedroom.  Let me state that this room is HUGE.  Like I have no idea what to do with the space huge.  And since we really don’t hang out in our bedroom all that much it feels a little like wasted space, but that’s not changing, so back to what is changing!

First off let me show you what we saw when we toured the house:

masterbedroommovein

It wasn’t terrible, but it totally wasn’t our style.  Before we moved in, we replaced the carpet, so on move-in day, it really looked like this:

newhousetour7

Call me crazy, but those golden brown walls just don’t do it for me.  So when we had the house painted, we had them go ahead and take this room to light french gray with the rest of the house.

newhousetour4

On my MASSIVE HOUSE TO DO LIST (which totally needs to be updated), I showed you some of the things we wanted to do to this room… and fortunately, we’ve finished most of that!

Master Bedroom To Do:

  • PAINT PAINT PAINT
  • Find matching nightstands- I found lampshades… does that count?
  • Hang pictures
  • Seating area in front of window?

And now our room is looking a lot more peaceful and relaxing and definitely more of a space I want to spend time in:

Cool Gray Master Bedroom | www.amusingmj.com

I would still love to get some piece of artwork to hang over the bed, but I snagged the two lampshades from World Market a while pack and they look great in the room. (They are a bit wobbly on the lamps, but nothing I can’t live with!) And I think eventually I want some more substantial nightstands, but for now this room is pretty much done.

Cool Gray Master Bedroom | www.amusingmj.com

The two chairs I originally bought from overstock.com to go in our dining room in the last house, but they work perfectly in this room.  And of course Lexie has to have her own bed to sleep in!

The curtains were ones I had been eyeing at Pottery Barn, so when the hubs and I went in to get the ones for Baby Girl’s room, I asked about them.  Turns out they were on clearance! 30 dollars per panel.  So I of course wanted two.  The bummer was that the store I was at only had one in stock, but the awesome sales lady at the Galleria tracked another one down and had it shipped to me! SCORE!

Cool Gray Master Bedroom | www.amusingmj.com
These windows stay closed most of the time since we can see directly into our neighbors backyard (and therefore they can see directly into our room…)  So I really didn’t need anything functional so much as just pretty.  And these guys do the trick perfectly!  Cool Gray Master Bedroom | www.amusingmj.com

I love the way our room turned out! And with a view into our master bathroom that got a major paint makeover too, I am not complaining!

Light and Airy Blue and White Bathroom | www.amusingmj.com

Do you remember where it started?

newmasterbathroom1

Talk about an improvement!!

Wallpaper

So I mentioned a while back that I got some cabin fever during Dallas’ seemingly never ending rounds of snow/sleet/ice/cold weather (and yes for those of you who live in actual cold climates that get snow I know how ridiculous that sounds).  And since I didn’t want to be out in my frigid garage working on any projects, I decided to start our downstairs bathroom remodel.  Nevermind that there were probably 15 projects on the to do list that were ‘more important’.  Nevermind that I’m pregnant and can’t use about half the products necessary to do this.  Nevermind that we didn’t really have a plan for this room other than NOT THAT WALLPAPER.  I just started peeling wallpaper.  And roped Reese in to help me. 🙂

wallpaper2

I had read that if you had a clothing steamer you could steam off the wallpaper and I’d had some friends who had some moderate success with this method.  And that’s one of the things that worked for Young House Love (totally miss their wisdom btw), so I brought down the steamer and Reese and I got to work.  Turns out, whoever built this bathroom did a few crazy things.  (I actually think the first thing isn’t that uncommon… just impossible to undo)

The first crazy thing they did is that the wallpaper was glued directly to the top layer of drywall with no barrier in between.  Which means that try as you might, separating them without tearing any of the drywall paper is virtually impossible. After complaining about this a few weeks ago I got a couple of great recommendations from friends, which I tried out a few of: Water and dish soap, but that didn’t do anything to the top layer, which was the hardest to remove without damaging the paper.  I also tried water and fabric softener, and that worked a bit, but not nearly as well as the scoring tool (this guy from amazon) and WP Chomp Wallpaper Removal Spray from Home Depot.  This was the only combo that allowed us to pull larger than quarter size pieces off the wall at once.


wallpaper3

Fair warning, the scoring tool makes the WORST noise ever, like a cross between knives scraping across dishes and nails on a chalkboard.  But if you look in the picture above you can see the dark squiggles where I ran the scorer and then sprayed it down with the Chomp stuff.  Once I had done that and let it sit for a minute or so, I could start to peel off the top layer.  Then I would respray, saturating it with the spray and peel the backing off.  And in MOST places it came off without the drywall paper.

So once we had removed the paper this is what we were left with:

wallpaper4

As you can see.. NOT PRETTY.  And the paper on the floor should give you a good idea of the frustration level this project inflicts.

On a side note, this is where we discovered the second crazy thing whoever built this project did.  During our inspection one of the things that needed to be fixed was that the pedestal sink had completely come away from the wall.  So we knew we would either have to re-caulk and connect it or replace it. If you have toddlers or young children pedestal sinks that aren’t well attached to the wall are a definite tip over hazard.  So we decided this would be a great time to replace it.  But it turns out, our pedestal sink had copper plumbing that hardwired it’s builder grade fixture to the hot and cold waterlines behind the wall.  Which meant that our plan of ripping out the sink and simply replacing it with a new vanity and faucet became something WAY above our pay grade.  (We actually did this in our old house and it was super simple, so we went into this project thinking it would be something we could easily do, but alas, we were wrong)   After discovering this, we called in our favorite plumbing company (If you live in the Dallas/Houston Area it is Star Home Comfort and they do both HVAC and plumbing and are AWESOME) to do the trick.  Reese watched Brent do this change over and as soon as he broke out the blow torch we were confident we had made the right decision to call in the professionals on this gig!! But I don’t have any pictures of the new vanity yet as we are waiting to install that until after it is painted… so stay tuned later this week (or maybe next week).

Anyway, back to the walls.  So our bathroom was looking like a massive train wreck and I should add that we have guests coming to stay with us over this next weekend and I am currently travelling for work… so we definitely were on a time crunch to get this to look a little less horror show.  The original plan was to skim coat and have smooth walls in this room, and I read several tutorials online, but ultimately we decided that would make this the ONLY room in the house without textured walls, and because of drying/waiting times would end up taking longer than we really had planned.  So we decided to test out the spray can texture route.

Before priming Reese took a razor blade and cut away any peeling areas or any drywall paper that had pulled away from the wall, creating a ‘mostly’ smooth surface.  And then the next step was to prime the walls with an oil based primer.  Most of the things I read online recommended this because you don’t want any moisture getting into your drywall paper, so a water based paint isn’t a good idea, but you really want something covering your walls and sealing the drywall.   So we went with Zinsser’s Cover Stain Primer, which is some really gnarly smelling stuff (aka… this was all Reese’s part of the project!) to seal it up, so now our room was looking like this: (ignore the bottom section which we did just a bit later after the sink was removed).

wallpaper6

Next up, it was time for texture. We used this stuff from Home Depot and it took about 3 cans, so definitely not the cheapest option out there, but it took very little skill, covered the uneven bits pretty well and matches the rest of our house.

spray texture

The process is that you spray it on the walls, wait and then take a knockdown knife (see below) to knock it down to look like the rest of your texture.  The instructions tell you to wait 2-5 minutes, but we found that it was still way too wet at that point, so we waited close to 20 minutes and that was about perfect.  You also need to apply 0 pressure to knock it down. It worked best if you kind of just let the knife fall against it instead of trying to exert any pressure.

wallpaper5

But the process really did work and after painting you can hardly tell that it wasn’t textured with the rest of the house!  And I am immensely glad that this was the only room in the house with wallpaper!

You’ll have to stay tuned for pictures of the painted bathroom as that happened at 11pm before I left town, so I haven’t had a chance to snap any photos of it! I’ll post the results as soon as I can!