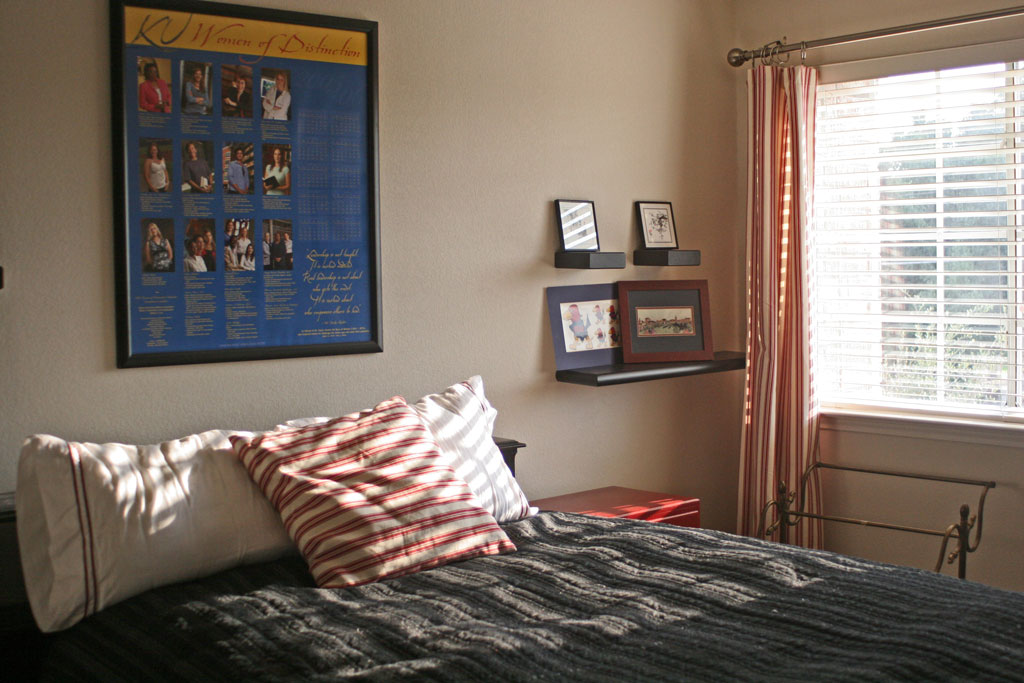
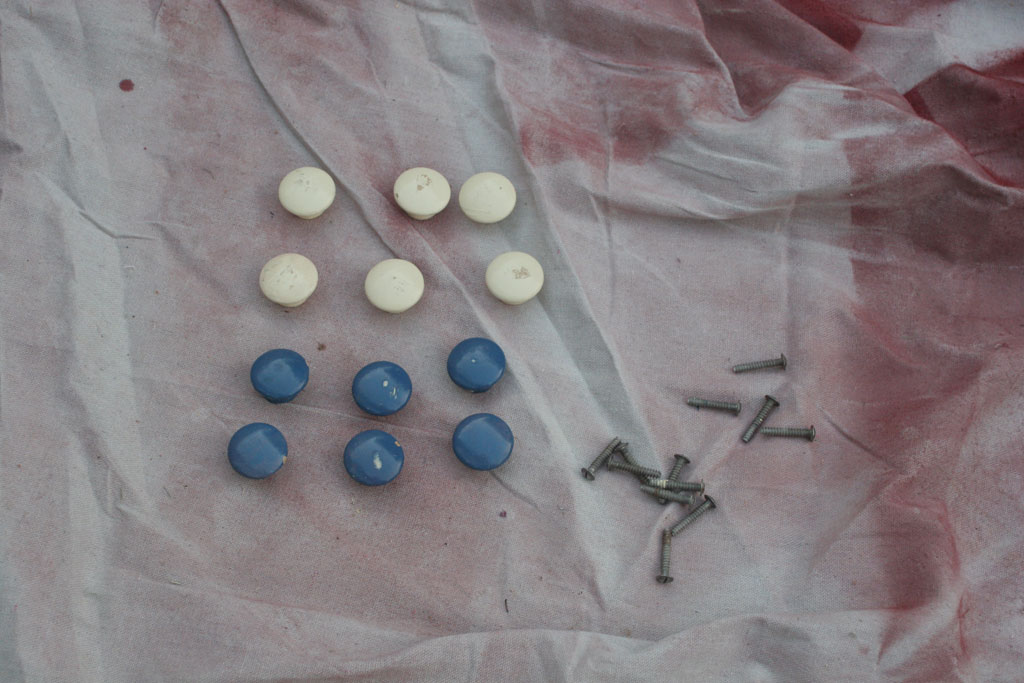
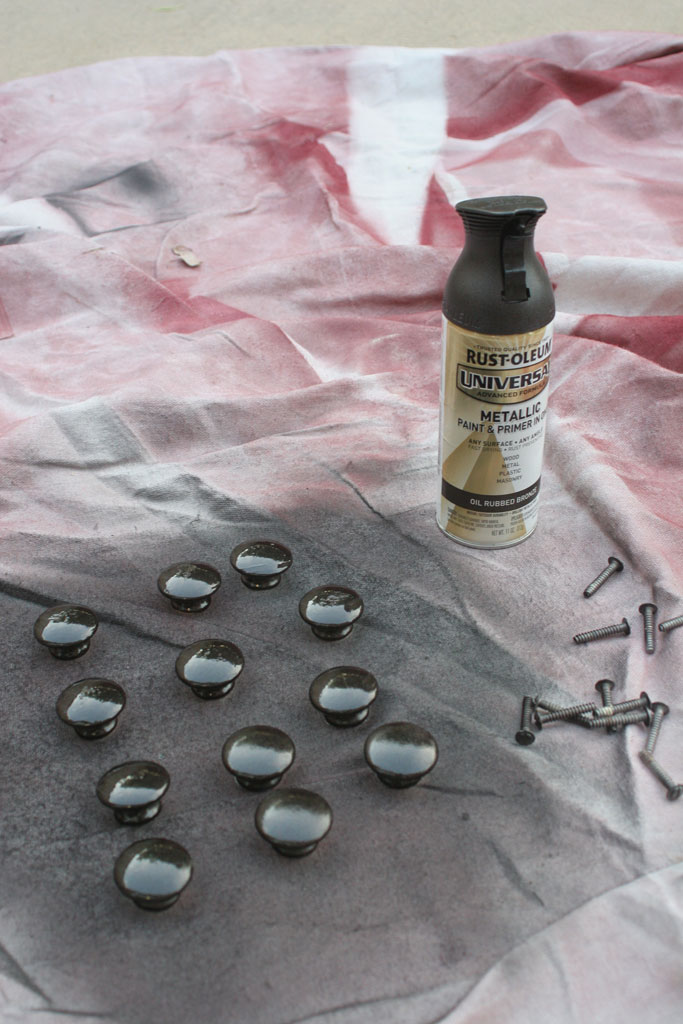
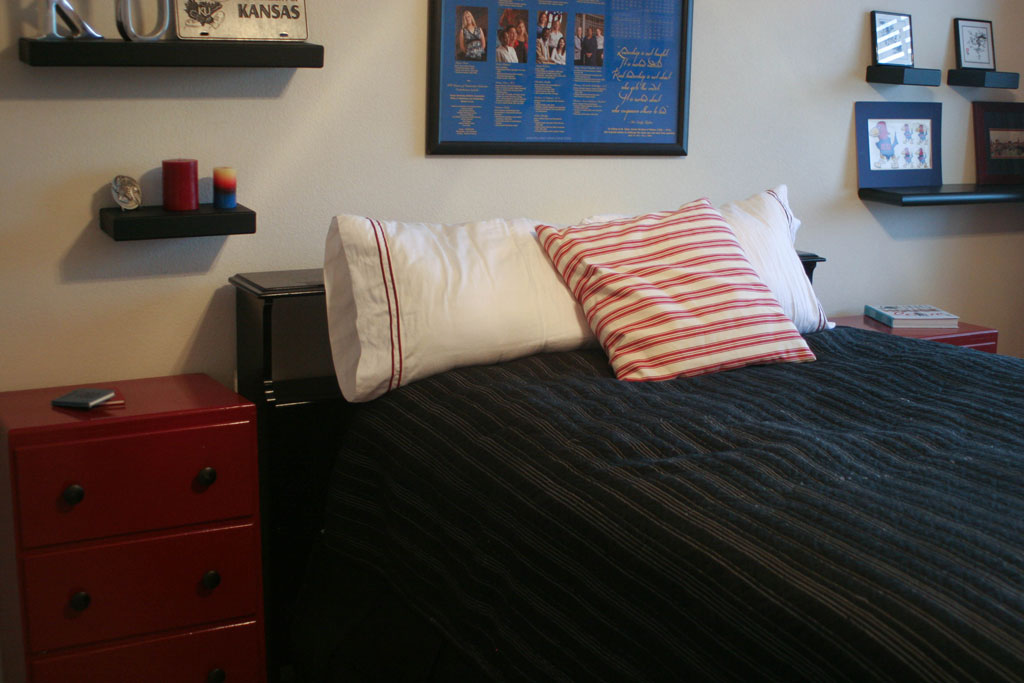
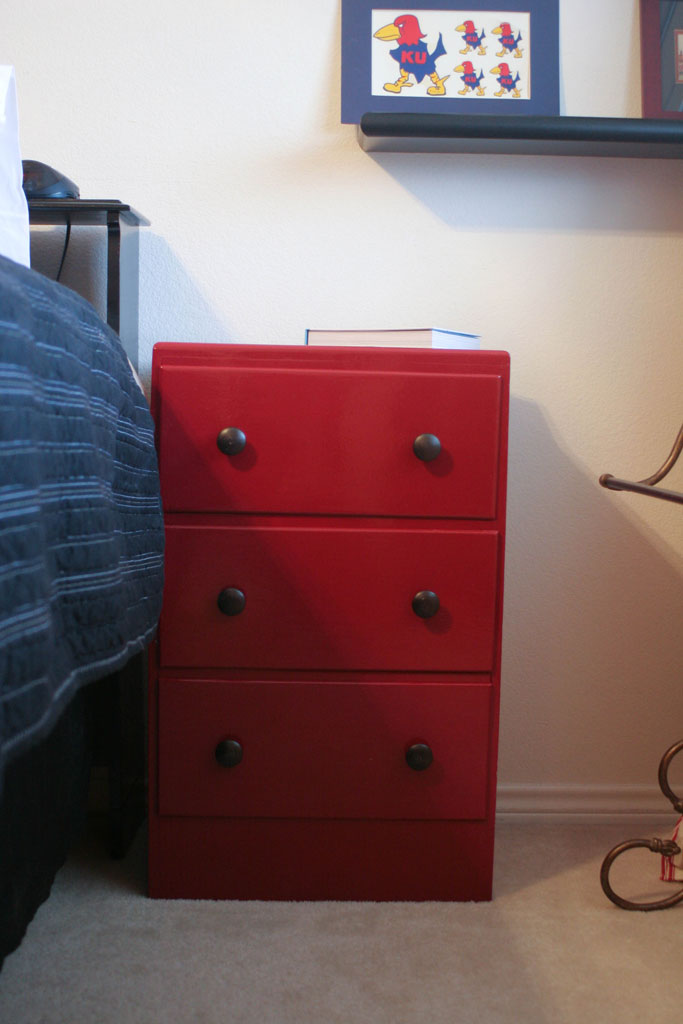
So Wednesday I showed you the dressers I refinished for my guest room nightstands and it reminded me that I haven’t shown my guest room here on the ole blog. When I was moving in I put all the things that I loved but didn’t really fit into other spaces into my guest room. When I got them all in there, I realized most of them were college memorabilia. I’m a Jayhawk through and through, and loved my time at KU. But since I’m an “adult” now, I probably shouldn’t decorate my whole house in my alma mater’s colors (although I did try that out for a while… people tend to think I am very patriotic). But the guest room is the perfect place to display some of my love for my school.
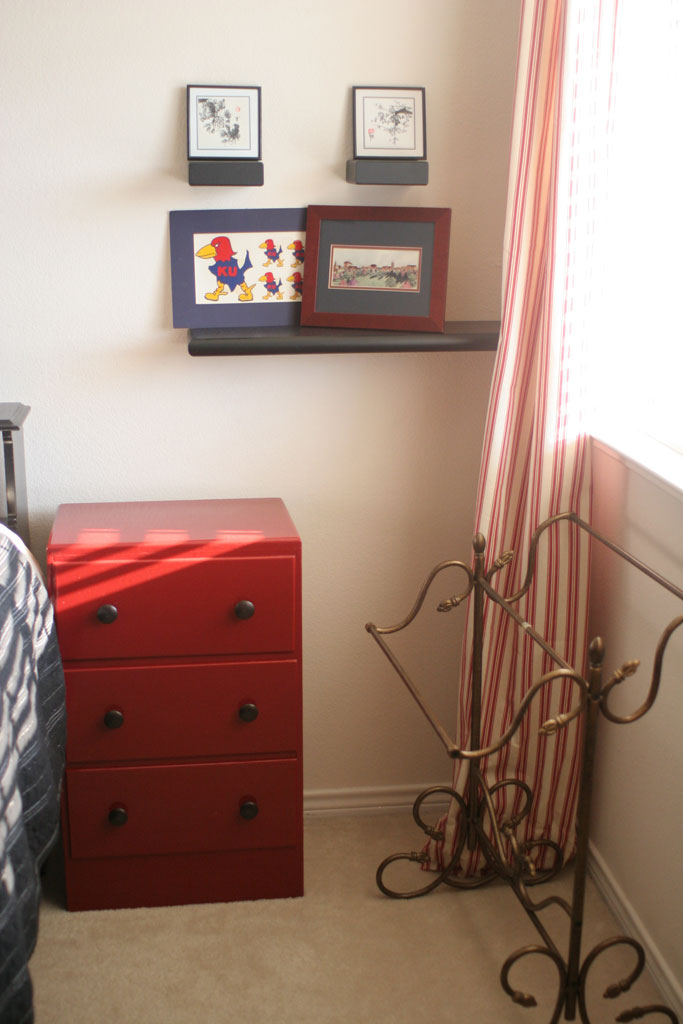
 The two top prints in the photo below were cheap drawings I picked up in the market in China when I went to visit. Both of the pictures on the bottom shelf were graduation gifts, one is of the landscape in Lawrence and one is several renditions of the old mascot, which I lovingly refer to as Angry Jay. The gold thing on the right is a blanket rack, which has blankets on it during the winter.
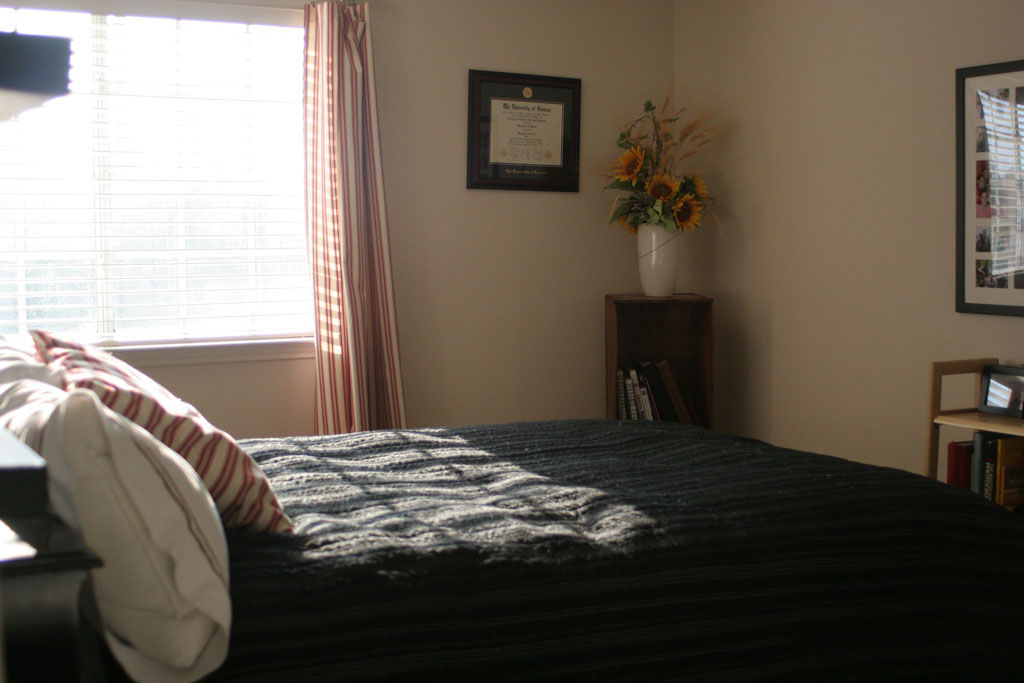
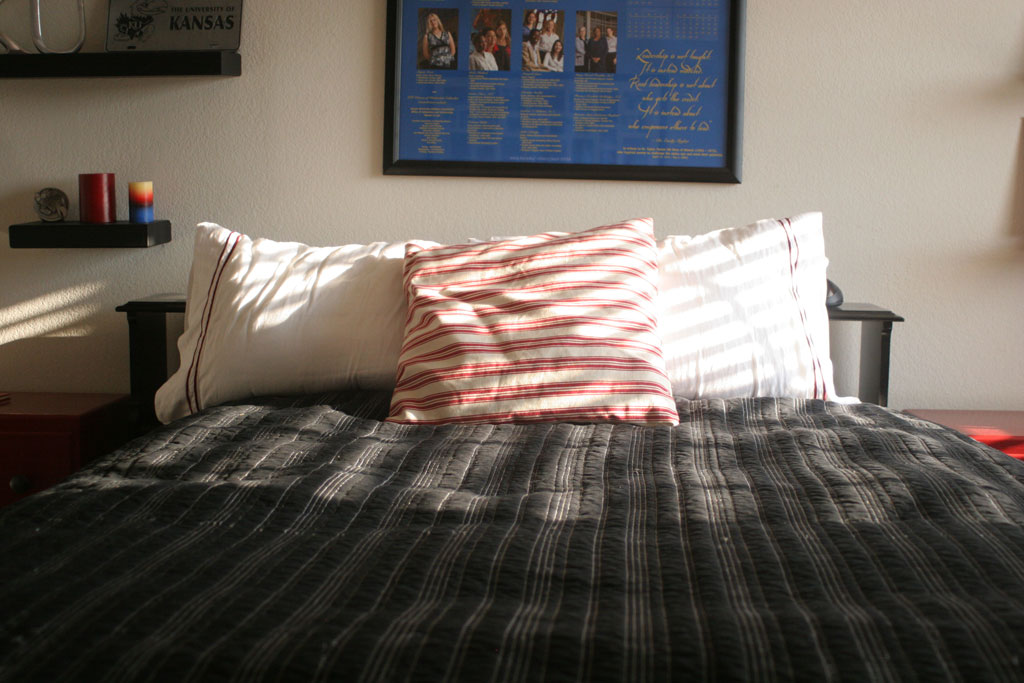
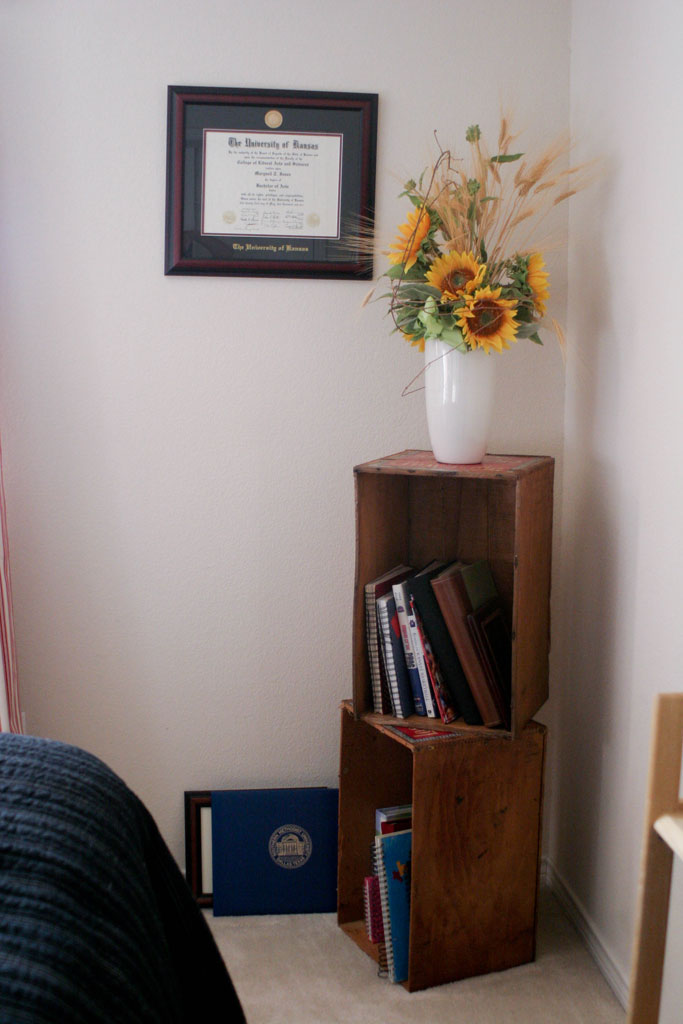
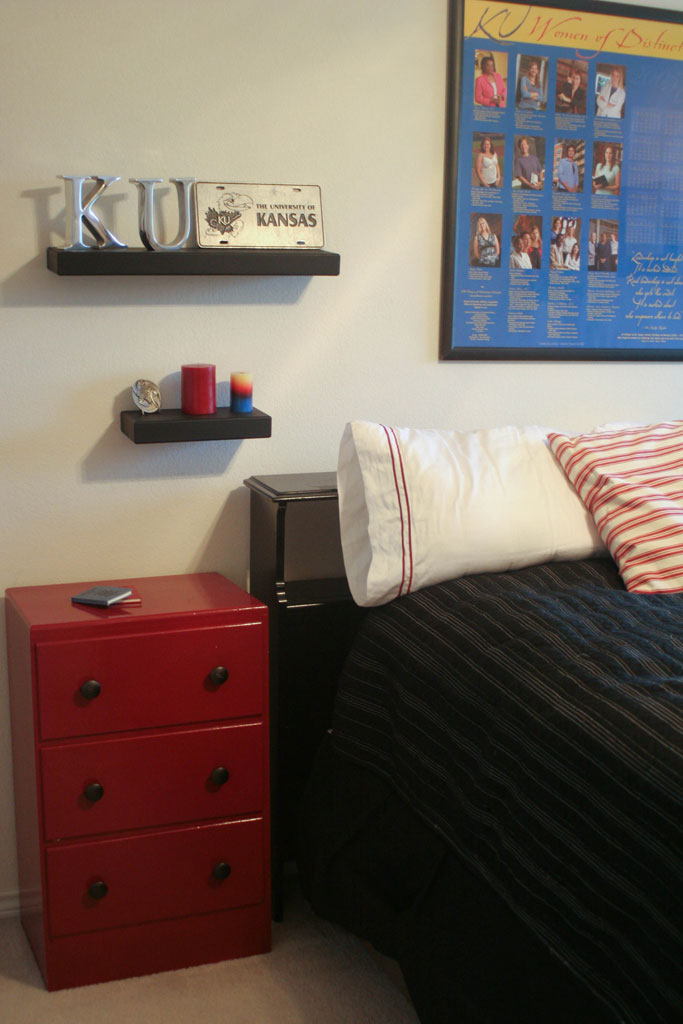
 The view below is right as you walk in the door. See my KU diploma on the wall? I should probably hang up my husbands A&M diploma and my MBA diploma, but it seems a little sacrilegious with so much KU love going on in the room.
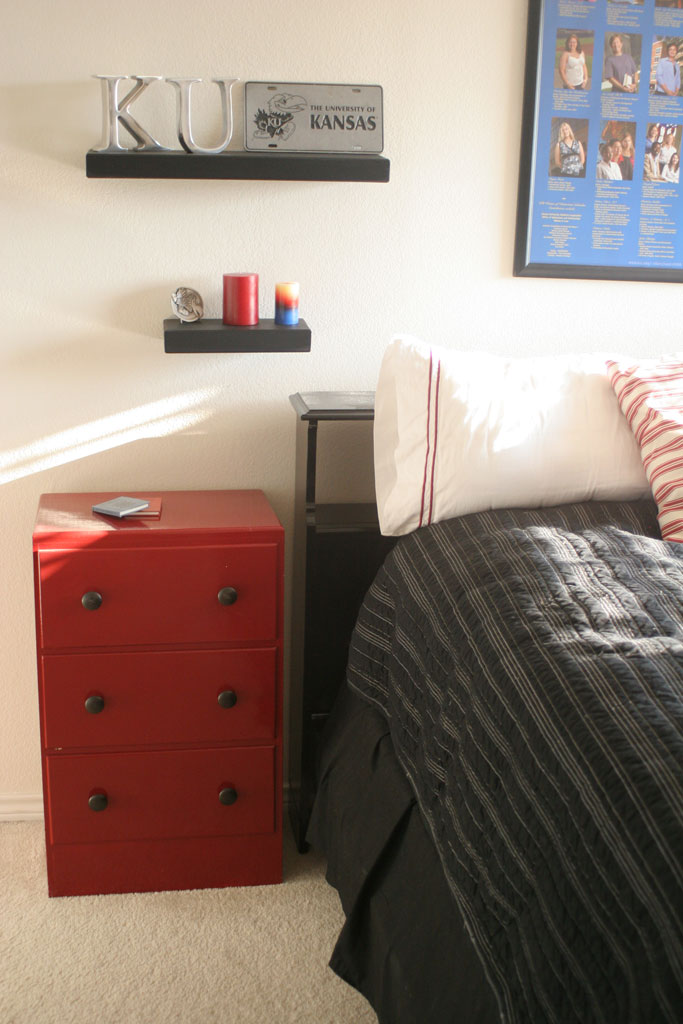
 In Kansas they only require a back license plate, so the front I used to display my school spirit, but since I returned to Texas it makes a good wall decoration (after it was cleaned up of course).

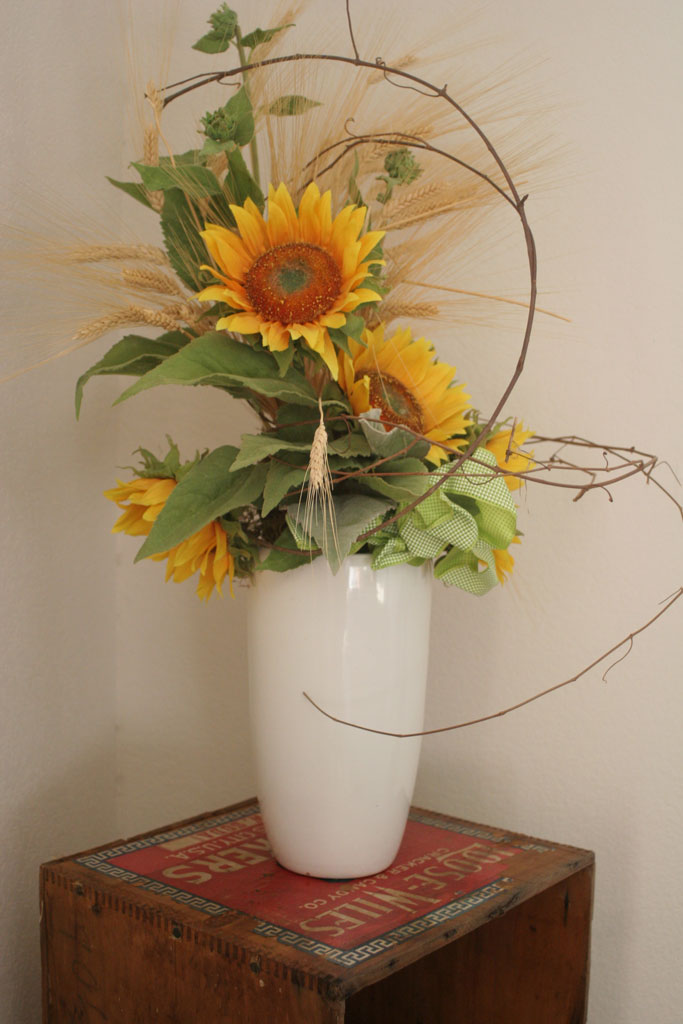
 One of my favorite parts of this room are the two old wooden storage crates from my grandmother’s basement. Stacked on top of each other they make the perfect corner piece and a great place to store my old photo albums.

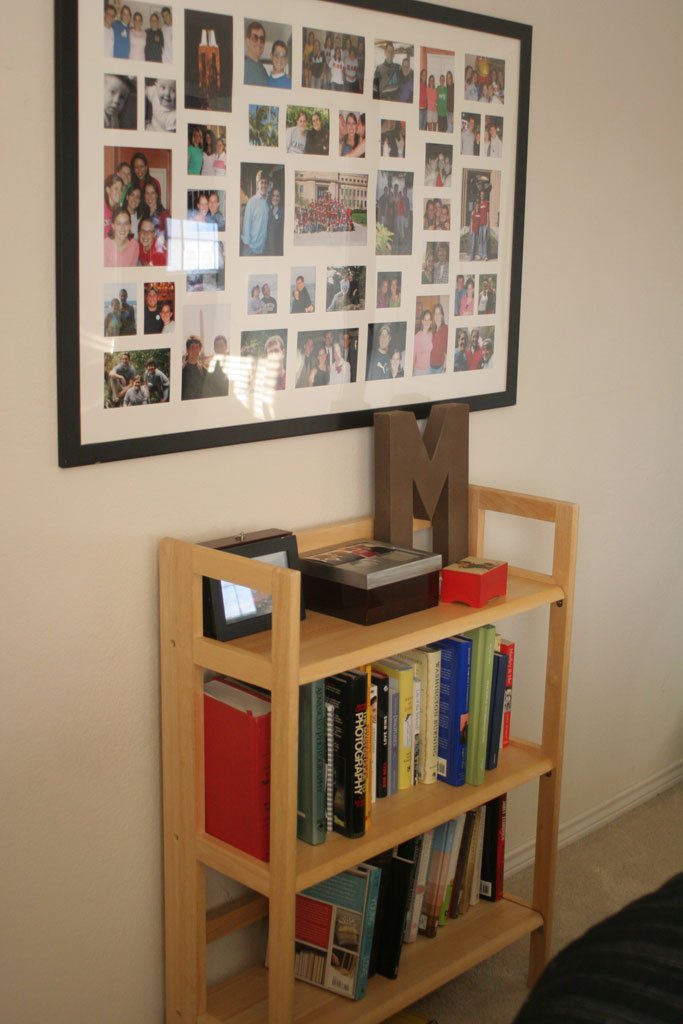
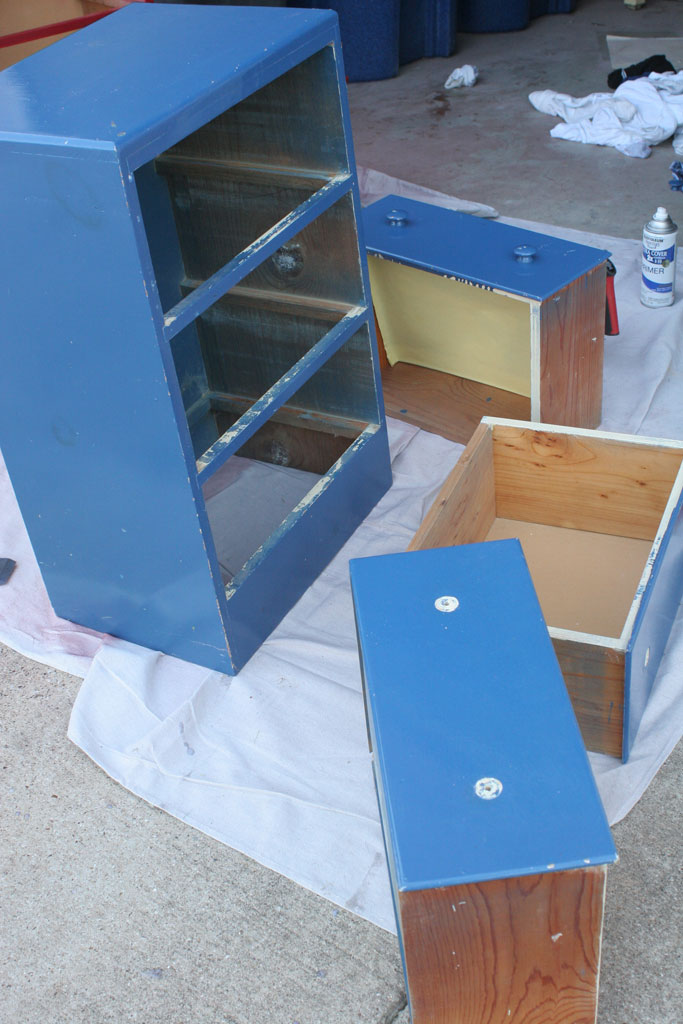
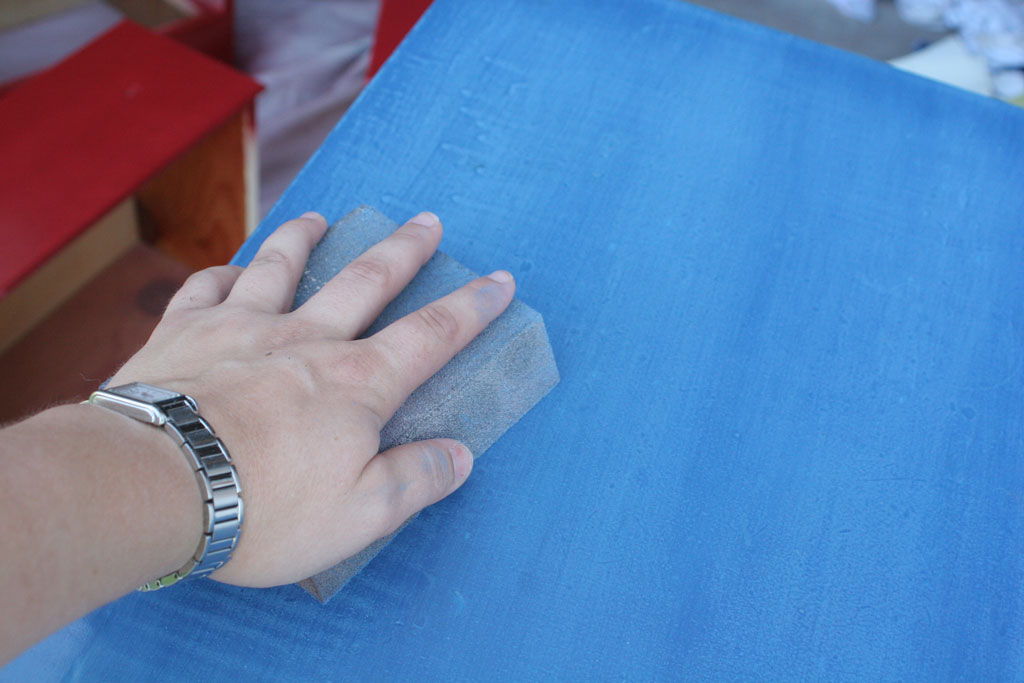
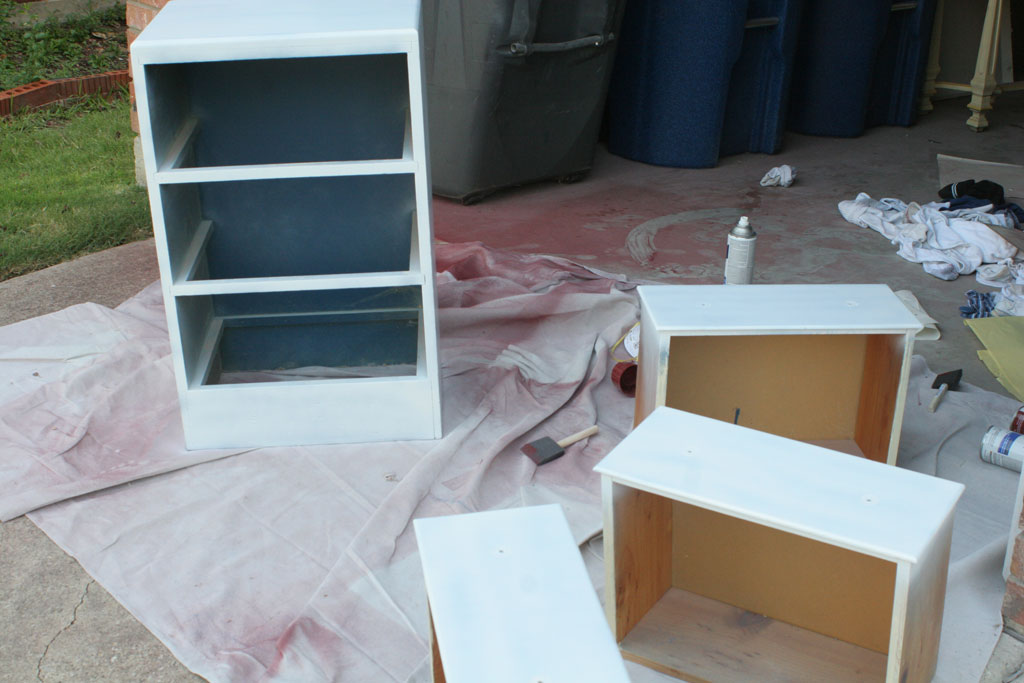
 The picture frame below hung in my office in college and I haven’t changed a single picture since then, which has now been a few years! The older I get (and the further away those years get) the more I want to keep it just like it is now. Its definitely not high fashion, or magazine worthy decor, but it always reminds me of wonderful memories. Plus guests tend to get a kick out of how young my brothers and I look in the pictures. The bookshelf below it is an old cheap Bed Bath and Beyond bookshelf that I plan to spray-paint very soon. Any votes on color? Colonial red to match the dressers? Black to match the bed? Some other color?

And last but certainly not least (and literally the first thing you see when you come in the room) is this little sign hanging on the wall:
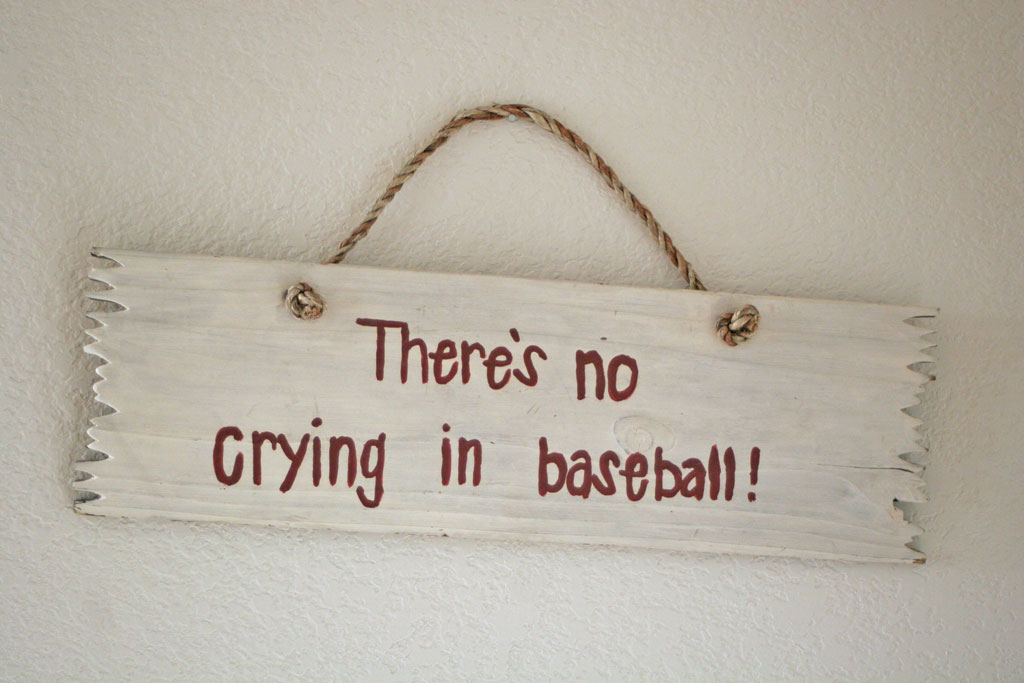
 My best friend made that for me many many years ago WAYYYYY before these modern crafty days of Pinterest. I think she made it for me when I was going back to school one year… but it hung in almost all of my rooms in college and has made it onto the walls in all of the apartments and houses I’ve lived in post college. If you don’t recognize the quote you need to put down whatever it is that you are doing RIGHT NOW and go rent A League of Their Own. Its an excellent, excellent movie and you get to see a bunch of fun stars before they were as famous as they are now. My best friend and I would say this to each other all the time in high school and college as we were navigating the pitfalls of being teenage/college girls. It always broke the ice and made us remember that life is to be enjoyed.


 Hi, I'm MJ! I'm a DIY kind of girl and this is where I share my projects. I'm taking you along for the ride as I learn how to do woodworking, sew, bake, and renovate!


