Happy Teal Flower Towers

The sun is shining, the weather is turning beautiful and giving us hope that spring may eventually, actually be sprung.  I am not a cold weather fan (umm… duh, I live in Texas) and this winter has drug on and on and on.  Is anyone else ready for winter to finally be gone and to welcome springtime, flowers, warm weather?!?  I am for sure.

Which probably explains why I did something a bit out of character.  I’m not usually one for bold color or lots of patterns, but spray painting my flower shelves that sit outside my kitchen table had me picking a table I would never otherwise have chosen.  Turquoise.  Or technically “Lagoon”.  I’ve you’ve been around the blog a while you may remember that I didn’t have much luck with my flower containers last year (I blame the intense heat):

flowers-dead

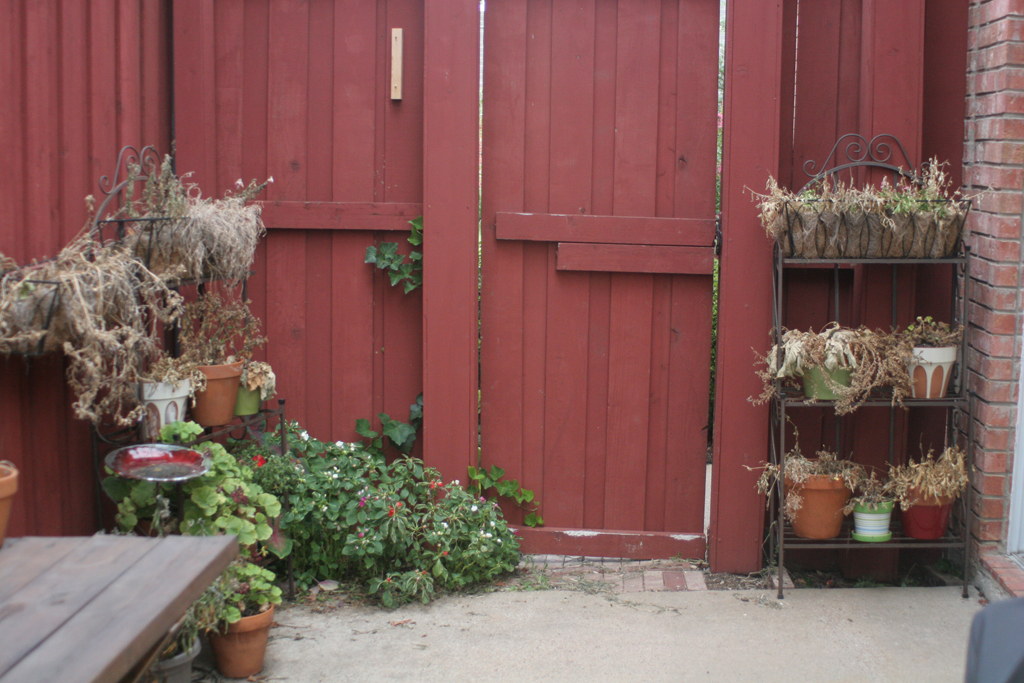
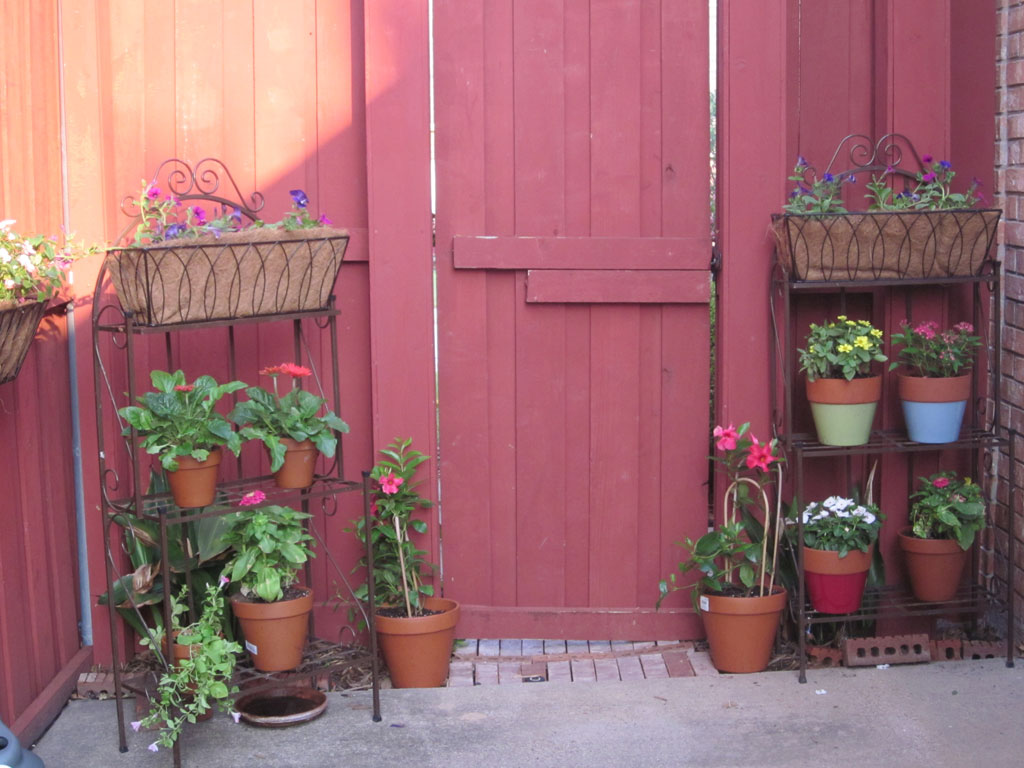
But these pictures do give a pretty good glimpse of what the flower towers looked like before.  And just so you can see what they looked like with living flowers in them:

flowers


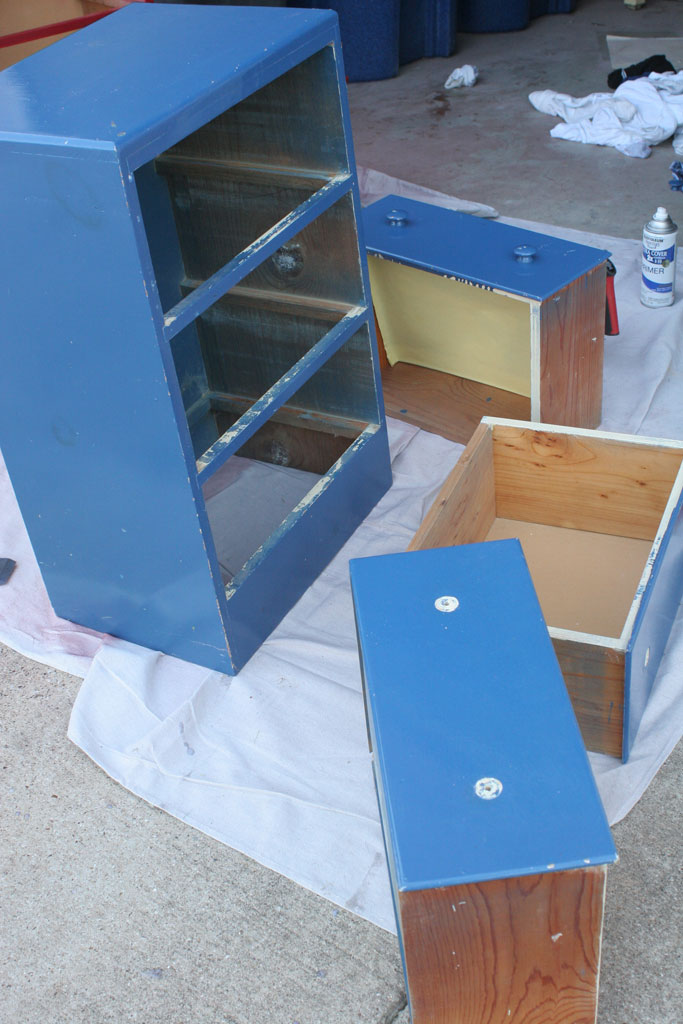
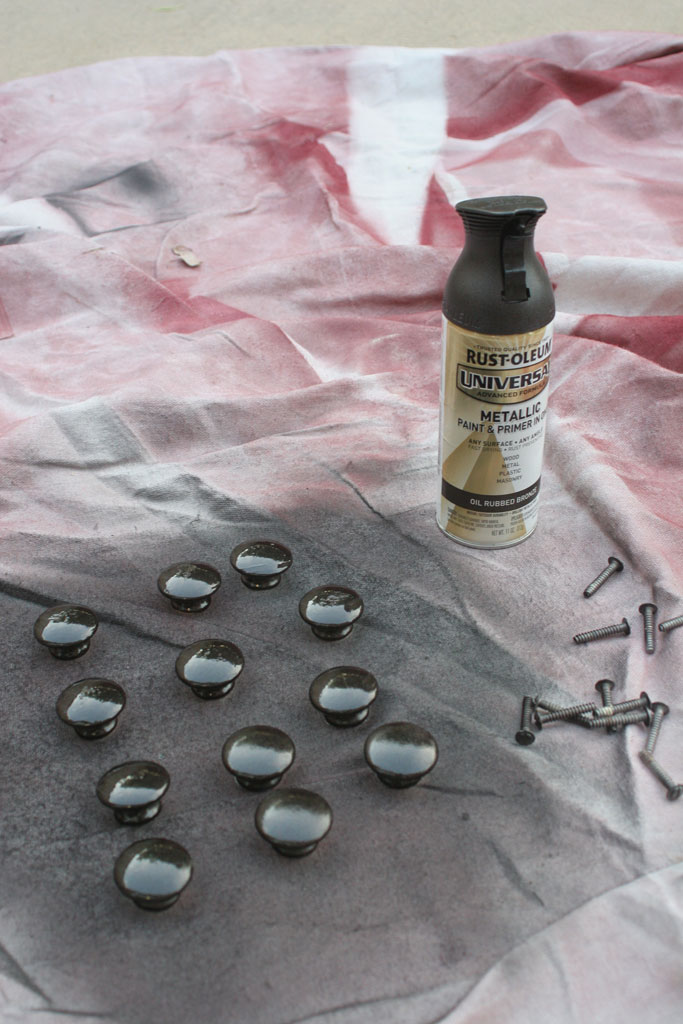
Well I got in the mood to spray paint something the other day, and while its not quite time to plant my spring containers, I did decide to do a little “garden prep”, aka I spray painted these puppies with Rustoleums Lagoon color in Satin.  But it being dark outside so early I was racing against the clock, so I didn’t get any ‘in progress shots’ sorry… bad blogger.

flowertower5


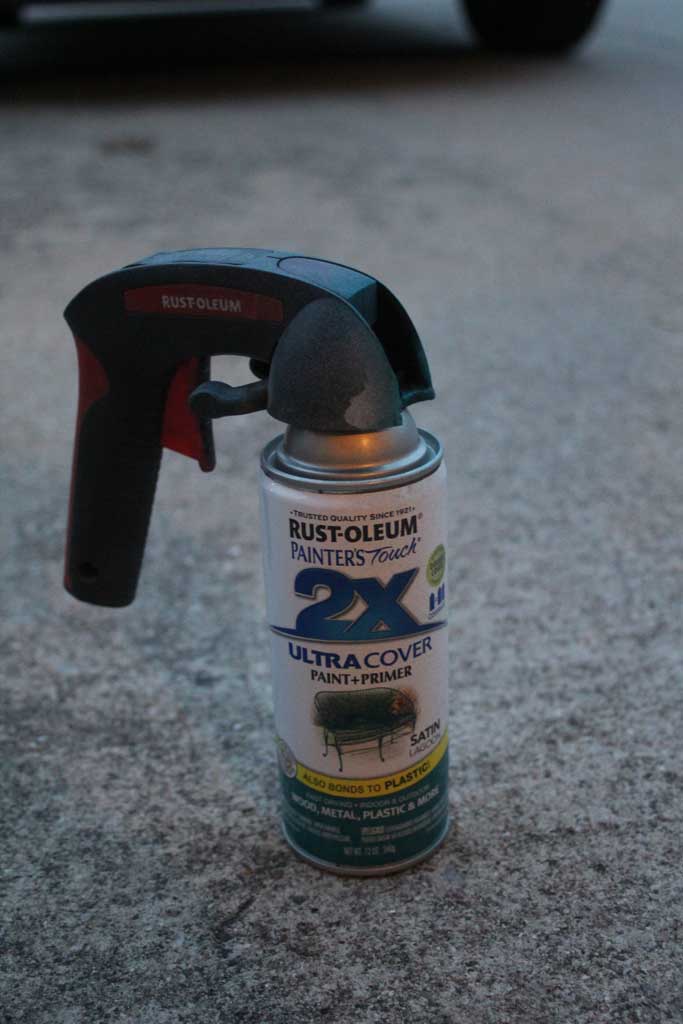
PS… if you have to spray paint anything, invest the 5$ for one of the handle things.  It makes it WAAAAAAY easier to get nice even coats and your hand won’t look like The Claw afterwards.  (Friends reference anyone?)

I love these flower shelves, they came from my grandmother’s basement and were the perfect addition to this side patio, but since they were a few years old, their brown color was looking a little tired and worse for the wear, so they had been on my list of things to paint for a while! I think one of the reasons I love these so much is that they reminds me of the wardrobe character in Beauty and the Beast

(src)

 See what I mean:

flowertower2

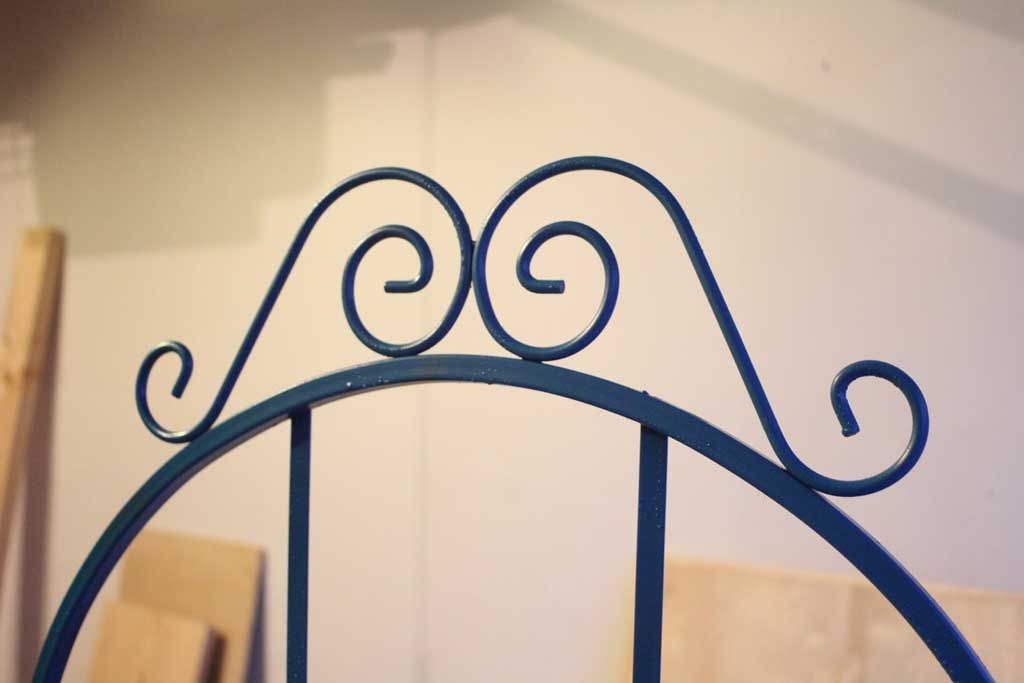
Anyway, check out how well the color pops against my red fence:

flowertower1

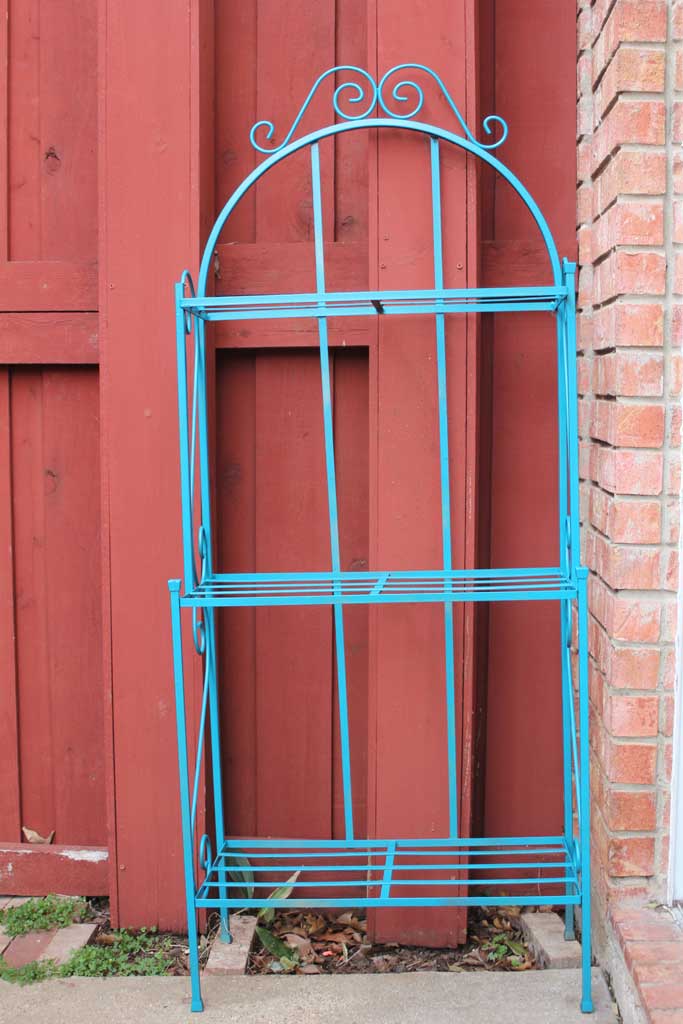
Now they are ready for it to warm up just a little bit more and be covered in beautiful flowers!

Stay tuned next week… I’m hosting a shower for my brother and his fiancee and I have some super cute decor coming your way!

The Ladies in Red

Back in the day, my great grandfather did a little bit of woodworking and a few of his pieces are still floating around in family member’s homes.  Two of them were small twin dressers which had been separated, but neither were being used anymore. My aunt had one she was willing to get rid of and my mother had another in her basement that wasn’t being used.  So I decided these two would be perfect side tables for my guest room (additional storage for the win!).  My aunt’s had been painted a creamy white color and my mom’s a blue one, somewhere through the years. So I decided these two needed to be spruced up in a matching spray paint before they made it into the guest room.

Here’s my super fast tutorial on how to spray paint a piece of furniture (ps… if you haven’t used spray paint in a while… that stuff is magical… I think its come a long way in the last ten years).

  1. Remove hardware and tape down/cover any parts you don’t want spray painted
  2. Lightly sand (with around 150 grit sand paper or sanding block)
  3. Prime
  4. Spray paint LIGHTLY a first coat
  5. Add second LIGHT coat
  6. If necessary, add a light 3rd coat

And so you can see the steps in action:

Step 1: Remove the hardware and cover any areas you don’t want painted.  The paint jobs on these before had not been all that careful about where the paint went, so I didn’t cover any parts of my drawer, I didn’t mind if the sides got some red paint on them.

side-dresser-bef1 Step 2: Lightly Sand- I use whatever I have on hand, but somewhere around 150 grit sand paper or a medium grit sanding sponge.  You want to take off a little bit of the sheen, but mostly just rough it up a bit.  (WARNING: If what you are sanding was painted prior to 1978 you should check it for lead paint.  IF it has lead paint DON’T SAND IT. Sanding lead paint releases toxins that you don’t want to release.  If that is the case, just skip this step and go straight to priming.) side-dresser-sanding Step 3: Prime it- I usually use Rustoleum’s Spray Paint primer in white.  You can use their dark gray primer if you are painting it a dark color, but I’ve never had a problem using the white.  You’ll see below I paint these a fairly dark red it had no problem covering the white primer in 2 coats. Check out steps 4 and 5 for some generic spray painting tips that are good to know regardless of what step you are on!

side-dresser-primer

Step 4 and 5: If this is your first time painting something, here are a few of my most helpful tips: 

  • Spend 5 bucks one time on the extra spray paint trigger handle… you can use it forever and will save your finger from getting that very attractive line of spray paint on it (not to mention its way more comfortable).  You can see it on my paint can in the pictures below. WORTH. EVERY. PENNY. 
  • You should always keep the can 6 to 12 inches away from your piece when spraying
  • Start spraying just before your piece of furniture (so the first seconds go into the air) and JUST KEEP MOVING.
  • Your first coat should barely cover the piece… it’ll look splotchy and incomplete. THATS OKAY. You are going to add a second coat.
  • On the second coat, treat it the same as the first coat, keep it moving, and spray lightly to avoid drips
  • If it still isn’t covered or doesn’t look even, do a third light coat.  side-dresser-red

Since I actually did this project pre-blog I don’t have a picture between the two coats, but you get my gist. I used Rustoleum’s Colonial Red spray paint in Semi-gloss.  Its one of my favorite dark red colors.

I didn’t want to go out and buy new hardware for these dressers, but I felt that the wood knobs in the same color looked a little cheesy, so I decided to paint them with a metallic spray paint Rustoleum’s Oil Rubbed Bronze.  I followed the same procedure I listed out above, just this time I didn’t prime since it is paint and primer in one.

side-dresser-knobsbef side-dresser-knobsaft

I haven’t shown this room on the blog yet, but here they are in action in the guest room!

  guest-room-dresser1 guest-room-dresser guest-room-dresser2

Voila! Cute little matching side dressers!