Archives for August 2015

Things I Want for You

As I was nearing the end of my pregnancy, all I could think about was Taylor and what she would be like… what kind of personality she would have, what she would look like, what her likes and dislikes would be.  So I did what I always do when I can’t get something out of my head… I wrote it down.  And as I went back to reread it, I realized that these are the same things I want for my own life and for all of the people I love, so I thought I would share! Happy Friday, I hope you all have fabulous weekends!
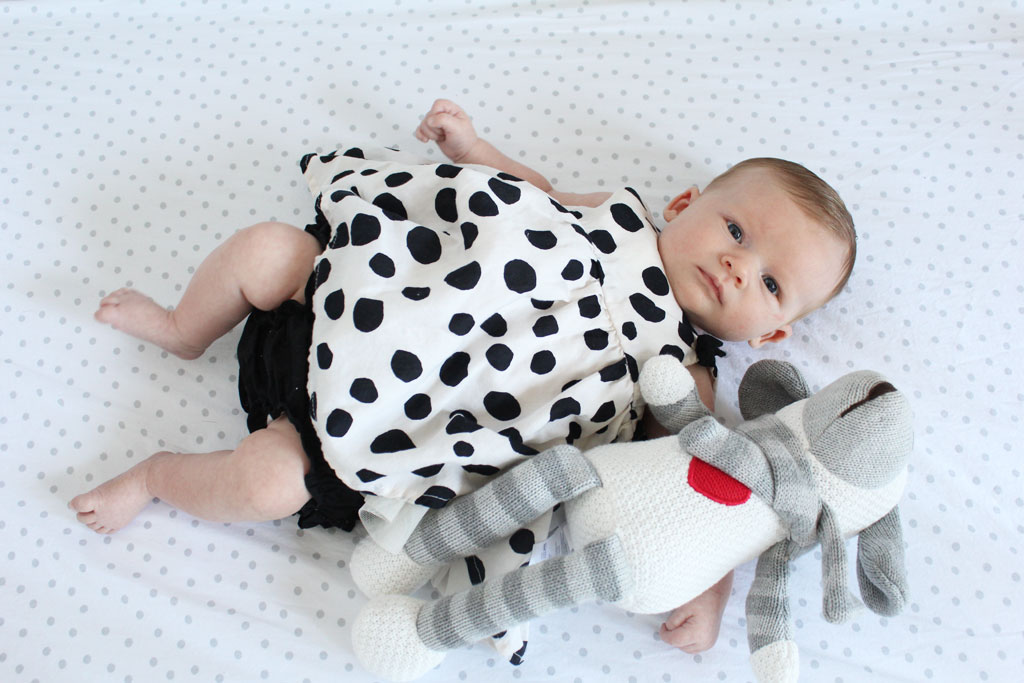
www.amusingmj.com

Baby Girl- What I want for you:

I want you to grow to be healthy and strong.

I want you to feel loved.

I want you to know God in a deeply personal way.

I want you to be smart, hardworking and driven,

But also to know how to have fun and let your hair down.

I want you to skin your knee, and then get up and brush it off.

I want you to have lifelong friends- and new friends- and friends that you would do anything for.

I want you to feel beautiful, inside and out.

I want you to know that pain is inevitable, but persevering through the pain and heartache of life will lead to a richer existence.

I want you to know and love and treasure the feeling of home,

But also to explore the world with unceasing abandon.

I want you to love others and treasure what they have to teach you.

I want you to find your passions in life, to try out new hobbies and find things you love to do

I want you to try new things, but also to be bold in defending what you love.

I want you to stand with conviction for the things that are important to you.

I want you to celebrate things… big and small.

I want all the things in the world for you, but I also really want you to know that the things that matter most require hard work and perseverance.

I want you to be YOU.


How I Machine Applique

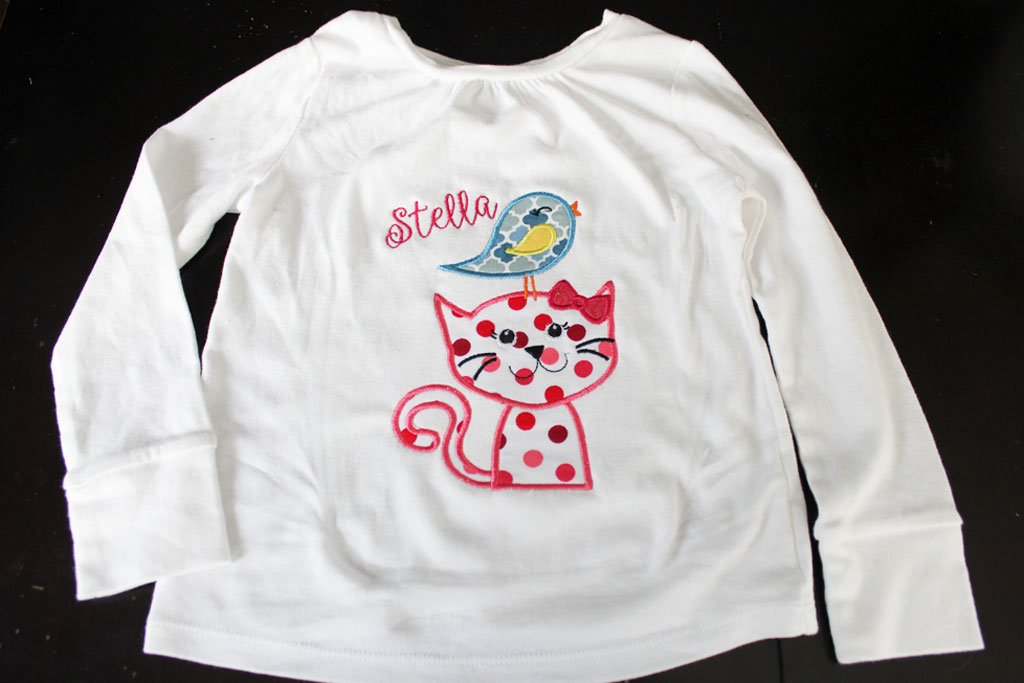
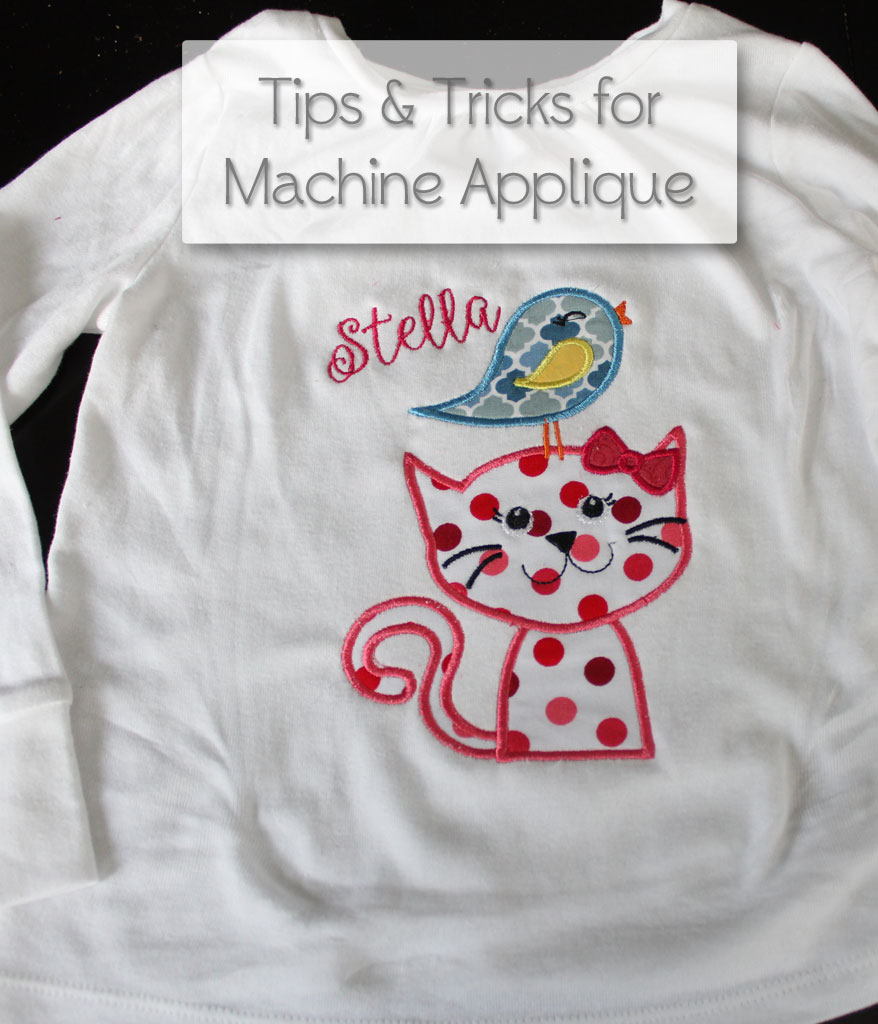
Alright, I promised last week when I showed off some of my crafty projects that I have done during maternity leave that I would write up a post on how I use my embroidery machine to applique. ANDDDDD I really meant to have this post done and up on Monday or Tuesday, but here it is on Thursday and I’m just posting… but that’s new motherhood for you!  And I will start this post out by saying I am a total novice at this, but after having the machine for 8 months, I’ve learned a few things and thought I would share for those of you who want to buy a machine or have one and want to know some of my tricks.  Here is the final product:

How to Machine Applique | www.amusingmj.com

First of all, lets talk about equipment.

How to Machine Applique | www.amusingmj.com

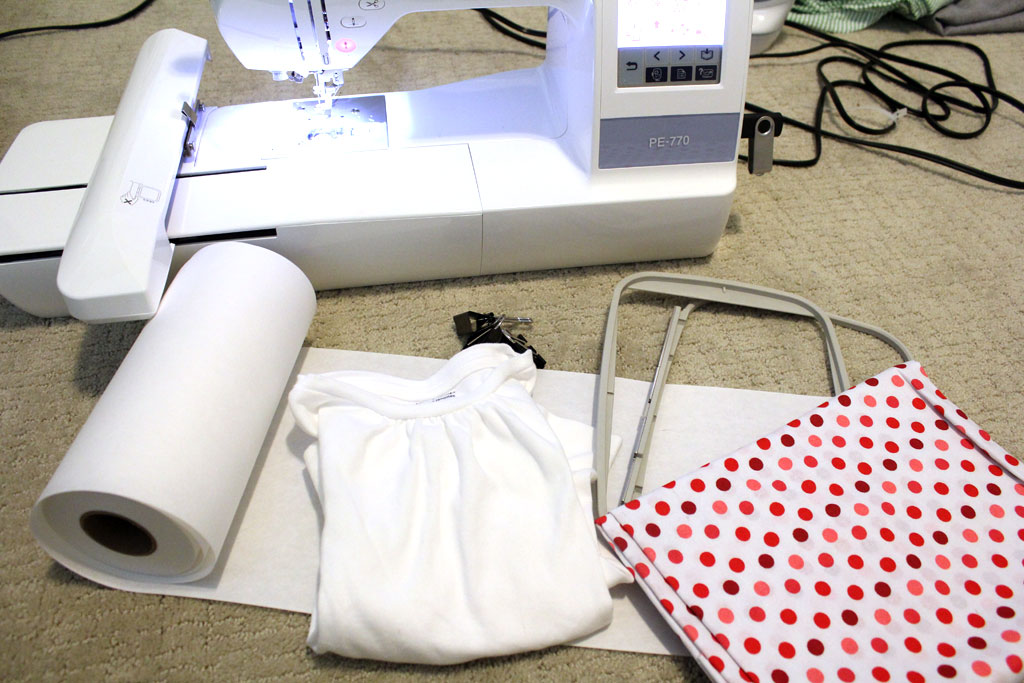
Here’s what you need:

  • An embroidery machine: I have a Brother PE 770 Embroidery Machine.
  • An embroidery hoop: my machine came with a 5×7 inch hoop (its the two piece gray thing in the picture above), but I also purchased a 4×4 hoop so that I can do smaller pieces as well
  • Stabilizer- I have two types: above is a roll of cut away medium duty stabilizer that is great for t-shirts and other lighter weight fabrics; I also have some tear away stabilizer (I actually bought mine at JoAnns, but the amazon link is something similar) that I use for things like embroidering the names on my burp cloths.
  • An applique embroidery design (I buy mine off of Etsy for $2-$5 a piece–see below for some of my favorite shops so far)
  • Fabric for the design–I am a hoarder so I typically save my fabric scraps, and applique is a great way to use up some of those smaller pieces!
  • Embroidery Thread– I bought this box of 100 colors when I first started and so far haven’t really needed to buy any additional thread.  There are definitely some ugly colors in the bunch, but I’ve been happy with the quality and it is nice to not have to think about which threads I need to buy for each project.
  • Basting spray or heat n’ bond– read below for more details on this
  • for embroidering t-shirts or onesies– medium binder clips
  • (optional) embroidery software– more details below

Finding a design: Etsy has been my go to place for buying designs/fonts etc.  If I’m looking for a particular thing, I just search Etsy as a whole, so for this project I wanted to find a design with a cat on it, so I searched around until I found this one that I liked.  But if I’m just looking for something fun to applique (or I’m just bored) I go to one of my favorite shops and search their designs.  Here are some of my favorite shops

  • Rivermill Embroidery— So far their fonts, monograms and designs have all been very high quality– on this shirts I showed you in this post I used the chachi font, their turtle and their lady bug.
  • Applique Cafe Designs— I’ve used their Dinosaur design, but I have plans to use several more of their super cute designs!
  • Monogram Font Store–I love the fonts they have and have used several on lots of projects!
  • Ballerina Script by Hoop Mama Embroidery–This is the font I used for this project to add Stella’s name.

And that brings me to my next point.  Software: If all you ever want to do is pre-made designs, you don’t need any software. BUT, the whole point for me of getting an embroidery machine was to be able to add monograms and personalized things to my projects, so I wanted to be able to add letters, names, etc.  Software is the easiest way to do that.  I searched around for a while and settled on Embird software, mostly because it was cheap.  I think it was about $150 (some embroidery software programs are in the 1,000s of dollars… no thank you.) Again, I’m not creating my own files or doing anything fancy… I just wanted to be able to lay out my designs with letters.  So for every project that I want to personalize, I open up my software and lay it out. So for this project I downloaded the cat file that I picked out from Etsy, and then in Embird I merged it with the Ballerina font 1″ letters that spelled out Stella.  From there I saved the file to a USB drive and loaded it into my machine.  Each machine is different… but read your instructions on how to import a file from USB.

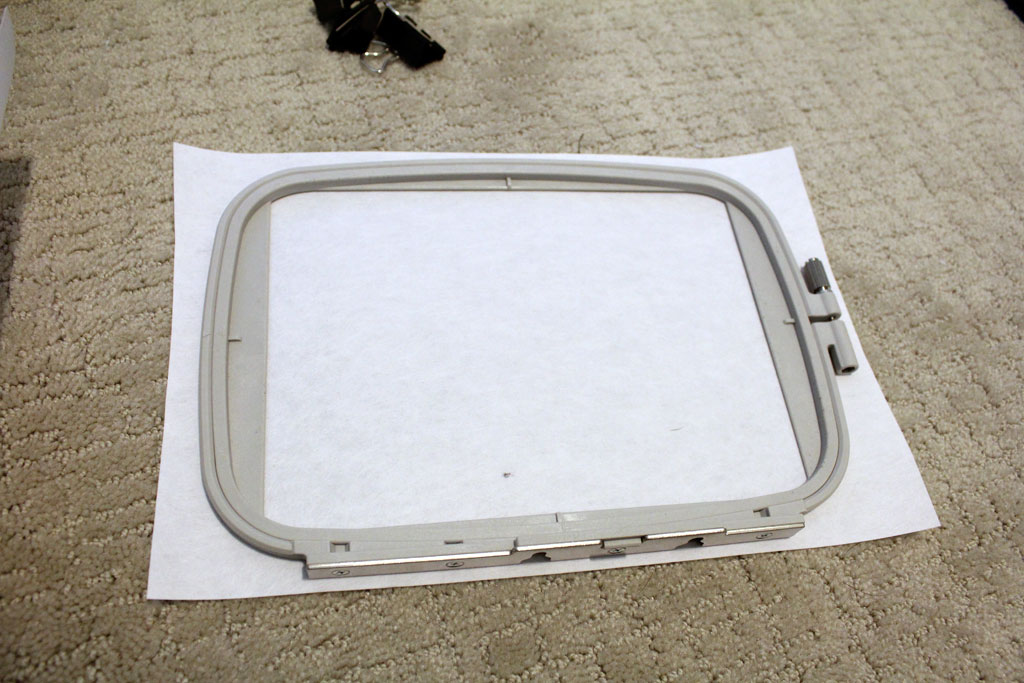
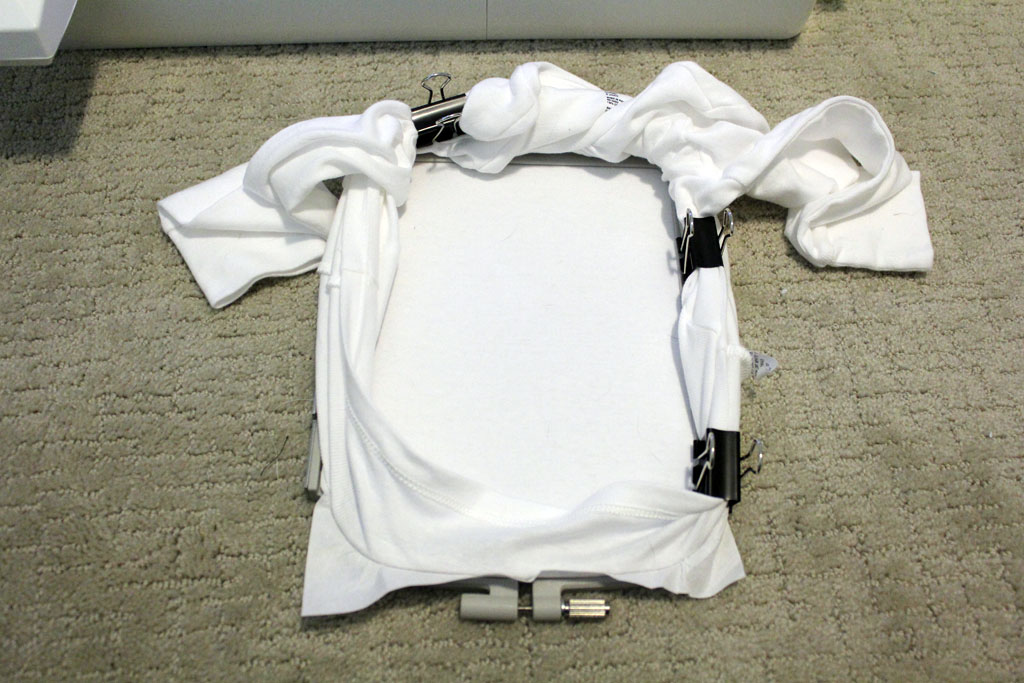
The first step in applique is then to hoop your fabric and stabilizer.  I cut out a piece of stabilizer larger than my hoop:

applique1

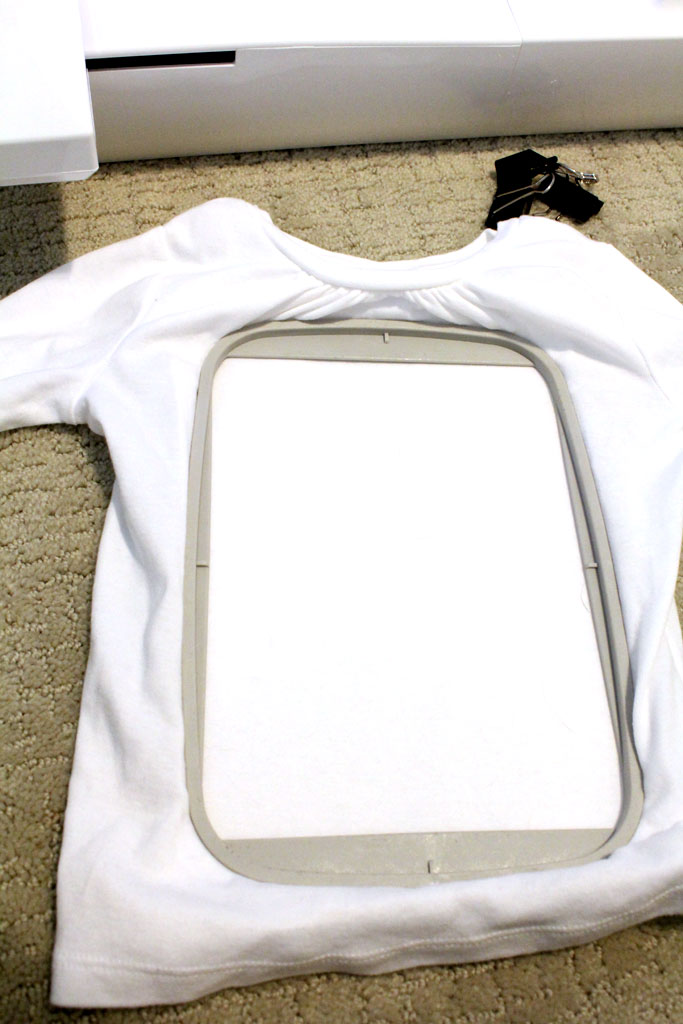
Then I center the hoop and stabilizer onto my fabric.  In this case I put it onto a Playtime Favorites T-shirt from Gap Kids (bought at 40% off).

I find centering and hooping my fabric to be the hardest part of machine applique: you want to make sure that your fabric is smooth and tight and that your hoop is straight and centered on the shirt. (a very hard task for a non-perfectionist like me!)  applique8

Because you obviously don’t want the machine to stitch through both the back and the front of the shirt, I use a trick I found on this video on YouTube— I use binder clips to clip the rest of the shirt to the outside of my hoop.  You have to be careful that they won’t get in the way of the needle, but it works really well to keep your fabric bunched on the outside.

applique4

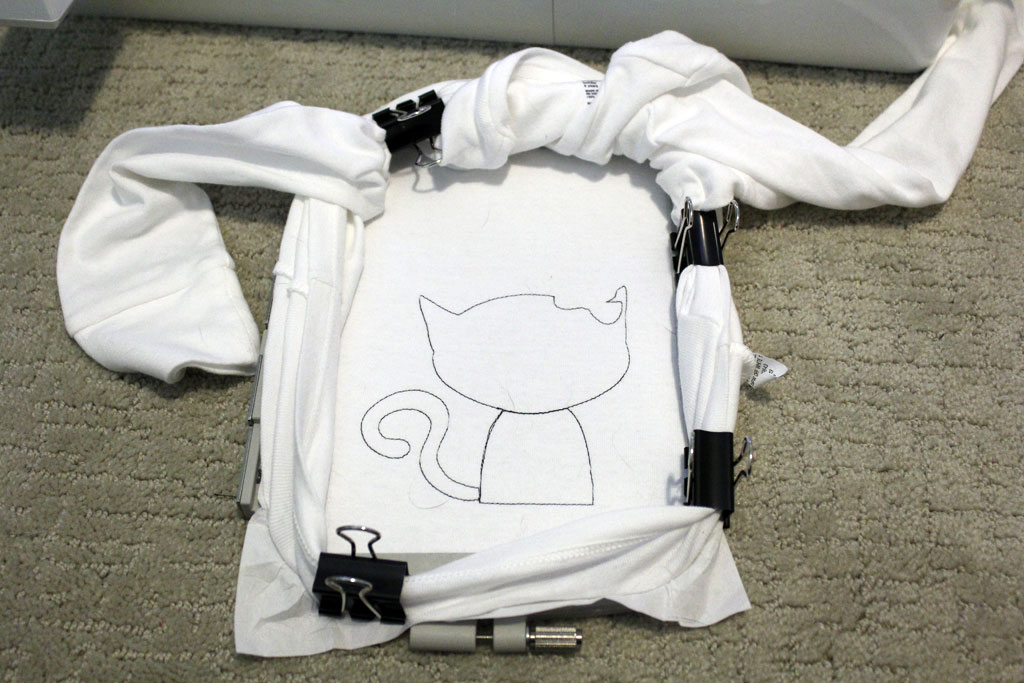
Most applique designs come with an order list of stitches so that you know which part comes next, so I print this if it came with one.

Usually each different part has 3 steps: the first is the outline so you know where to put your fabric:

How to Machine Applique | www.amusingmj.com

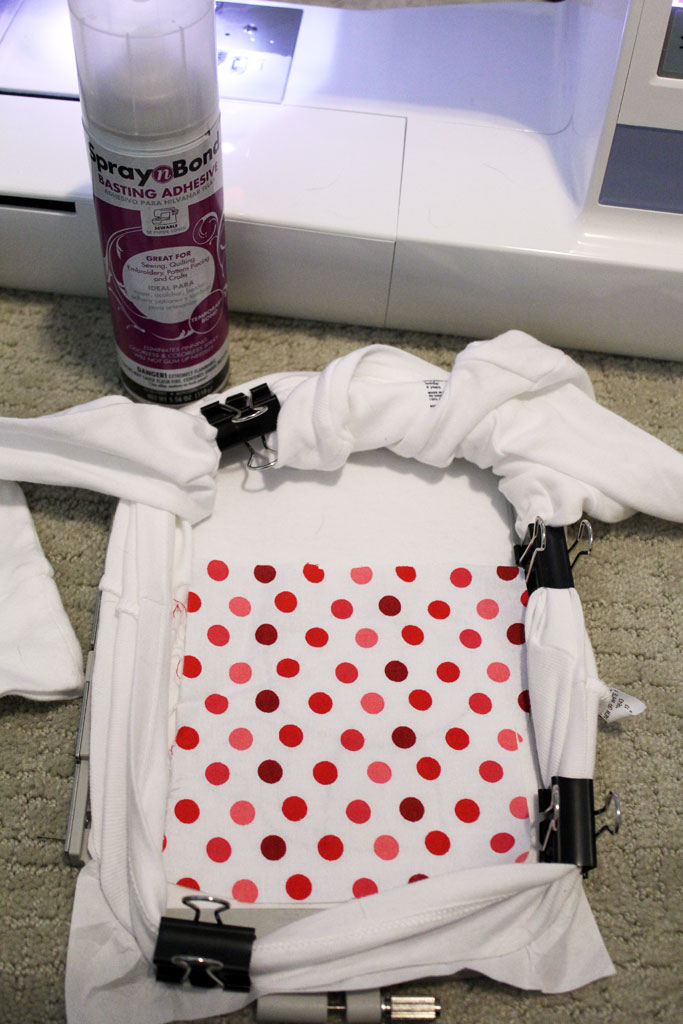
Then you lay your fabric down on top.  This is the step where you should use either basting spray or heat ‘n bond lite.  I typically use basting spray because I’m lazy and it is faster. But if you are doing a large section that won’t have any detailing and you don’t want it bubbling up at all from your t-shirt– you should use the heat ‘n bond lite  (if you want details on how to do that google or search for that on pinterest and you’ll get some good tutorials).

So I spray my fabric that is larger than the stitched area with basting spray (its the purple and white can in the photo below) and then stick my fabric over the design.

How to Machine Applique | www.amusingmj.com

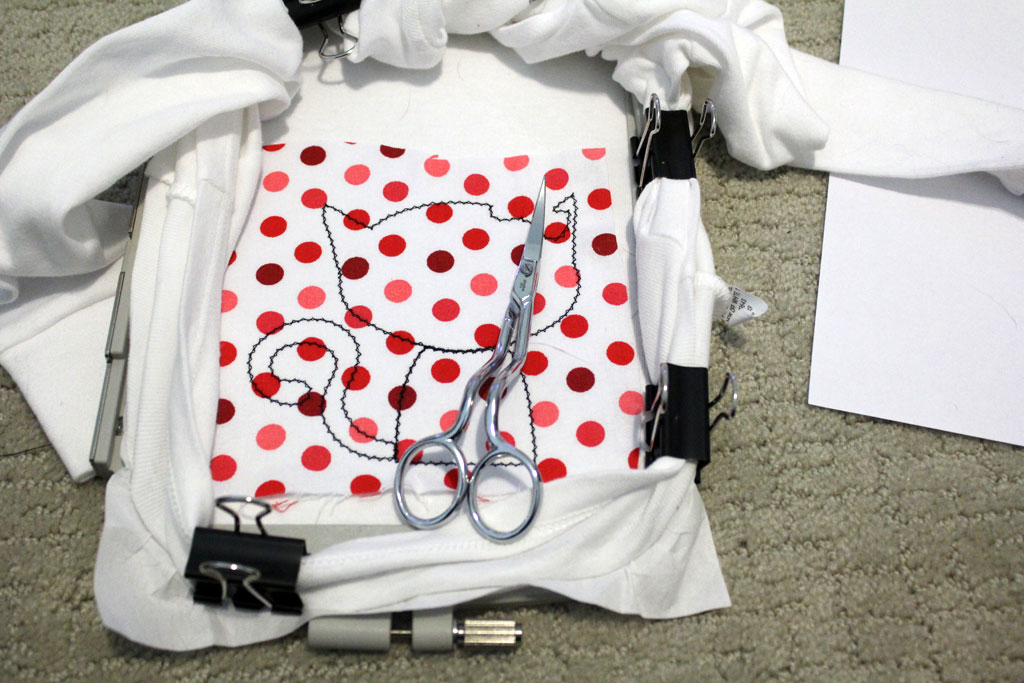
Next put the hoop back into the machine and let it do the ‘tackdown stitch’ (not all of them are zigzags… this design just happened to be).

applique5

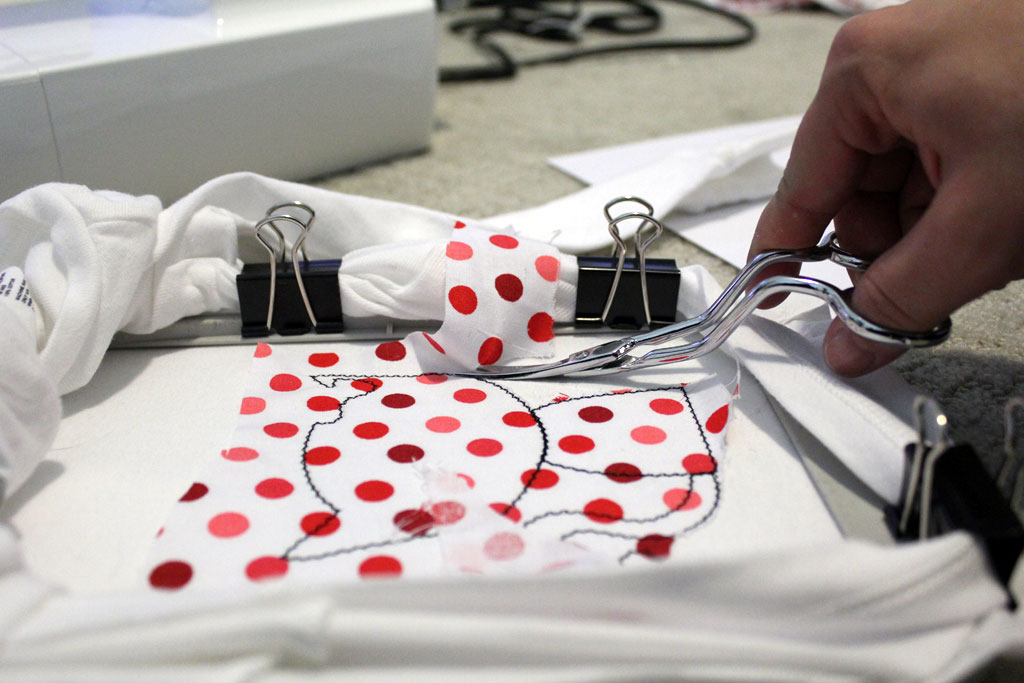
Now cut around the design as close as possible to the stitching.  I HIGHLY recommend a pair of embroidery scissors because you can get a LOT closer to the design and they are easier to use.  These are the ones I have. I find it easiest to pull up on the loose fabric to make it tight enough to get in closer to the stitching.

applique7

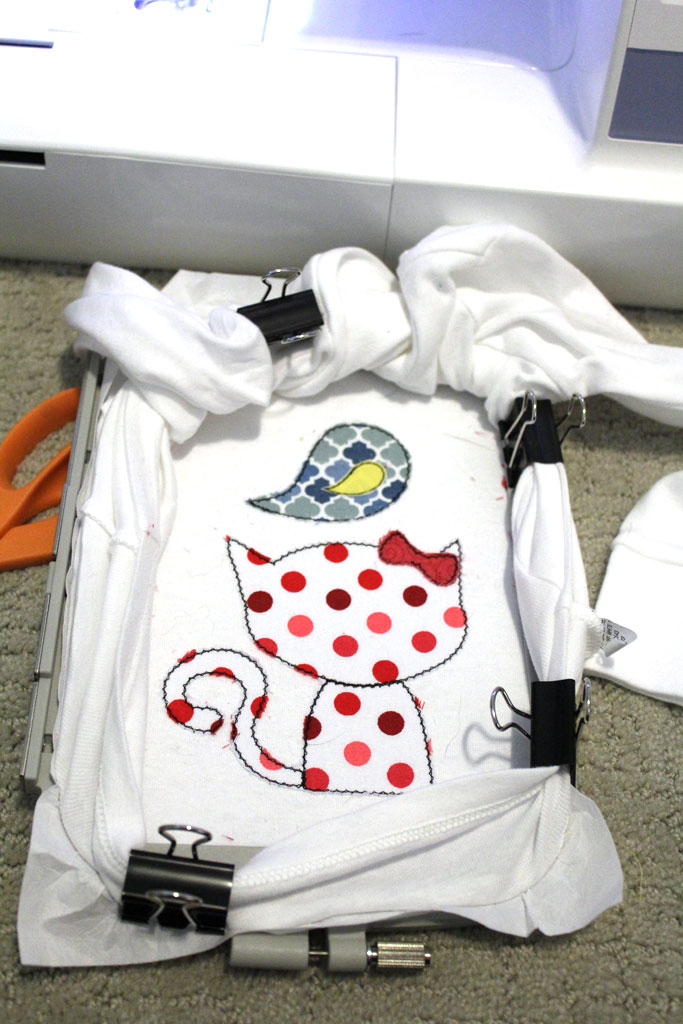
So here is what mine looks like with all the fabric on, but before the satin stitches.

How to Machine Applique | www.amusingmj.com

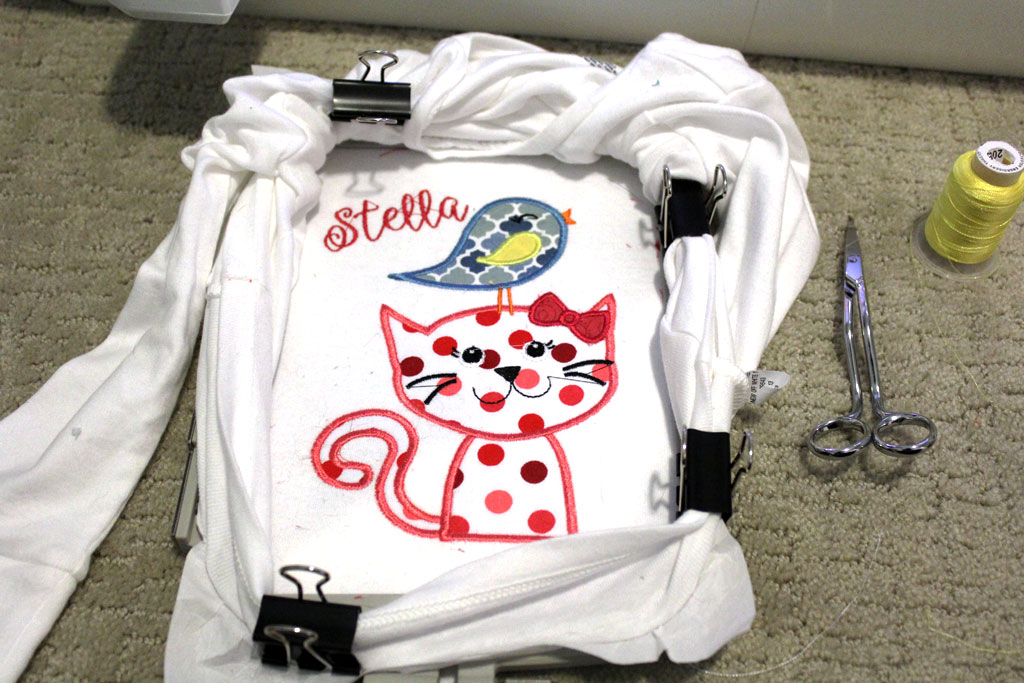
And then you just follow the stitch order, swapping out your thread colors in between each step. So here is my final product before I take it off the hoop and trim all of my threads.

applique3

The last step is to trim the stabilizer from the back.  It will soften after a few washes, but I try to trim as much as I can away without cutting the shirt or my design!

Tips & Tricks for Machine Applique | www.amusingmj.com

And then you are done! A super cute, personalized gift!


Applique T-Shirts

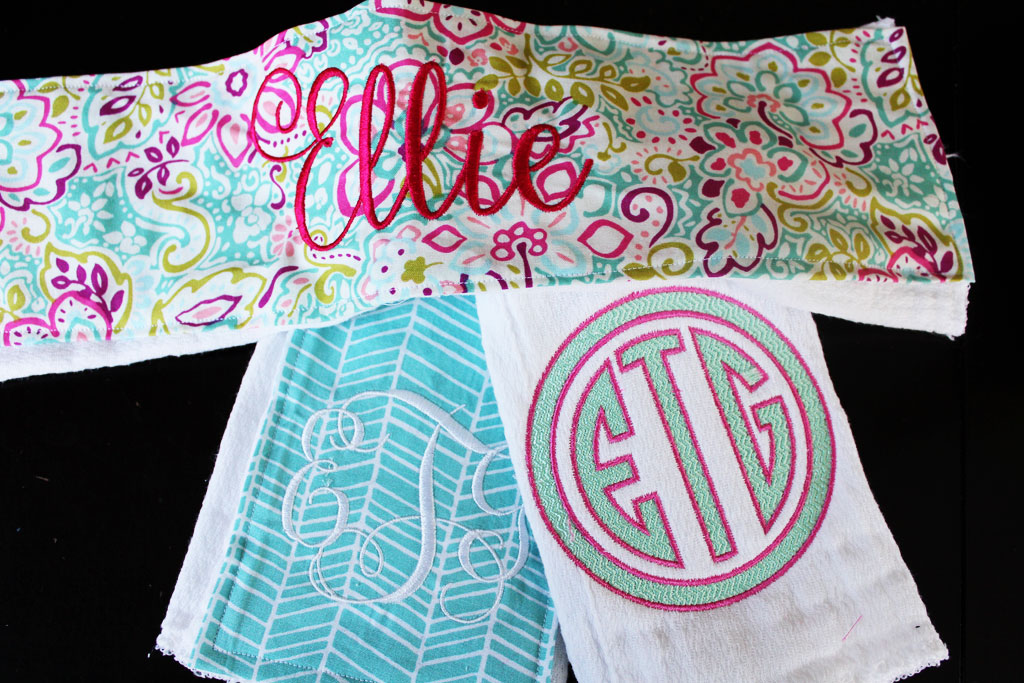
While I’ve been on maternity leave, mostly I’ve been soaking up time with Taylor, but I’ve also managed to squeeze in a few craft projects.  I shared the burp cloths I made for Miss Taylor, but I also made a set for my good friend Lauren’s little girl Ellie… and even embroidered them with her name/monogram (Because who doesn’t love a good monogram)!

DIY Burp Cloths | www.amusingmj.com

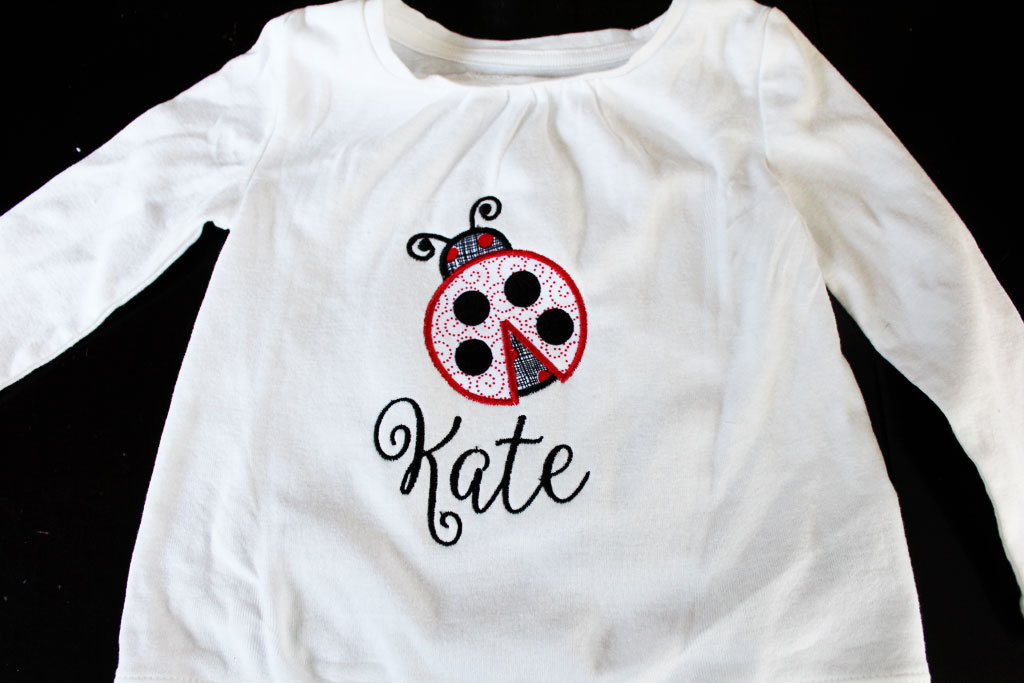
But because I believe that older siblings shouldn’t be left out during the new baby process, I decided her older sister Kate needed her own shirt.  So I got onto Etsy and found a few Applique designs I liked and settled on a Ladybug for Miss Kate. (I used this one from Rivermill Embroidery… and so far all my purchases from this shop have been awesome!)  Next week I’ll post about how I do the applique on my embroidery machine, but I wanted to go ahead and show you my results! (Update: I blogged about my tips and tricks here)

Machine Applique T-shirt | www.amusingmj.com

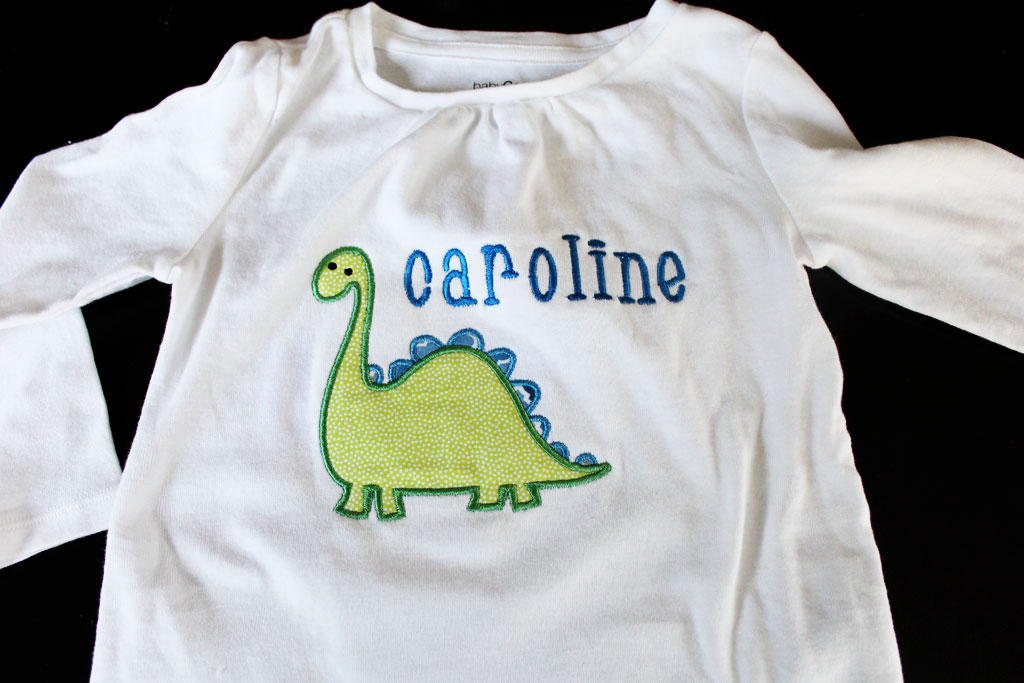
And because I was having so much fun I texted another good friend with a daughter around the same age to ask what her favorite animal was, her answer (as every awesomely imaginative 2 year old is…) was a moose cow.  Well, I couldn’t find any of those on Etsy, but since her mom told me she also loves dinosaurs, I found a super cute brontosaurus to applique for her! (That one is from Applique Cafe Designs on Etsy).

Machine Applique T-shirt | www.amusingmj.com

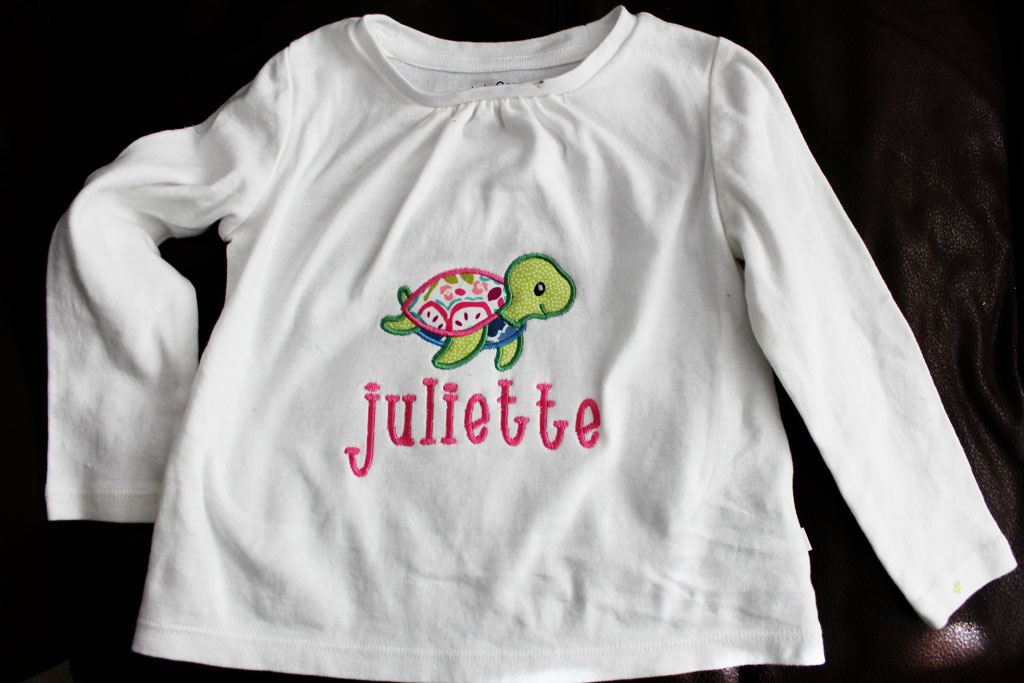
My niece also loves Myrtle the Turtle, so I decided she needed a Sea Turtle on her shirt! This SUPER cute design is also from Rivermill Embroidery and you can find it here.

Machine Applique Tee | www.amusingmj.com

For the shirts, I bought long sleeve playtime favorite tees from Gap Kids when I had a 40% off coupon.  The shirts are a great thickness and when they are 40% they are pretty affordable.  And the great thing about applique is that it is a great use for small pieces of fabric! I got a great video of Juliette opening her present saying… Myrtle Turtle! Right there!!  I love being able to make things for friends and it makes me sort of ridiculously excited to have a project come out this cute!! That feeling? When I see a project come out like it looks in my head? That is why I love to craft and make things!