Some of you may recall that I made a list this summer of some of the things I wanted to accomplish before my 30th birthday next June. One of the things on that list was to help my twin brother fix up his house. We live about 10 minutes away from each other and spend a lot of time hanging out. Being a twin is this crazy thing… you always have a friend, a cohort, a partner in crime (although more often than not… AJ was tattling on my crime sprees rater than being my accomplice). People ask what it is like being a twin, but I’ve never known anything else, so it is kind of hard to compare. We’ve definitely had our moments of disagreement (read: ALL OF HIGH SCHOOL) but have settled into a great adult friendship and I am so lucky to have him. He will be quick to tell you that he actually set me up with my husband (unbeknownst to my poor husband at the time).
One of the great things about having a twin so close is that they are automatically great help for projects. Since we bought our houses around the same time, we’ve spent quite a bit of time helping the other one paint, move, fix up etc. We can’t even possibly keep score at this point of who owes who, since it is just part of our nature to help out when the other one needs it. In the spring, my brother is going to tie the knot with one of the sweetest, most fun person I know and I’m so excited to be getting another sister-in-law! I couldn’t be more excited for them!
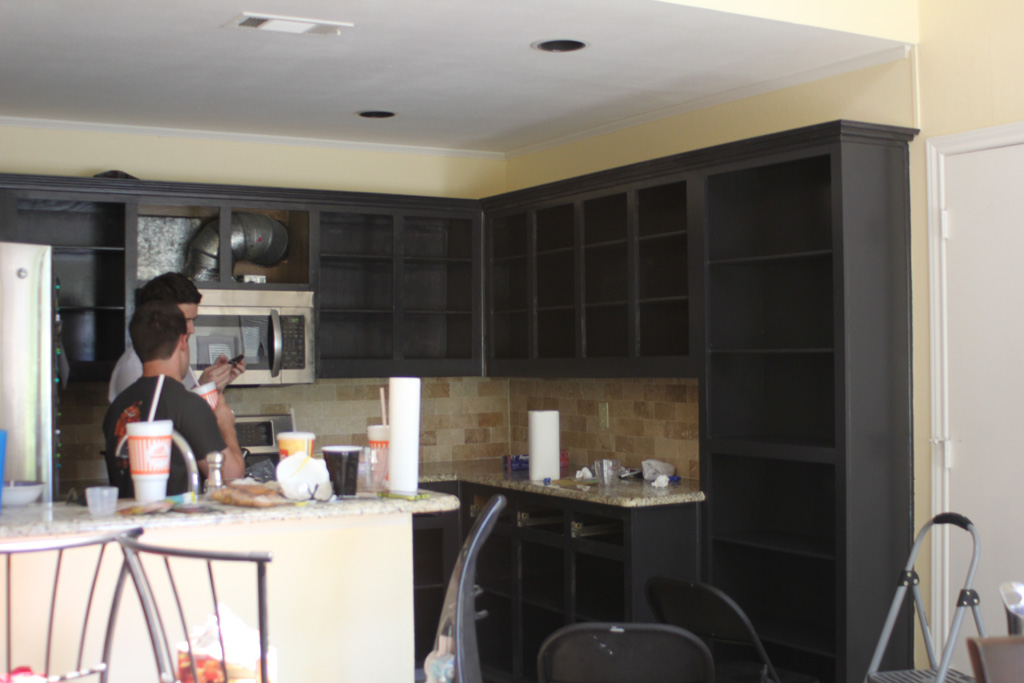
They’ll be living in the house my brother is in now and they decided they wanted to fix up the kitchen a bit. It has a great layout, fabulous countertops and mostly new appliances, so the cabinets were really the big thing that ‘dated’ this kitchen. AND the previous owners LOVED yellow; every room in this house started out as yellow. Here is what we were working with:
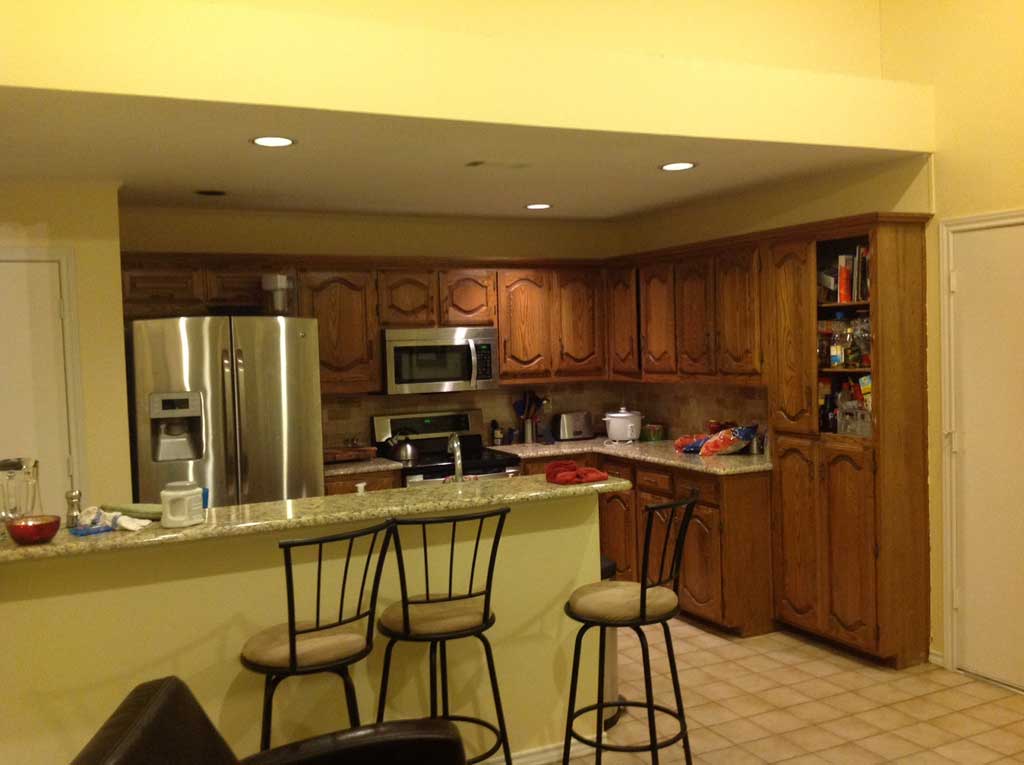

So we did our research and decided to paint the cabinets black. This room gets a ton of natural light during the day and with its open design it would still look open and light even with the dark cabinets. First we removed all the cabinet doors and started the slow process of de-glossing and sanding. We used this deglosser that I had leftover from painting my bathroom cabinets gray. It doesn’t take a ton per cabinet, but you basically wipe it on in a circular motion and then wipe it off. After reading lots of reviews of how to do cabinets, we decided to be extra cautious and do liquid deglosser and sanding. It may have been a little overkill, but these guys were pretty glossy before and if we were going to do this thing, we wanted to do it right.

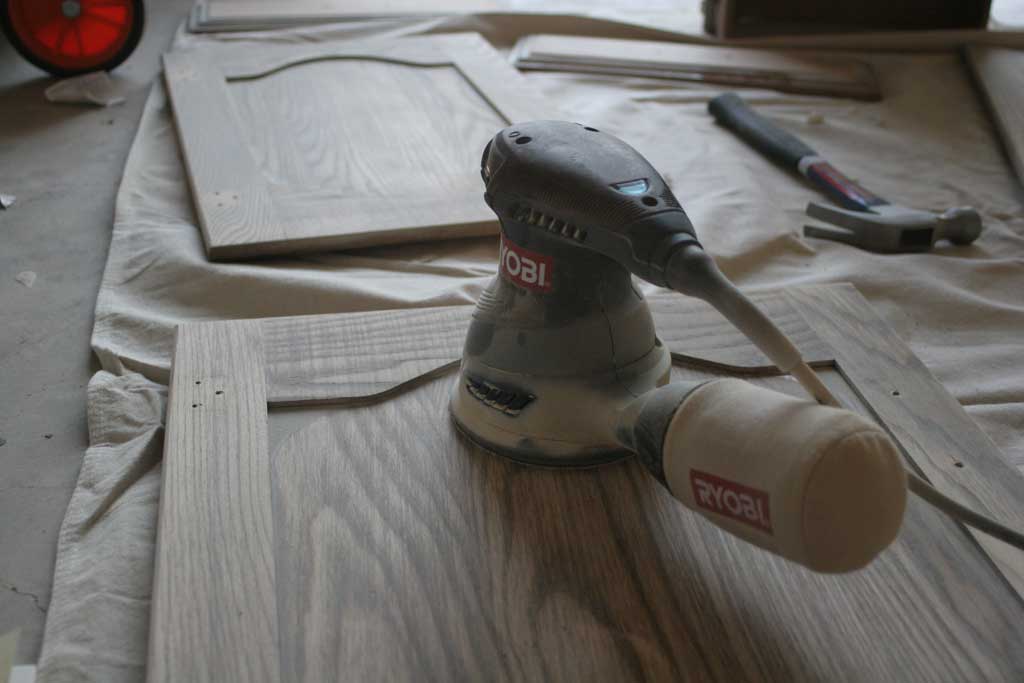
So after we deglossed them, we took an orbital sander and sanded down all the cabinet fronts and doors.
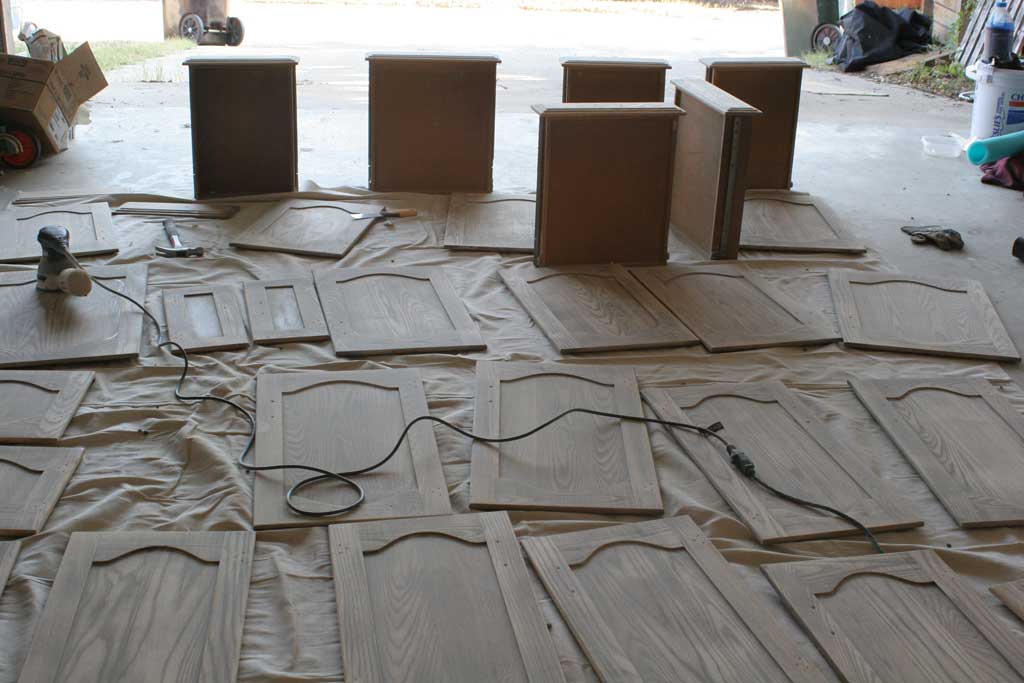

AJ did the bulk of this work on his own before the weekend that we had planned to come spend helping him out.

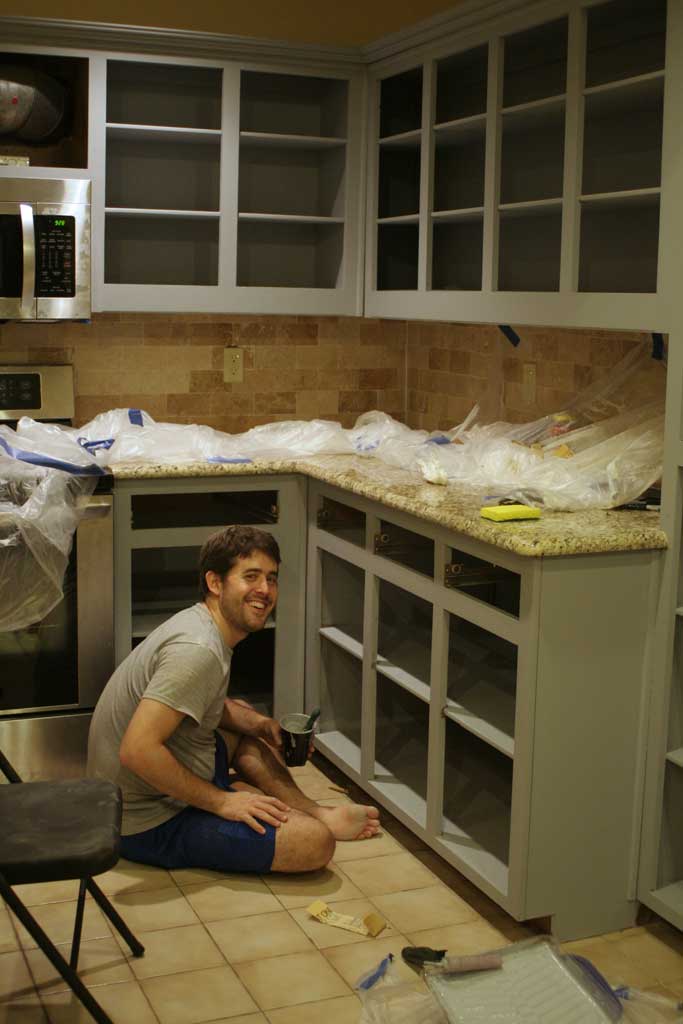
We used Benjamin Moore advance paint for everything. They tinted the primer a gray color since we would be painting black over it. So here they are all prepped and ready to have primer: (ignore the part on the right that already has primer… I started painting before remembering to take pictures!

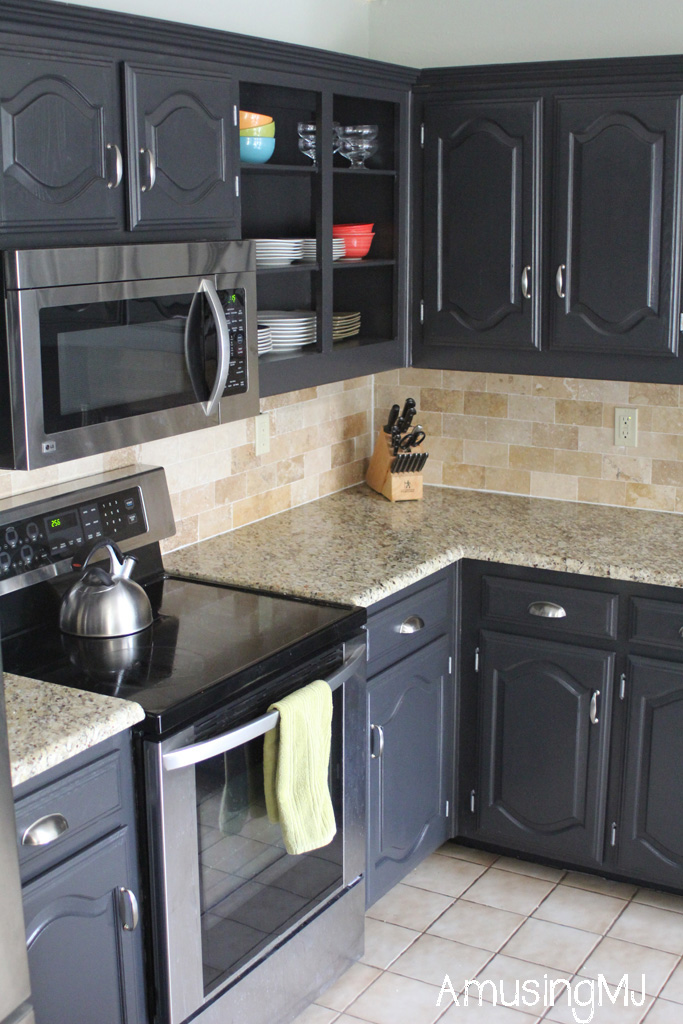
We painted one coat of the gray primer over everything. We ended up choosing to paint the insides of the cabinets as well because we liked the idea of having some open shelving, but weren’t sure which ones they would leave open, and we liked the consistency of having the same color inside and out.

Next up… black paint. The paint color was Universal Black from Benjamin Moore. It had pretty good coverage after one coat, but was uneven, so it definitely needed two coats of the black paint. We found it easiest to cut in with the brush first and then use a small foam roller (you can see it in the pic above) for the most even looking coat. The Advance paint is ‘self leveling’ and it did a pretty great job of leveling out all the brush strokes.

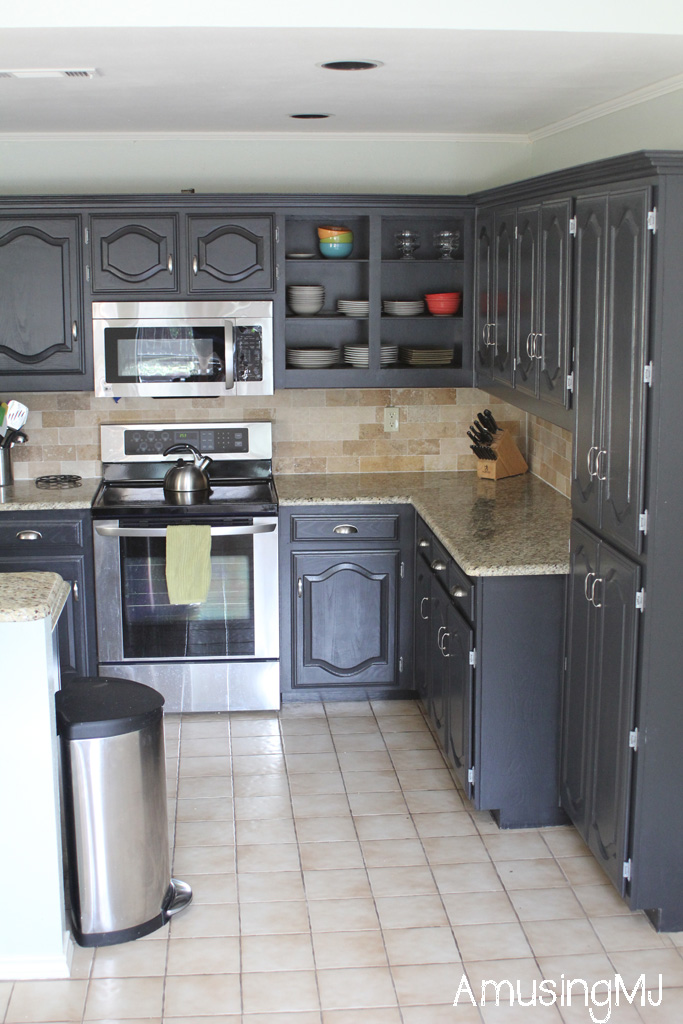
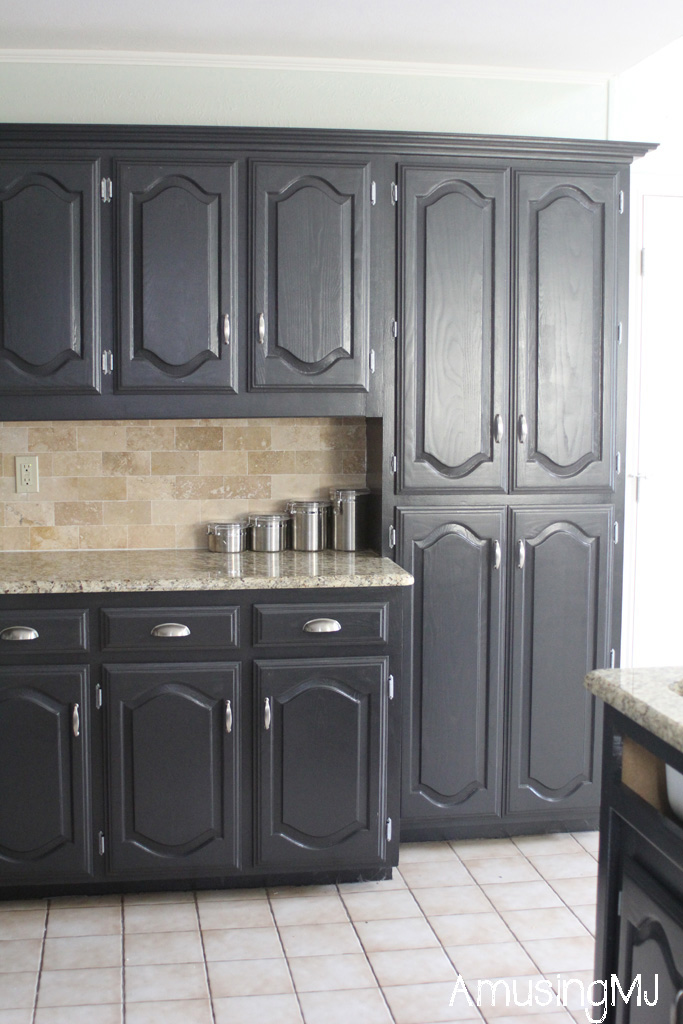
All in it took about 10 days of pretty solid work (and 4 people over the weekend) to do all the steps. This was NOT an easy weekend project, but seriously, take a look at these afters and you will see how much it was worth it:


And just because it is so fun, a before and after:
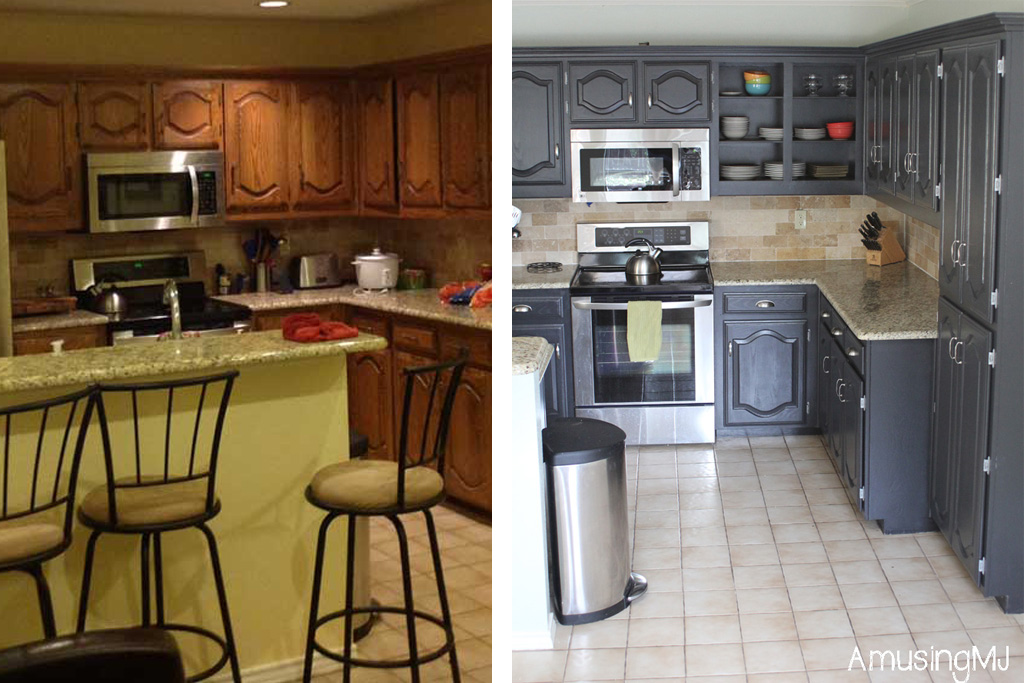

Doesn’t that look awesome!?


 Hi, I'm MJ! I'm a DIY kind of girl and this is where I share my projects. I'm taking you along for the ride as I learn how to do woodworking, sew, bake, and renovate!


This looks amazing. My kitchen is pretty similar. It’s recently remodeled but the cabinets are a dark brown. I’d love to paint them black. I’m just nervous about going so dark.
This room gets a lot of natural light, so the dark cabinets made it look much better! I’d be concerned if your space didn’t get much light, but if it does, I’d say… GO FOR IT!