Dismissing the Two Tone Island

One of the things that drove me nuts in this house was that the kitchen island (at the center of where we spend most of our time) was two toned celebration of all that is the 90s.  And although I love me some 90s, the two-tone had to go.

PS… the theme for this year’s high school dance party during the youth ski trip that my husband leads was 90s.  It is awfully hard trying to explain to girls born in 2000 the point of early 90s fashion. I’ve never felt so old in my life.

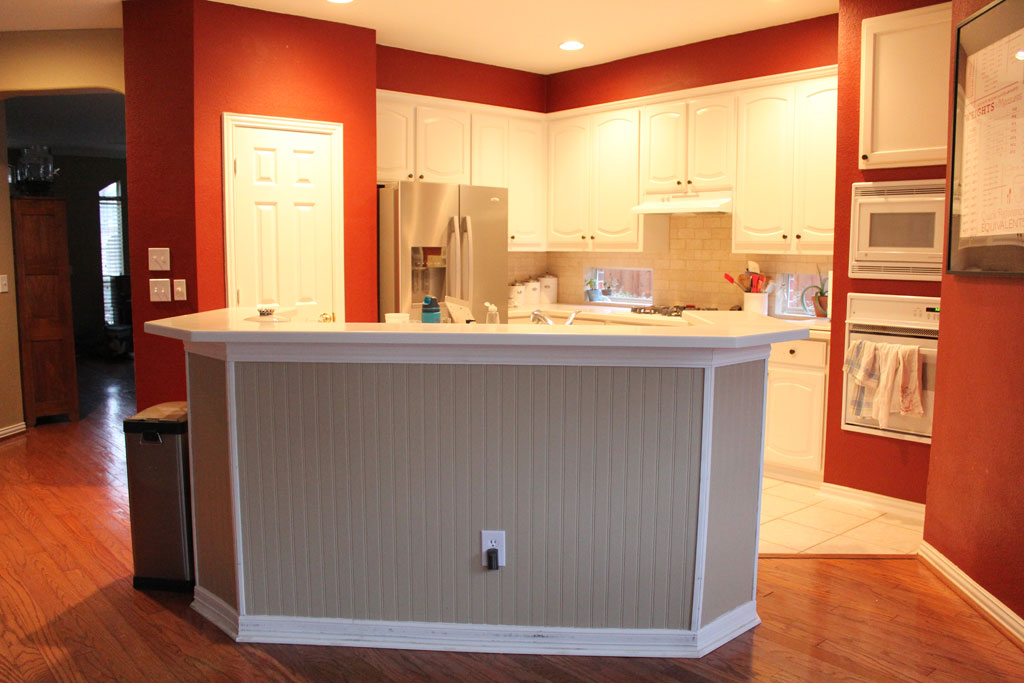
Anyway, back to the two tone monstrosity in my kitchen:

islandbefore

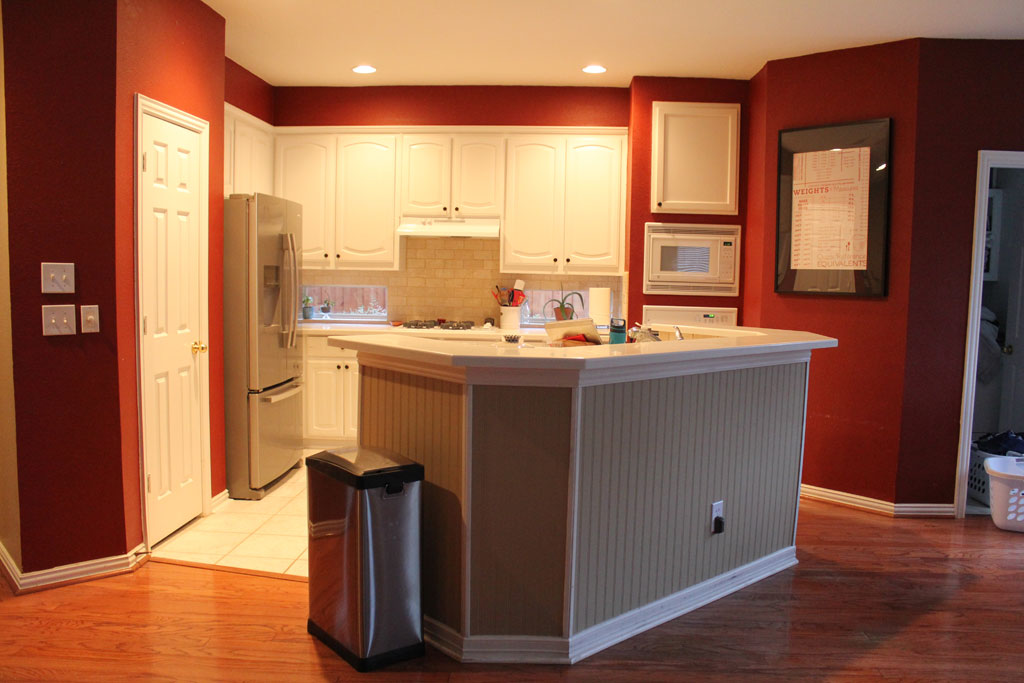
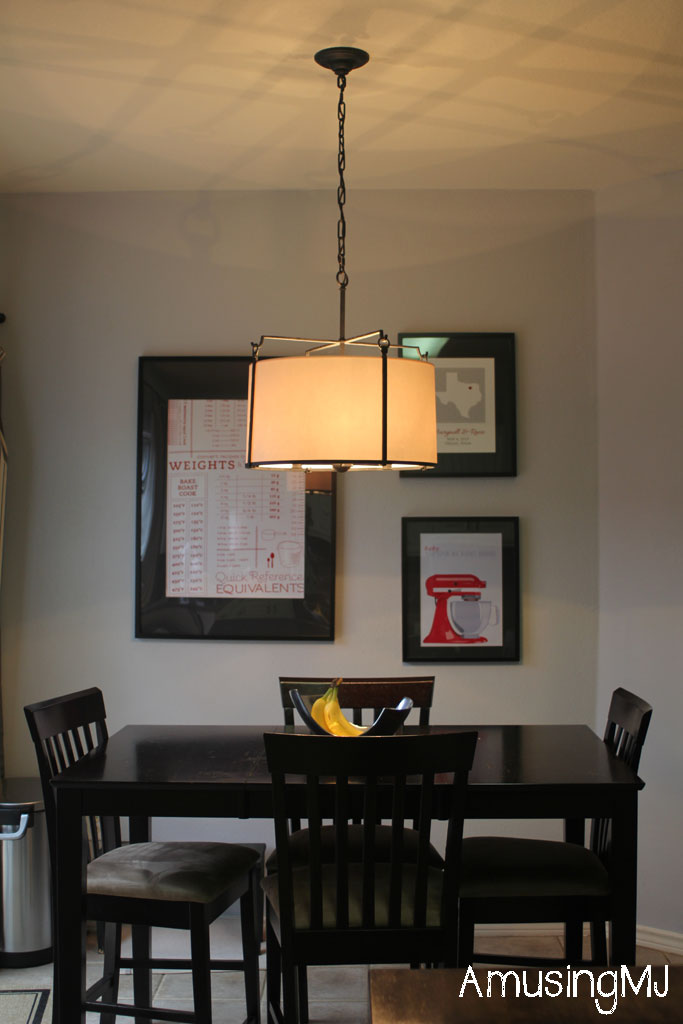
Sorry for the crappy picture, it was taken at night because that is when I have to get all my work done these days! The island was pretty scuffed up and in bad shape.

islandbefore1

We decided to go back with a simple white color, I chose Behr’s Quiet on the Set out of their Marquee line.  I wanted to try out their Marquee line (their highest grade) and to be honest? I didn’t see any difference in it and their Premium Plus which is my typical go-to.  They guarantee that with the Marquee paint and a Marquee color it will just take one coat.  I’m not sure if it was because of the texture of the bead board or what, but I definitely had to go over it a second time in most spots, which has been my experience with the Premium Plus as well: good coverage, but still requires a second coat in spots. But even with the second coat, this whole project took me about 30 minutes to complete.  (And for those of you worrying about baby, my doctor assured me that it was safe to paint as long as it was low VOC, but just to be safe I wore an awesome looking respirator the whole time anyway).

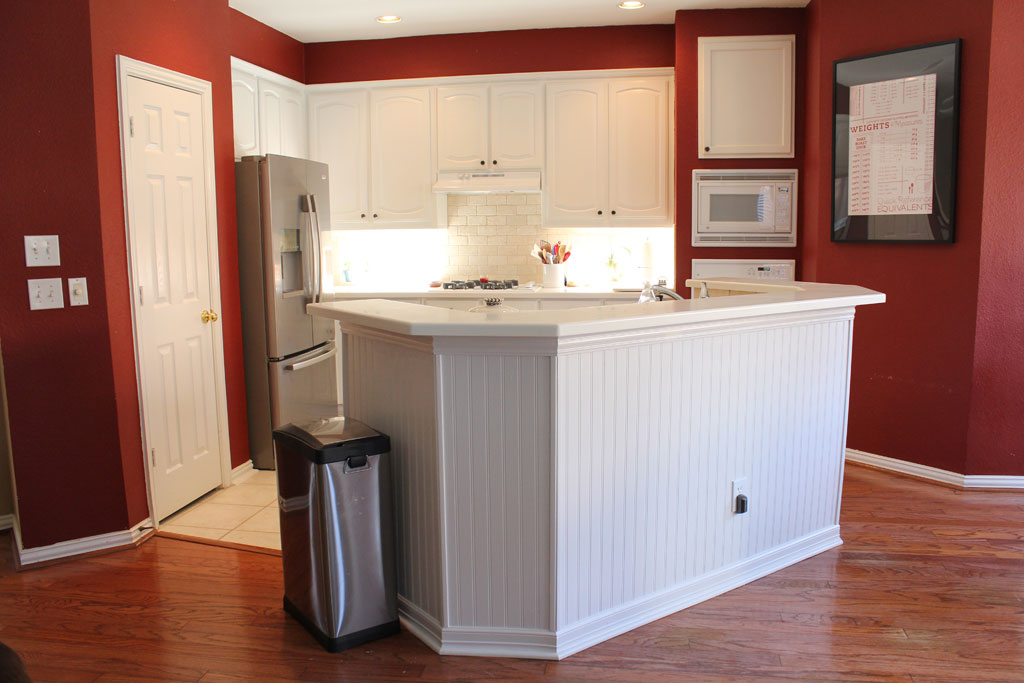
Other than missing a spot (painting in the evening with poor lighting is usually a bad decision… and this is why) which I’ll have to go back and get at a later date, I think it turned out great!

islandafter1

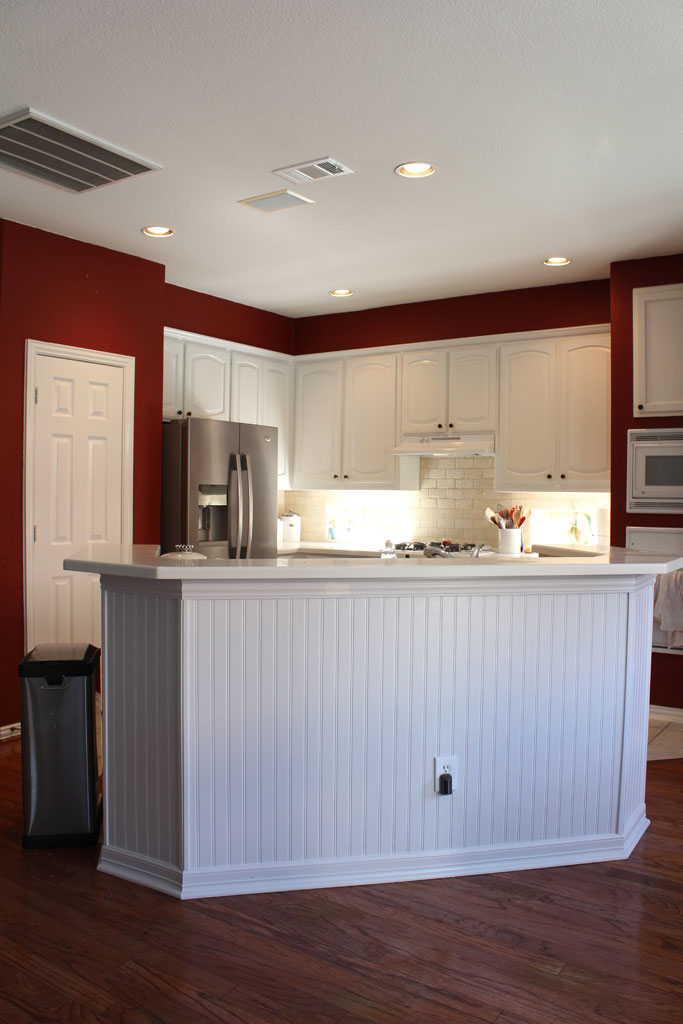
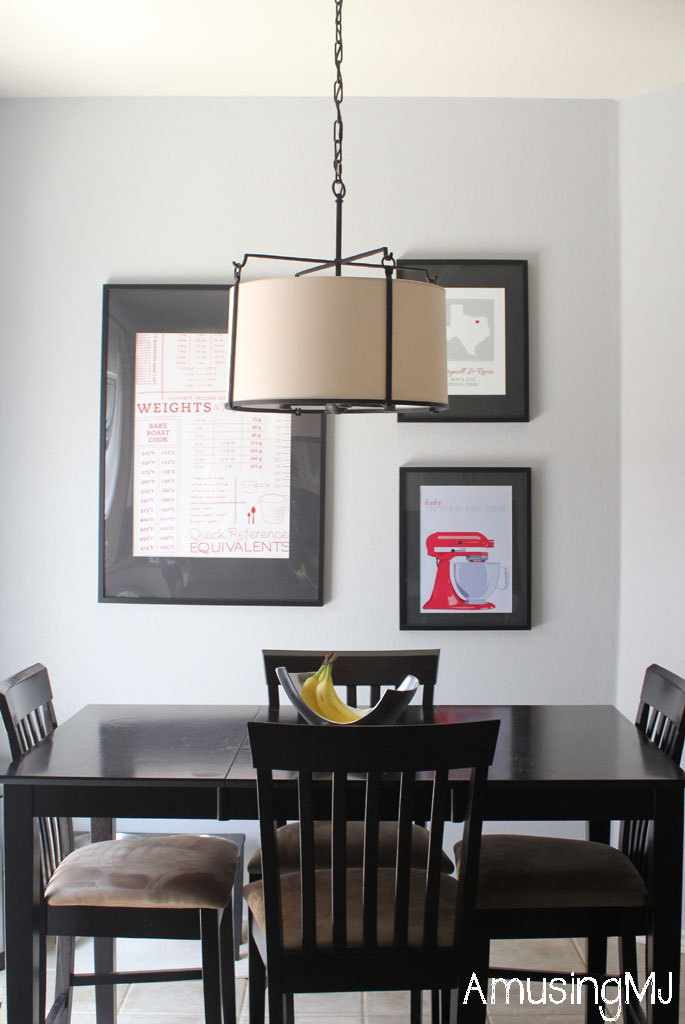
It is definitely cleaner and fresher and makes it look a tad bit more updated.  Now all we have to do is paint the walls, rehang our favorite light fixture from the old house, and hang a few more photos and the kitchen will be done–until we decide to upgrade some appliances later on.

islandafter2 
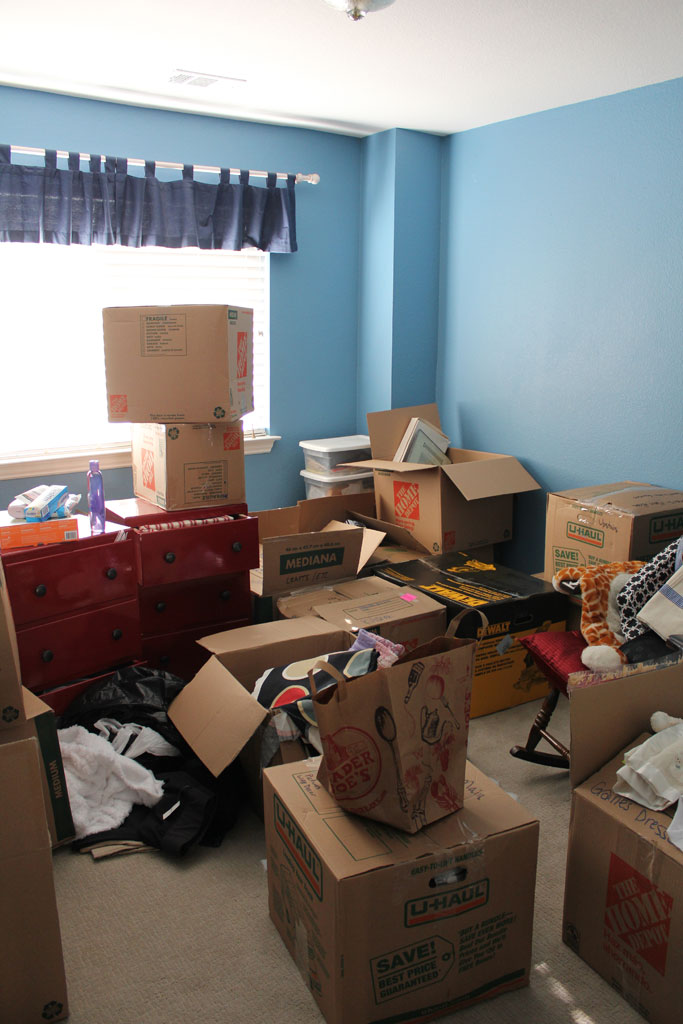
On a totally unrelated note, I made a lot of progress on unpacking, so the nursery that did look like this:

newnursery1

Now looks like this:

nurserycleanup


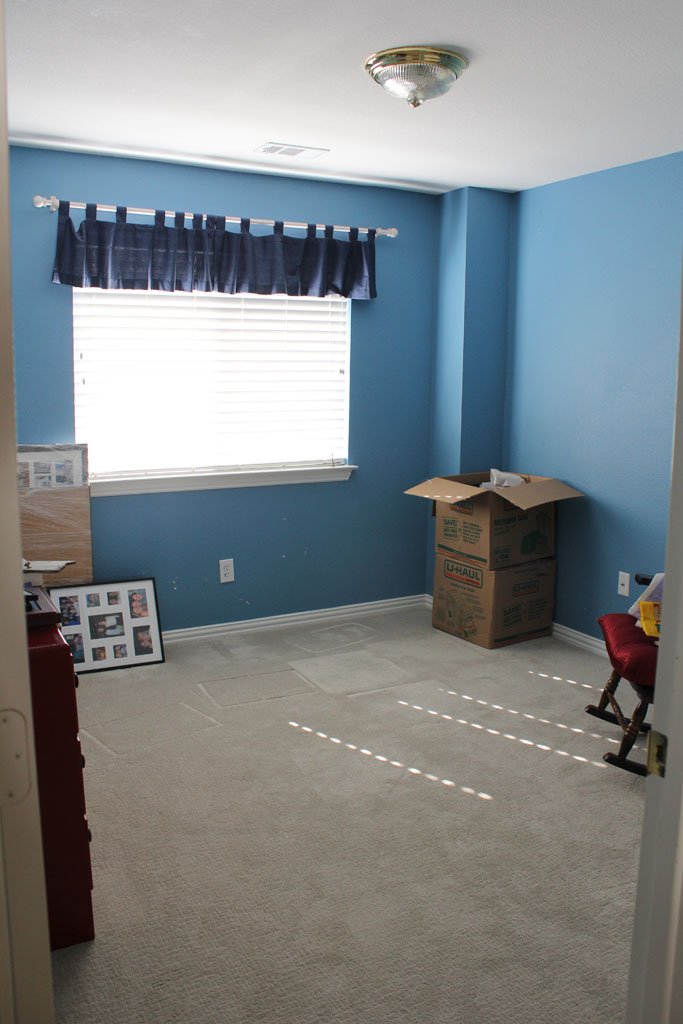
I think I’m going to like this whole 2nd trimester ‘nesting phase’.


The Aliens have left the building

Okay now that I’ve updated you on all my summer travels (here and here), I’ll show you one of the projects I managed to squeeze in!  When I moved into my house 3 years ago one of the things I really didn’t like was the light fixture over the kitchen table, which you can see here:

kitchen-table-and-gallery-w

It may not seem like much of a big deal, but the first thing I thought when I saw this was that the alien ships were landing all over my dinner plate. AND its the first thing you see when you walk in from our garage (how we enter the house 99% of the time).  So it was pretty high on my I WANT TO CHANGE THIS NOW list. (don’t worry… that’s just a mental list, not written down anywhere).  But I also knew that I wanted it to be a night light fixture and much to my chagrin… those things don’t come cheap! So I did what any smart girl did, and asked for it for my birthday.  And by asked for it, I mean sent my husband an email with a link to a picture of it :). Here’s the link in case any of you want to pass that along to someone who loves you.

But it was so worth it because look how pretty it is! (PS that’s the same table, just with it’s leaf extended below and not above)

kitchenlight1

It has 4- 60 Watt bulbs, so it gives off quite a bit of light, especially down onto the table, which is perfect. And I like the fun weave pattern it casts on the ceiling:

kitchenlight3

And now the view as you walk in from the garage is much more appealing and much less 80s spectacular.

kitchenlight2


A Tiny Update

I’m popping in here to give you guys a small short update.  I have a larger post later this week on the piece we just finished for my church, but it has a ton of photos and info and I just didn’t get it done this weekend… so I thought I’d share the quick and easy update my husband and I did last weekend that is making a big difference!

About a year (maybe 2?) ago I saw a USB/Wall Outlet and decided it would be PERFECT for my kitchen/mail area. I can’t remember where I bought mine, but you can buy a similar one here. Anyway, its been one of those projects that just has never surfaced to the top of my list, but last weekend  I stumbled across the box and decided that now was the time to switch out the outlet.  Last week I showed you guys our mini-mail/command center on our kitchen counter. 

junkdrawer2

Well now, that tiny little outlet looks like this:

outlet

And I don’t have to go scrambling around to find one of those little square adapter things.  BRILLIANT! I would give you instructions but I know ABSOLUTELY nothing about replacing outlets, I just followed the instructions on the sheet of paper that came with the outlet.  The basic gist of it is: pay attention when you remove the first outlet and put EVERYTHING BACK WHERE IT BELONGS. OH… and remember to turn of the breaker for that outlet before doing anything.  I like to do these during the day so that I can turn off the power to the whole house because it makes me feel safer.

Safety side note: for my job I had to attend an OSHA 10 Hour Safety course, which is really an OSHA (Let’s show you pictures of every injury that could happen on a construction site) Safety Course. So I don’t play around with safety.  Neither should you!

And just in case you guys are as mesmerized by how fast vegetables grow as I am… here is my veggie garden right now:

garden14

Check out how much they have grown from just last week!