White Mantle

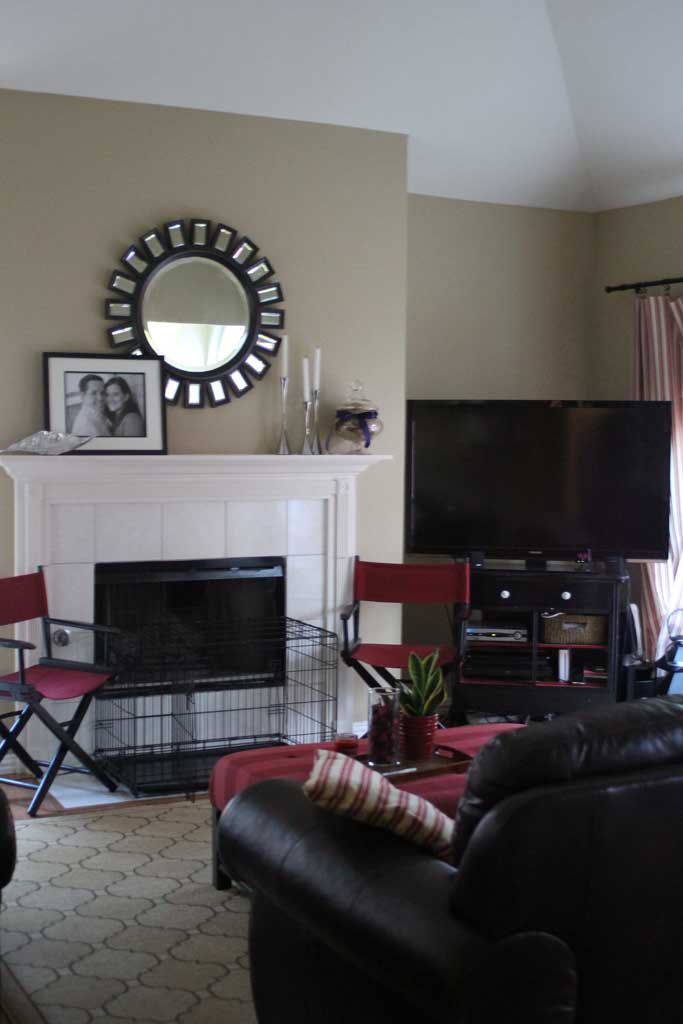
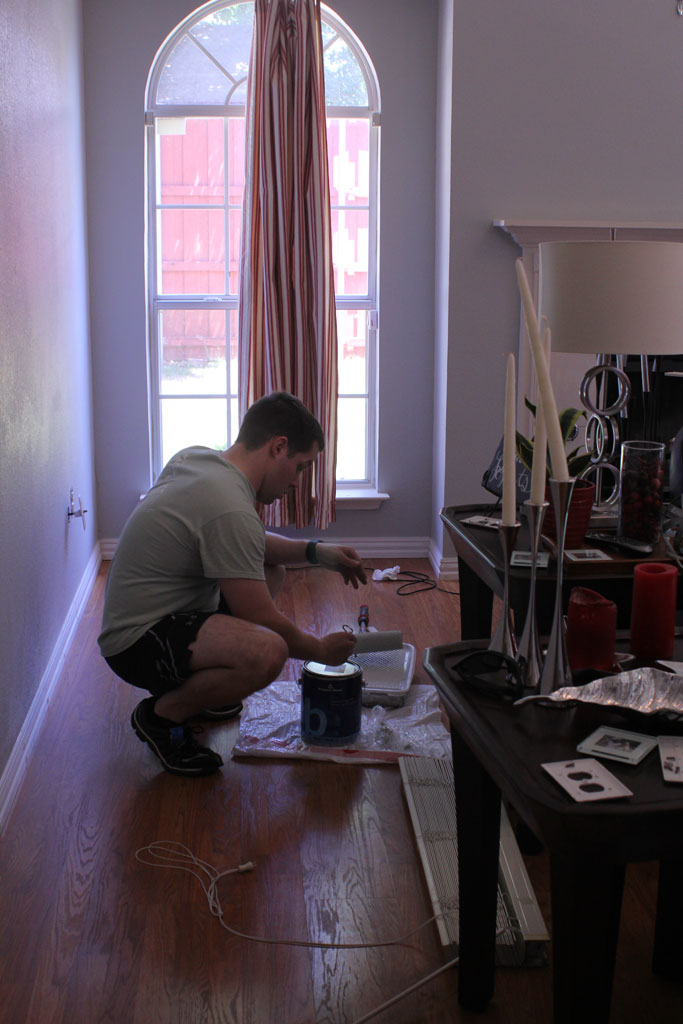
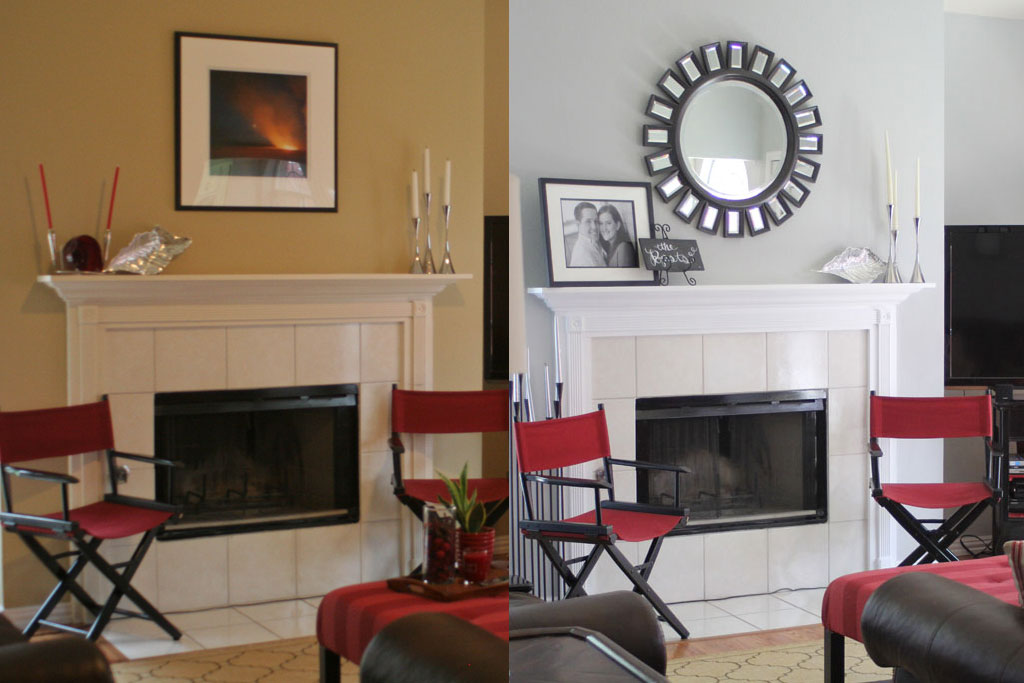
As I mentioned in yesterday’s post, when we painted the living room and hallway, I also decided to paint the fireplace surround.  It was more like: the husband ran to home depot to pick up a light switch cover and this mantle painted badly with flat cream paint drives me CRAZY every time we are watching TV, wonder if I can paint it before he gets home (the answer to that btw is NO).

mantle2

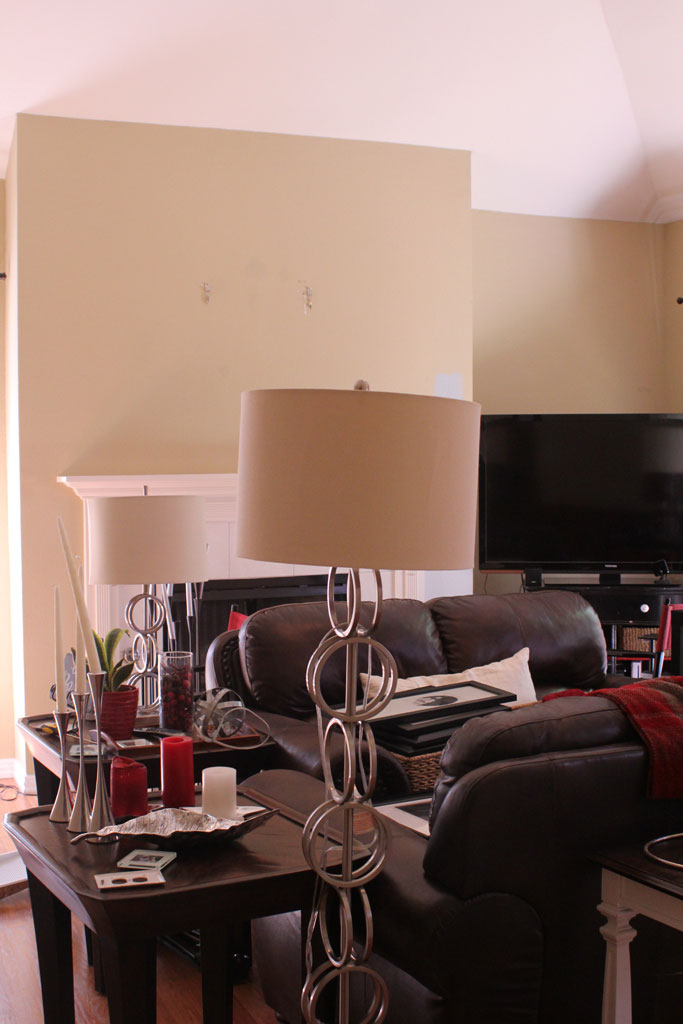
But since we already had everything taken down and moved to the center of the room, I went for it anyway.  I used Behr’s Ultra Bright White (the base color) in Semi-gloss since that is what I had on hand. Since it is trim and I was using glossier paint which tends to show streaks, I used Floetrol as an add in.  Theoretically it makes your paint less likely to leave brush marks.  I’ve had pretty good success with it, so I use it. (That link is for a gallon, I bought a quart a while ago and still haven’t used it all up, so just buy the quart… but that will show you what the bottle looks like).

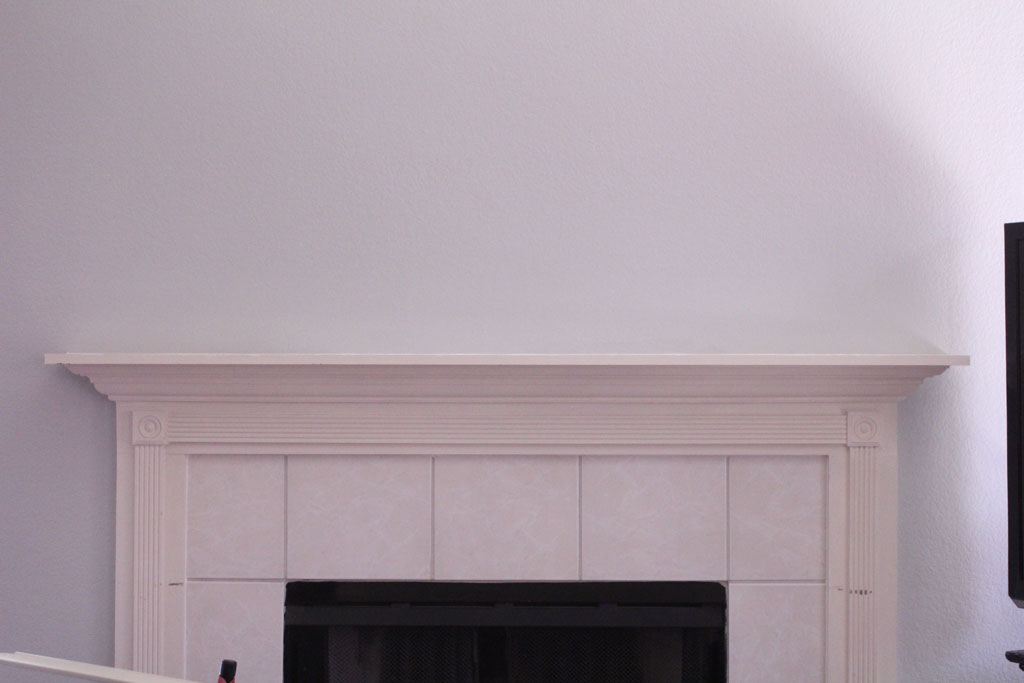
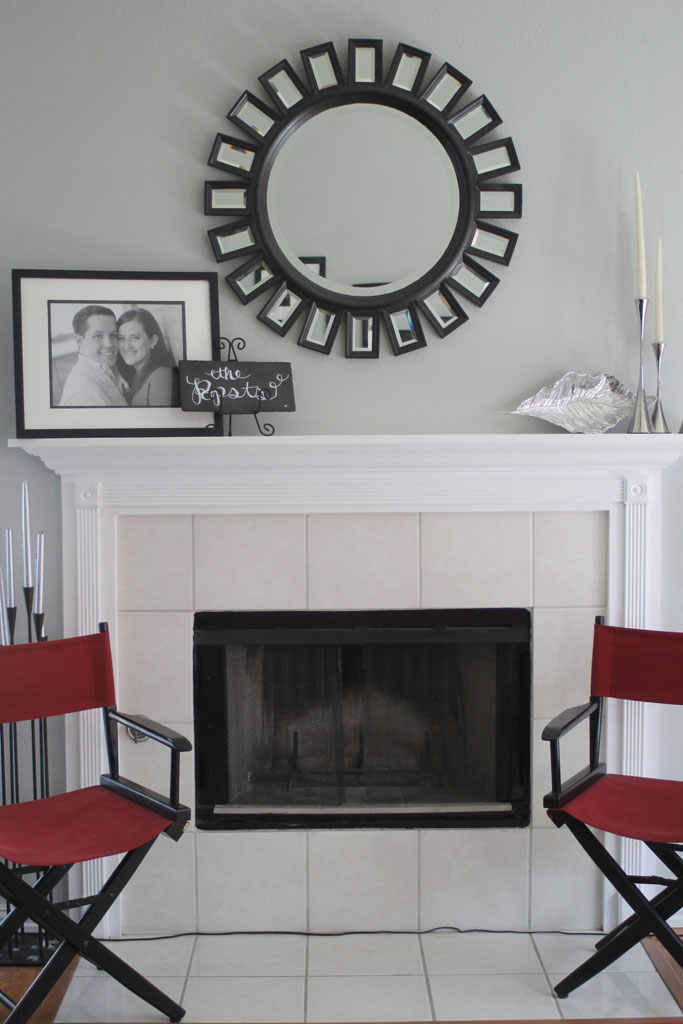
Here is my mantle in the middle of the first coat of paint.  It is amazing to me how NOT WHITE it was.  My baseboards already didn’t match this very well.  They are whiter than this, but not BRIGHT white.

mantle


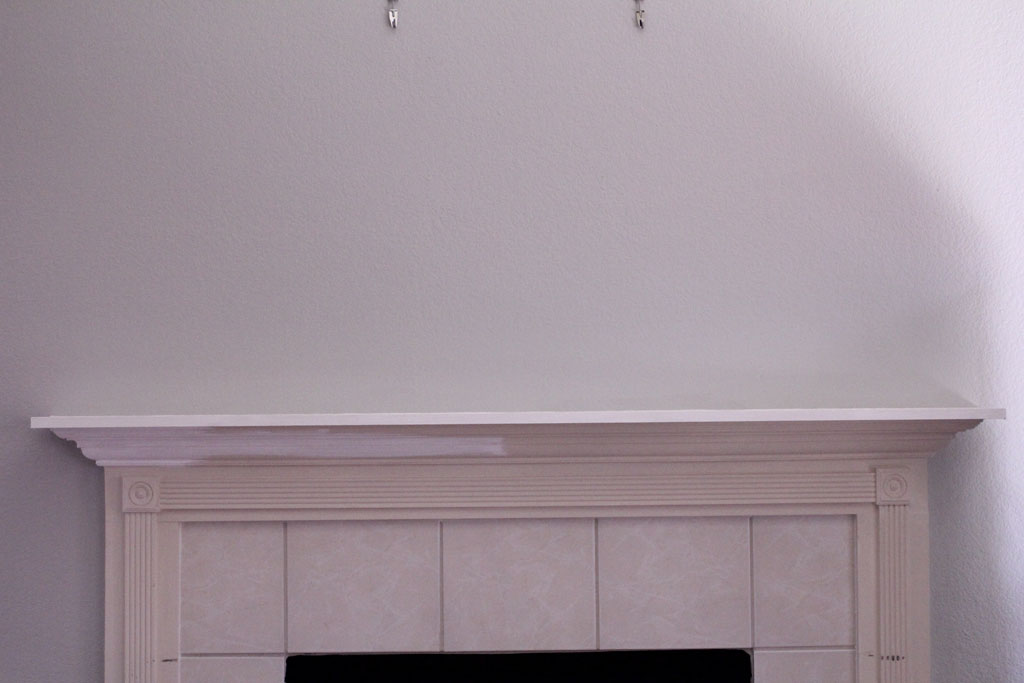
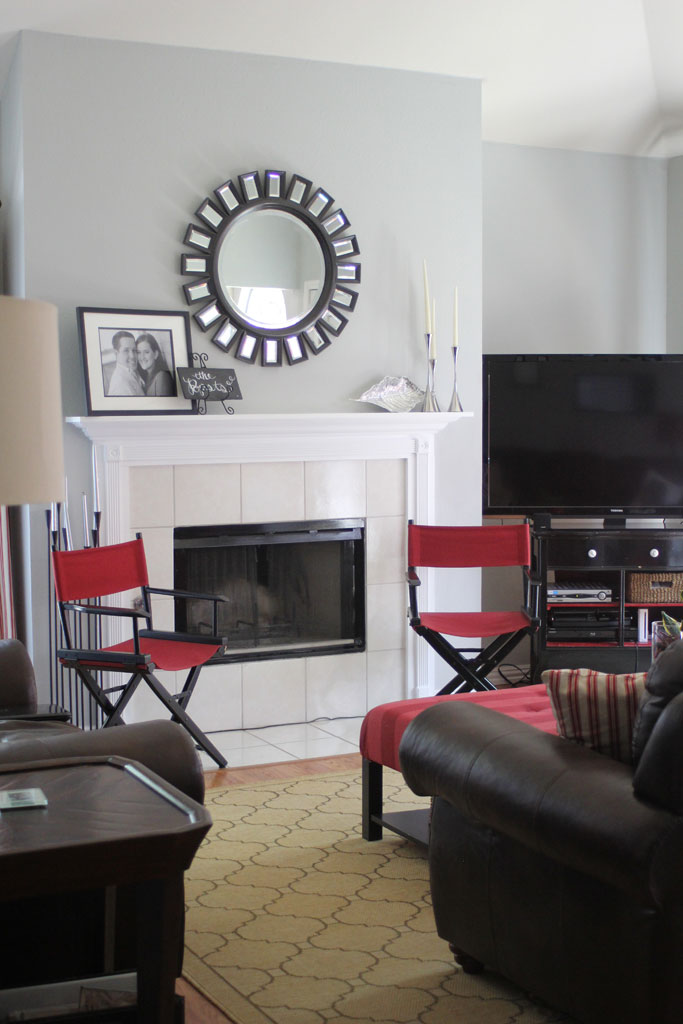
And after two quick coats of paint, the mantle was looking SO FRESH AND SO CLEAN! I like that it made the gray pop a little bit more.  It did bring out the cream in the tile a bit more, but it doesn’t bother me.

mantle1


I think the white makes it look not as tired as before.  SUCCESS.

Living Room Switcheroo

WHOA guys… I’ve been a little MIA lately, but I promise it hasn’t been because I haven’t done any projects lately! In fact quite the opposite! But between finishing up quite a few projects at home and work being crazy busy, I haven’t been able to keep you guys up to date! But I promise that’s going to change this week, get ready for a bunch of update posts!

This weekend the husband and I celebrated our one year wedding anniversary. (If you are nosy like me and want to see all the posts about our wedding, go here) And if you know me, you won’t be surprised to learn that we celebrated by doing a few major house projects!! (We also went to a fancy dinner, so have no fear… I wasn’t a slave driver all weekend).  I decided I wanted to get rid of the beige in our living room and hallway.  I’d been searching high and low for just the perfect gray color when I read Young House Love’s post about their show house and the master bedroom had the perfect color gray that I had been looking for. It is Benjamin Moore’s Stonington Gray.

The husband and I tested it out (in several LARGE swatches across our living room walls) and the slightly darker color on the same little test page.  And just to show that I have NO SHAME, I did this right before we hosted our weekly small group at our house.  Meh, they didn’t mind.  Here’s where we left our little living room:

mirror12


So we took all the things off the walls, rolled up the rug and moved the furniture to the middle of the room, and we were ready to paint.  livingroomgray6

We didn’t bother to tape or cover the floors, I do all the edging freehand and the paint if/when it splatters, pops right off the laminate floors, so its not worth the hassle.

Here is my husband being such a good little minion and helping me paint all day Saturday.

livingroomgray7


The color is a little off in that picture, but want to see what it looks like now??

livingroomgray4

livingroomgray

livingroomgray2

livingroomgray3


I love how much lighter and brighter it feels in there!! I haven’t decided if I’ll make a few more tweaks to the room without the beige, but I’ll let you know!

One more before and after:

livingroombeforeandafter


And no your eyes aren’t deceiving you, I also gave the mantle a fresh coat of white paint instead of the beige-y cream flat paint that was on it before. But I’ll post about that later this week!


Lead Paint PSA

If you’ve been hanging around the blog for a while you know that I really love making over furniture and have several pieces passed down from my grandmother.  The awesome thing about this is I get quality furniture for the low low price of FREEEEEE.  The only downside is that some of those pieces have lead paint. I think a lot of people know that lead paint is bad, but it isn’t something DIY-ers always remember when picking up a piece of old furniture.

A while ago I bought some cute old window frames at a garage sale that I wanted to do something cool with (like this or this), but they’ve been sitting in my garage because I suspected they they had some lead paint on them and because I wasn’t sure exactly what I was going to do with them.  To read more about lead paint, go here.

leadpaint3

So my first step was to figure out if it was lead paint.  So I picked up one of these little guys from Home Depot:

leadpaint1

Its a pretty easy test… you squeeze in the center to break the little thing inside of the cardboard, then wipe it on the paint in question (if there are several layers of paint you need to cut through them so they are all swabbed by the cotton.   And now comes the results… red is lead.  And sure enough…

leadpaint2


These windows definitely have lead paint.  So my next step will be stripping the leftover paint with a paint stripper intended for lead paint removal like this and be sure to use a respirator and gloves! And then of course, figure out something fun to do with them!