Connection Corner Table

I’m finally posting about the project my friend Claire asked me to take on last fall, but because of scheduling and my brother’s wedding, I didn’t get around to starting it until late March.  It was a multi-weekend project but we finished it up just in time for Easter (I told you I was behind on posts!).  Claire works for our church and had this great idea for a welcome desk that meshed better with the personality of our contemporary service.  So she and I talked through plans and decided that it should be about kitchen island size.  So I went to my normal blog stop for plans and found Ana-White’s plans for this kitchen island.  I’ve used Ana-White plans a few times before, most notably for this dining room table.  I figured I could alter it a bit to make it work for us.  You know, like putting in a shelf instead of the X for wine storage.  (Not that I don’t like a glass of wine, but this maybe not appropriate for the church’s welcome desk).  And we only really needed one drawer and no cabinet fronts, so I only used the plans really as a model for the base of the structure.

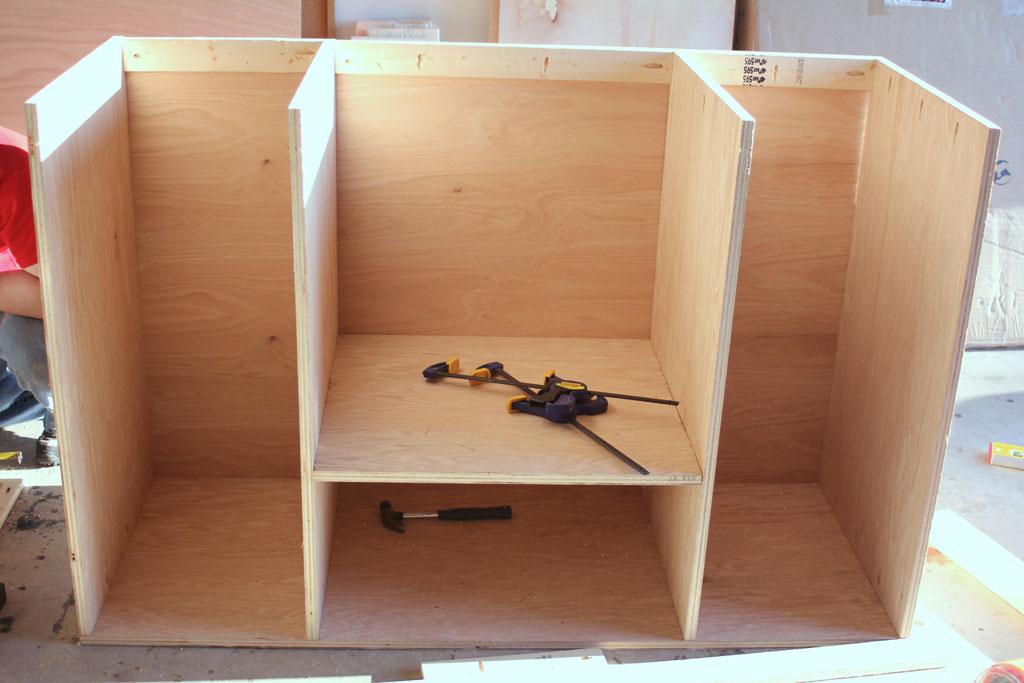
Step one is basically constructing the box out of ¾ inch plywood.  We had Home Depot cut two sheets of the plywood in half vertically, and then once we got home we cut two of those halves (so one full sheet) into shelves and the dividers.

cctable10

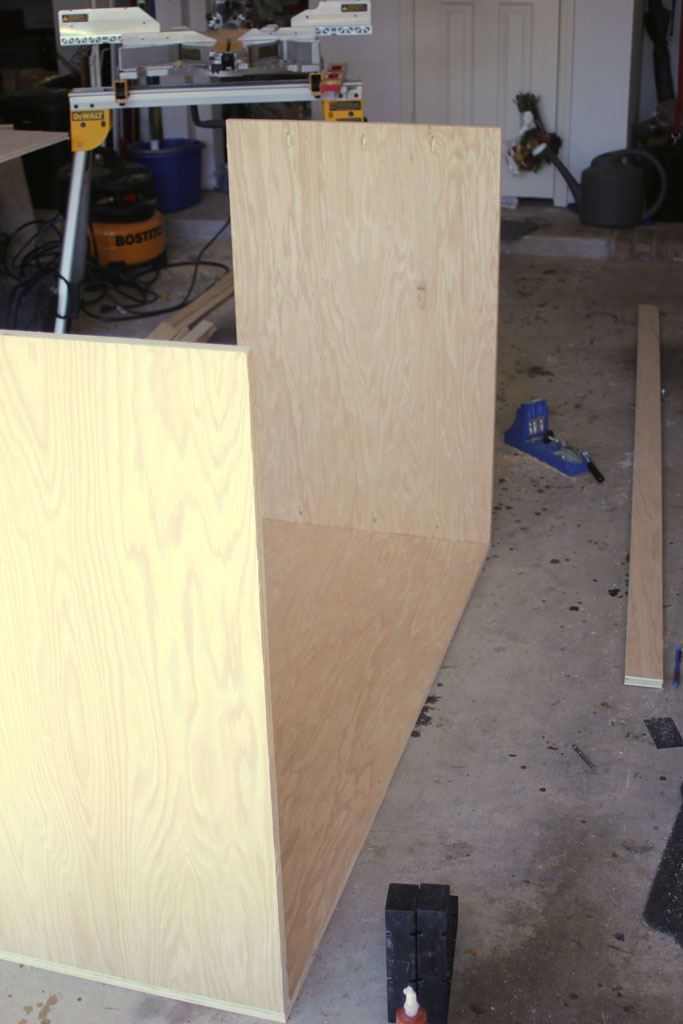
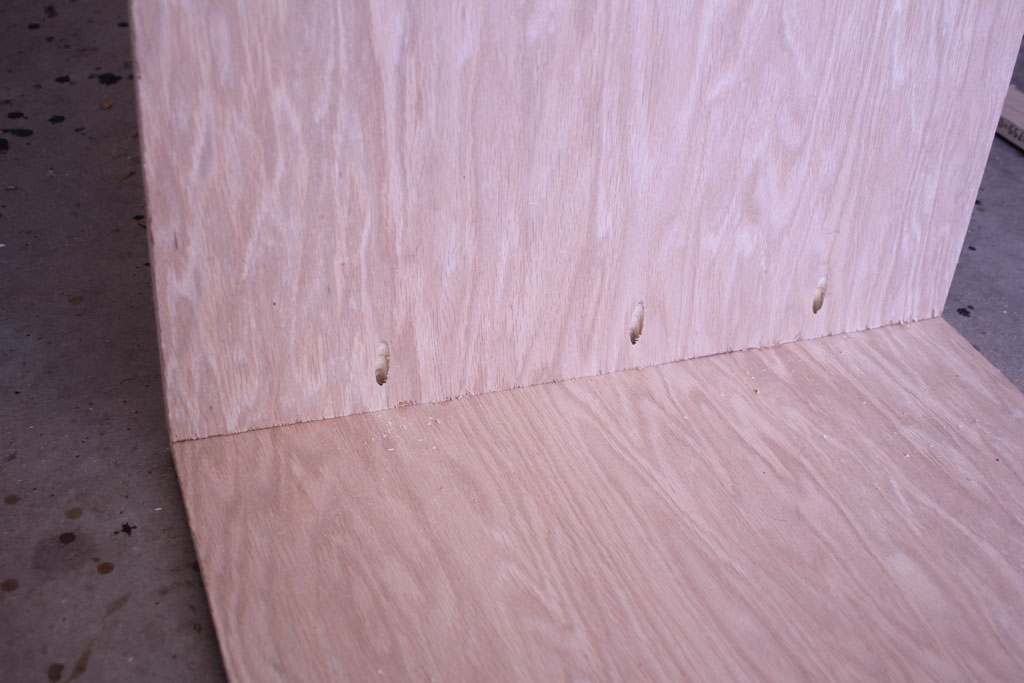
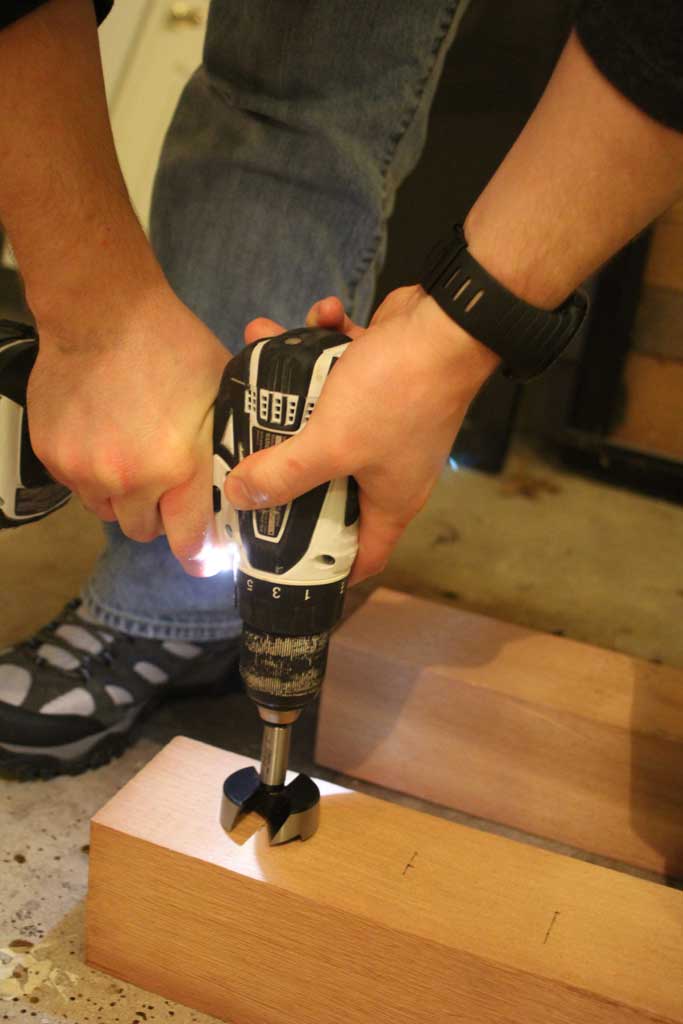
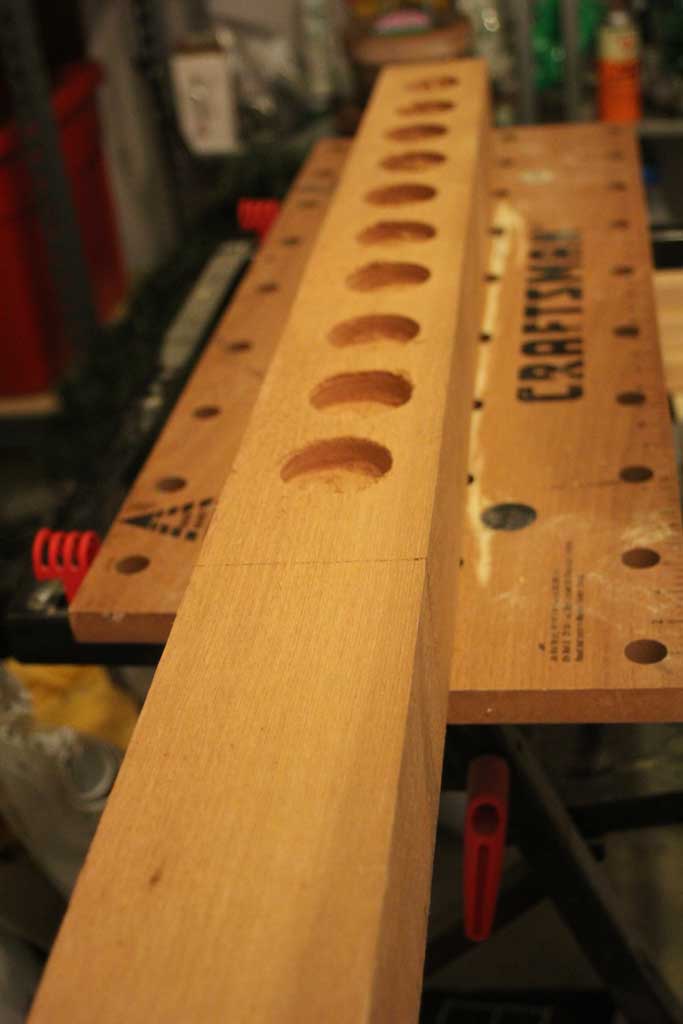
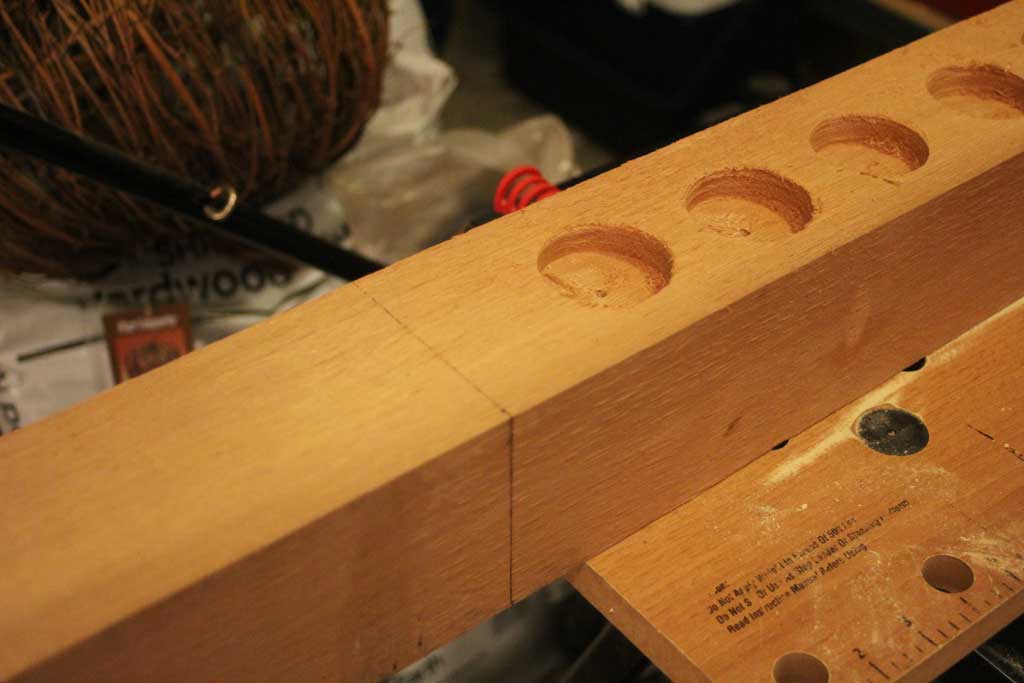
I used my kreg jig on the inside of each of the dividers to secure it to the base, being sure to go ahead and put in pocket hole locations for assembling the top whenever we got to that point.  Since I was winging it, I wasn’t really sure what I was going to use as a top for the piece yet, but knew I would want to secure it from the bottom, leaving a smooth top.

cctable8

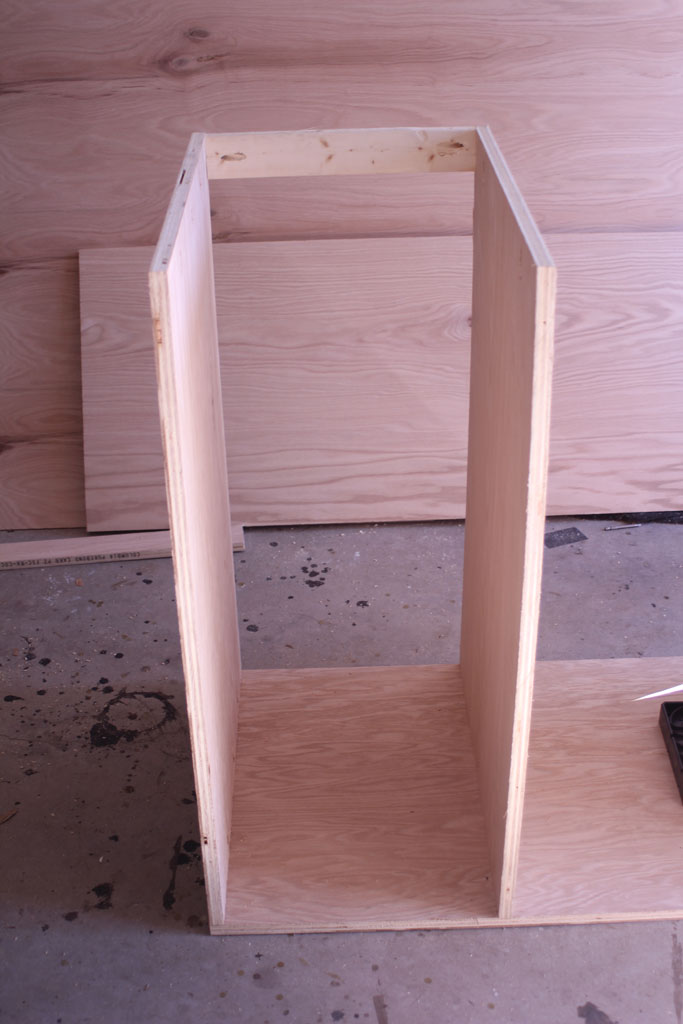
The next step was to add in braces between each section to give the backing something to attach to. IF you are going to be adding in a drawer or drawers, be very very sure everything is square. Otherwise you may have to take apart and reassemble several times… ask me how I know.  Oh and here is where I will stop giving you advice on how to put in a drawer and tell you to find other sources… mine only kind of works. And that was after reassembling 3 times. It probably won’t be the last drawer I ever attempt to build, so I’ll let you know if the next time is successful.  If you want more qualified instructions, I like Sandra’s tutorial about drawer assembly here.  But we’re getting ahead of ourselves we aren’t ready for the drawer yet.

cctable6

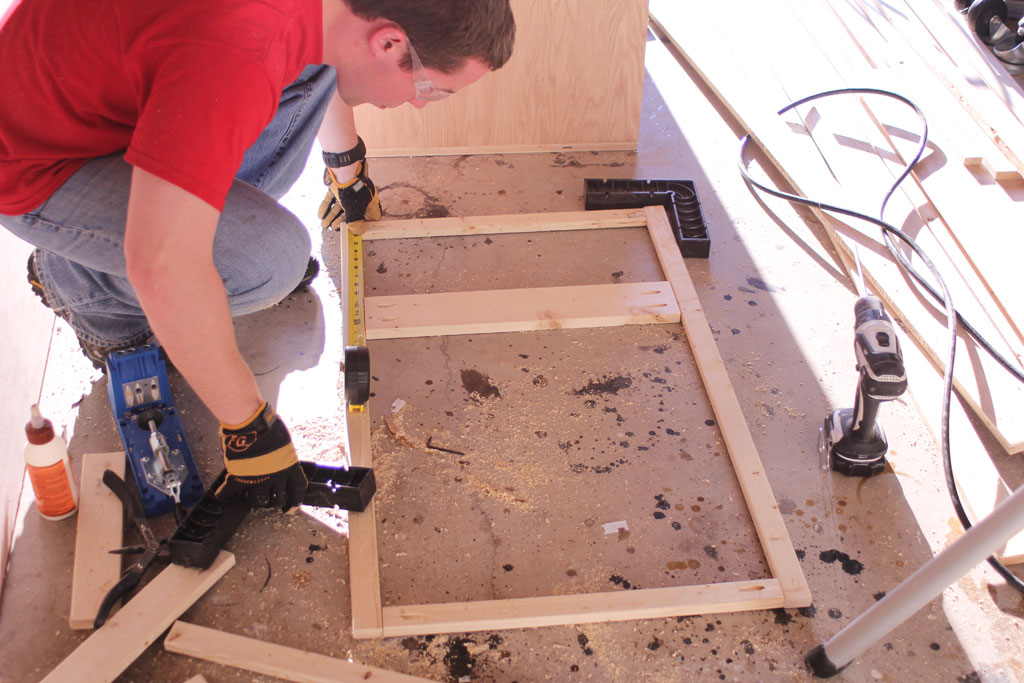
The back (front?) piece was a piece of ¼ plywood cut down to size and secured in using wood glue and an 18 gauge nail gun.  From there we assembled face frames using 1x4s and 1x2s to create the pattern.  One for each side and one for on top of the ¼ plywood we’ve just attached.

cctable5

cctable4

cctable3

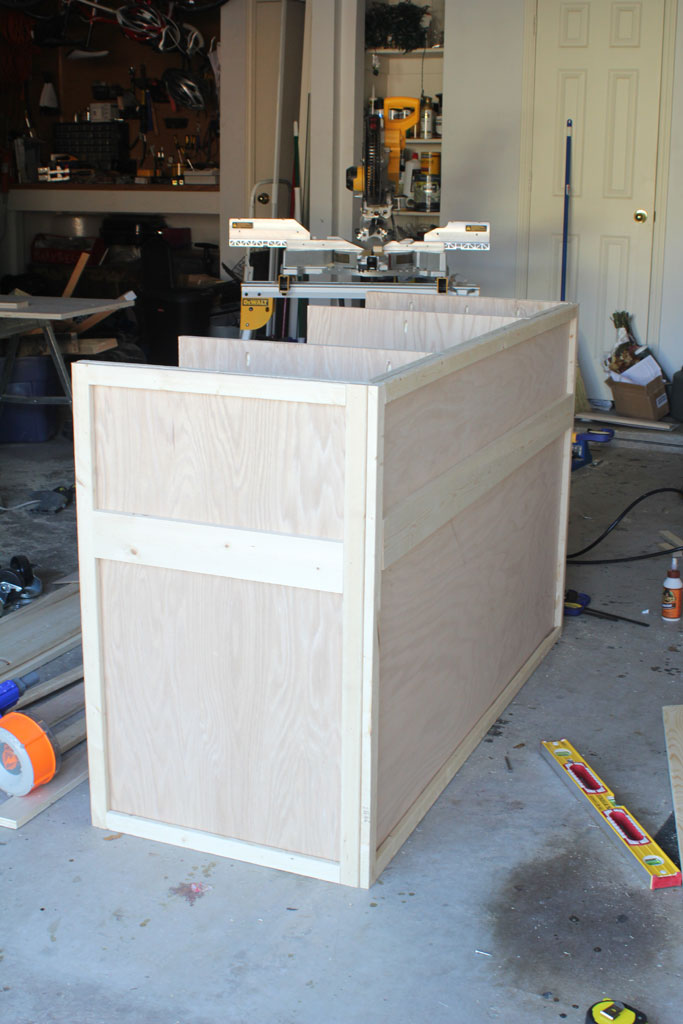
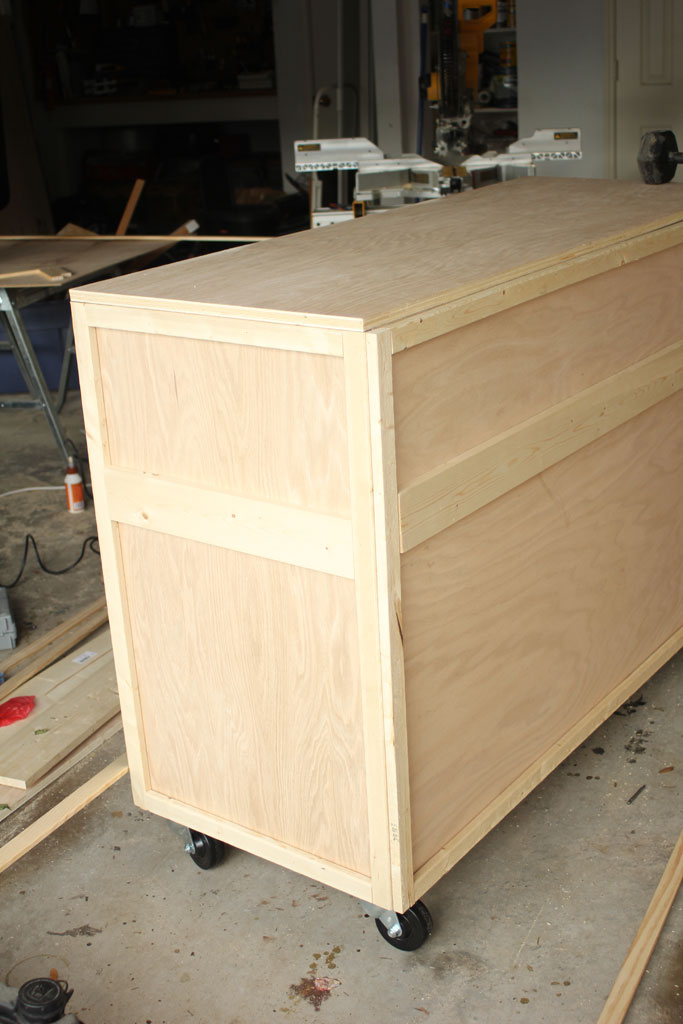
We knew for size reasons we didn’t want the top of the island extending out any further than the actual island, and I realized that I had a leftover piece of the ¾ inch plywood that would cover the top perfectly except for the top of the face frame that we’ve already cut, assembled, glued and nailed onto the front… that puppy was NOT coming off.  But since plywood like that isn’t cheap, Claire and I came up with a more decorative solution of adding a piece of cove molding to bridge the gap between the top of the face frame and the front of the plywood on the top.  I think it actually adds a lot of character to the piece, so I’m happy with the snafu. This is the point of the project where I started to get pretty rushed for time and somewhat frustrated with how long it was taking, so unfortunately I don’t have great pictures of this step.  (you can see the gap in the picture below)

We did decide to add some heavy duty casters to the bottom of the piece to make it easier to roll out of Each caster has three long screws in it, since the fourth would drill up through the bottom of the piece. But we’ve moved this piece around quite a bit and they have held up very securely.

cctable1

Next up we cut the shelves two for each of the outer sections and one for the inner section and secured those using the kreg jig pocket holes. Then it was time to attach the face frame to the open side and complete the drawer.  Like I mentioned earlier, I’m not going to even begin to tell you how to build a drawer because I messed it up completely, but there are lots of great bloggers out there who have successfully done this, so I highly recommend checking them out if you are adventurous enough to try it!

And because this post has gotten CRAZY long… I’m going to leave you with the dreaded Cliffhanger… tune in tomorrow for the second half of our adventure!  (you’ll want to tune in… it involves an AWESOME herringbone addition!)


Votive Holder for the Wedding

So I mentioned here that my brother got married last weekend and that it would take me a few days to recover… what I didn’t expect was it taking 4 days for my computer to recover since I accidentally left my computer charger in Waco at the hotel.  3 days later and one expensive overnight (that wasn’t ACTUALLY mailed the right day) shipping my computer is back in action, which means… I’m back to regularly scheduled posts!

I did a couple of DIY things to help my now sister in law for the wedding… I mean what good is it having a blogger in the family if you can’t put her to work!!!?  And since it really is what I love to do, I happily obliged!  Remember a little while ago when I showed you these pillar candle holders?

candleholders


At the same time I made those, I made a few long ones to put votives in.  I would have shared those with you all, but they made a HUGE mess because the wax dripped all over the place (I guess we could have put tea lights in them, but then you wouldn’t have been able to see the flame very well).  BUT the idea stuck with my brother and sister-in-law, so when they were planning their wedding they wanted to light candles to represent all the grandparents and aunts/uncles, etc who had passed on.  Counting the great aunts and uncles that Becky was close to and both of my grandfathers, they had a total of 10 candles they wanted to light.  So they called me up to see if I could make one of those with 10 slots for candles.

So I decided to imrove on version 1.0 and add glass votive holders for the candles so that they wouldn’t drip candle wax everywhere (a fact I am sure the church where the wedding was located was grateful for… especially since their altar is carpeted).  I found these guys at Pier1 for $1 each and they were perfect: the bases were just under 2″ and went straight up and down.

The rest was simple, I got a cedar 4″x4″ (it didn’t really have to be cedar, but that’s what my Home Depot carries in untreated 4x4s) and a 2″ hole saw drill bit.  (I found it with the drills and drill bits for around $15… but it can definitely be used again!)

candleabra3


We measured each out to have about a 1″ gap between the 2″ holes and marked their centers (the drill bit has a handy point in the middle of the circle to help you drill exactly where you want to go)… Isn’t my assistant lovely?  He loves being my model since I am incapable of drilling something and photographing it at the same time.

candleabra2


And very quickly we had 10 holes drilled.  For ease and quickness we drilled until the top of the hole saw was fairly level with the top of the board.

candleabra1


Once the holes were drilled we cut off the end with a circular saw and prepped it for staining.  (i.e. we sanded it with an orbital sander at 80 grit and 150 grit) If you want more tips on staining, I posted about it when we did our shelves here.

candleabra4


And that was it… easy as 1,2,3…10.

candleabra7

They want to keep it in their house for decoration now that the wedding is over, so I took a few pictures of it in their living room.

candleabra5
candleabra6


I was standing up with the bride, so I didn’t get any pictures of them lighting it, but when the photographer gets some back I’ll try to update this page with a picture of it in action!

Stay tuned I have a few more posts about their wedding coming up!

Easiest DIY Candle Holder Ever

So I was sitting in church the other day and saw a project that I haven’t shared here yet, since it was done prior to the blog!

If you are new here, my twin brother is the pastor at a contemporary church service at a United Methodist Church in Plano, which means I am the go-to any time he needs something built or some little odd job done for the church. So far at the church I’ve built two altar tables, helped redo a stage and I am about to do a fun project for the welcome center (more on that one after it is built!).  But a smaller project I did was for the Christmas Eve service two years ago.

On December 23rd, the worship staff decided that they wanted to add some candlelight on the stage for the duration of the service, but they needed them all to be at different heights. I had an easy solution: I went to grab a couple of cedar 4x4s (they were the only ones untreated at my HD… and I didn’t want treated ones since they would be used indoors).

Before we cut them I took my orbital sander to the full length of board to smooth out the sides because I find it easier to sand when it is one long board and just do the top edges after they are cut.  I used my miter saw to cut them into varying lengths: 4”, 6”, 8″ and 12”.  If I was trying to be fancy I could have routed around the edges to make them smoother or a decorative edge, but I was on the clock… I needed these guys cut, sanded and stained by that evening to give them the full 24 hour dry time.

After they were cut, AJ and I sanded the tops down to smooth out any rough spots and take away any sharp edges and then set about staining them.  I used Minwax’s Dark Walnut because it is what I had on hand.

Here is the facebook picture AJ posted of me trying to madly stain them that evening.

Stainingblocks

But they looked beautiful on Christmas Eve (I made somewhere around 20 of them) with pillar candles on top of them.  And I am so happy that they are still using them! Here is an iphone pic (shockingly enough I don’t carry my SLR camera with me all the time!) of them in use last Sunday.

candleholders

candleholders1

They are definitely nothing fancy, but they are a great way to add varying heights to any surface.  My mom has several that I have made her (and my uncle made her a set a while ago) that she uses for candles or even draped under fabric to add height for other decorations.

You can see a white one in this picture from my post about her nativity scenes to make the angel sit higher on the shelf.

nativity24

This would be a great project for any person wanting to learn to cut, sand and stain(or paint) because it is so easy!