Or at least our world has been focused on this stage for the past few weeks.

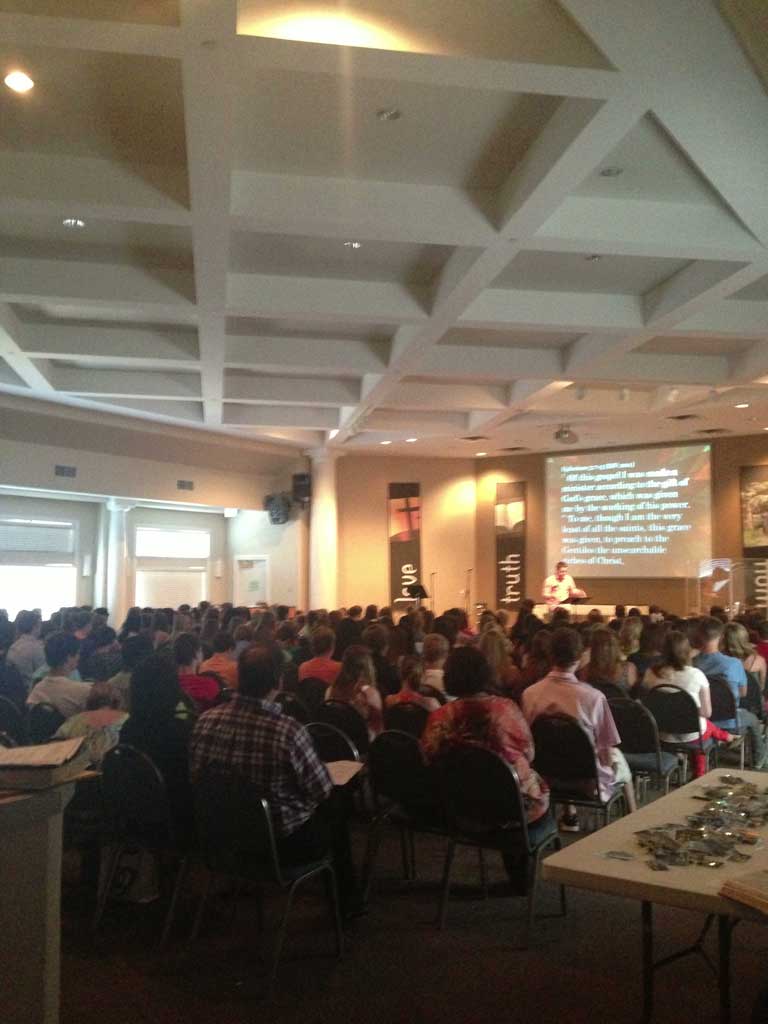
I mentioned here when I introduced my husband here on the blog that this summer we took a major shift in his career. He switched from being a full time CPA to a full time youth minister at the United Methodist Church where we belong. When he started his job at the church, they told him about two things that started his mind spinning with project ideas (apparently I’m rubbing off on him). The first was that they had quite a bit of sound and light equipment that was used for a retreat every year, but for the rest of the 362 days a year it sat in a closet (and it was much nicer than what they were currently using in the youth worship space). The other piece of info was that there was a small fund that some parents had donated a year or two ago to the church to do a mini-renovation of the same space, what is called Festival Hall. The space is primarily used by the youth group for Sunday school, their weekly youth group gathering (Called 412), Confirmation and additionally as a space during the week that other groups utilize for large group gatherings. This is a picture from about a month ago of him speaking to the Sunday School group. Its not a great pic, but shows you what it looked like before (funny story, my husband actually painted this room the last time they updated it when he was an intern with this same youth group about 7 years ago).

My husband had a vision for this space that would make it a lot more contemporary and help the youth feel more like it was their own space. Now I should state that although my husband is a great sport about helping me with projects and executing the crazy notions I get about how I want to update our house, he is NOT a project person. He doesn’t spend his days thinking about how to improve a space or what design ideas might be appropriate for a room. However, from the minute he found out about the possibility of improving this space, he took off running. He was on a MISSION. He started searching around online for ideas, recruited our friend who is an engineer to help him with the structural design and set about to transform the space.
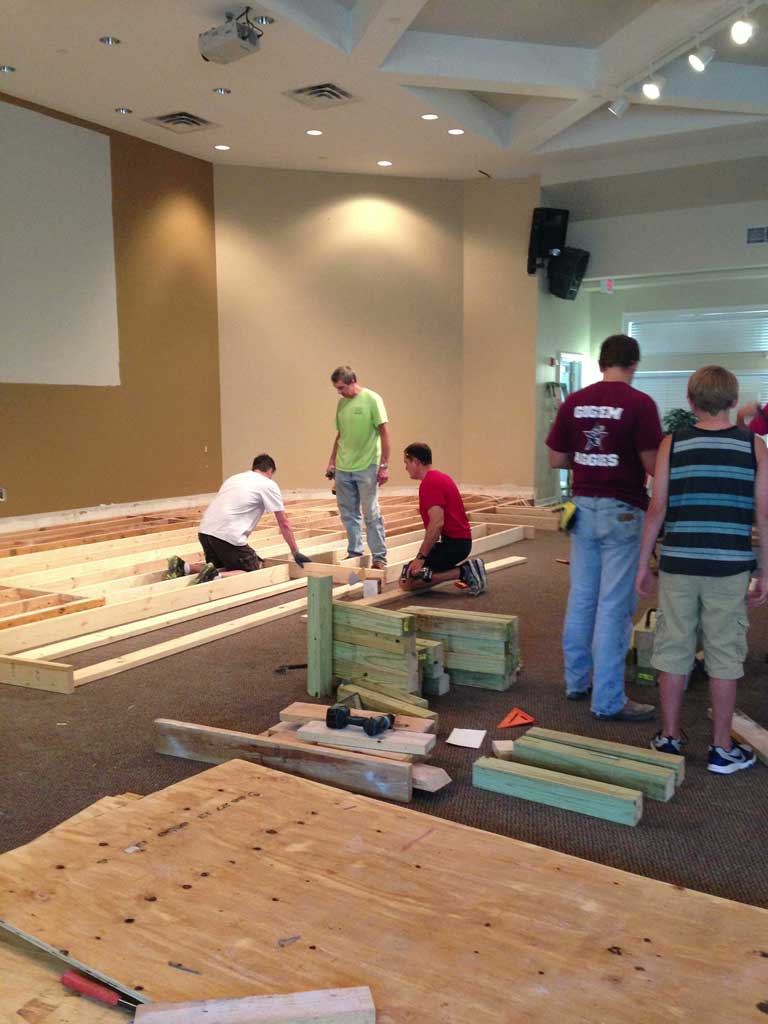
The plan was to demolish the fiberglass (and just there for looks) white columns and take the existing stage (that was about 6” off the ground) and expand it as well as raising it up so that it would sit approximately 2’ off the ground. He got a group of about 10 youth dads and a couple of friends of ours (I tell you… being friends with us is dangerous… we’ll recruit you to help out on our crazy ideas) to help with the stage build one Saturday. It took all of us the better part of a day (plus some of the next) to get the basic structure built. You can see in the picture below the darker wood was the previous stage that we adapted into the new stage.

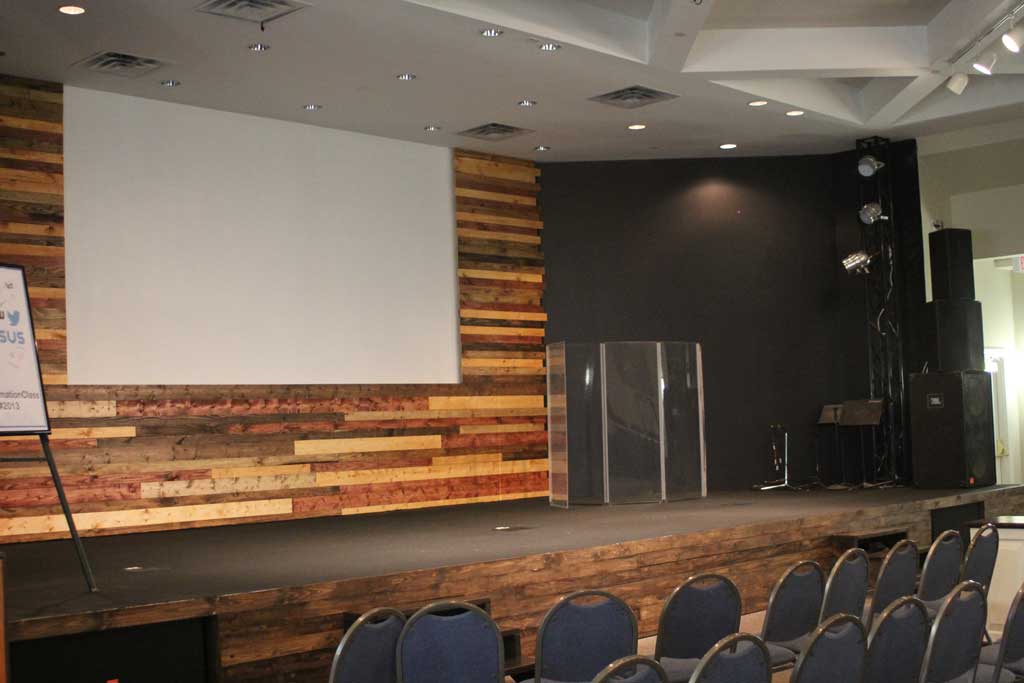
Once that was built, they painted the back walls in Behr’s Deep Space which is a VERY VERY dark navy/black, leaving a space in the middle painted white to use as the screen for the fancy new projector. Once that was done, we stained a bunch of 1×4 boards in Varthane’s Dark Walnut. This was a great stain to use, it went on in one coat and dries to the touch in an hour. These they nailed (with a nailgun) to the front of the stage to hide the structure below, leaving spaces for the GIANT subwoofers.
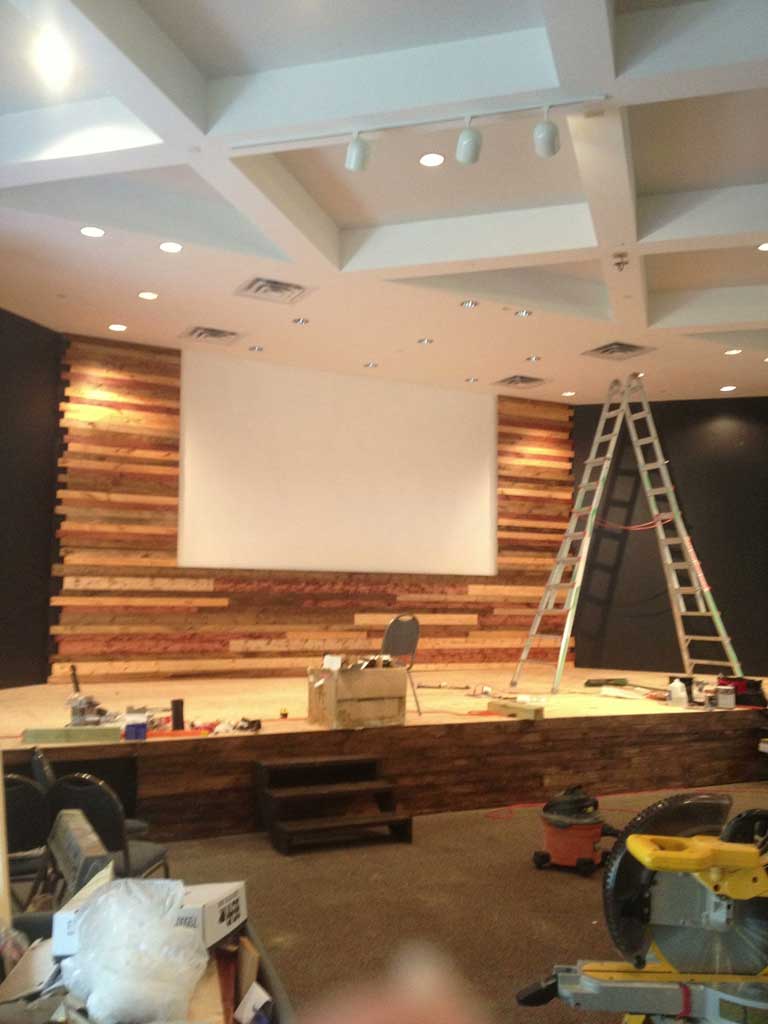

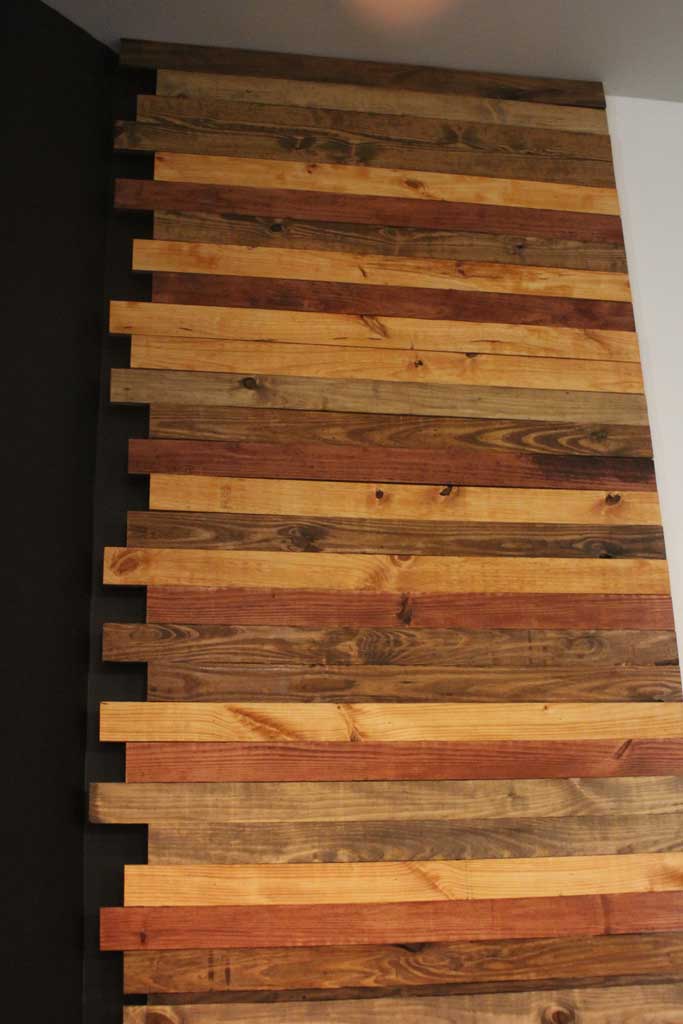
The next step was Reese’s brainchild. He wanted the backdrop to be rustic and contemporary and unique, so he came up with the idea to stain boards in several different shades and create an accent wall surrounding the screen that would sort of frame it out. Here is the final result:
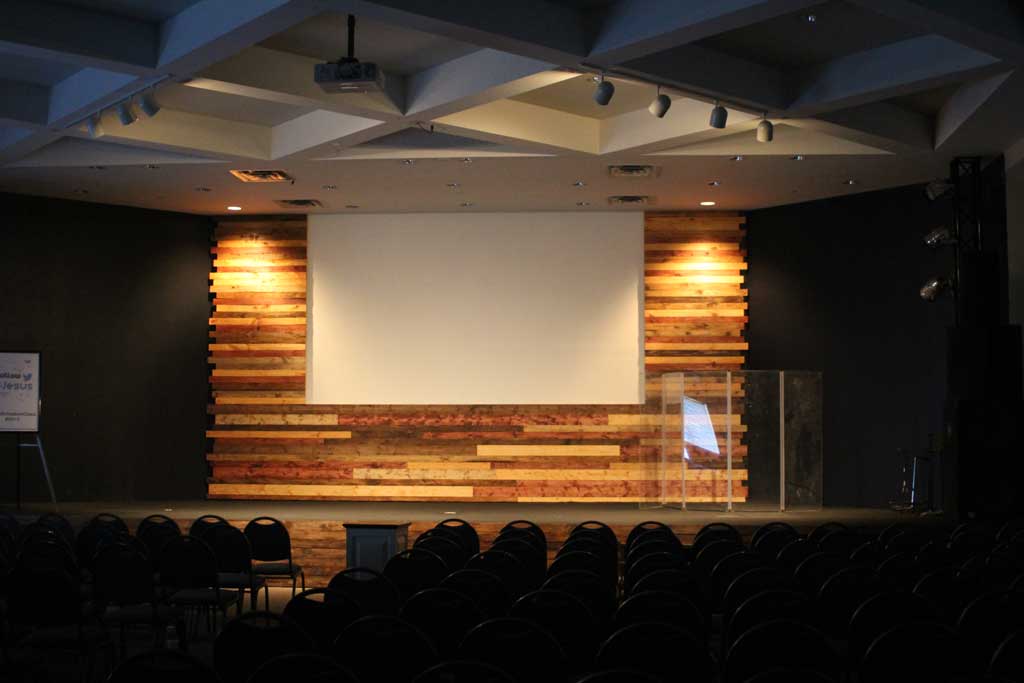

To do the backdrop they first found the studs on the back wall and screwed in 2x4s running vertically along the wall. Then, they cut 1x4s in varying lengths (50”, 52”, and 54”) inches and of varying colors and made sure to align them on the inside, making the outer edge appear random. Then they simply used a nail `gun to secure the boards to the vertical 2×4’s. For the bottom section they added a few 1’x6’s in to add a little extra variation and made sure to stagger the seams. They made each row either 1’x4’ or 1’x6’ just to simplify the assembly. The top of stage is painted with a deck material from Rustoleum called Restore that is intended for deck restoration, but it works pretty great as a black covering for the plywood top of the stage.
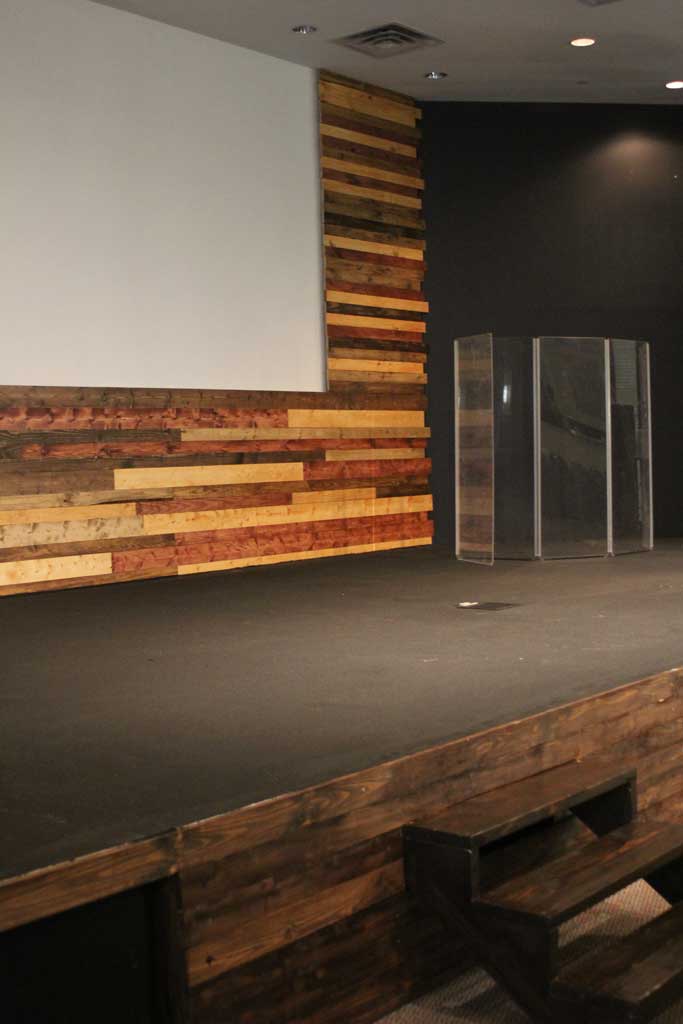

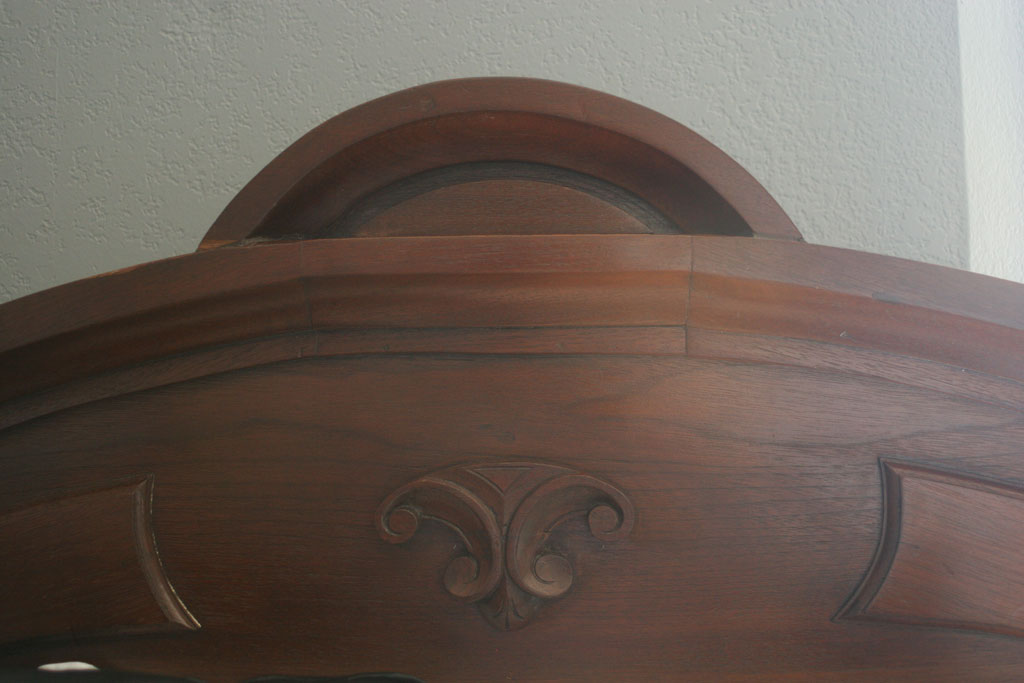
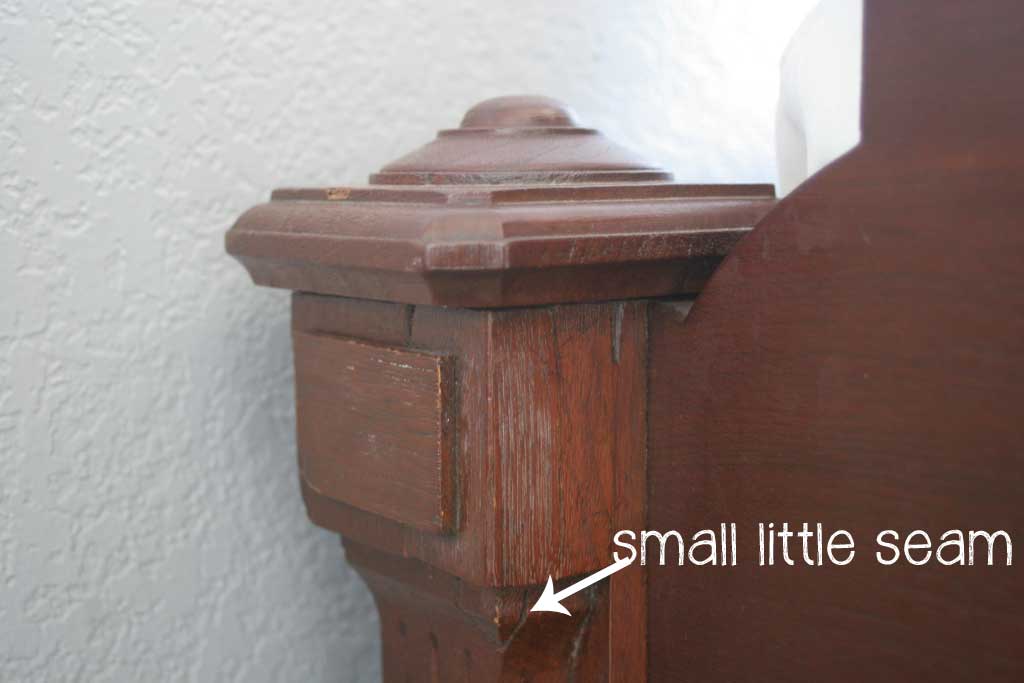
All in all it took about 2 weeks to complete from start to finish and is a huge transformation for the space. It took a lot of sweat, but fortunately only a tiny amount of blood and no tears! The youth now have a space that better fits their needs and is a great transformation for the space! Here are a few closeups of the wood details:


 Hi, I'm MJ! I'm a DIY kind of girl and this is where I share my projects. I'm taking you along for the ride as I learn how to do woodworking, sew, bake, and renovate!


