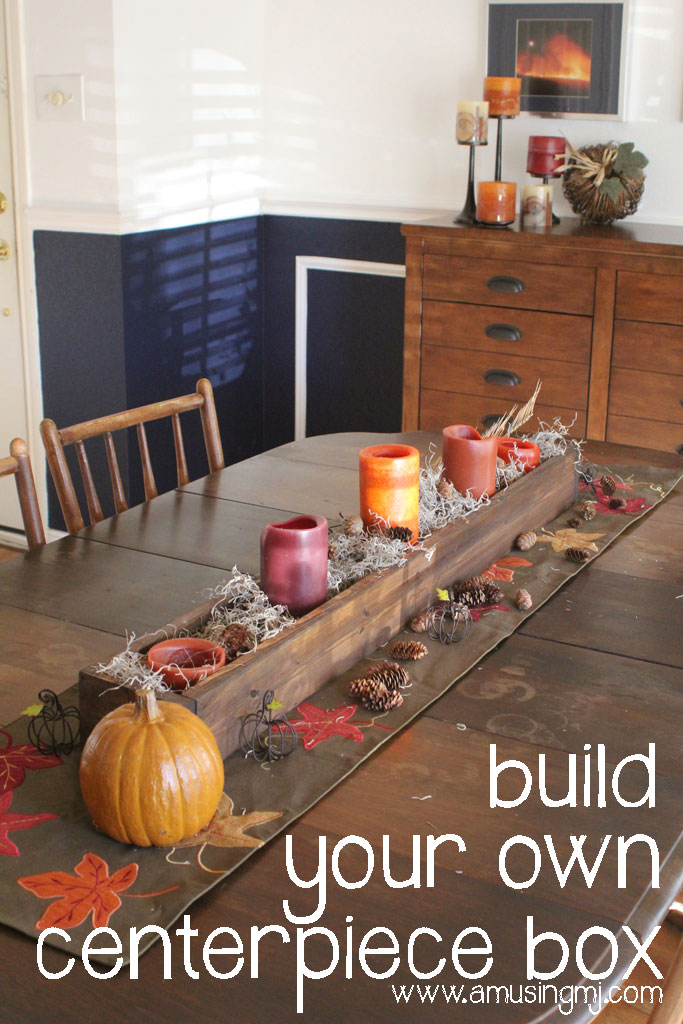
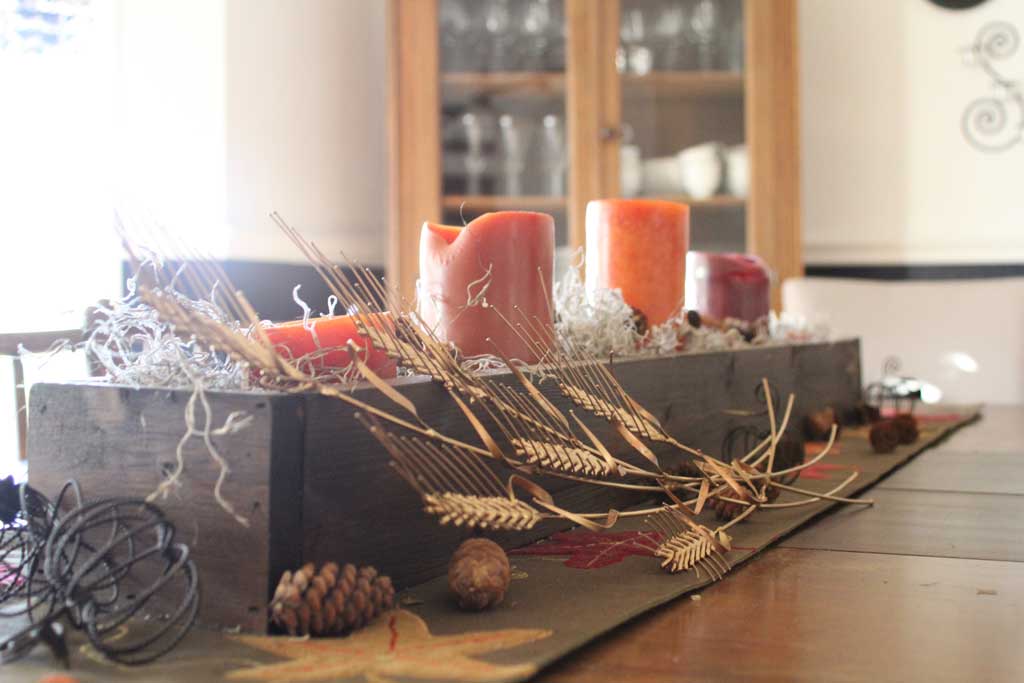
When I was thinking about what I wanted to put on my dining table for fall (about the only place that I decorate seasonally), I saw a table with a rustic box in the middle with candles and leaves sort of spilling out of it. I pinned it here (speaking of… if you want to follow me on pinterest, instagram, etc just click the circles over to the right –>) but whoever originally pinned it didn’t link it to a tutorial or other projects… but you know me… I thought: I can make that! And it turns out it was super easy! The actual construction of the box took me about 15 minutes over my lunch break.

Supplies:
- 2- 1″x4″x8′ pieces of wood (I usually use pine because it is cheap and readily available)
- Nail Gun (or if you don’t have one you can just use a good ole hammer and nails)
- Miter Saw or Circular Saw
- 220 grit sandpaper
- Stain color of your choice
- Brush to apply the stain
- Rag to wipe it off
The first step is to cut your wood down to size, I measured my table and decided I wanted mine to be a little over 40″ long. I decided to cut my long pieces to 40″ and then add the end pieces on, making my entire box 41.5″ long. (Did you know that boards aren’t actually the size they are called? For instance 2x4s are actually about 1.5″ x 3.5″ If you want a quick cheatsheet I have pinned one here.)
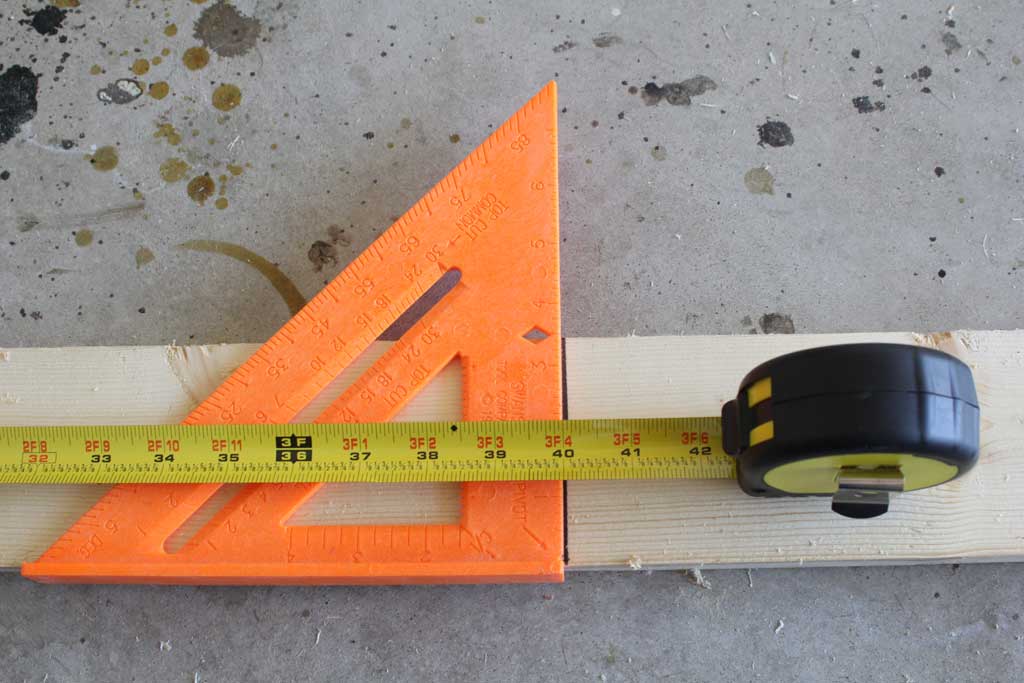

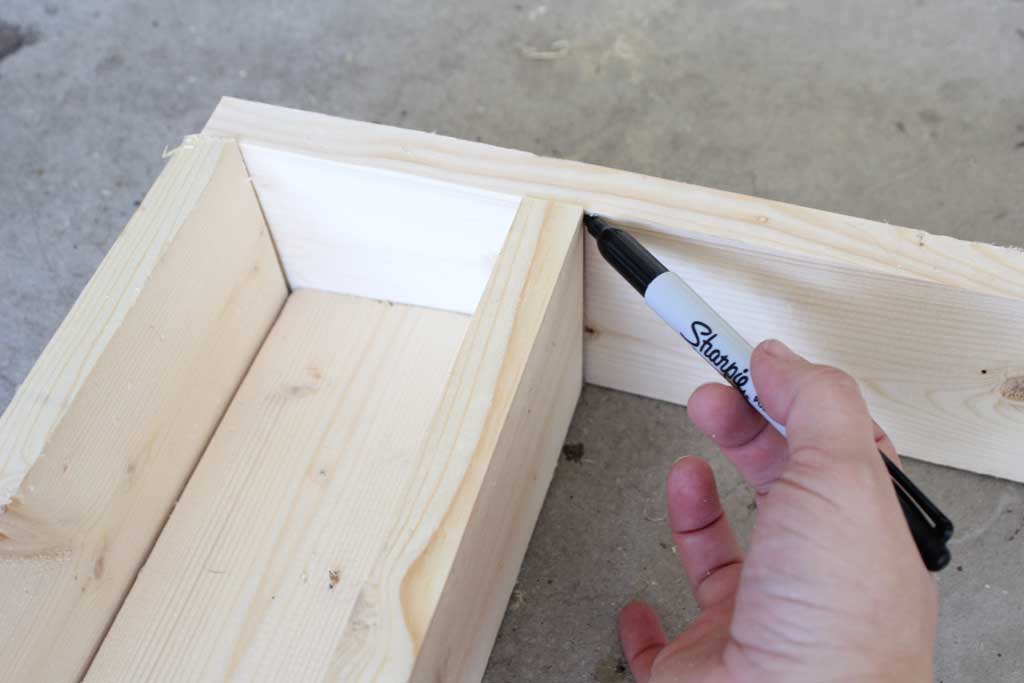
So first I measured one board to 40″. And see how the left hand side of my marker line is at 40″? When I cut, I want to be sure that my saw blade is lined up on the left hand side of that line.
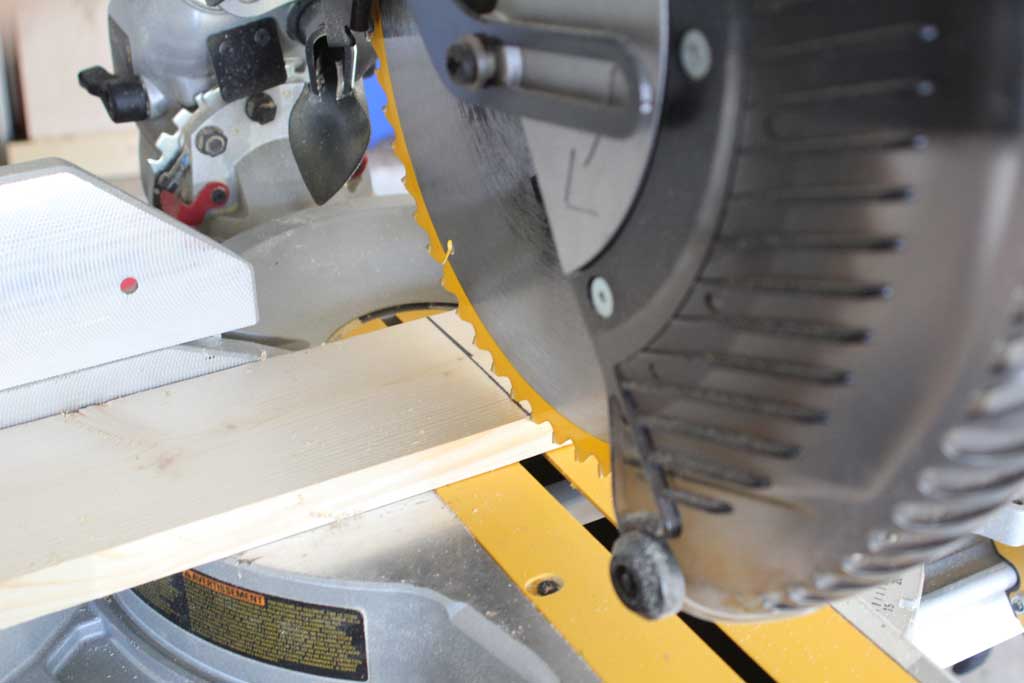

When you cut wood, a saw blade will take away some of the wood when it cuts (mine takes about 1/8th of an inch). So you want to be careful to be sure that you aren’t cutting on the side of the line that you want to use so that your piece isn’t 1/8th of an inch short. So you can see in the picture above, I lined my saw blade up to the left hand side of the line and that is where I made my cut. But I have a secret when I’m making something like this box. When I have to cut multiple pieces where it is more important that they are equal than the right length (I’d rather all my pieces be exactly the same length than be an exact 40″ ) I measure and cut one. Then I take the next board, line it up on my saw and put the first piece on top of it like this:

And as long as I’ve made sure the ends are perfectly lined up, its an easy way to ‘mark’ my next board. I just use the teeth of the blade to hold the board while I remove the top piece before cutting. After the top board is removed, I can hold the board while I make my cut.

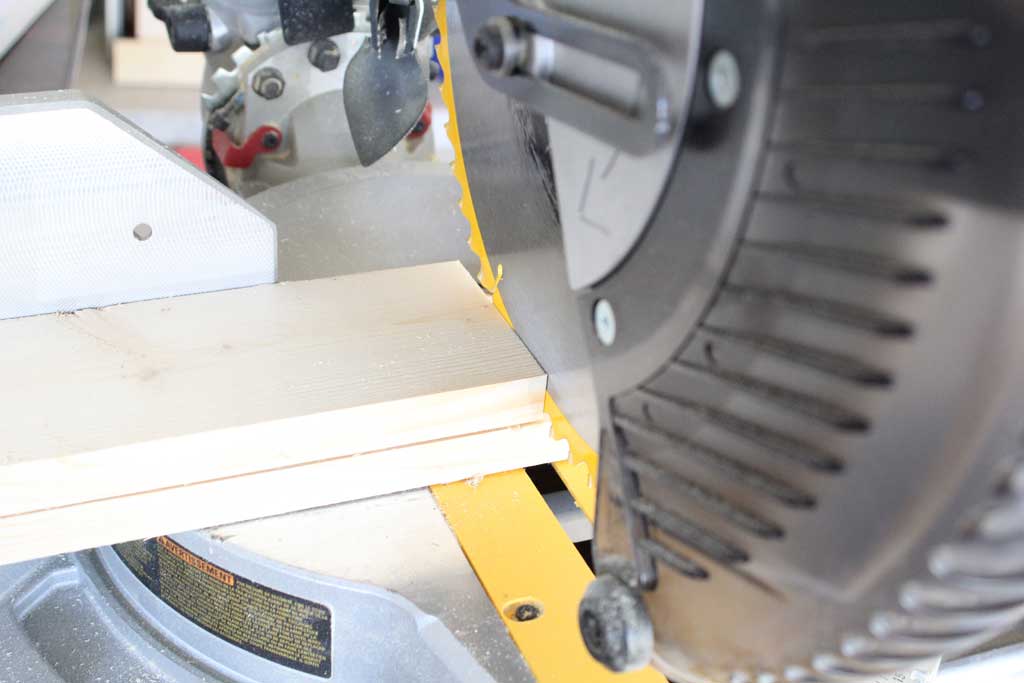
Next I marked and cut my two end pieces (ignore the board on the left that is leaning… its hard to take pictures, mark and hold the board all at the same time… but I promise this was even when I marked it!).
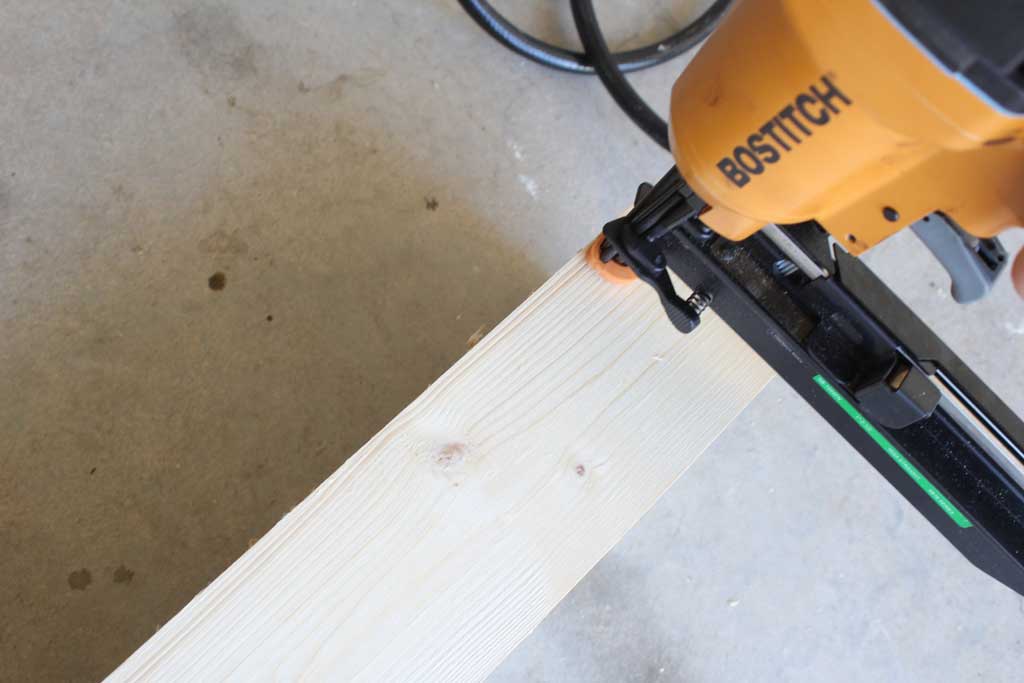

Next I took my nail gun and placed nails all along the sides and the ends until it was secure. (I put about 6 across the sides and 5 on each end) Now, its ready for sanding and stain!
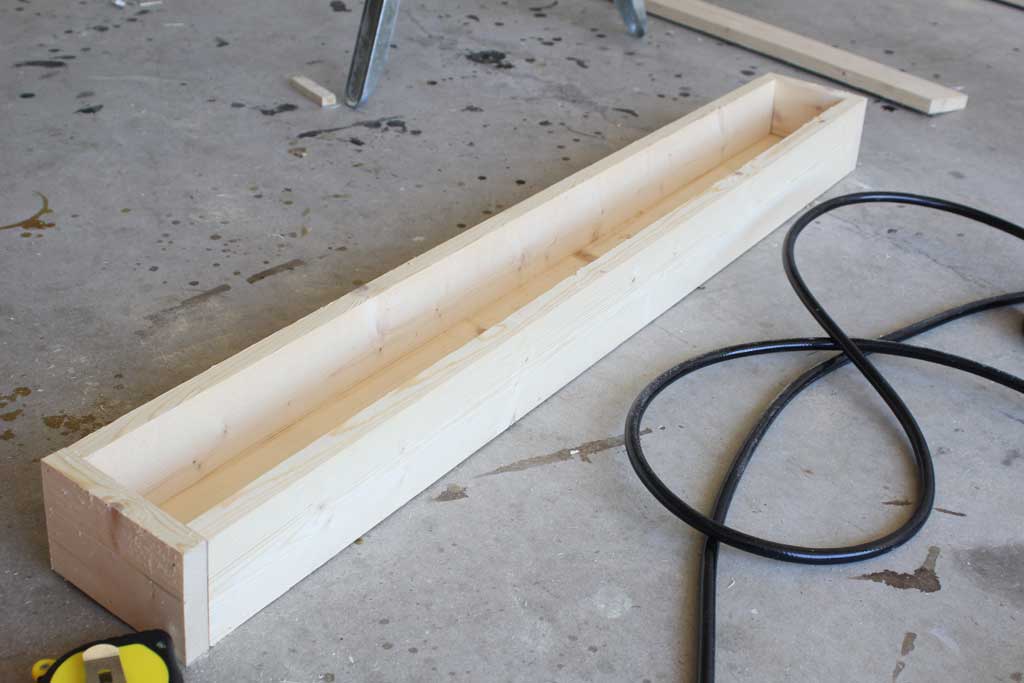

For sanding, I didn’t do much, I wanted this to look pretty rustic, so I just sanded down the corners so they weren’t quite as sharp and went over the wood pretty lightly with 220 grit.
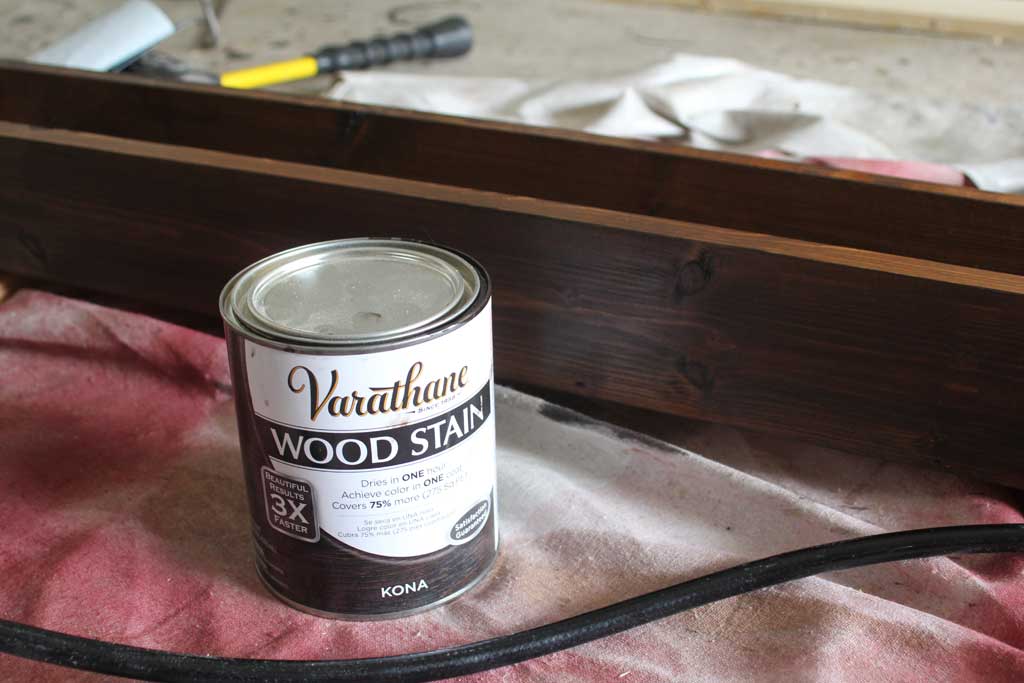
We had just finished the stage project and had used several different shades of Varthane’s stain. The darkest color we had used was the color I wanted for this box. I was pretty sure it was Kona, but my husband SWORE it was dark walnut and that Kona went on dark, but wiped off as a gray, ashy color. And in Minwax I had used the dark walnut before and liked it, so we thought we would give that a shot. Well… this is how it turned out:
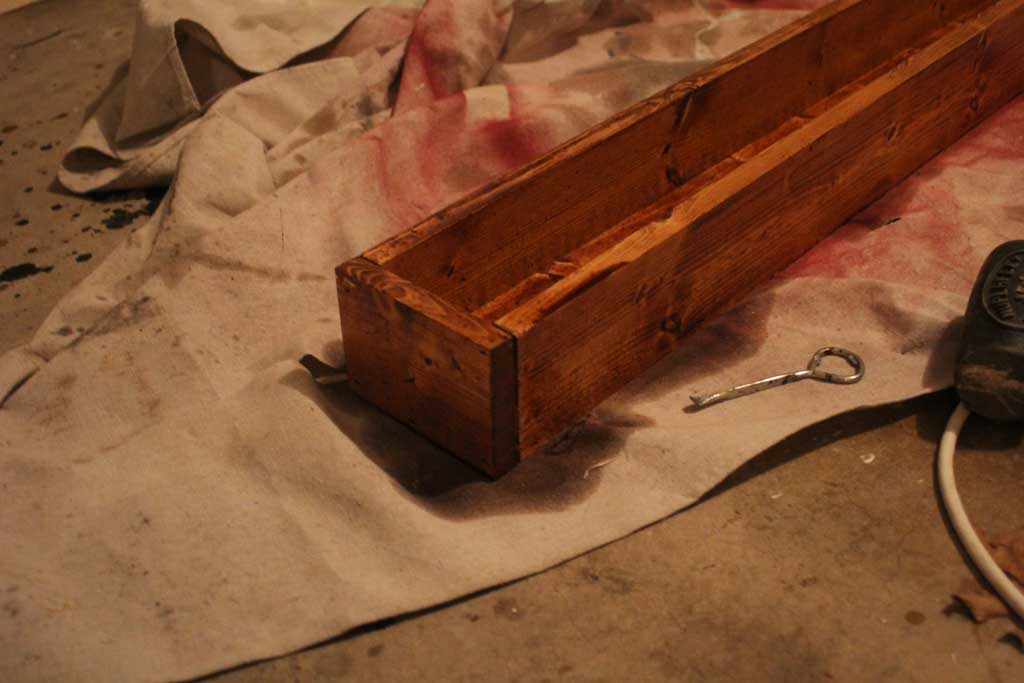

It was WAY more orange than I wanted (although thanks to night-time staining in my garage its not actually as orange as this picture makes it look). So I decided to go back to HD and get some Kona stain to try it out. And voila… exactly the color I was looking for:

I actually think it was a good thing that I stained it first in the Dark Walnut, I think it gave the color a little more depth, so all was not wasted! I’ll try to do a more detailed staining post sometime next month (I have another big table build coming up soon!). But for now here are my quick and easy tips for staining:
- Use foam brushes (like the ones I used here) to apply the stain
- Always apply and wipe stain in the direction of the wood grain
- READ AND FOLLOW instructions. Every stain is different on how long to leave stain on before wiping it off, and how long in between coats, etc. But it says… RIGHT THERE ON THE CAN!
- I use old t-shirts, unmatched socks, whatever I can find to wipe it off… stain ruins everything cloth it touches, so I just use whatever I’m trying to get rid of.
- When you are done, you will have stain on your hands… olive oil/vegetable oil will take it right off. But then you have to use dish soap to get the vegetable oil off. I usually keep a bottle of cheap vegetable oil in the garage to use for this step since there is something gross about opening my good bottle of cooking olive oil with stain coated hands. Not that I’ve ever done that…
If you want it to be shiny or water resistant, now is the time to add a Polyurethane coat to the top of it, but since I wanted this project to be more rough and rustic, I left it as is! I think it looks perfect on the top of my table!


 Hi, I'm MJ! I'm a DIY kind of girl and this is where I share my projects. I'm taking you along for the ride as I learn how to do woodworking, sew, bake, and renovate!


Speak Your Mind