Y’all… this is one of those projects that I just realized I never shared (took tons of pictures: check. resized and uploaded them: check. wrote blog post: fail.) But it was SUCH a fun project to do and turned out so great, I need to share it. But since I am so woefully behind I feel a few clarifications are in order: 1. I did this before I got pregnant… some of the things I used DEFINITELY are not safe for preggos. 2. YES this was done at our old house, so you can join me in remembering what it was like to have a garage free of boxes. 3. There are A LOT of photos in this post. You have been warned.
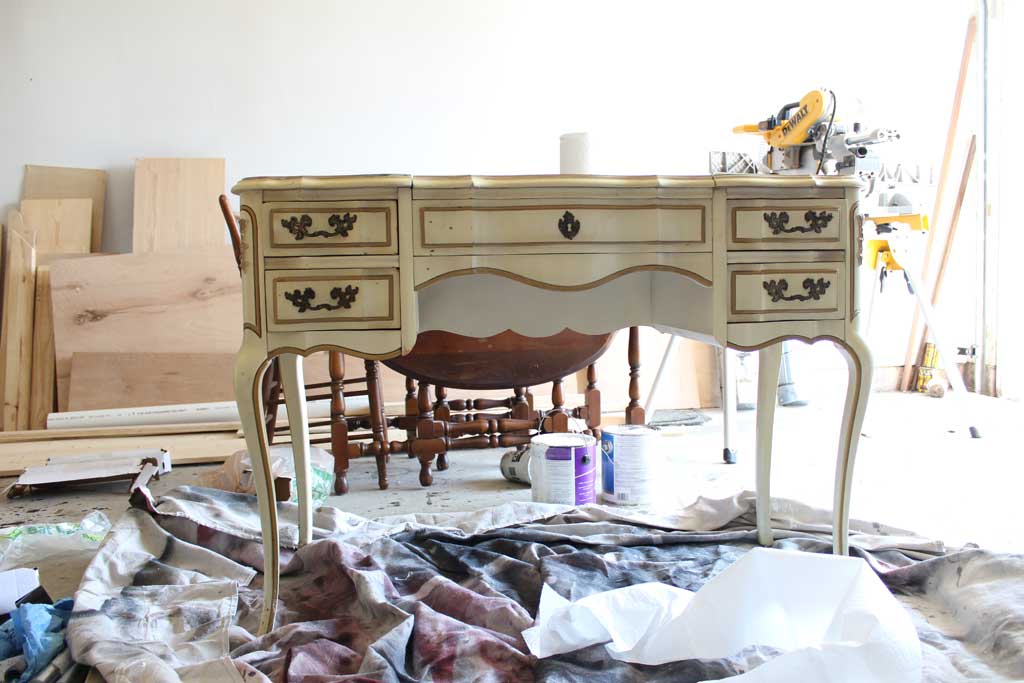
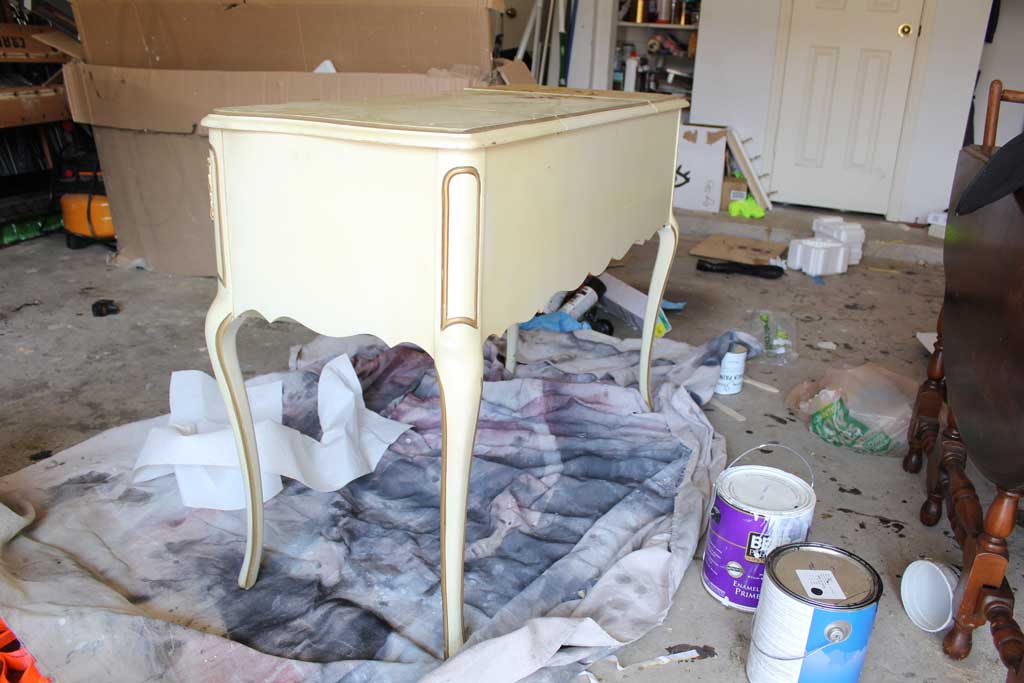
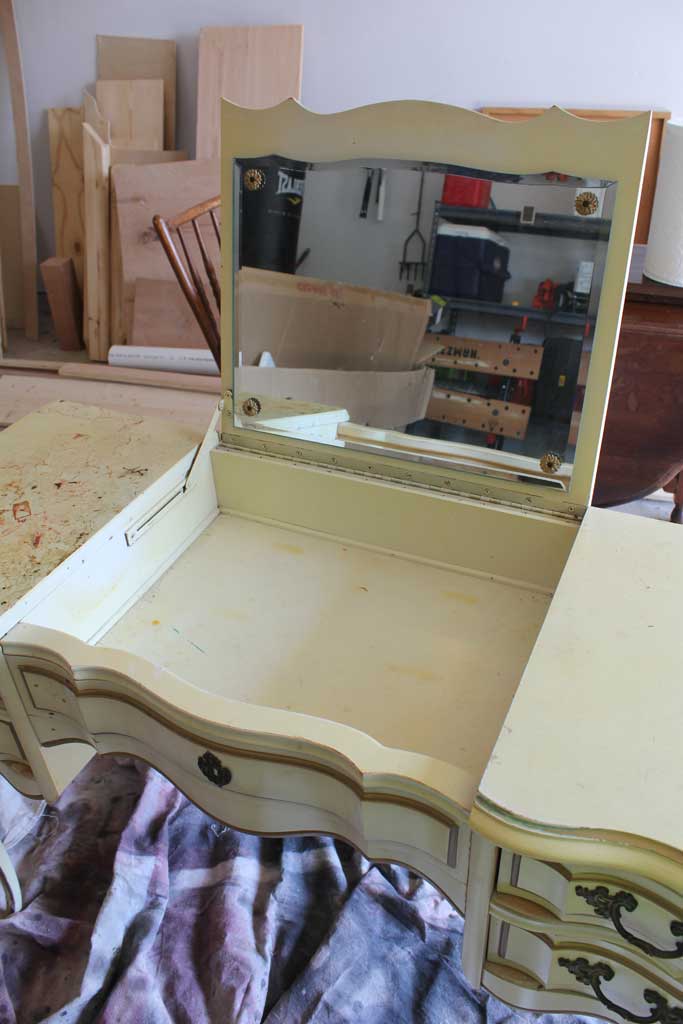
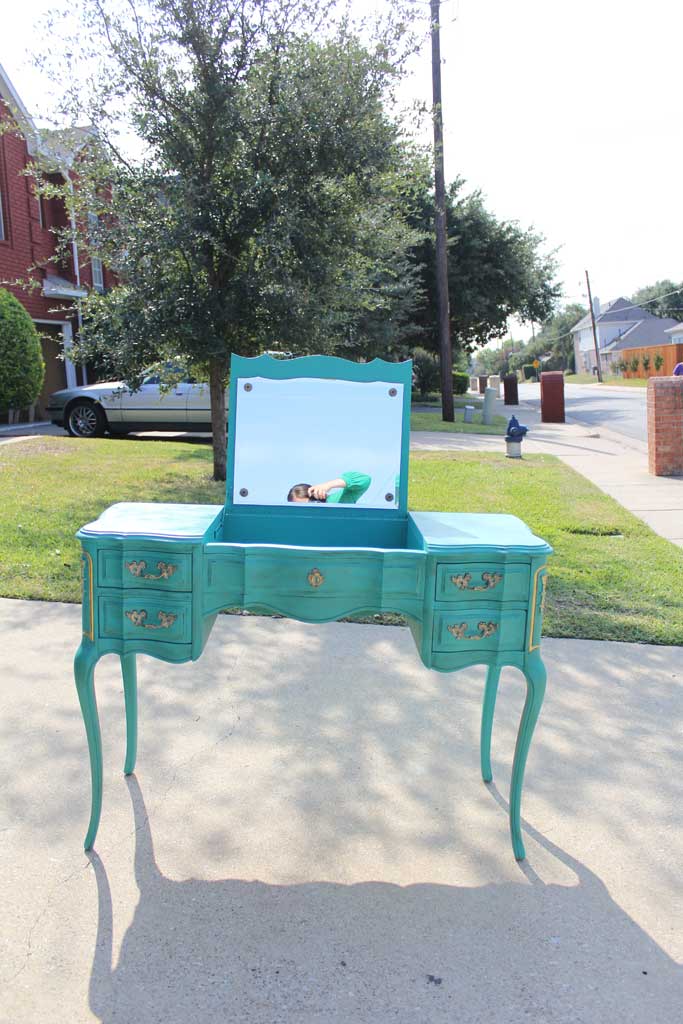
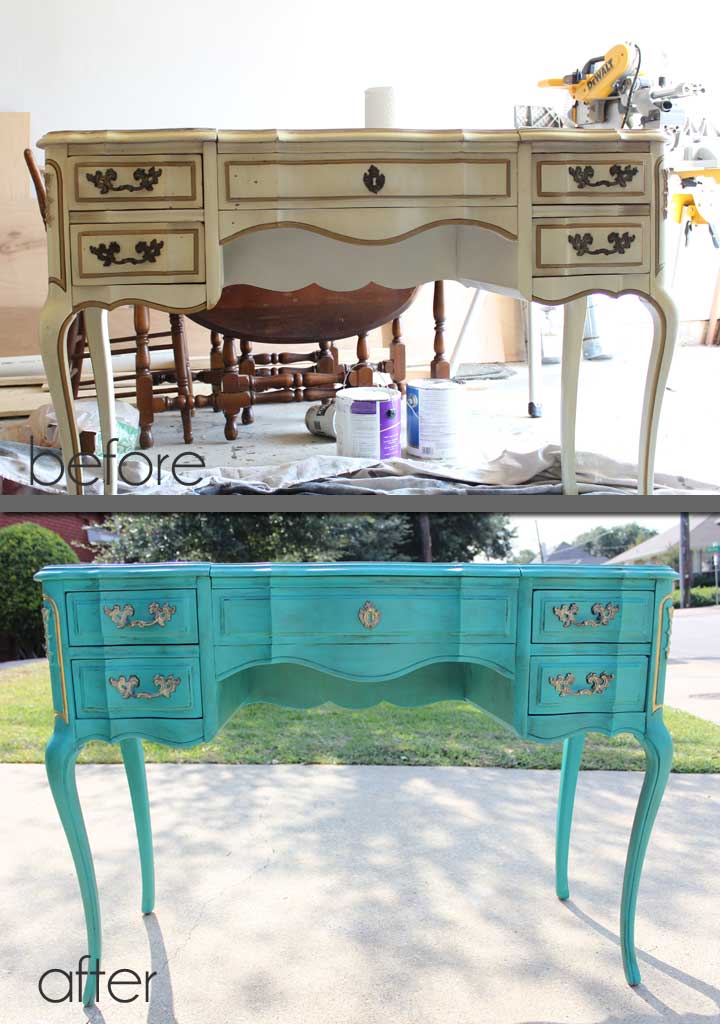
Okay, now that that is out of the way, on with the project. My sister-in-law had a piece of furniture that was given to her by an aunt: a GORGEOUS vanity, but quite a bit outdated and definitely not in Misty’s style. So she asked if I would have time to fix it up. After talking, she told me she wanted it in a bright teal color with some dark glazing to make it look a little antiqued. It was clear that this was the perfect project to try out some chalk paint- specifically Annie Sloan’s Florence. I was super excited about the opportunity to work on something that is not in my normal color scheme! This is a beautiful color and I love the way it turned out. But I’m skipping ahead. Let’s take a look at what we are working with:


 Now that I knew what I was looking at, I went to one of the places in Dallas that sells Annie Sloan, and lucked into being in the shop at the same time as the owner: Lady Butterbug‘s husband. He was already giving some instruction to another newbie, so I (not so) nonchalantly listened in. Eventually he was telling both of us EXACTLY how to best apply this stuff, what glaze to use, how long to wait, etc. He was amazing! If you are in McKinney, TX or near one of their other Dallas shops, stop by and check out their stuff. He clearly is passionate about this paint and happy to share his wisdom with anyone who wants to listen!! I love people like that!
Anyway, I walked out of the shop with a container of the Florence Paint, both clear & dark wax, and a couple of natural bristle brushes to use for application. (I would still have TONS of paint left over if I hadn’t spilled about half on my garage floor… sorry new house owners! And I have barely put a dent in either of the waxes, so I’ll definitely be using them for more projects after the baby!)
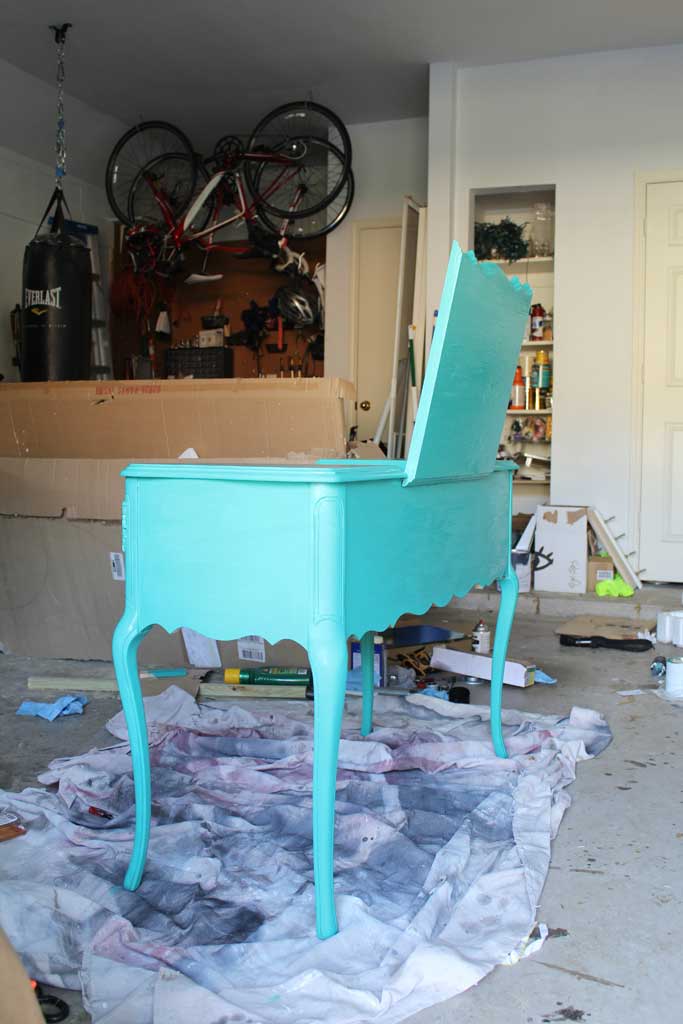
So first up I wiped down/cleaned the piece and then I painted everything with two coats of the Florence chalk paint. After the first coat it looked very streaky and I could see some yellow peeking through, but the second coat definitely made everything look nice and even.


The next step was to apply the clear wax. One of the tips Mr Butterbug (I’m sure that’s not what he likes to be referred to, but I didn’t catch his name) gave us was to not apply the wax too thickly, but to have just a very thin layer. He recommended a round natural bristle brush to apply. Then on top of THAT (before it dries… so work in sections) apply the dark wax and then wipe it down with a paper towel. I used my favorite blue shop towels that I get at Sams. The easiest way for me to show you this whole process is with the drawers:
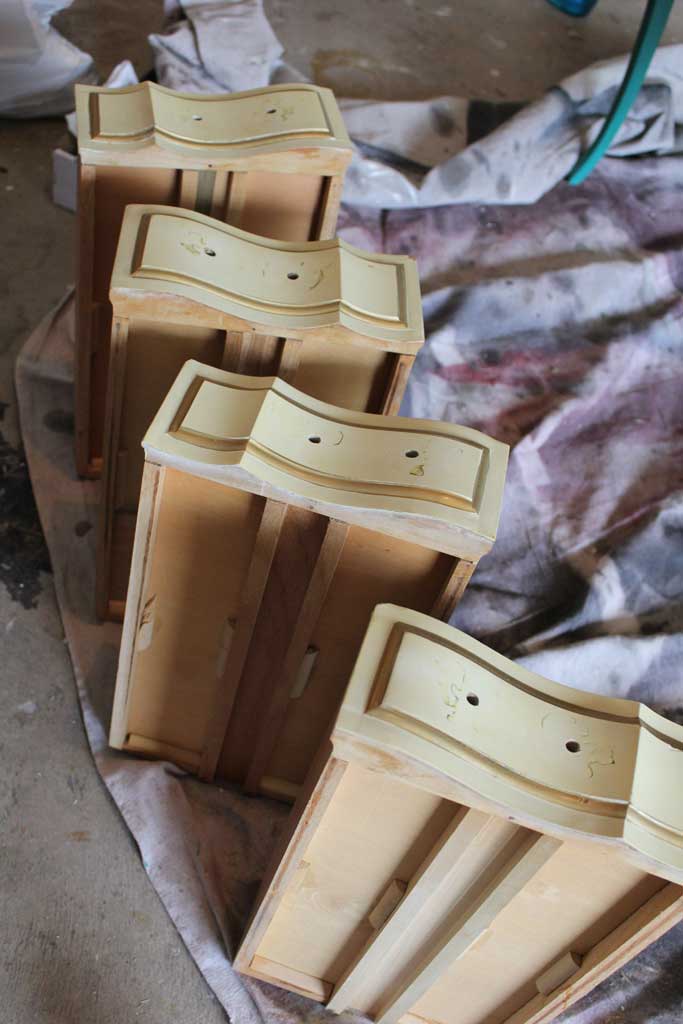
1st Step: Wipe them down (and remove hardware)

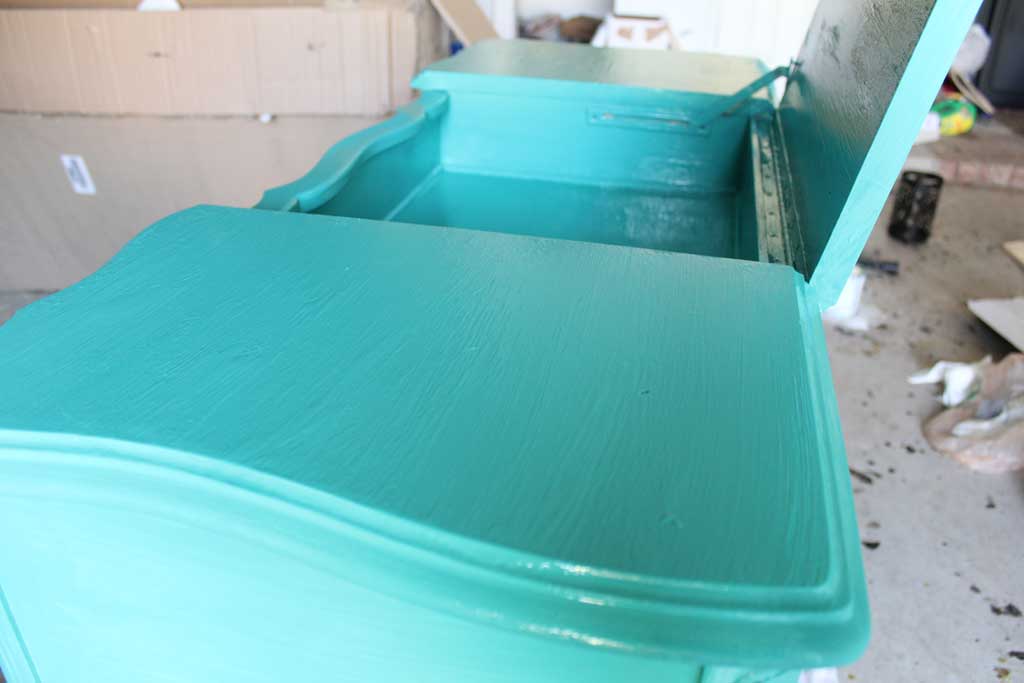
2nd Step: Chalk Paint (in the photo below they are still wet)
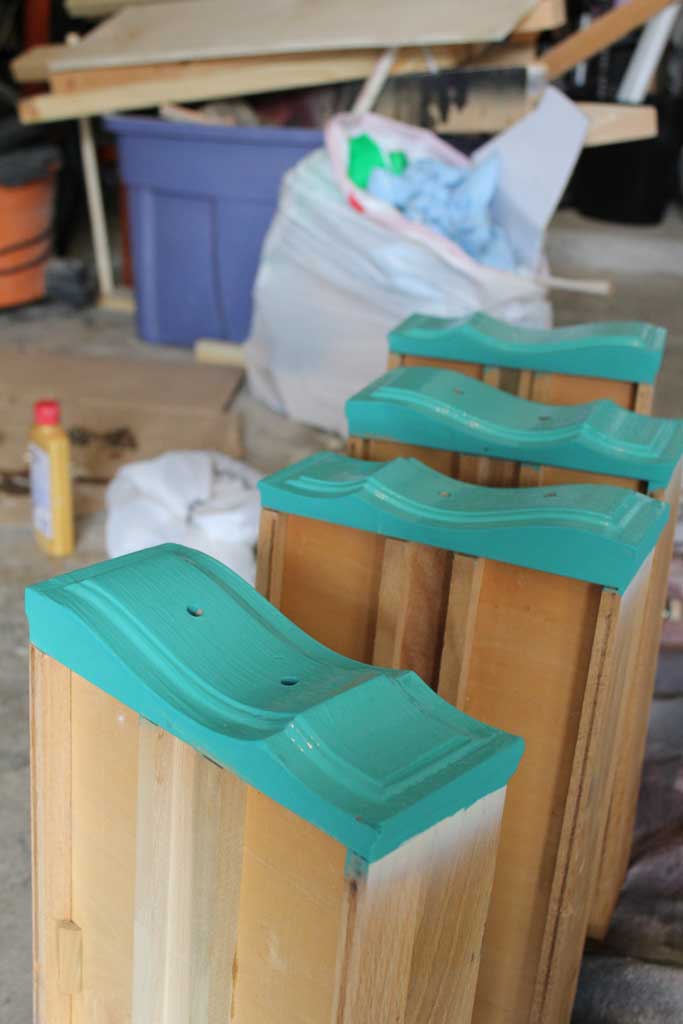

3rd step: brush on clear wax (you can’t see the clear wax in the photo… so just pretend you can see it)
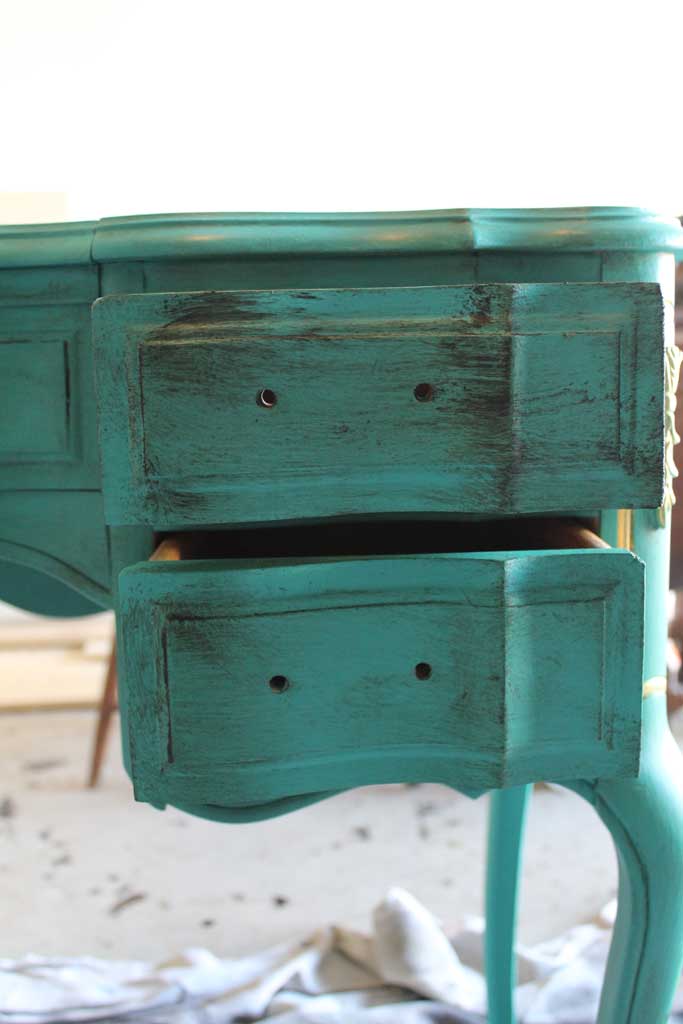
 Then comes the 4th and by FAR the scariest step: brush on the dark wax. This step is scary because you have worked so hard on this piece up until now, and you are about to make it look terrible. But things get worse before they get better, so bear with me:

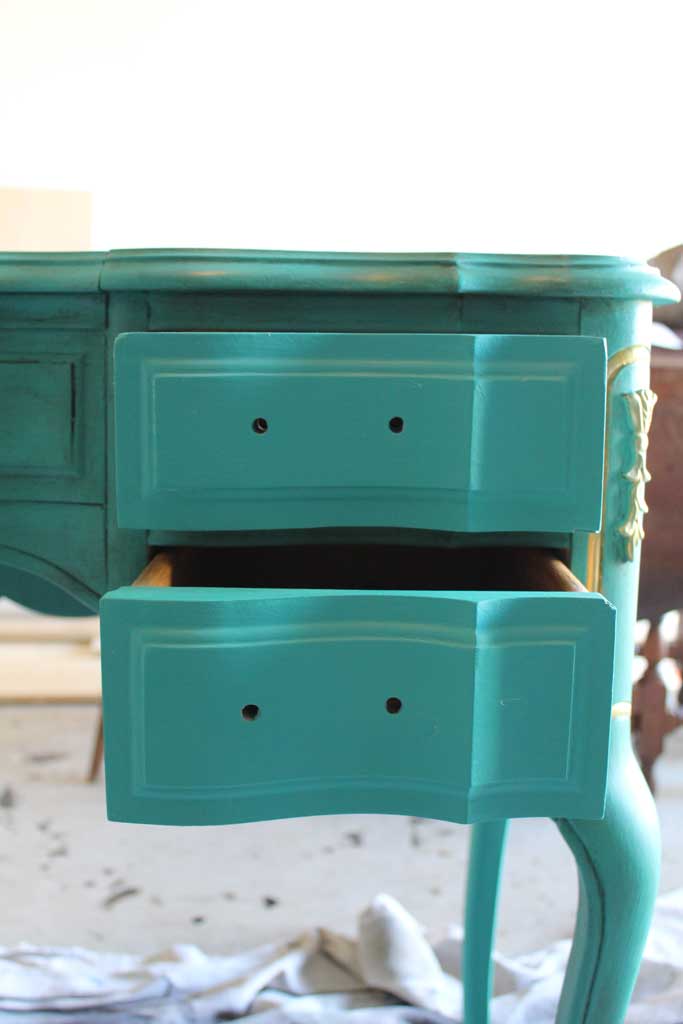
Then wipe it down with your paper towel, working it into crevices and generally making it look better:
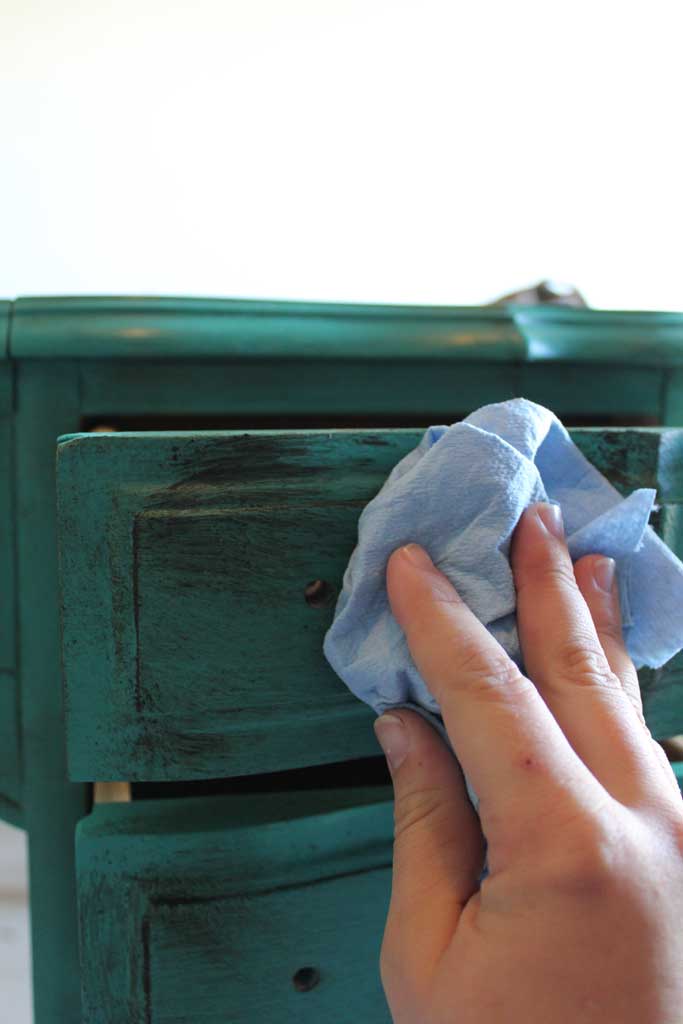

And here is where it is a judgement call on how ‘distressed’ or antiqued you want the piece to look.

And the good news is because you have put the dark wax OVER the clear wax, pretty much you can add more clear wax/dark wax until you get it exactly like you want it.
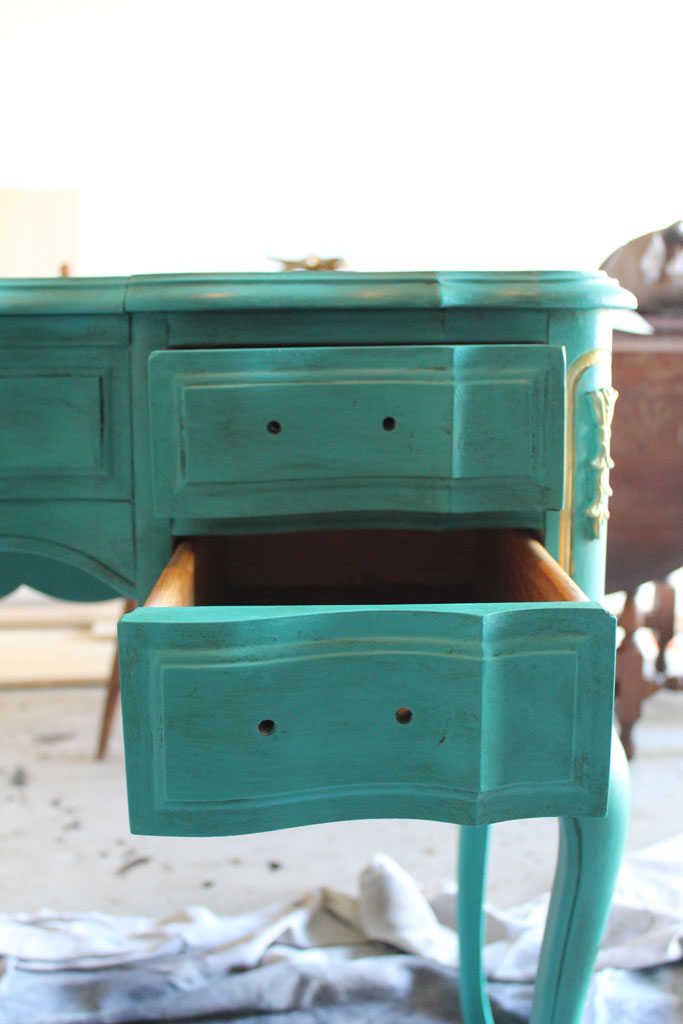
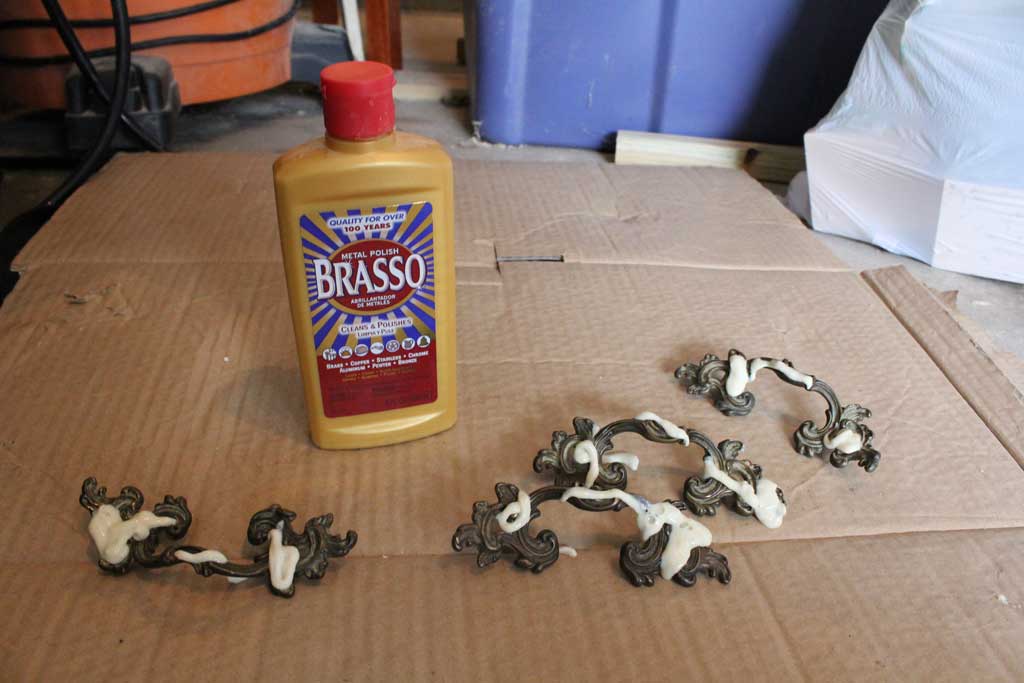
Then there were two other steps to finishing this project that I left out (But as you can clearly see from the picture above, I had already done this part by the time I finished the drawers). First, I wanted to spruce up the handles a bit, they definitely had a darker patina to them that was really pretty, but I thought bringing out the brassiness of them would accent this piece well. So I pulled out my can of Brasso and worked some of the grime off of these pieces. (You can see how they shined up if you skip down to the finished product below)

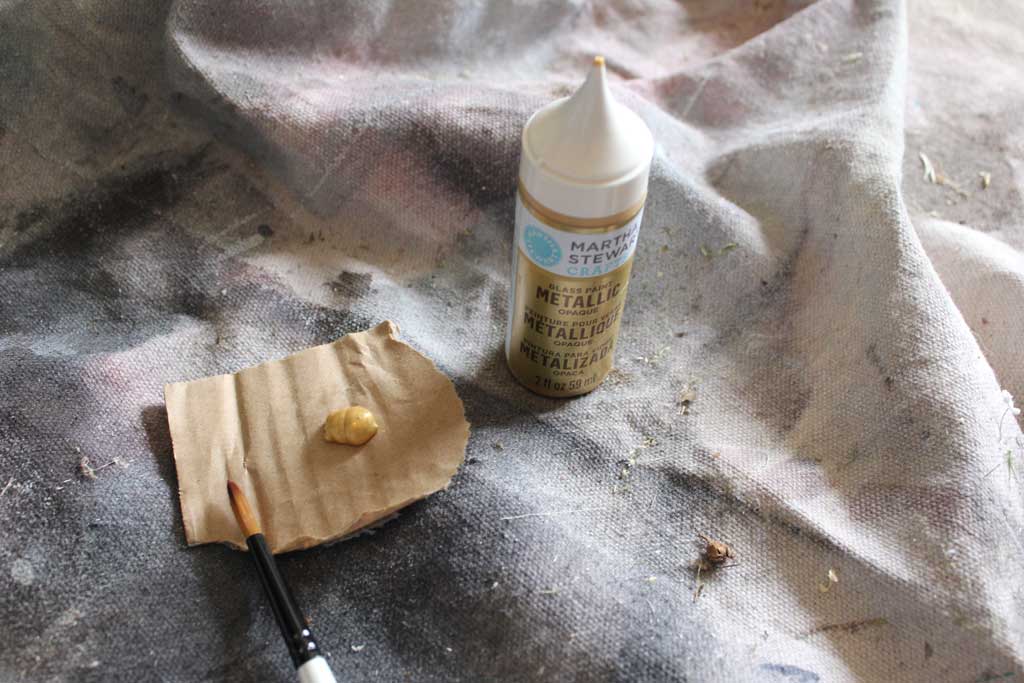
The other thing I did was freehand paint some of the accents on either corner with some gold craft paint.

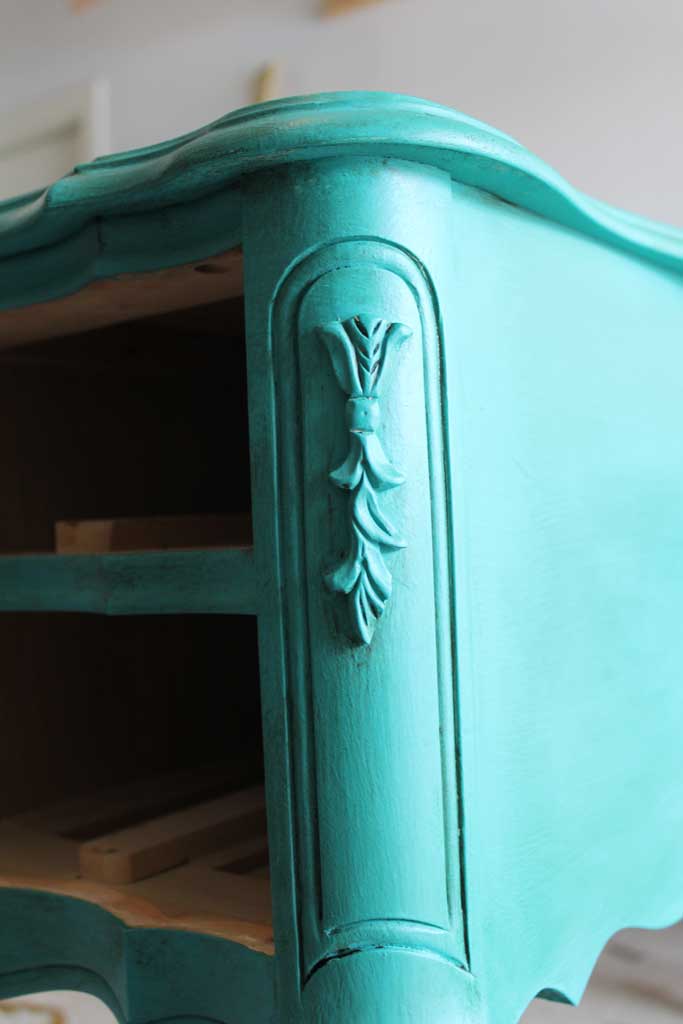
Before:

After the first coat:
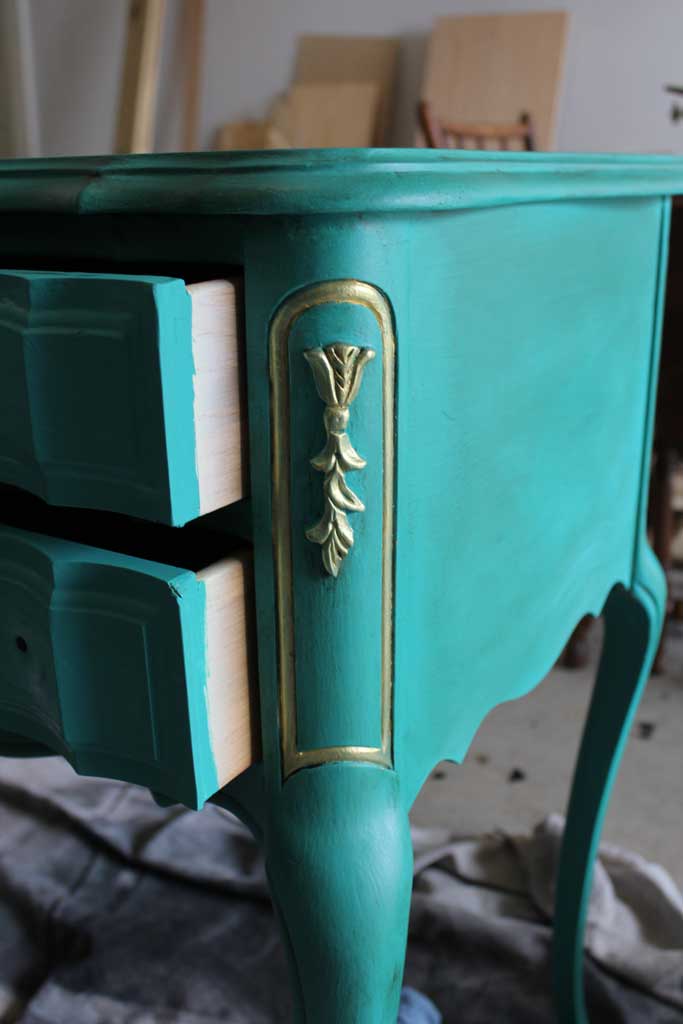

And the second coat, I’m not a perfect painter, and it was definitely harder to stay in the lines than I thought, but I do love the gold accents even if they aren’t perfect because they add a bit of glam to the piece. And they coordinate so well with the spruced up pulls:
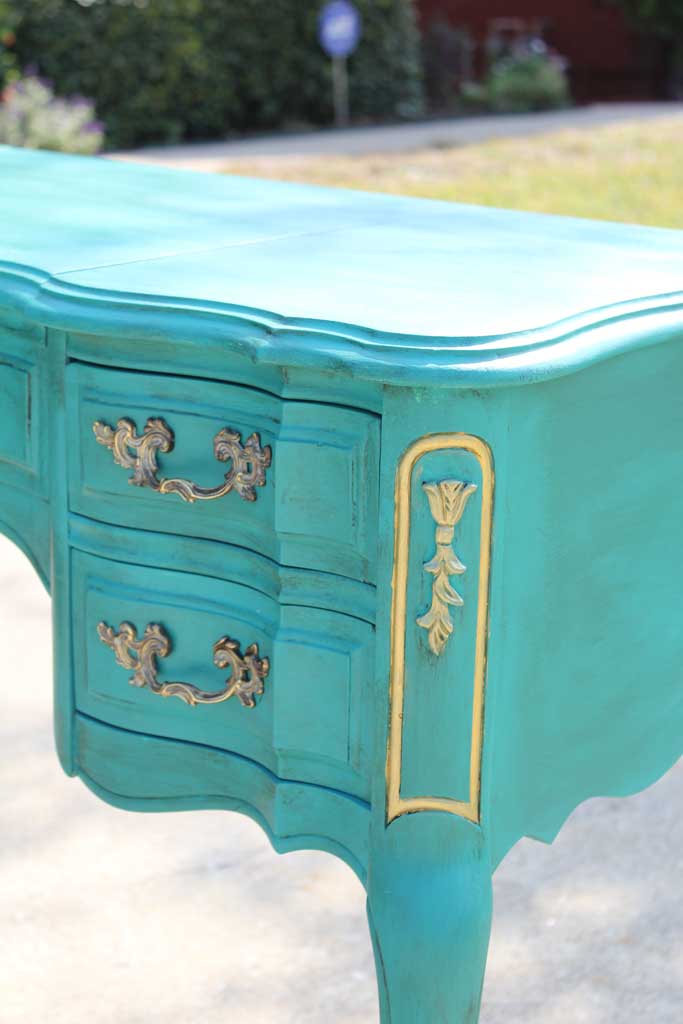

So when it was all said and done, this is what we have:
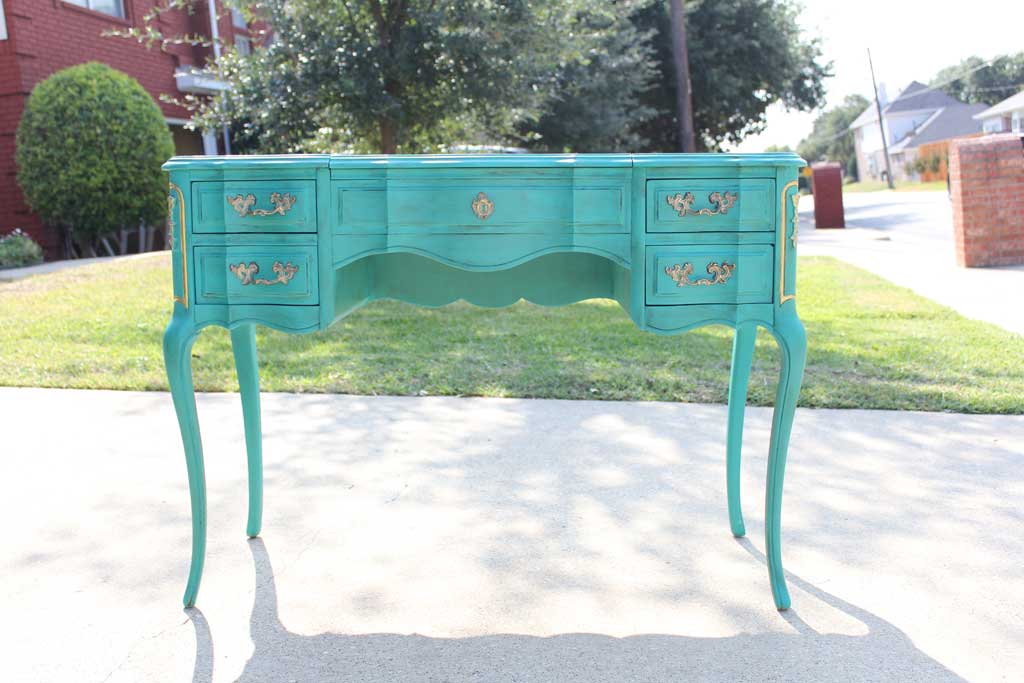


I did let the piece sit in my garage and ‘cure’ for two weeks before we loaded it up to take over to Misty’s house. Mr. Butterbug told us that letting it have that cure time would make the piece much less likely to scratch or scuff… and since my brother-in-law and sister-in-law have 9 kiddos running around their house, I thought that sounded like a pretty stellar idea.

I’m pretty proud of how it turned out… and I think they were too!!


 Hi, I'm MJ! I'm a DIY kind of girl and this is where I share my projects. I'm taking you along for the ride as I learn how to do woodworking, sew, bake, and renovate!


