I read about making these burp cloths from Ten June’s blog several years ago and they have been a staple project of mine ever since. I’m at that age where most of my friends got married 3 or 4 years ago and are starting to have kids, so I have baby showers galore to attend (but you won’t find me complaining… I have lots of little kiddos in my life to spoil). Anyway, right when I was learning to sew I had read about these and thought… well that looks easy enough. And it is!! It’s a super simple project that anyone can do… I promise! Your sewing lines don’t even have to be that straight for these to turn out really cute. And they make great shower gifts (so all my pregnant friends avert your eyes… I’m spilling my secrets).
If you have never sewn anything before, I have a couple of easy tutorials on how to thread your machine and how to wind your bobbin, so check those out and then come back here to make your first project!
I buy the white chenille type fabric in one large bunch (that way I can use a 40% off coupon and get it much much cheaper) and then I buy the backside fabric in whatever fabrics I think are cute! My grandmother is a fabric hoarder collector who has passed down quite a bit of her unused fabric to me, but I also browse sales or grab some in cute patterns whenever I see it. You can use just about any type of cotton fabric for the back.
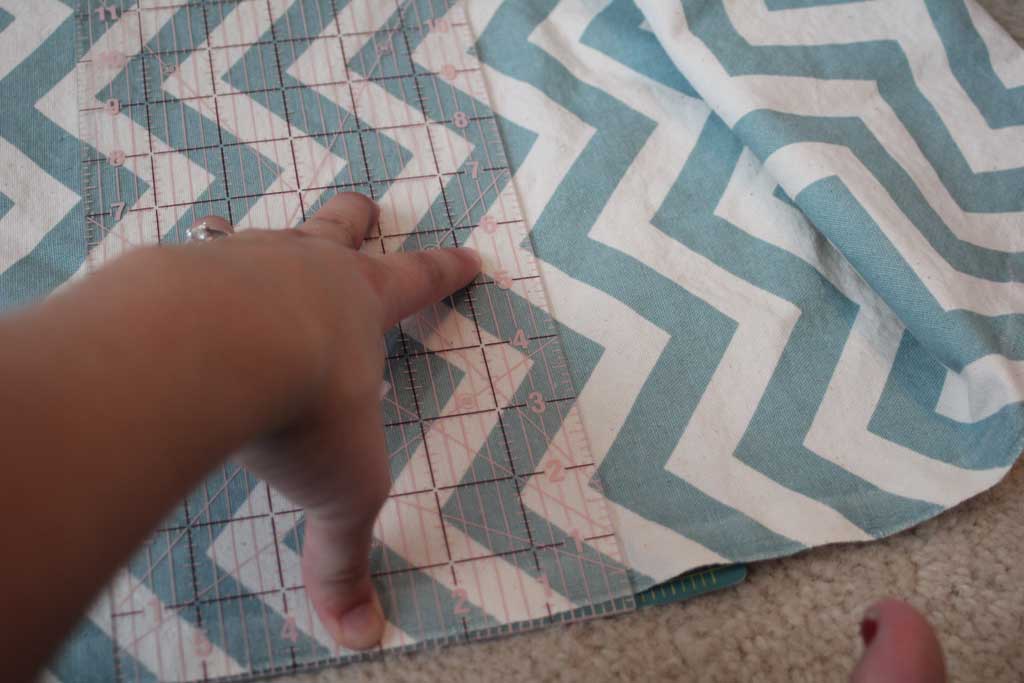

Your first step is to cut your fabric. I make mine 18” x 12”. The final product turns out to be 17.5”x11.5” since I use about a ¼ inch seam allowance on each side. But if you want yours to be a different size… go for it, just make sure you have one piece of the chenille and one piece of the decorative fabric in the same size. I use a rotary cutter and mat to cut mine, but a pair of sharp scissors will work just fine. (if you plan on sewing some you should probably buy a good pair of sewing scissors to use just on fabric… dull scissors can tear the fabric or make it hard to cut, so I have one pair of scissors that is JUST FOR SEWING and says so in sharpie on the side so the husband won’t steal them for other purposes).
After you cut them, line them up and put the two pieces pretty sides together like this:

Now if you have wound your bobbin and threaded your machine you are ready to start sewing!
Lift up your presser foot (the flat metal thing) using the lever just to the right of it so that you can easily slide your fabric underneath it (the picture below is from a later step, so just ignore where the fabric is, but it shows you where the lever is for the presser foot).
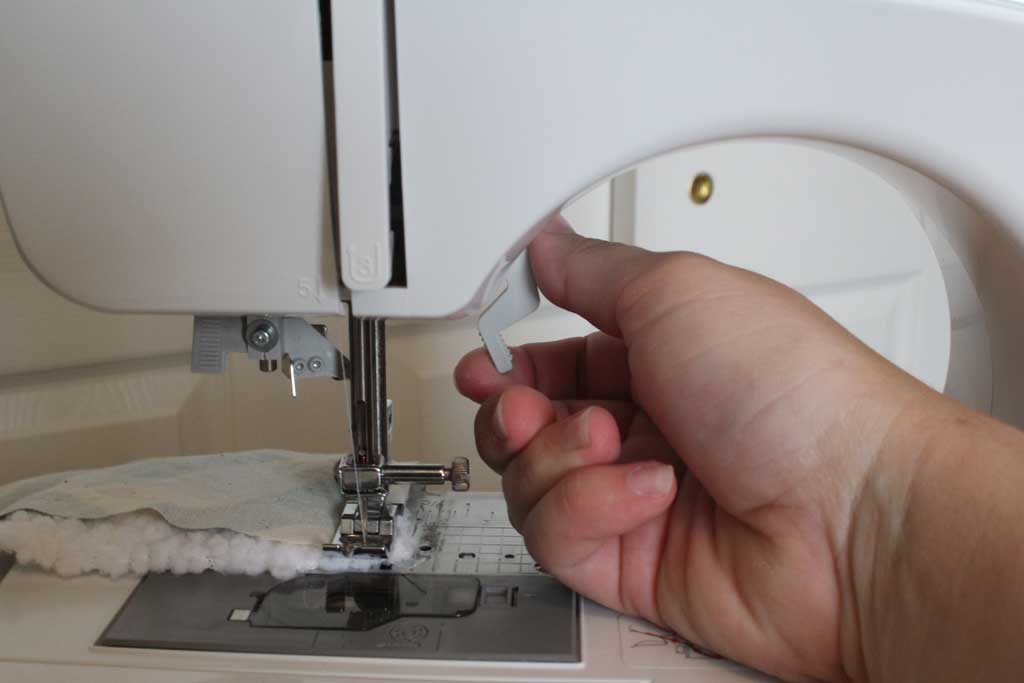

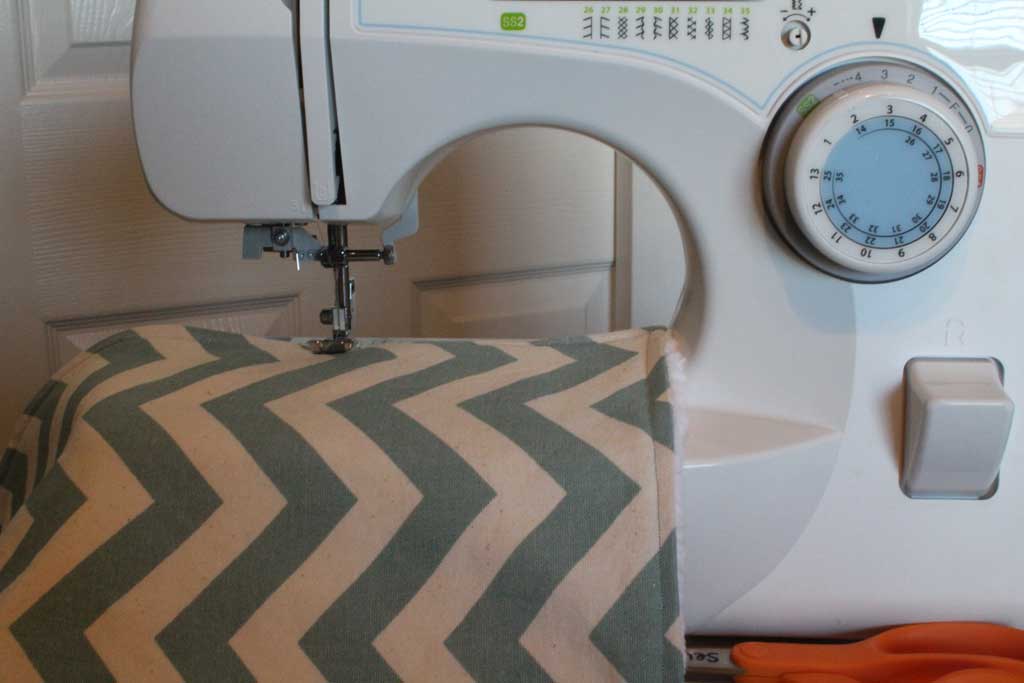
Line your fabric up under your presser foot so that the edge is aligned with the outside of your presser foot. On my machine that gives me about a ¼ inch seam allowance. (if you are less confident in your straight line ability, you may want to line it up a little further out like the left hand line of that grid in the picture. But line it up against something so it will help you keep your fabric straight. Now put the presser foot back down using the same lever so that it will keep your fabric in place while you sew.

Now turn the circle on the right hand side of your machine towards you so that the needle goes into your fabric in the corner. This helps you make sure that your thread doesn’t un-thread itself from your needle when you start sewing.
Now push down on the pedal with your foot lightly. The first thing you want to do is three (or so) stitches. Once you have these three, push on your backstitch button. Mine is on the right side of my machine and looks like this (yours may be a little different, but might have a similar picture):

It will automatically move your fabric backwards while you are holding it down. So hold it down until you get back to where you started (3 stitches or so). Once you are there, let the button go and the sewing machine will feed the fabric forwards again. This makes the end of the stitch strong so it won’t come undone easily.
Your goal is to guide the fabric in a straight line now. The machine will advance the fabric on its own, so you don’t need to push it in the right direction. This is where that line that you used to line up your fabric comes in handy. Your goal on this side is to keep the edge of the fabric aligned with that line as the fabric moves ahead. Keeping it on that line is much easier when it is going more slowly. Your foot on the pedal is a lot like a car… the more you floor it the faster it will go, so until you get the hang of it (and if you are like me… even after that) go slow. Patience grasshopper.
Once you get to the end of the row (stopping about a ¼ inch from the edge) there is a secret to making a sharp corner: use the wheel on the right-hand side to make your needle go down through the fabric in the corner. Once your needle is down lift up the presser foot again, but your fabric should not be able to go anywhere because the needle is through it. Now rotate your fabric to the right so that the next edge to be sewn is lined up with the same line you used to line up your fabric before.


Continue this on all four sides until you are about 3 inches from the corner where you began. Backstitch about 3 stitches just like you did above. Now when you are done, lift up your presser foot and use the wheel to make sure the needle is in the top position and pull your fabric out to the right of the presser foot and cut your thread. Now trim your excess thread off so you don’t have any dangling threads.
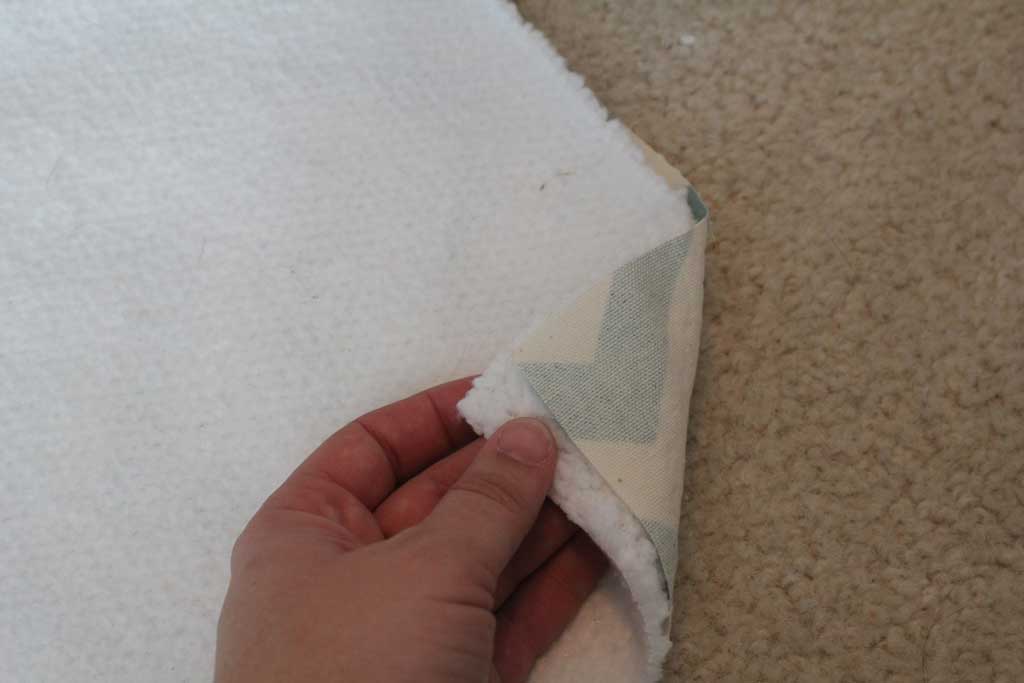
For the next step, cut the corners off of your fabric like this:
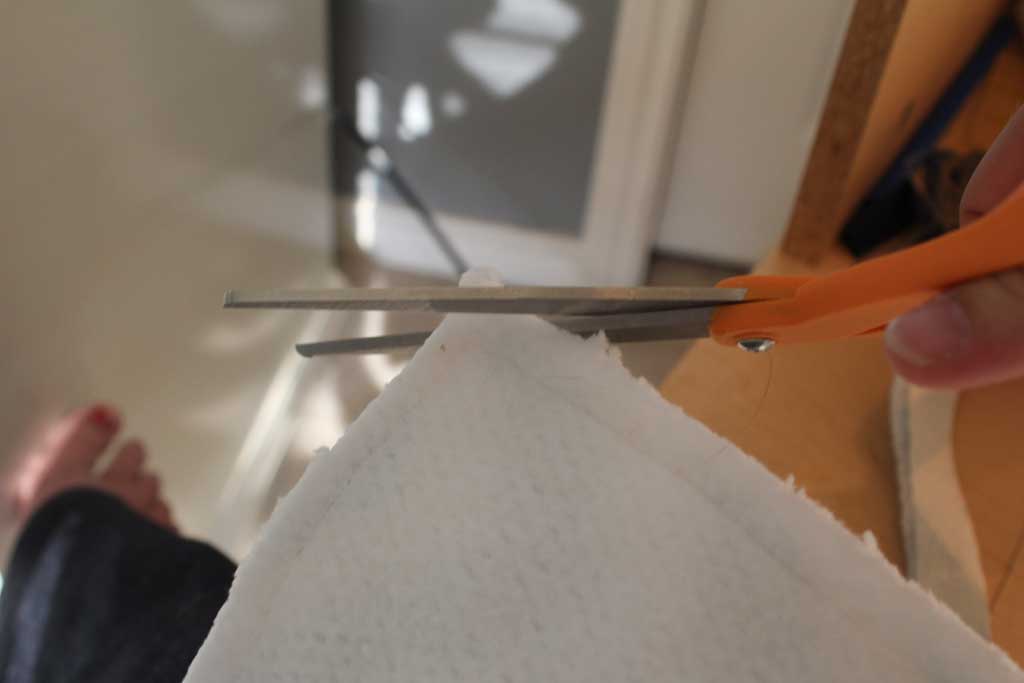

This makes it so that there is no excess fabric in the corners when you turn it right side out and you’ll get sharper corners that way. Now it is time to turn your fabric right side out. Start with the little gap you left at the end of your project and start working the project inside out.


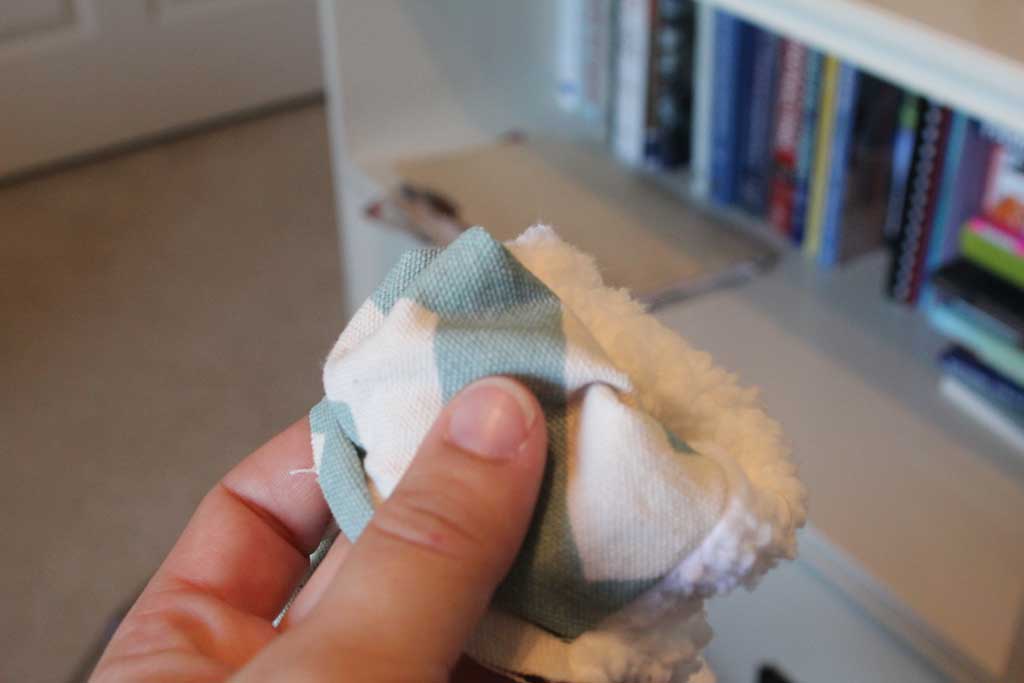

Once you have done this take something long like a stick and push it into the corners to make sure they are sharp.

Now it is time to iron. (I know I know… GROAN. Trust me… I don’t even iron clothes… and for the longest time I didn’t iron my sewing projects, but trust me on this one… they look WAY better if you’ll take the 2 minutes it will take to go get your iron, plug it in and iron the project). I just use an old beach towel on my floor instead of getting out my ironing board and it works just as well. When you iron be sure to fold the edges in on the spot where you turned your fabric. You are going to close it up soon by top-stitching, and it will be easier if you have ironed it down like it will look when it is done.


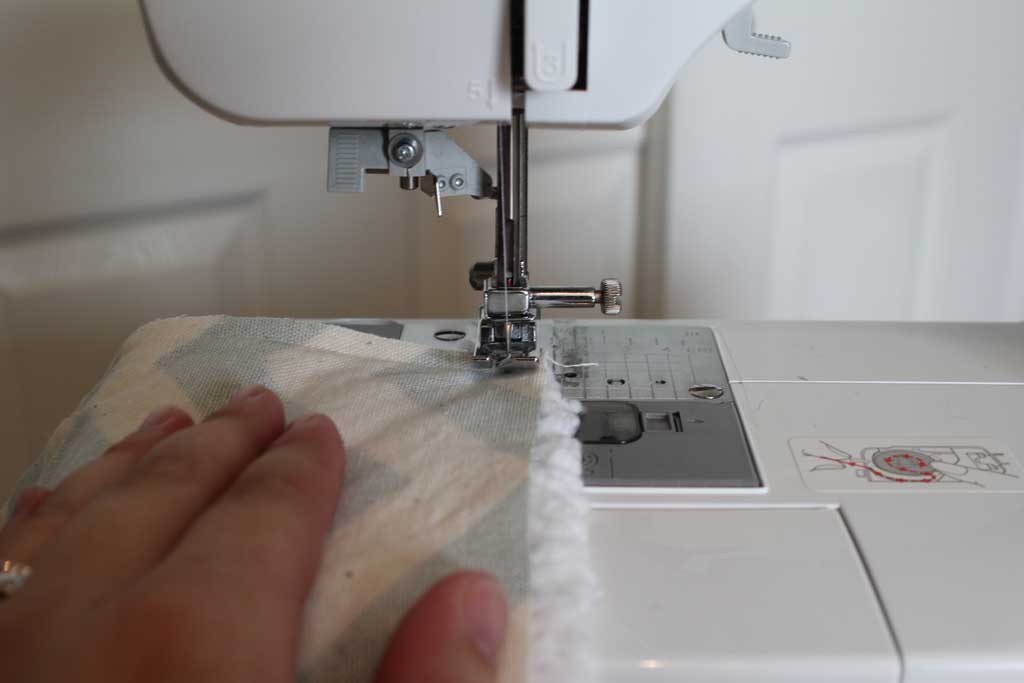
Now go back to your machine and do exactly what you did before, except this time on the right sides of the fabric. Leave about a ¼ seam allowance and start in one corner, backstitching at the beginning and tracing the edge of your project with thread. And again you will treat the corners like you did above, except when you get to the end of the project this time, don’t leave a gap. (I also don’t start at the same corner that I did before so that my “gap” that I am sewing closed doesn’t end up at the edge) You are almost done; it should be looking a lot more like a burp cloth now! The last step is to sew them into thirds. This is for two reasons 1. So they will keep their shape even through several washes and 2. So that they fold nicely into thirds and a bonus third reason… it looks cute!
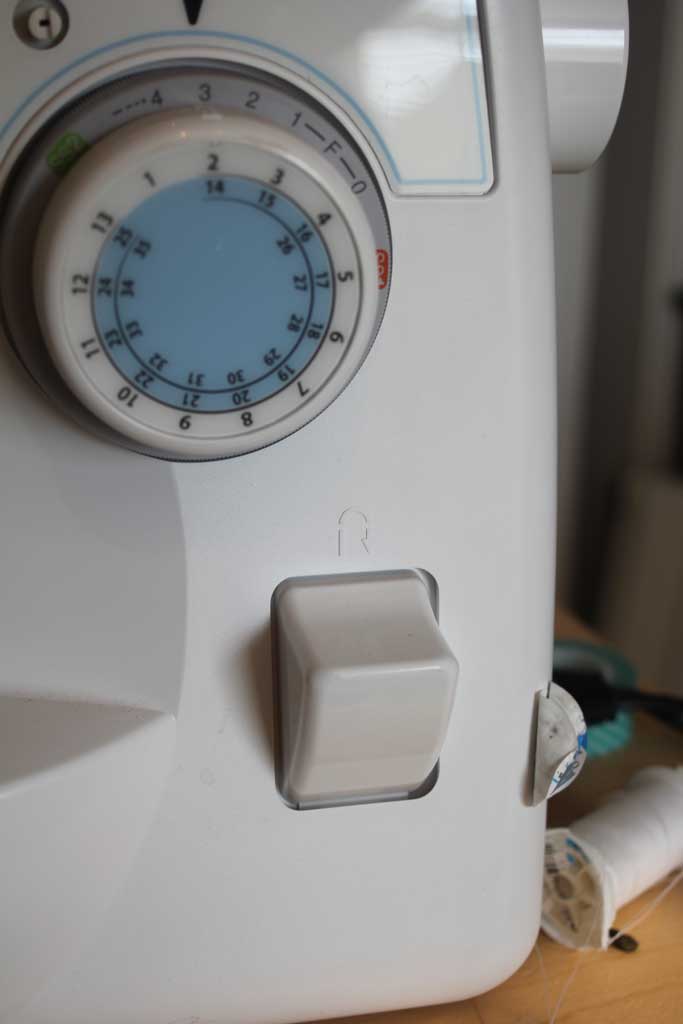
I move my sewing machine to a zigzag stitch. On mine that means moving the dial to stitch 3 (look at your pictures on your machine, yours might be a different number). I’m not a perfectionist, so I just guess at where 1/3 of my cloth is, and if I’ve cut them to the same size of 18”x12” one third is conveniently when I have the edge of the burp cloth against the body of my machine like so:

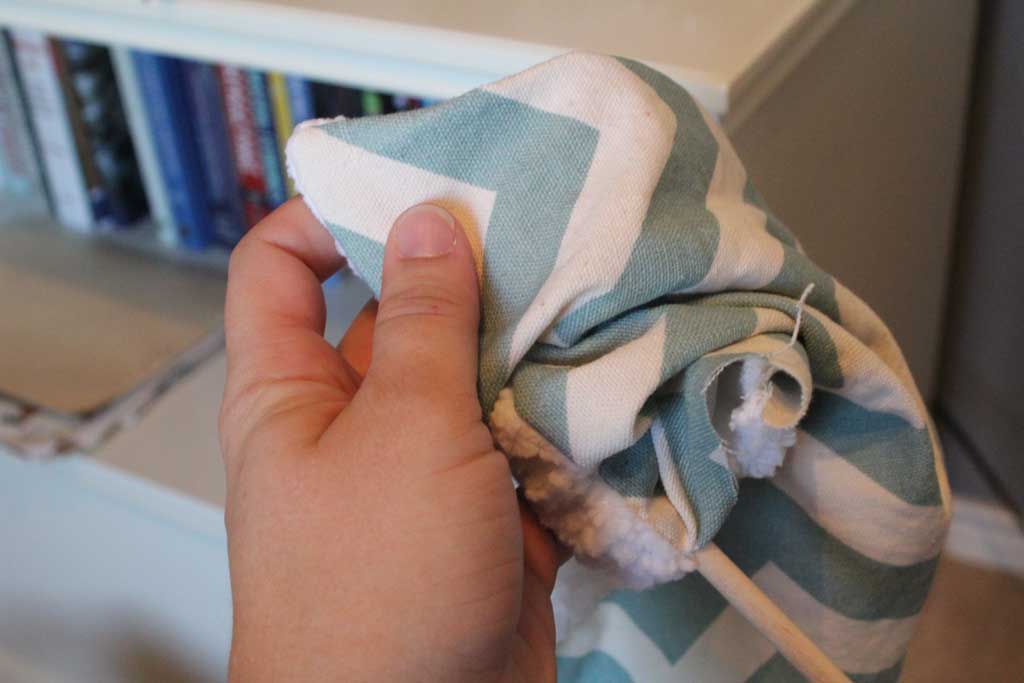
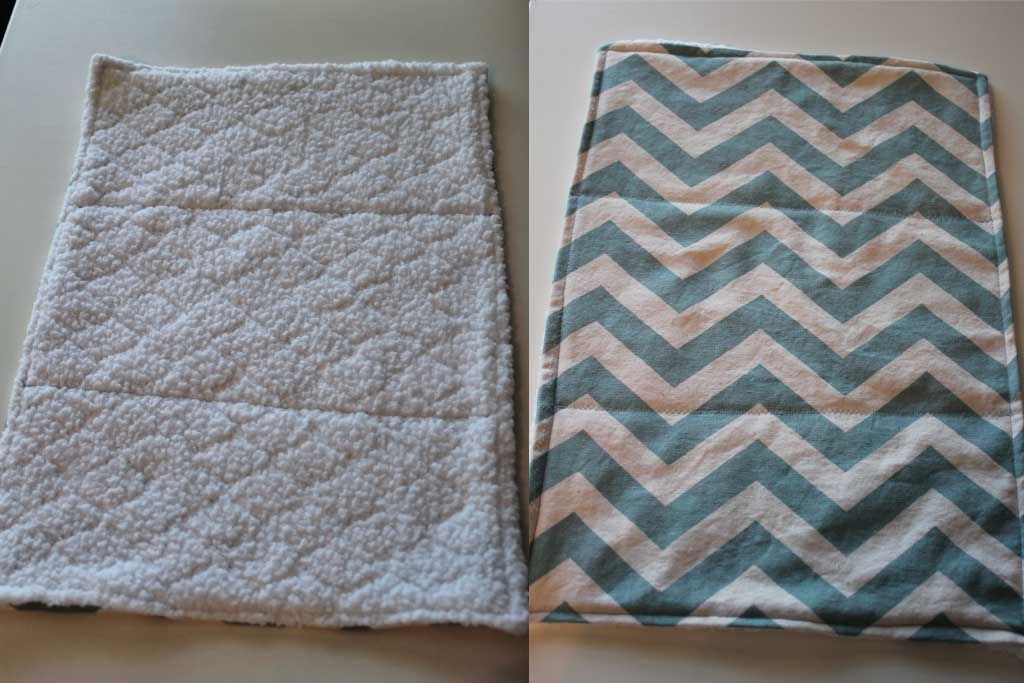
With a zigzag stitch you can make it wider by using your stitch width dial (check your manual to see where yours is located), but I like mine about in the middle. I back stitch at the beginning and the end of my line. Once I’m done with that one, I flip it around and do the other side. This is what it looks like when its done (front and back):

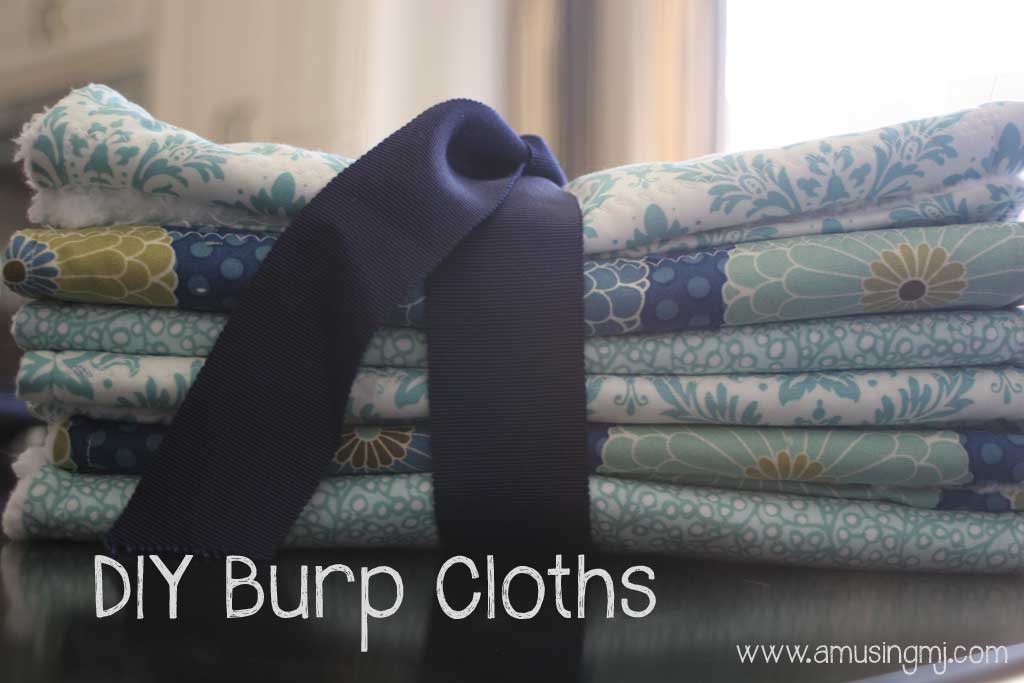
Now you are done! These have gotten rave reviews from my best friend’s son who is now a little over a year old and carries them around with him everywhere. His Instagram pictures are like playing Where’s Waldo with his burp cloths. I think they make the perfect baby shower gift, I don’t even usually wrap them, just tie them up with a bow!


 Hi, I'm MJ! I'm a DIY kind of girl and this is where I share my projects. I'm taking you along for the ride as I learn how to do woodworking, sew, bake, and renovate!


What a great tutorial!! I love how clearly you explain things, I just got my machine 2 days ago and this will be my second project. Can’t wait to get started.
-Kayla
Kayla, glad you enjoyed it!! I still make them all the time for every baby shower in my life! Let me know if you have any questions!
Thanks! I just finished two sets of them today, and posted them on our blog. For directions I put a link to your blog. Feel free to stop by and see how they turned out! Thanks again!
-Kayla