AJ’s Closet

Welcome back to closet week! <sarcasm font> Nothing is quite as exciting as closets!! <end sarcasm font> Closets may not be the most exciting topic ever, but man… having a super functional closet makes a HUGE difference.  As I mentioned yesterday, both my twin brother and I decided to install Elfa in each of our master closets due to having a great coupon from The Container Store.  If you don’t know what Elfa is… check it out over at The Container Store (or just scroll down to the bottom of this post to see what it looks like installed!)

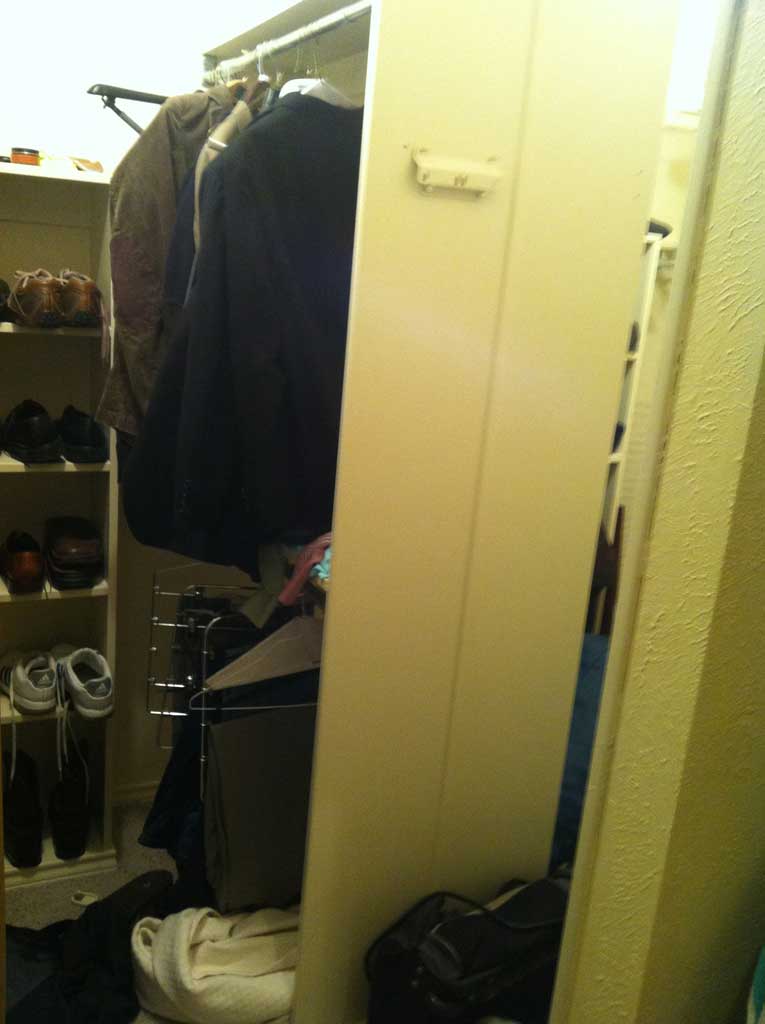
We found this video from house hunting to show you what the master closet looked like before AJ moved in.

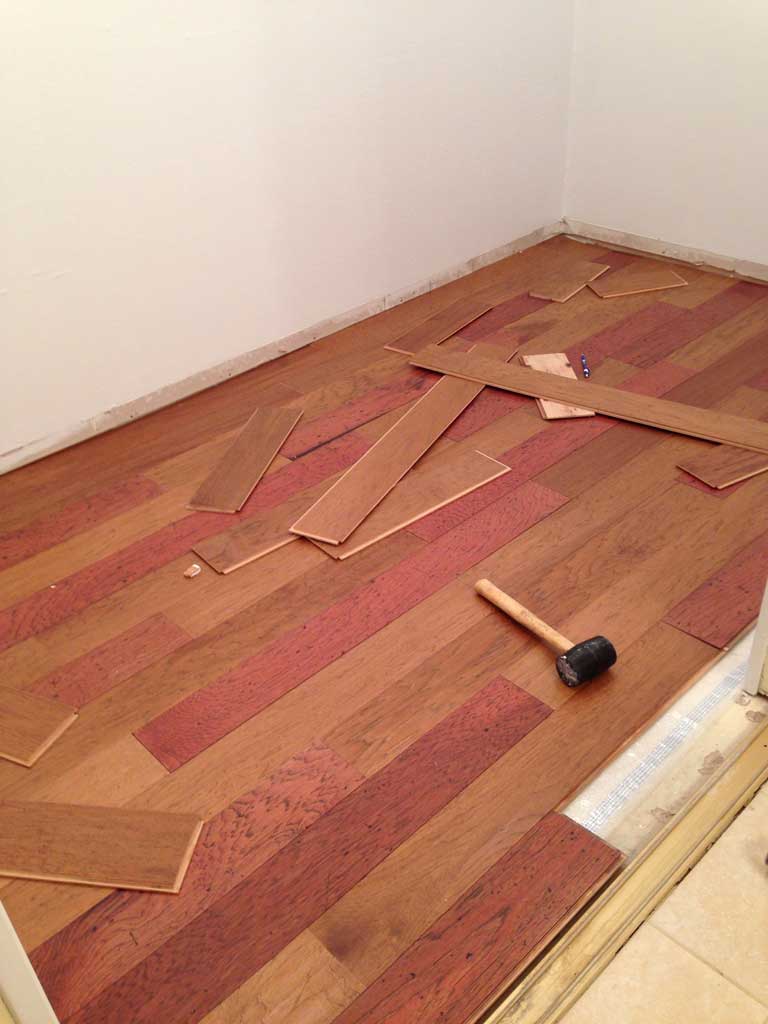
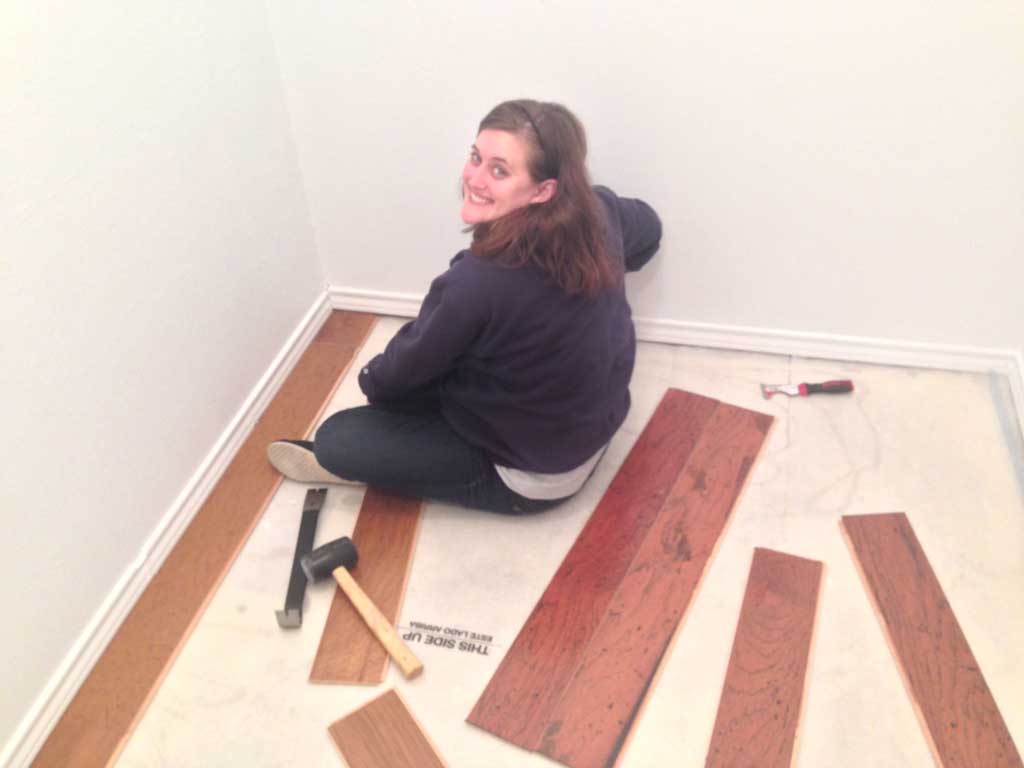
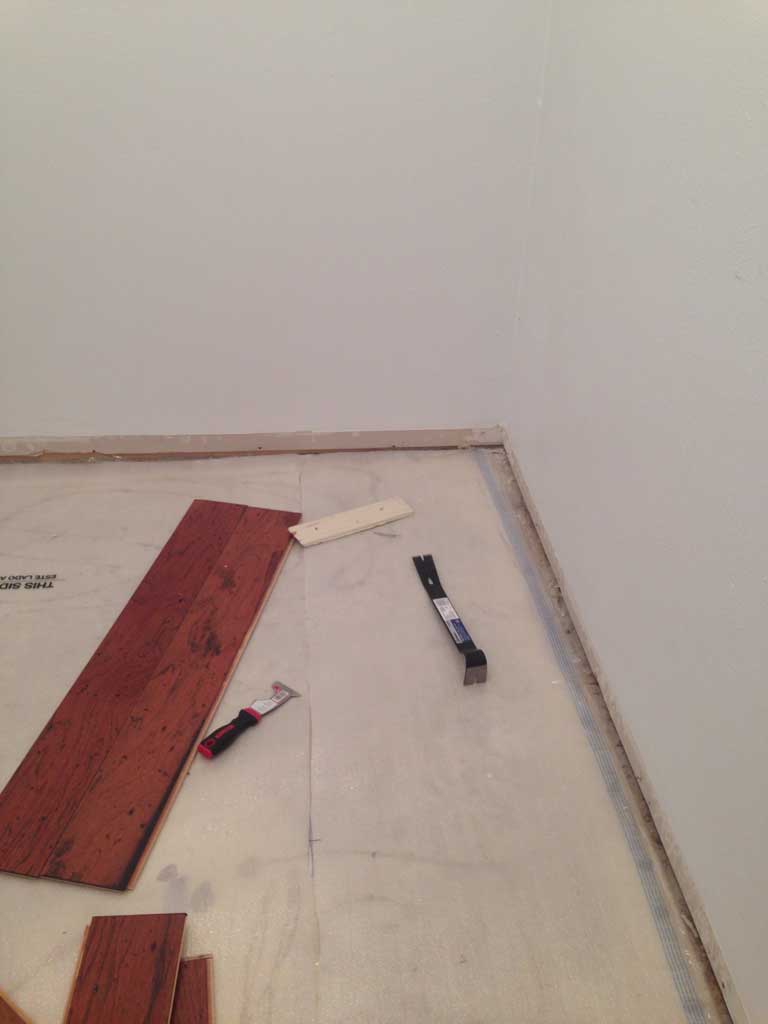
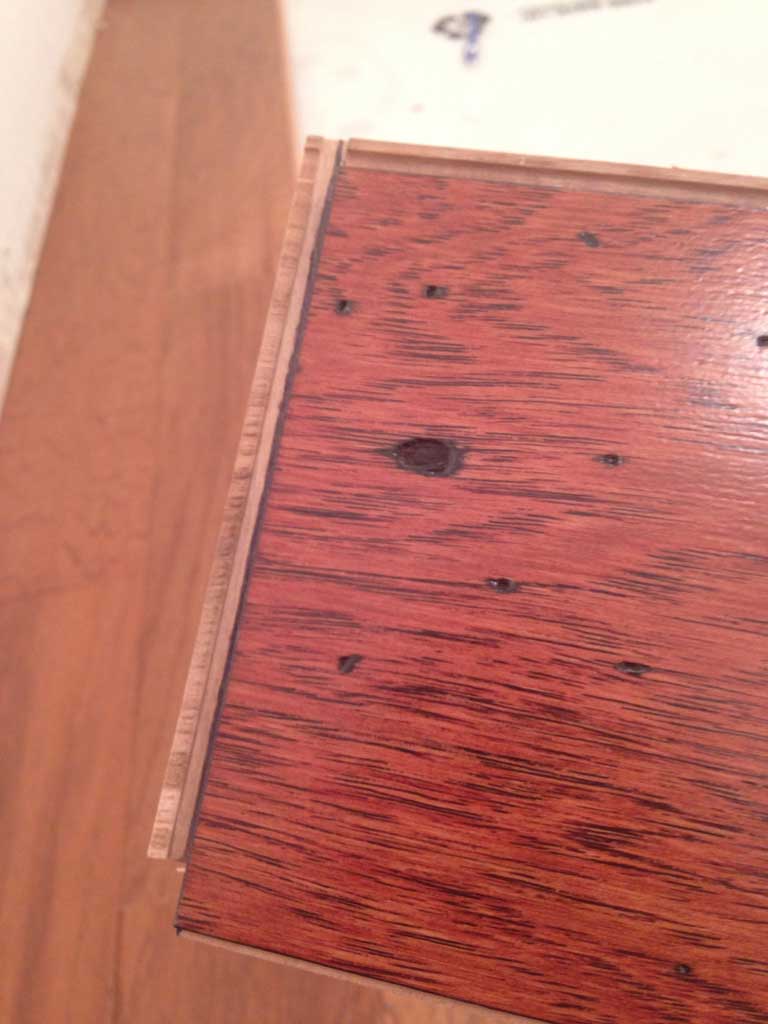
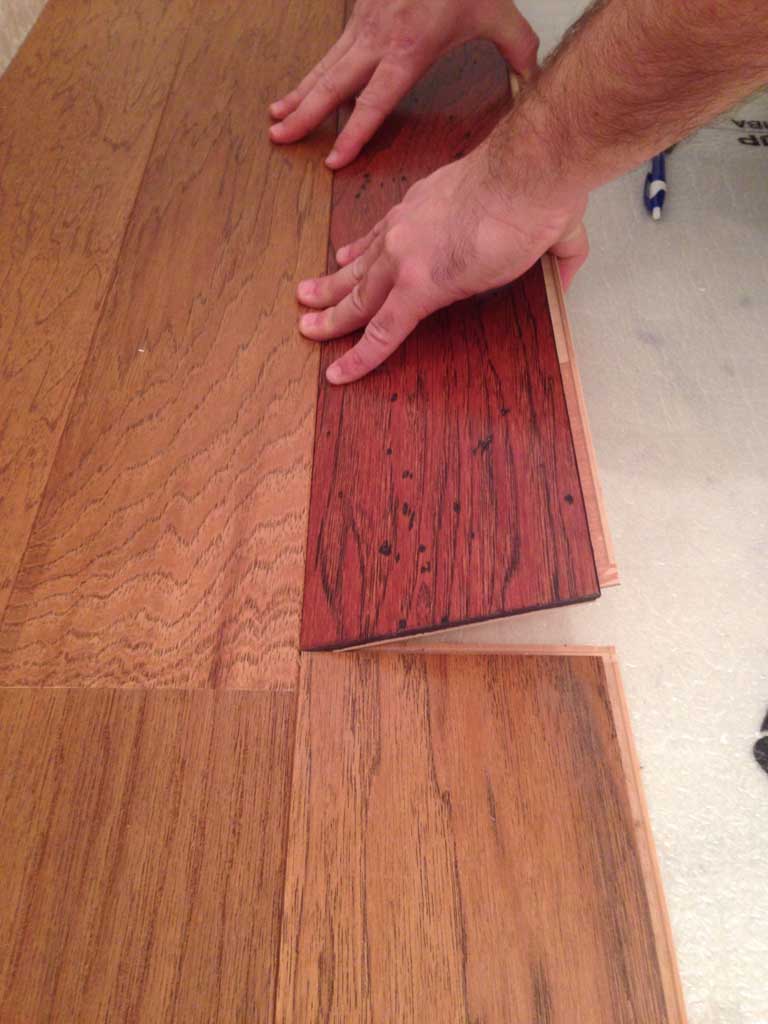
After he moved in it looks almost exactly the same… just with a whole lot more stuff.  As I shared in yesterday’s post, they decided to demo all of the built in’s in order to prep for Elfa. So here’s where we left of yesterday, having installed the wood flooring for the closet; so now we were ready for the Elfa guy to come install.

ajcloset6


The Container Store gives you two options: install yourself or pay them to do it for you.  My best friend swears it is a super easy installation, but our friends and family discount also applied to installation, so both AJ and I’s closets were installed by the pros.  Demolition is included if you have 2 or fewer rods and shelves on each wall.  But as you can see from the video above… AJs closet had a lot more than that, so he decided to do it himself rather than pay extra for them to do it.  I chose to let them do it for me, but I’ll tell you more about how that went tomorrow.  Moving on to the good stuff…

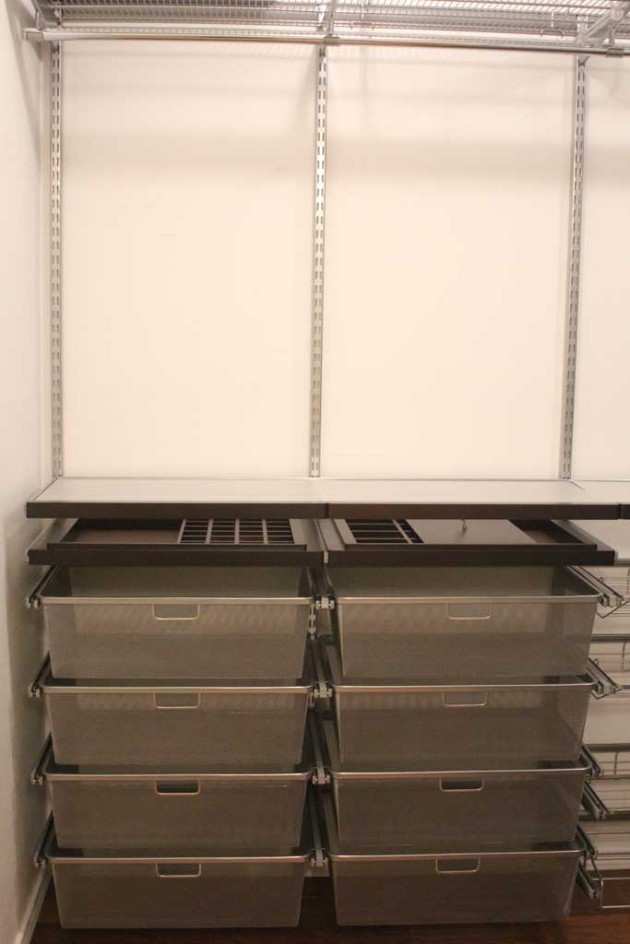
This is what his closet looks like with Elfa installed (in case some of you are worrying about the fact that his clothes only take up one wall… he’ll be sharing that with his new wife in the spring so it’ll all be filled up!)

ajcloset15


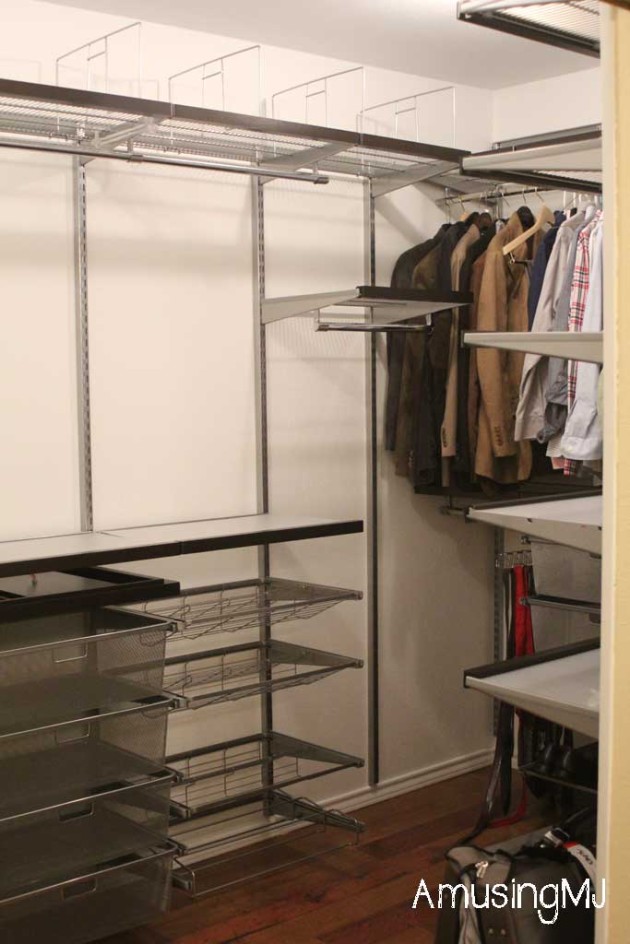
It hardly even looks like the same closet with a new paint job, new flooring, and TONS of Elfa Storage.

ajcloset9


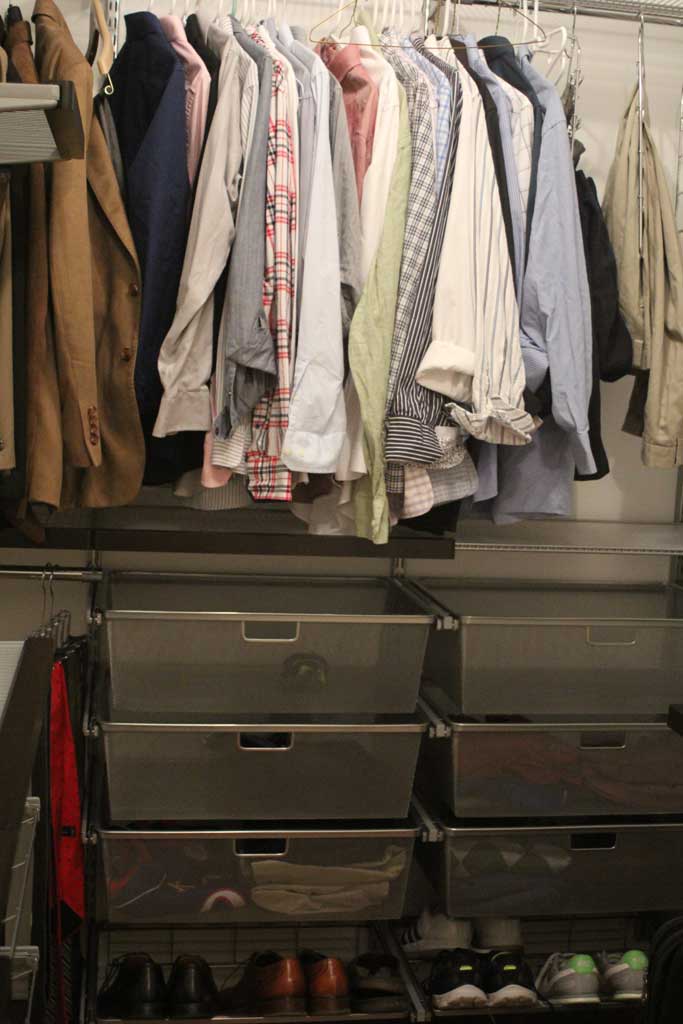
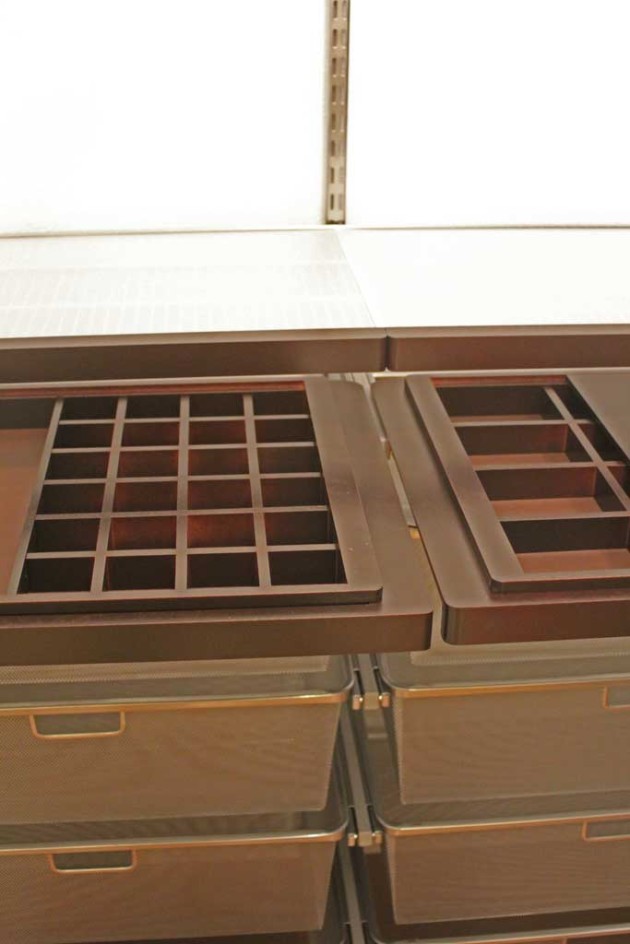
The Elfa system has something for everything and bonus… you tell the designers what you want and they design it all for you! You can see in the picture above he has drawers, shoe racks and even a valet rod to hold your outfit for the next day (or more likely in his case the dry cleaning he hasn’t taken out of the plastic yet).  Check out the picture below to see the jewelry storage that they included in the plan for her side!

ajcloset14

ajcloset11

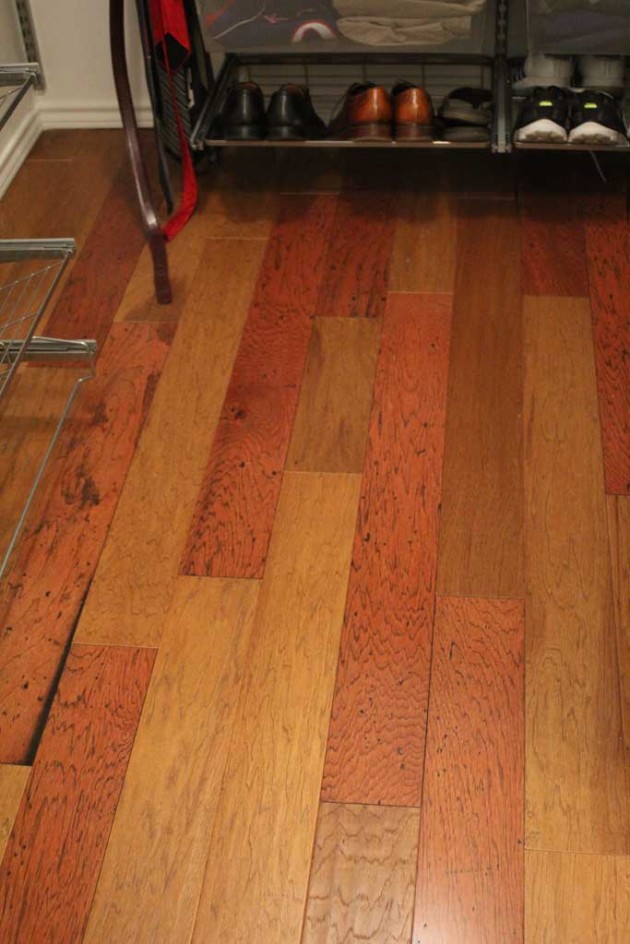
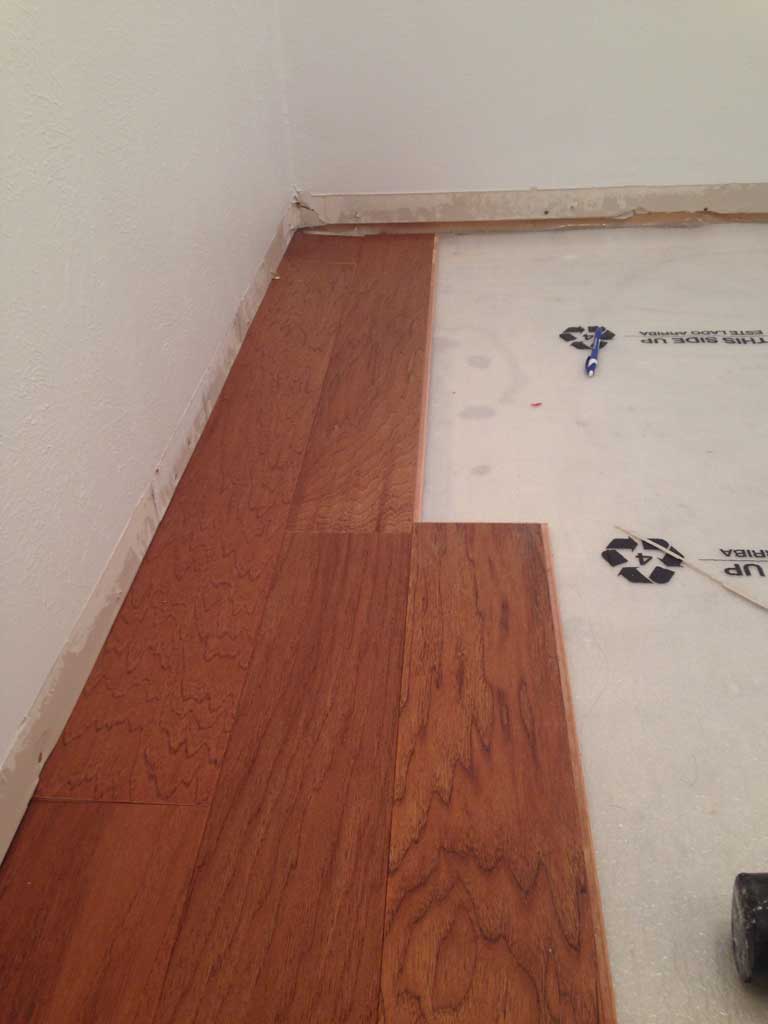
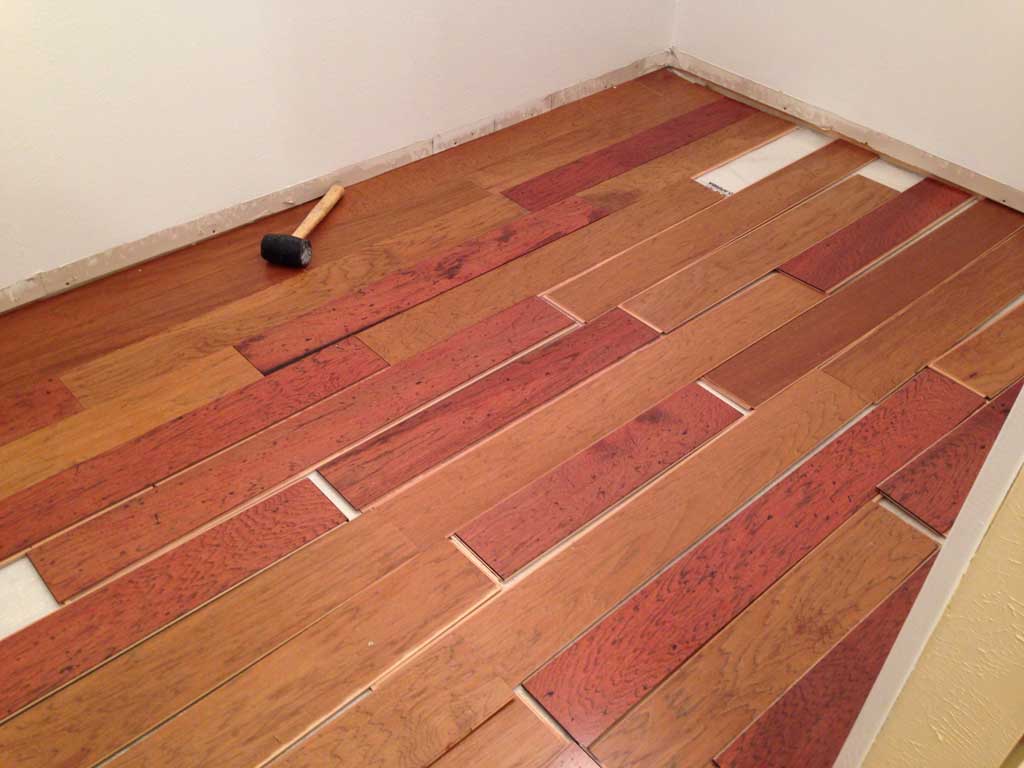
And I know so many of you have patiently holding your breath since yesterday to see the finished floor…

ajcloset13

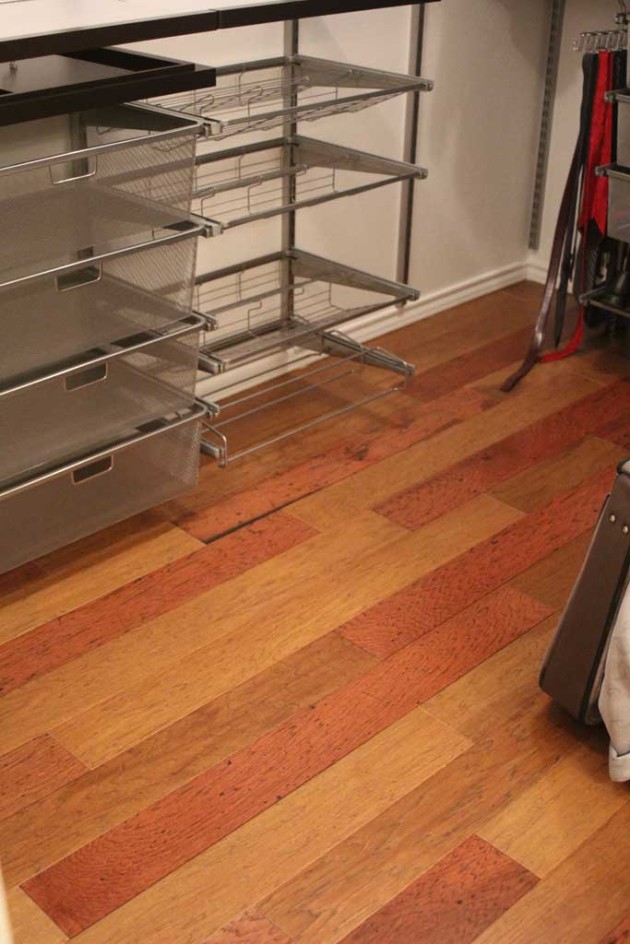
I love how the two colors look interspersed throughout the closet.

ajcloset12


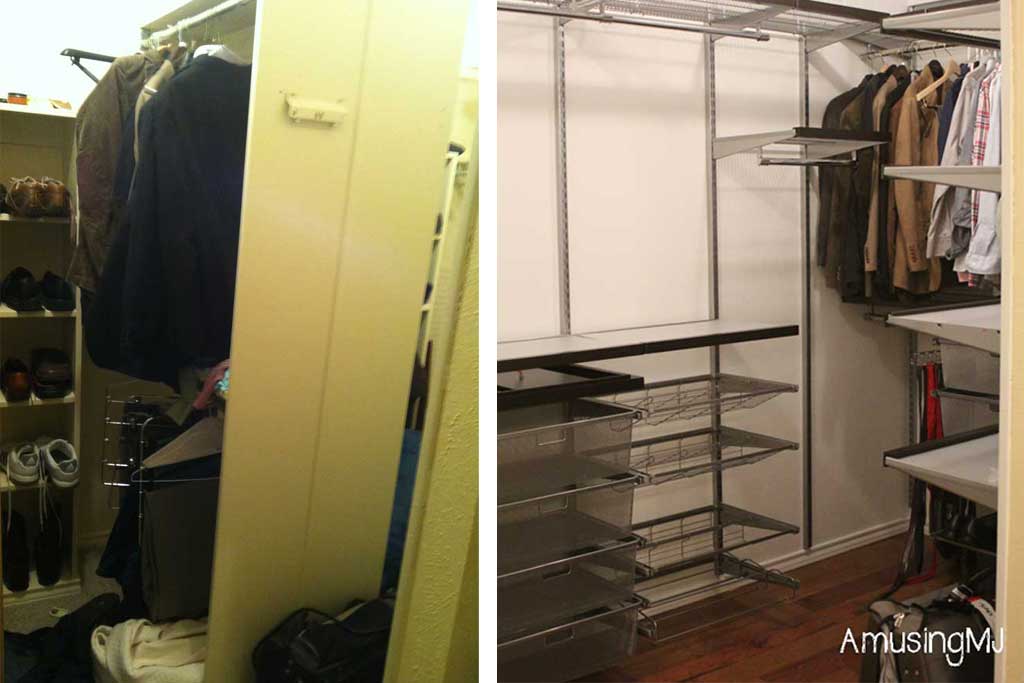
And just so you can see the full transformation…. This picture was taken from almost exactly the same spot. (I just wasn’t as good in the first pic at having the camera straight up and down. 🙂 )

closet-before-and-after

Stay tuned tomorrow for my master closet saga (hint: it wasn’t exactly a smooth transition… but the results are AMAZING!)

Hardwoods

Its gonna be CLOSET WEEK here on the blog!! I have two awesome closets to show you! My about-to-be-sister-in-law (whew that was a mouthful!) is working at the Container Store part-time right now and snagged us a friends and family coupon for Elfa.  At the same time, my twin brother (whose kitchen you got to see last week) is installing it into his closet.  So I thought I’d show you some of the pieces that went into those closet transformations, because who doesn’t love a well organized space??  And The Container Store is the Queen of organization!

But before any of that can be installed, we had to prep the closet.  AJ’s closet had some built ins already in the closet, but it weirdly broke up the space (I imagine for a his/hers side?) so they decided to go ahead and demolish those and do Elfa throughout the whole closet. The closet is hard to photograph, but here is a ‘before’ for you (that clothes rack came out through the center of the closet):

ajcloset10

From here I feel like the story becomes typical of DIY projects.  You have some wins and some losses:

Loss: the previous owners (or builders) had carpeted AROUND the built ins, not under them, so tearing out the built in shelves meant there were several squares of missing carpet.

Win: The previous owners also left a box of leftover hardwood floors

Loss: Its not QUITE enough to cover the whole closet.

Loss: That particular color has been discontinued

Win: There is a contrasting color in the same size/style that will look pretty good interspersed with the previous color.


So this is where I came in.  AJ had done the demolition, bought the new flooring and the underlayment, but needed some help installing it.  This was my first rodeo at hardwood flooring, but this type was SUPER EASY to install.  Like dummy proof.

ajcloset1

The first step was to remove the baseboards (in the picture below the floor wasn’t actually put in place, just laid out.  So we gently removed each of the baseboards with the intention of being able to put them back on.  I don’t have a good picture of this step, but you basically cut the caulk with a knife, then use a 5-in-1 tool (seen above… like a paint scraper but better) and a crowbar to gently pry them away from the wall.

ajcloset7

Once that was done, it was time to start laying it out. This type of flooring is intended to go on top of the concrete slabs that are frequently in Texas homes.  It requires  simple foam type under-layment and then the flooring ‘floats’ on top of that.  Nothing secures it to the floor.  It seems a bit strange at first, but sure enough it looks great and stays locked in place!

ajcloset8


The pieces are similar to tongue and groove planking, each end has a little ‘extra’ that fits underneath the piece next to it.

ajcloset2


And you interlock the pieces by tilting them up until it slides into the piece above it like this (ps in case you were worried about my extra manly arms… that’s my brother in the pic below):

ajcloset3


After we had a few rows in, we decided to lay the rest out to check out color placement since we were interspersing two different colors.

ajcloset5


Q gave his supervisory approval…

ajcloset4


And it was pretty easy to just keep plugging away at the rest.  When we would get to the end of a row, we cut the piece off using a circular saw and used the remainder to start the next row, leaving a 1/2 between the wall and the flooring all the way around.  That 1/2 inch leaves space for the floor to expand and contract because of head and cold without causing any buckling and will eventually be covered by the molding that we put back so you won’t see it. This whole part took about 2.5 hours from start to finish.

ajcloset6


This is the last picture I have of this process, because like a good sister, I left right before he had to make all the complicated cuts to allow for the doorframe.  But I’ll be back with a post tomorrow with the finished floor and the installed Elfa! So check back in tomorrow to see the finished process.

If anyone is curious, the flooring is Bruce Interlocking Hardwood similar to this but I’m not sure of the two colors.  The reddish color is the color that is not discontinued.