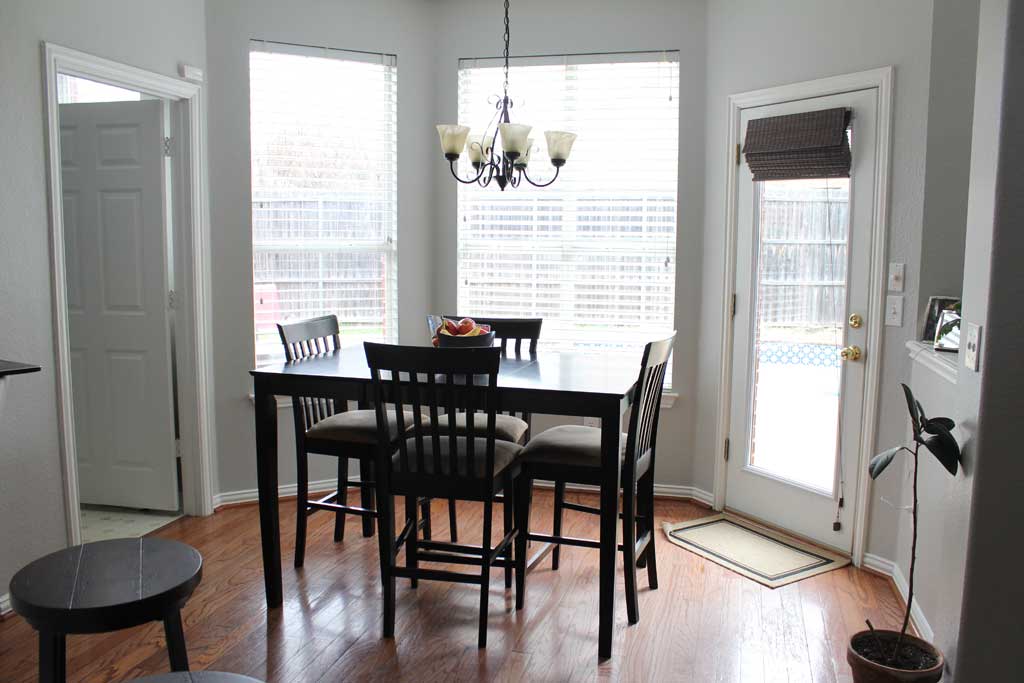
When we purchased this house we knew there were a few things we wanted to do to it right away. The floors were in bad shape all across the house: the carpets had some pretty bad, very permanent stains, and a few holes; and the wood floors through the kitchen and dining room were worn through their finish and were unlikely to be able to be refinished. Our Realtor was great and had someone come out to measure and give us a quote for replacing all of the floors during our inspection, and at the time we decided to go ahead and replace the carpets before we moved in, but to live with the wood floors for a bit to see what we really wanted to do with them.
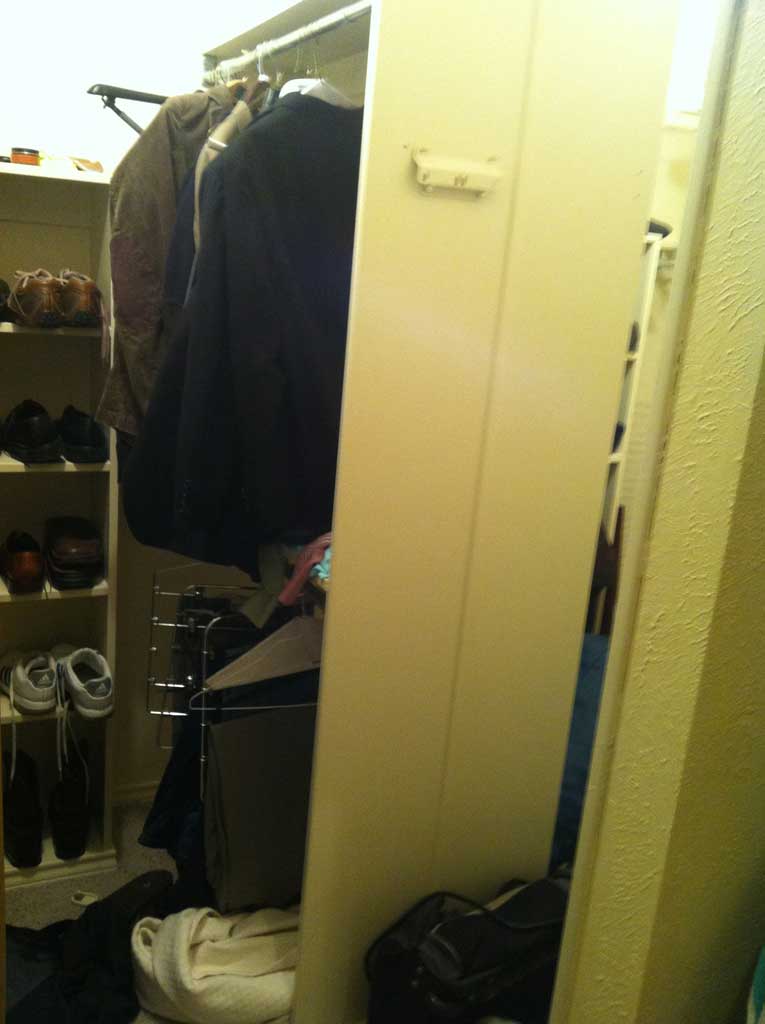
It’s a bit hard to see in pictures, but there were several places where they had been badly worn and at some point someone had a runner down that stripped most of the finish off of the top layer, which would be difficult to fix.


We spent a lot of time debating what to do about our wood floors, since they back up to the door that goes out to the pool and are destined to get wet and dripped on during pool season (our only downstairs bathroom is across the wood floors, near the staircase). So we talked about going back with tile, and leaving the wood floors in the dining room, but after talking to the flooring lady she assured us that the floors that we put back wouldn’t be damaged too badly from water on them as long as we didn’t let the water sit for long periods of time.

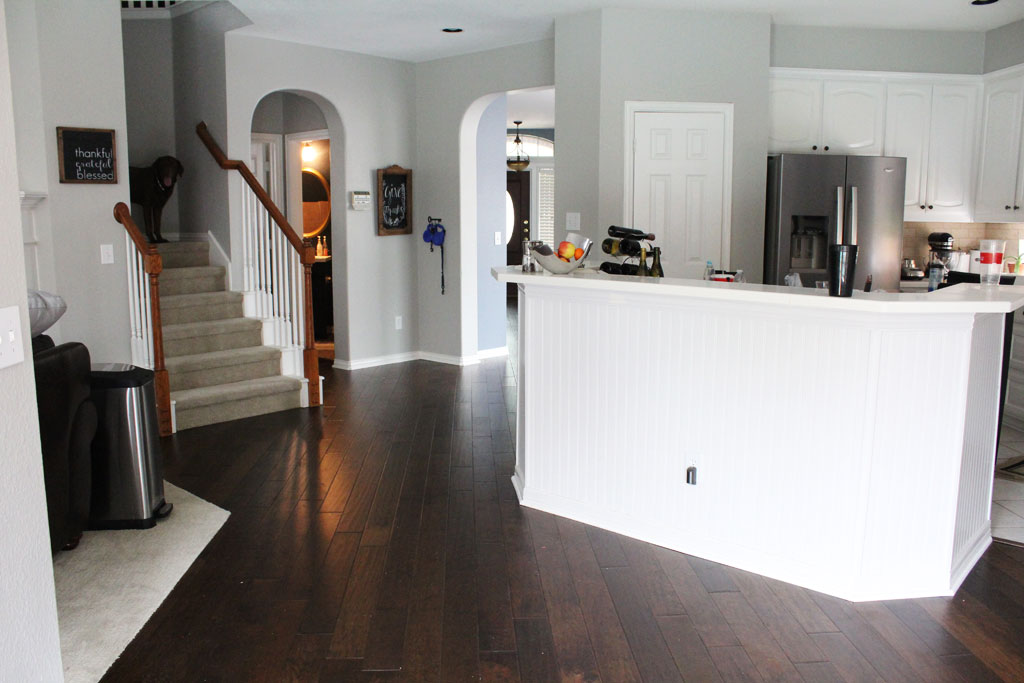
And I just love the look of wood floors and the fact that i would make the flow from the dining room to the kitchen/breakfast area seamless.
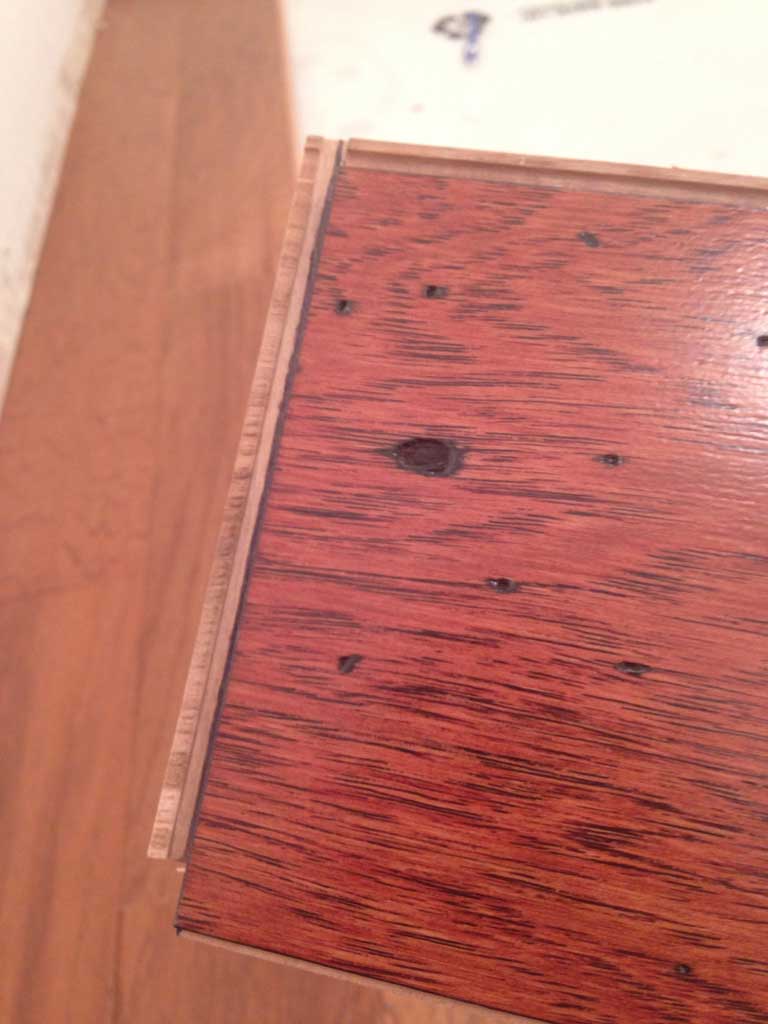
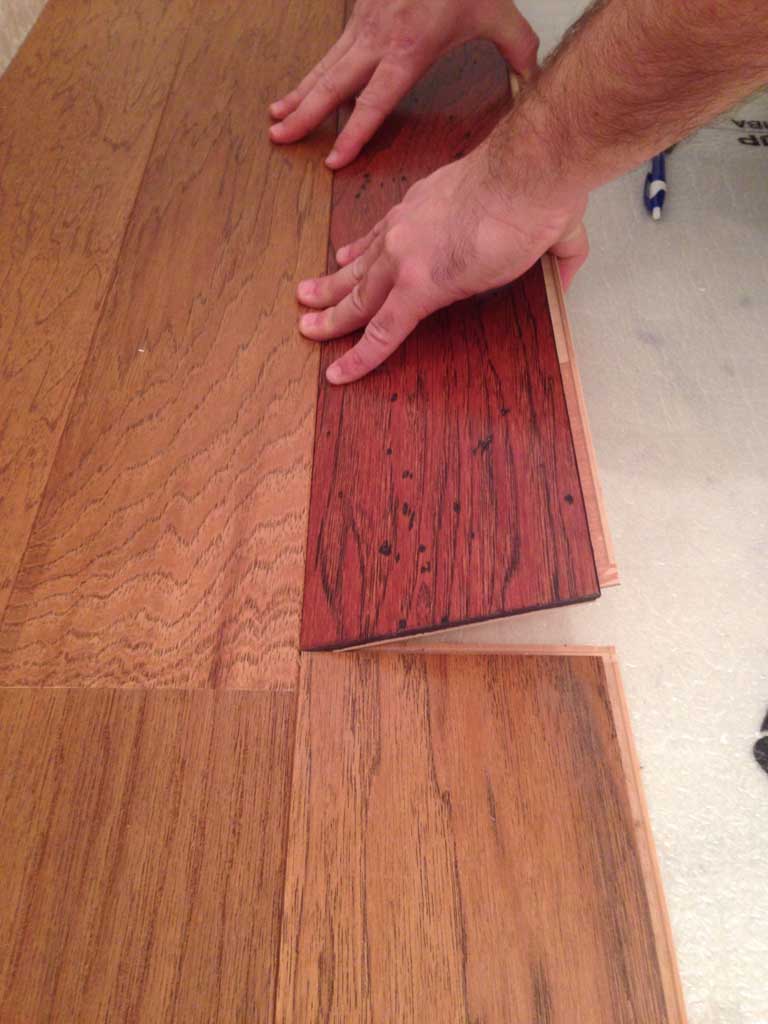
Next we had to decide on color. Although the stairway balusters are currently the same reddish brown wood, we like the look of the dark brown floors so much that we went with a darker and more distressed look. We are hoping the distressed look helps hide some of the inevitable dirt and dog hair that will be on our floors! Since one of the complaints about dark floors is how much dirt they show! We ended up choosing Havana Hickory flooring in Prado. It shows a lot of grain, and has a hand scraped finish which gives it the more ‘rustic’ look that we like.
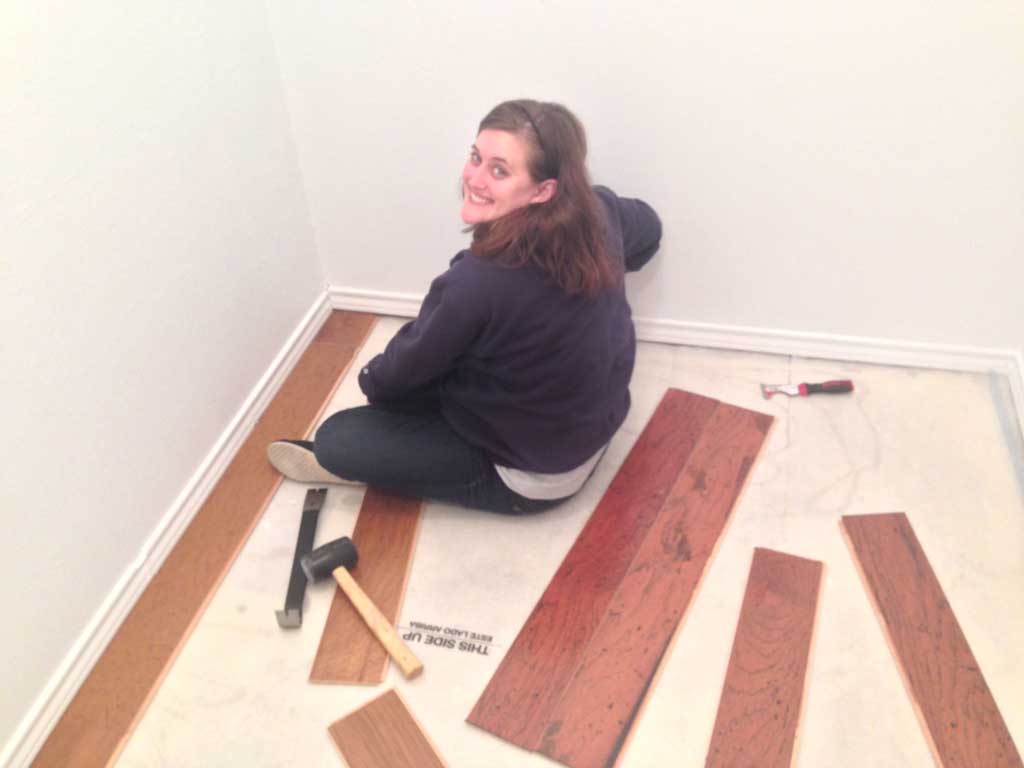
I know a lot of people install their own wood floors, but since this was something we wanted done pretty immediately and is such a large and prominent area of our house, we decided to let the professionals do it! We used the same people who installed our carpets, they were professional, cleaned up after themselves and did a great job in a short amount of time! They will move the furniture for you, but charge you a little extra to do it, and since we don’t have a ton of furniture on our floors we enlisted my brother’s help to move a few of the bigger pieces and then Reese and I moved the rest onto the carpeted areas.
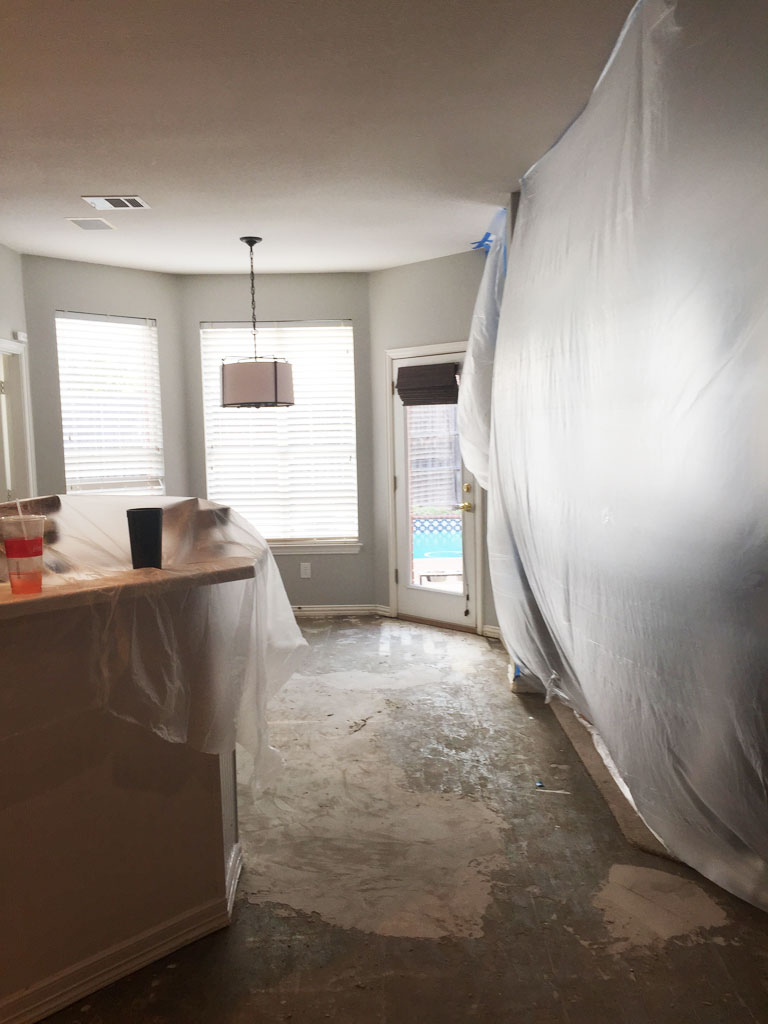
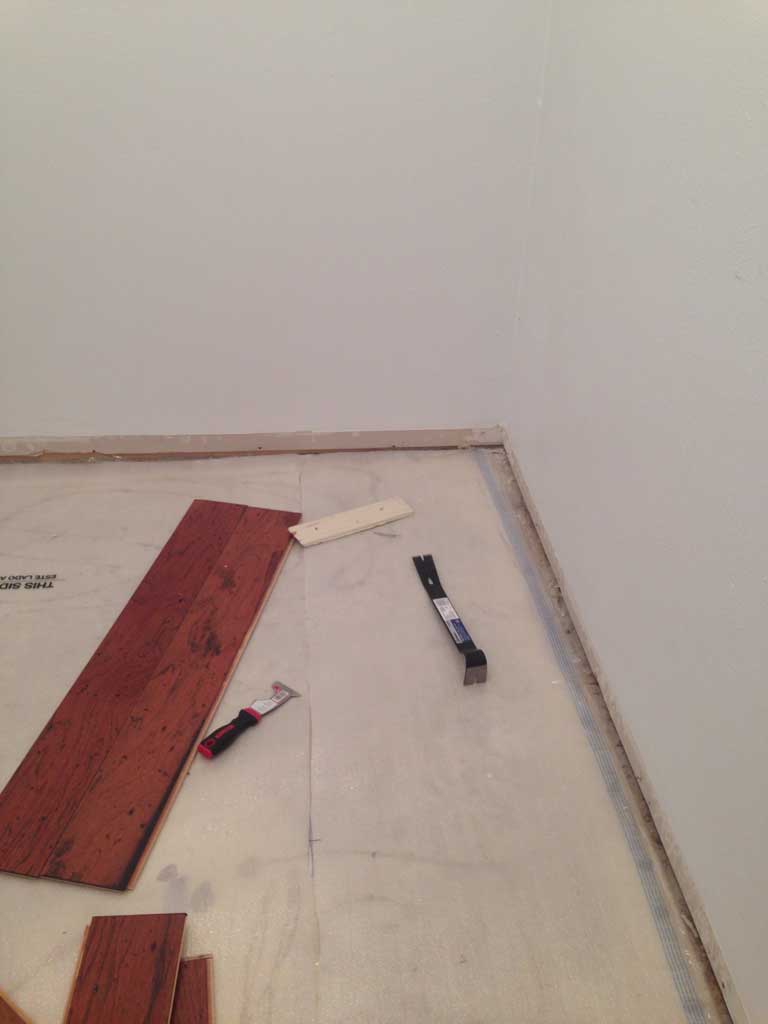
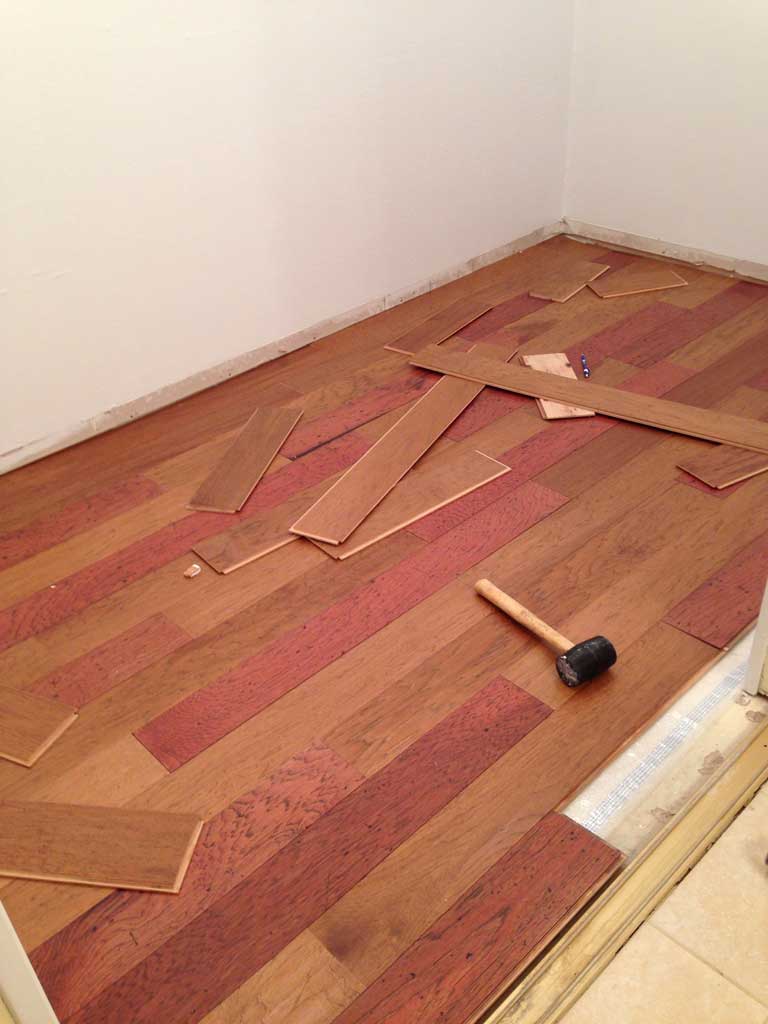
They came in Monday morning and made quick work of tearing out our old floors. Pretty soon it looked like Dexter was about to come kill a few people in our living room:
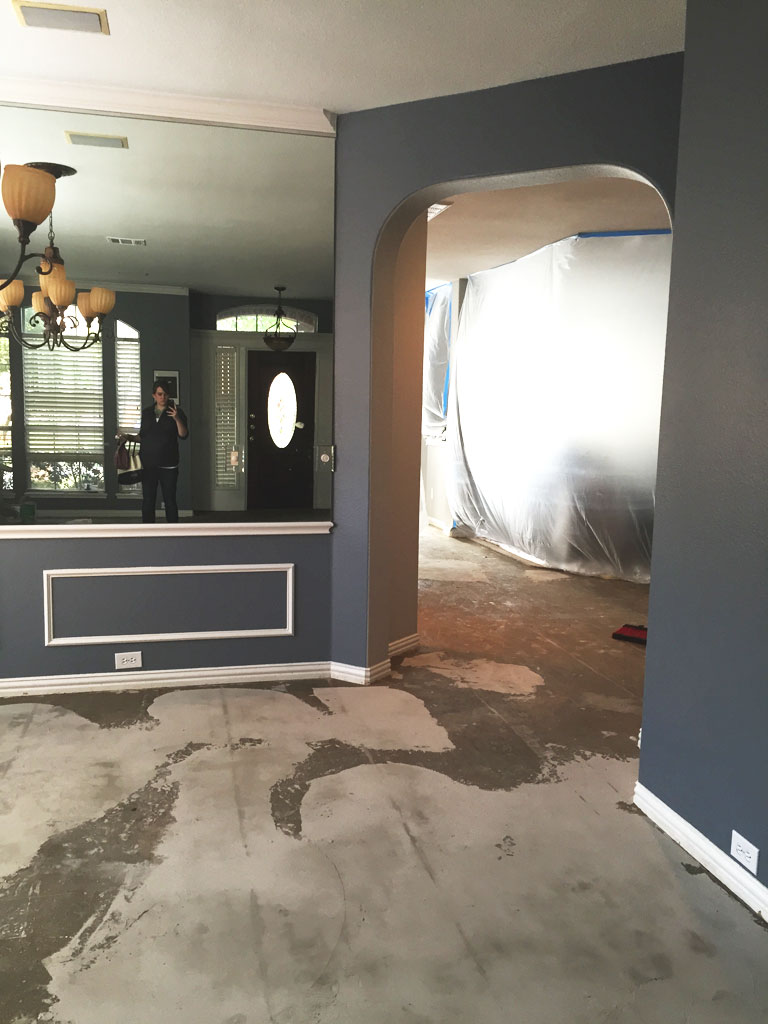

Oh and they hadn’t gotten all the glue off the floors, so everywhere you walked was sticky. So needless to say, the hubs and I ate out for dinner and holed up upstairs in our bedroom for the part of the evening we were home.

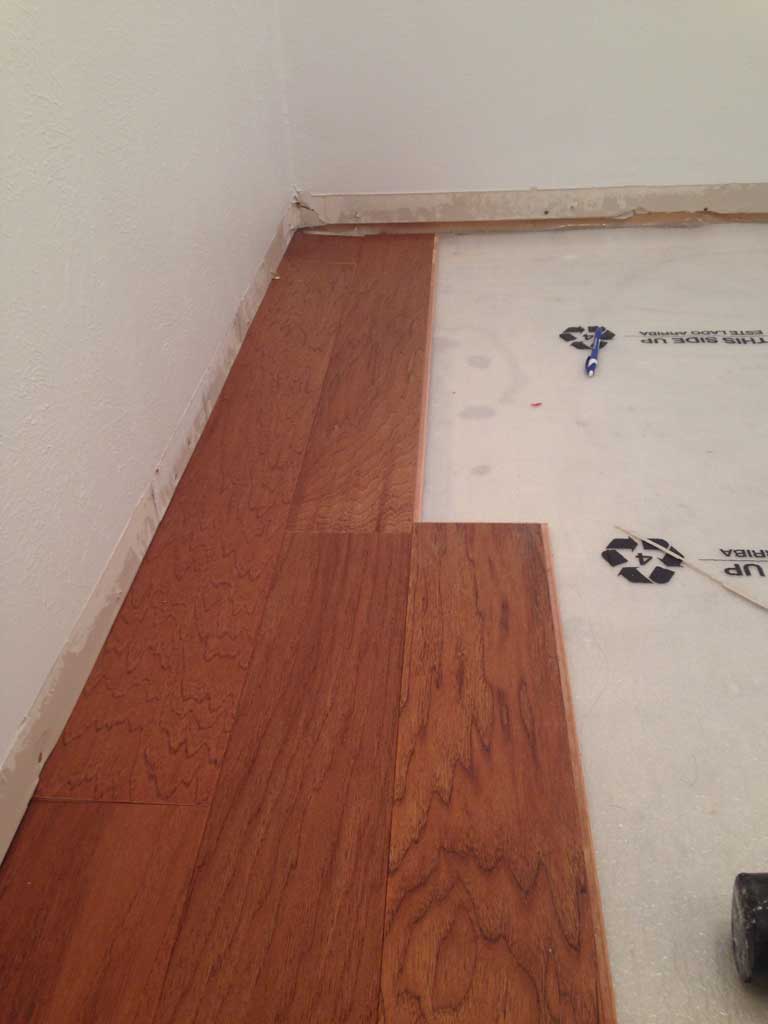
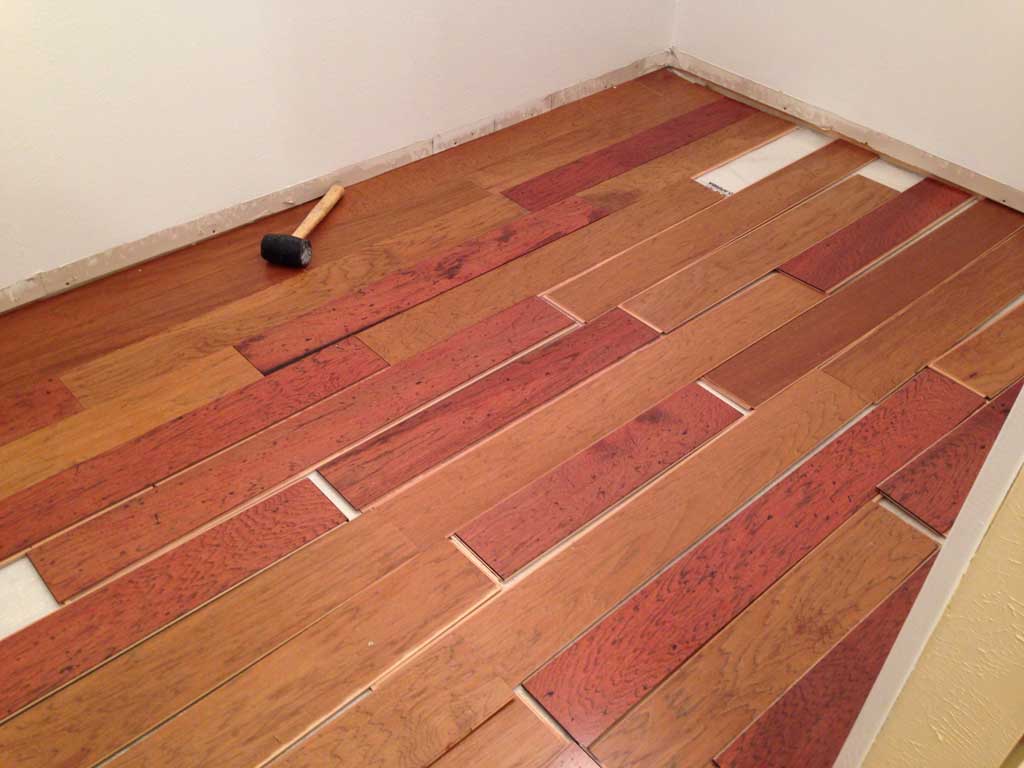
The original estimate was that it would take two days to finish, but all the angles in our kitchen proved to be fairly difficult, so it ended up taking them about two and a half. But check them out now! We will be moving all the furniture back shortly, and I’ll be sure to take some updated pics of that for you too, but I just couldn’t wait to show you what they look like!
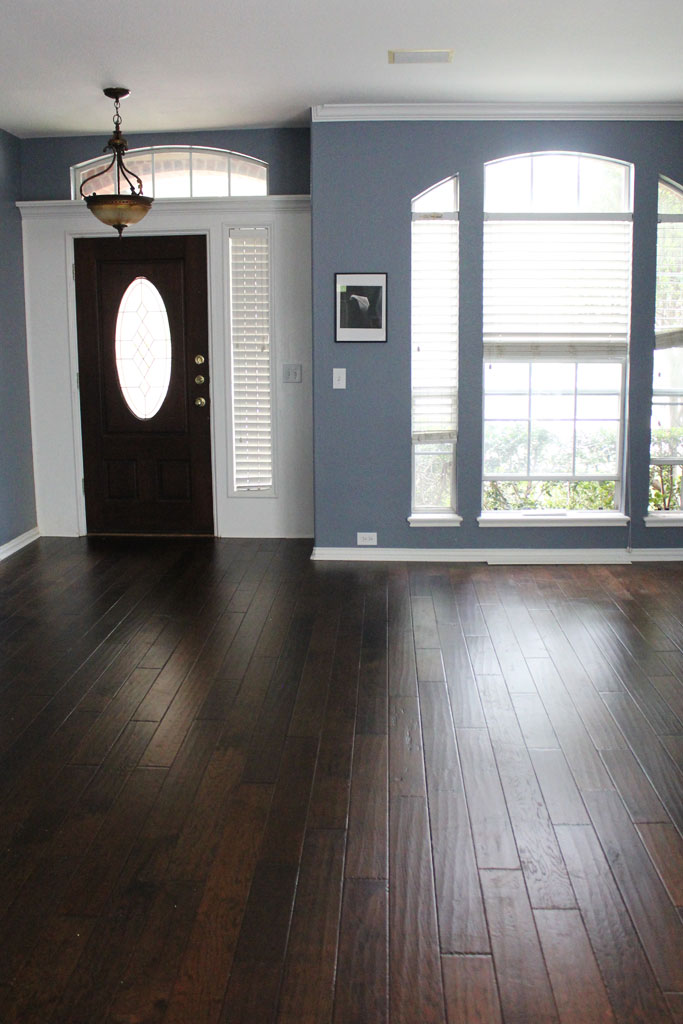

Aren’t they pretty??
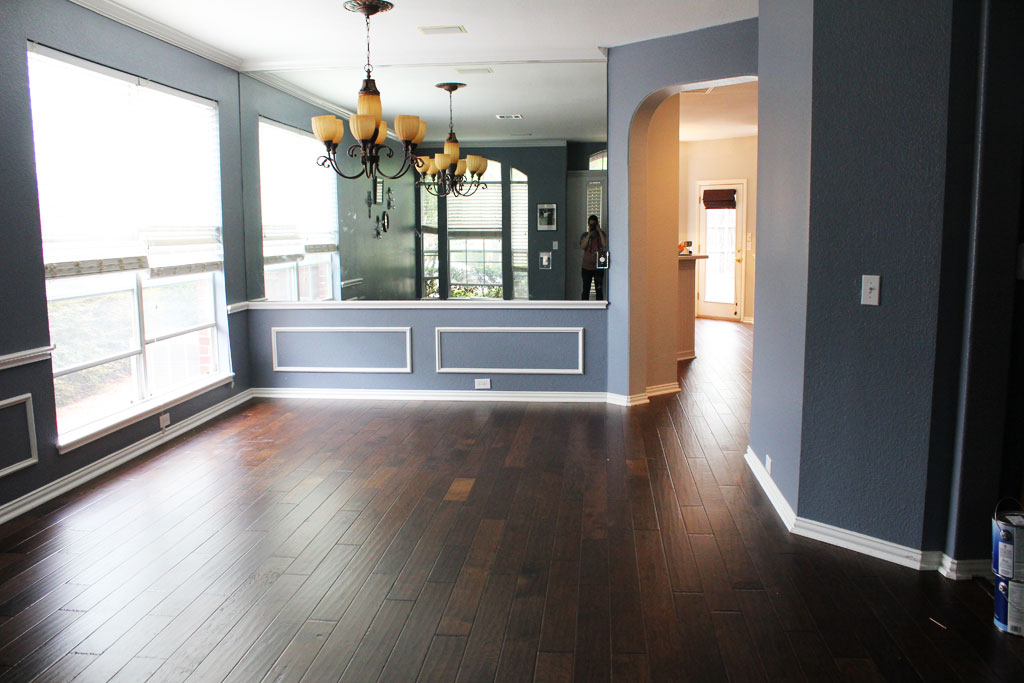

I can’t wait to get our furniture back in and the whole space put back together, but this area is hard to recognize from where it started a few months ago!

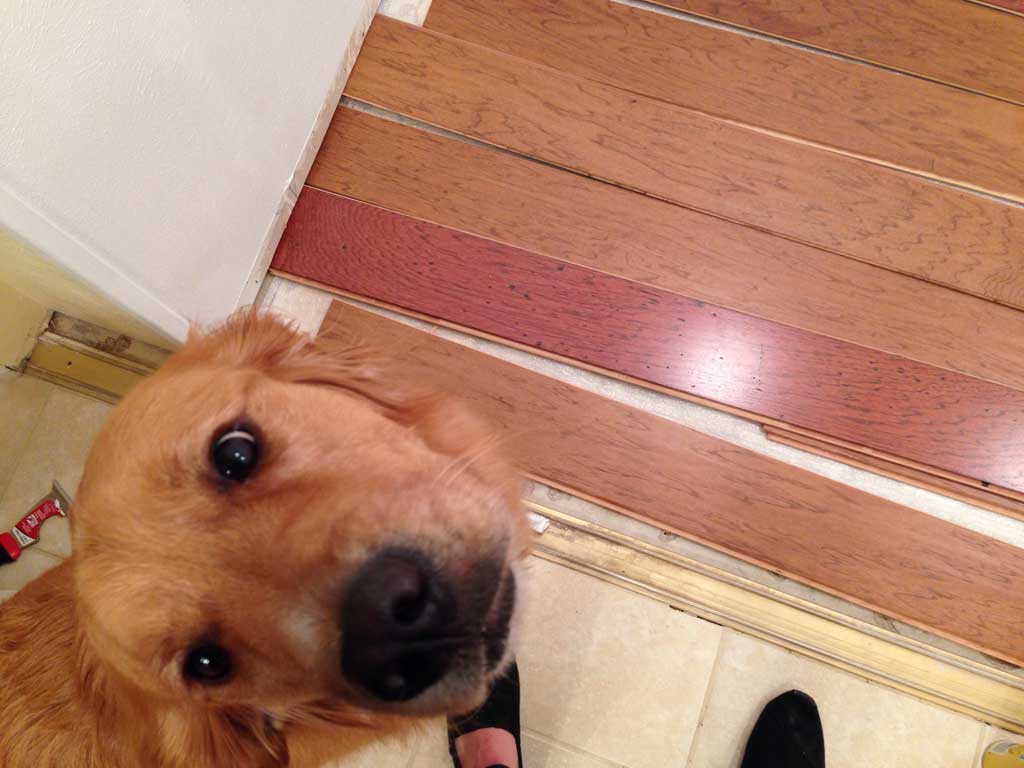
Lexie was a little unsure of how she felt about having the whole house torn up. Actually that is a lie… she knows exactly how she feels about it and it is NOT POSITIVE.
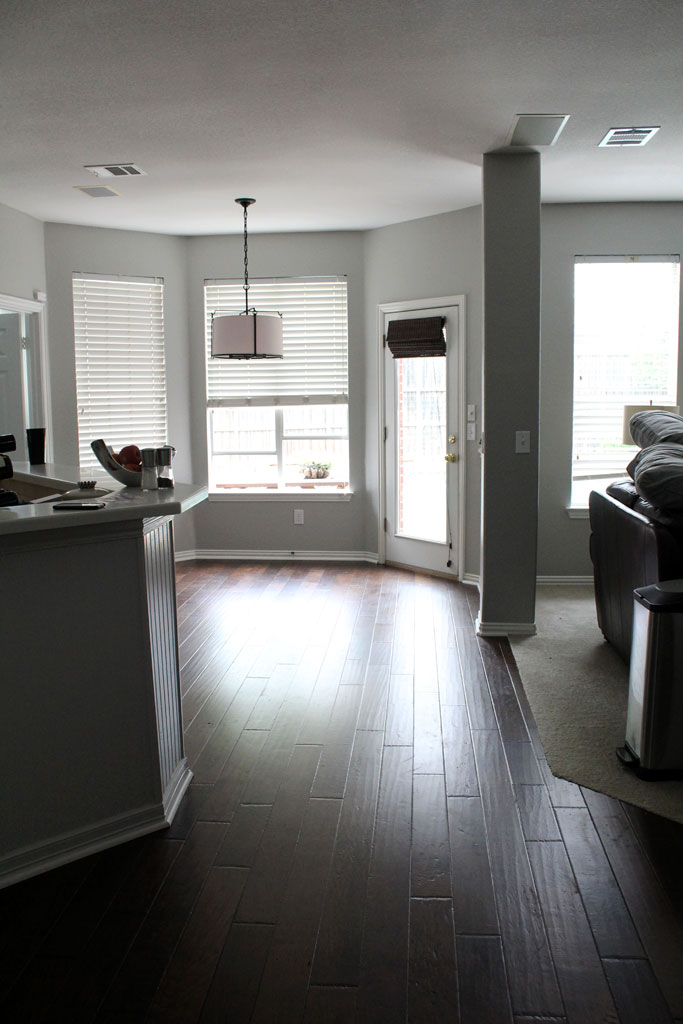

This space was hard to get a picture of with the light coming in from those windows, but once we have the table and chairs back I’ll snap a better pic for you!
It’s hard to tell whether the paint or the floors made the bigger difference in how this house feels, but all of a sudden it is feels way more updated and a whole lot more like us!


 Hi, I'm MJ! I'm a DIY kind of girl and this is where I share my projects. I'm taking you along for the ride as I learn how to do woodworking, sew, bake, and renovate!


