Ben’s Nursery

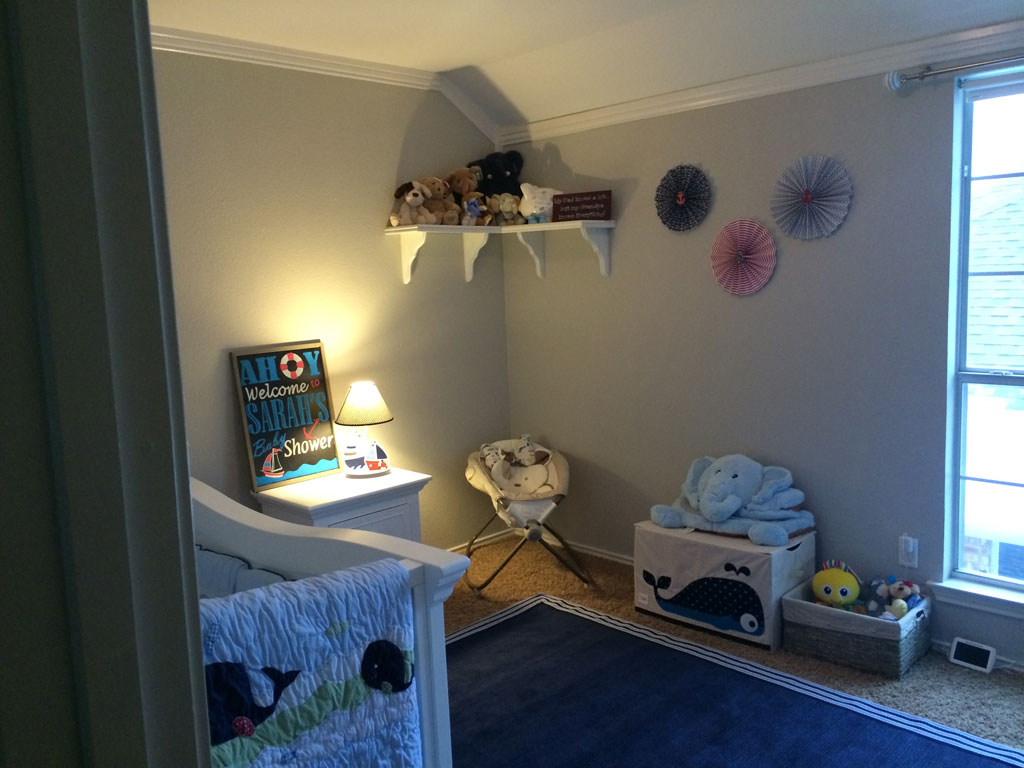
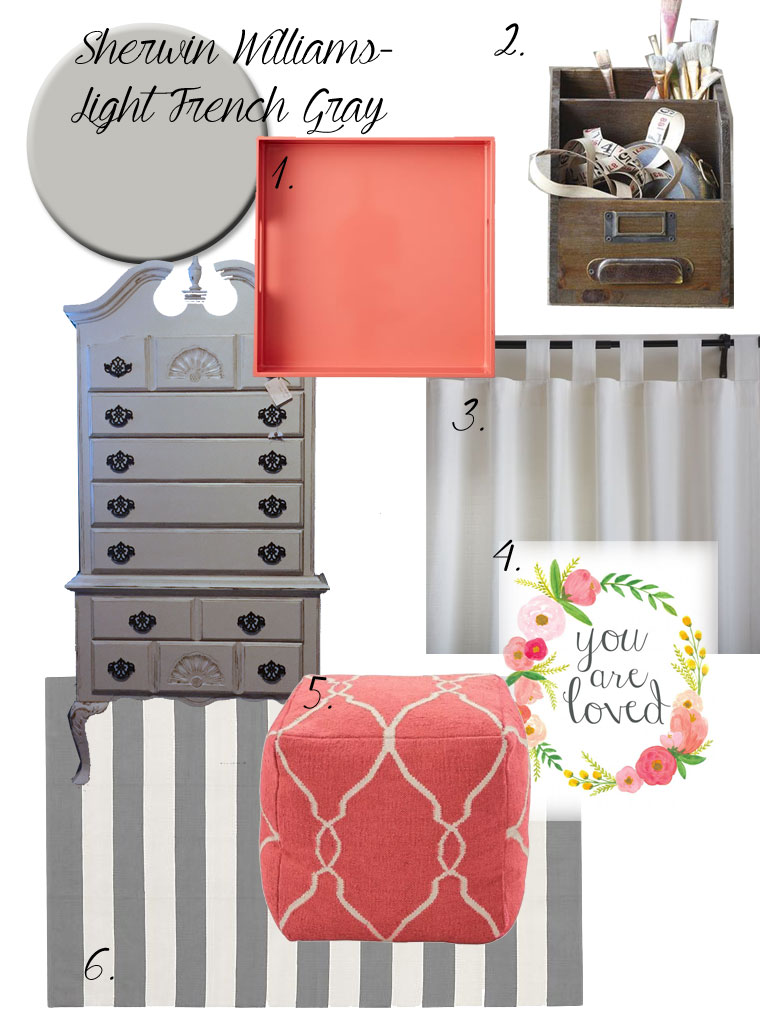
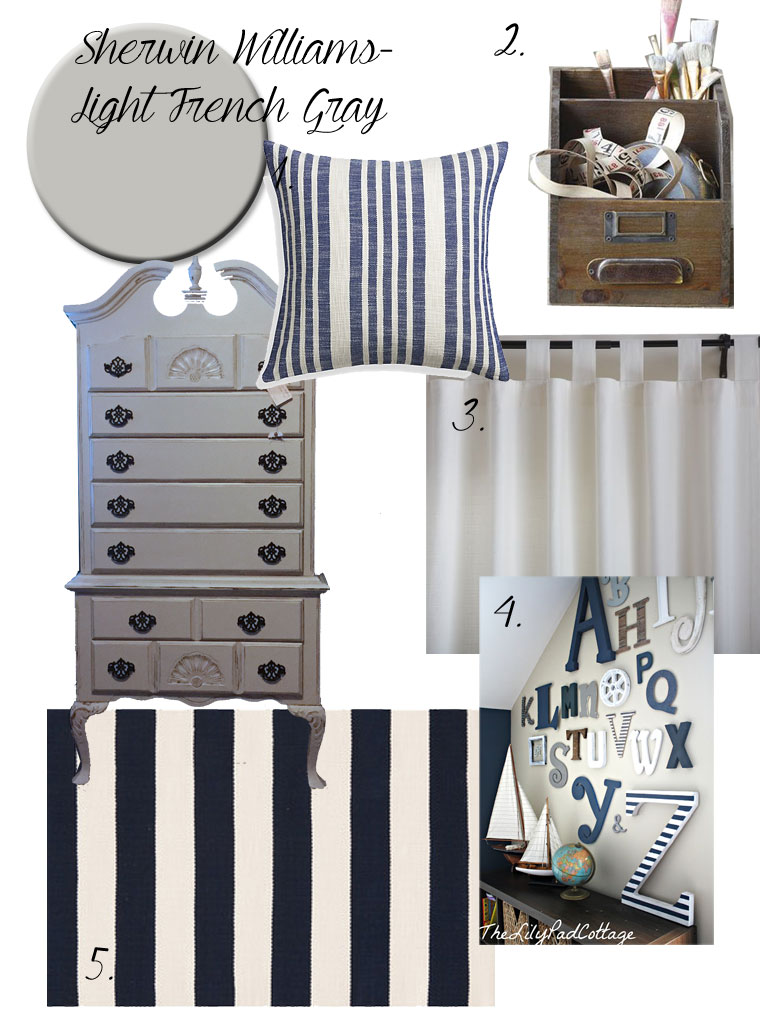
While I’m trying to get myself all revved up to work on baby girl’s nursery (is it just me or is it harder to get motivated when it is an arctic tundra outside???)  a friend sent me a few photos of her little boy’s adorable nursery, so I thought I would share! Plus I think baby boy’s rooms are hard to decorate for, and I loved her style! Her baby is due here in just a few weeks, and she has done such a great job decorating with a nautical theme!

bensnursery2

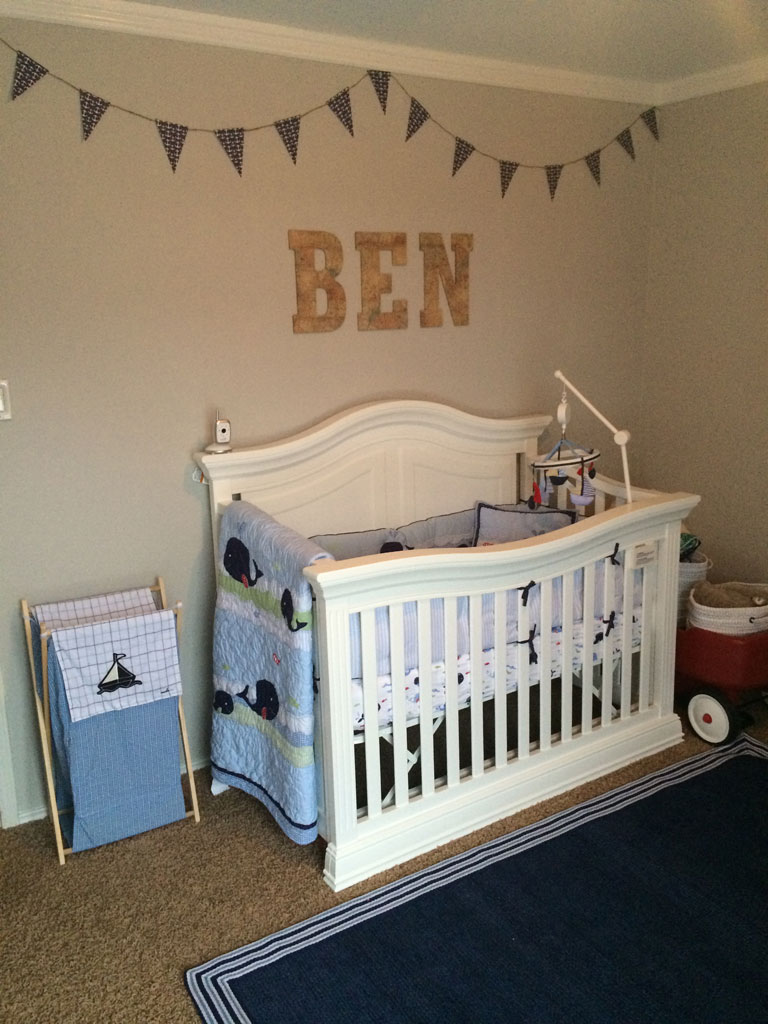
I think this is the perfect example of a themed room.  It is cute and coordinating without being over the top!

bensnursery1

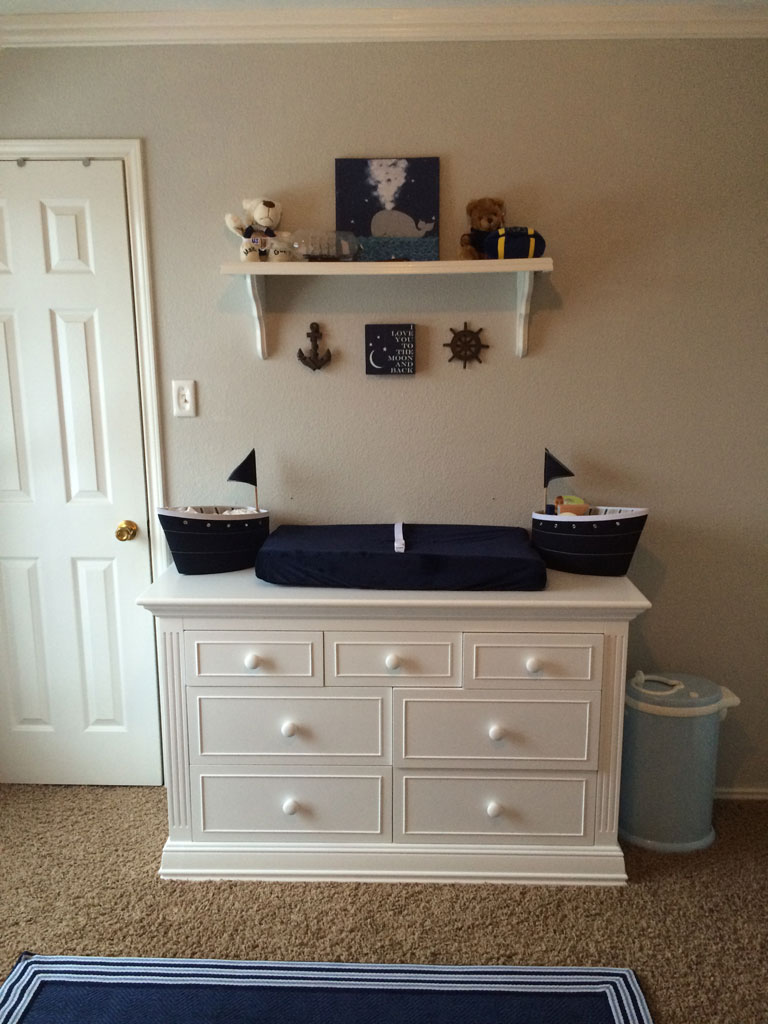
Baby Ben is one lucky little guy!

bensnursery

I think my favorite part is the fabric pendant over his crib… what’s yours?

Thanks Sarah for sharing!!


Navy or Coral?

So this is the week we find out the gender of our little bump, if he or she cooperates.  Sidenote: I read an article last week about how we should really stop referring to pregnant women as having a bump because it is negative about their body image or something like that.  But it had never occurred to me to take offense to this phrase, nor can I muster any negative feelings toward the word even after reading the article… so I’m going to continue to refer to it as my bump.

Lots of people have asked us if we are going to find out the gender… and my answer is really… of course! We are two TOTALLY type A personalities that love to plan and research, it never really occurred to us to not find out! I do however really admire the people who don’t find out, that has to be a really special moment after they are born to find out! My brother and sister-in-law didn’t find out, and it was such a fun surprise to find out she was a little girl! But I need to know… so we’ll just be surprised on Wednesday!

But in the meantime… I’m in full on nesting mode over here (which is nice timing since we have a LOT of unpacking, picture hanging, organizing, etc that needs to happen at the new casa).  Part of that has been nursery dreaming! If you follow me on Pinterest you probably noticed that about 2 weeks ago I began pinning nursery’s like crazy to my Baby Board! After a little while I decided to look back at what I had pinned to see if I could see a theme and I noticed that I overwhelmingly preferred neutral nurseries (mostly gray and white).  But that I wanted to add in a little pop of color based on gender! So regardless of gender the base of the room will be gray with white/antique white furniture. Then we will layer on top accents in either Navy or Coral. These are some of the pictures that have been my inspiration (click on the photo or the link below to see the original post):

nurseryinspiraton2 via

nurseryinspiration1 via

nurseryinspiration3via

None of these have major pops of color, but I know I want a little more color in my little one’s life, so here’s my plan:

For a Girl: I know that I am not a big pink or purple person, so if it was a girl I was unlikely to go with a massively pink room (although a few super cute and very girly rooms on pinterest nearly swayed me).  I’ve always gravitated towards more of your primary colors: Red, Blue, Green, etc.  In fact my senior year in college I roomed with two of my best friends in the sorority house, and we just brought along the bedding that we’d had for our previous four years: mine were red sheets with a blue jean duvet cover, Emily’s a pastel and polka dot theme, and Lauren tended toward the bright orange/turquoise and jewel tones.  We then laughed a few years later when our first apartments and homes pretty much followed these same design tendencies! Anyway, back on track to the nursery: I decided if it were a girl I would use coral as my accent color.  I think Coral is such a pretty color, and is definitely girly without being too pink.  And BONUS coral seems to be a VERY popular color this year, so there are tons of cute things at Target and other shops that are just the right color, which should make finding accent pieces much easier!


nursery-plans1


1/2/3/4/5/6

For a Boy: This should come as no shock to those of you who have been around a while, seen our wedding pictures, or just know me in general… I’m a sucker for Navy and White.  So I tend to gravitate toward a navy theme for a little boy. Not quite nautical, but just one step short.

nursery-plans2
1/2/3/4/5

So, some of the elements will stay the same regardless of gender: the room is already being painted Light French Gray by Sherwin Williams  (in fact, as I speak the whole house is being painted this color except for a few rooms, but more on that later this week), the highboy dresser was a spontaneous purchase when I was shopping in Waco with my sister-in-law, so it is already in the nursery, and I bought a few of these card catalog storage pieces when I was out shopping.  But these have been sort of my inspiration for where I want to go with the nursery… so stay tuned this week to find out if we will be going with Navy or Coral!

Play Kitchen

I’m so very excited to show you guys this project!! As you may recall from previous posts (like this one and this one) I have the cutest niece on the planet.  Well, sometime in October my mom was surfing through Pinterest (a very dangerous thing to do) and saw a post where someone had turned an old TV stand into a play kitchen for kids.  And lo and behold, my parents have been moving this beauty from house to house for 25+ years:

playkitchen8

Once upon a time it had glass fronted doors on the left hand section, but they are long gone.  And since this guy was just being used for storage in the basement, it made a GREAT candidate for a play kitchen for Juliette.  And since she was coming to visit for Thanksgiving, we had a deadline.  Fair warning, there are going to be LOTS of pictures in this post, so for those of you who are impatient enough to want to see the final product, here is a teaser of how much Juliette loved her play kitchen!

playkitchen2

It was a HUGE success, she loved playing with it, especially since it was in Mom’s kitchen, meaning she could play while everyone else gathered around and caught up on life.  Perfection.


Now for the nitty gritty, and as a reward for those of you who make it to the end of this post, there are a ton more pictures of my precious niece playing with her kitchen.

First off we went shopping for supplies, (the first of many trips to Home Depot during this project) but it is an important step! We wanted to make sure we had the bowl for the sink and the faucet so that we could drill the holes for those before we painted.  Using my jigsaw we cut a rough circle for the sink and using my drill and bits we cut the right holes for where we wanted the faucet to go.

playkitchen14

Next up we painted.  We decided we wanted most of it to be a robin’s egg blue color, but we wanted the inside of the fridge to be white, and we wanted it to have a black baseboard that ran across the whole project.  We also decided we wanted the one cabinet door to be white.  It took a couple coats of paint everywhere (especially the white over the dark wood).  But we left the ‘countertop’ open because I had extra hex tile (from tiling my backsplash) and we thought it would be fun to have a tiled counter top.  But this project also reminded me how much I hate working with tiny little hex tiles.  Love the way it looks, hate nipping those little suckers.

playkitchen9

For the next step we tiled the counter- if you want a tutorial on tiling see the link above about tiling the backsplash- This was not the smoothest tiling job I have ever done, but the good news is… its a play kitchen, and perfection was not our goal.

playkitchen13


At this point we decided the project would be cuter with a piece of wood covering the back and a ‘window’ cut out of it.  Which means? Another trip to Home Depot.  We decided to just use 1/8th inch plywood stapled to the back of the unit, but used some white trim to create the ‘window’ look. And really, her kitchen wouldn’t be complete without a small backsplash of her own, so we used some more of my leftover tile, and created a small back splash on the back piece.

playkitchen7

We used liquid nails to hold down the trim, the blue tape is just holding it in place until it dries.

While that was happening, we needed to create doors for the ‘refrigerator’ and make the one cabinet door look like an oven.

For the fridge doors we just used 1/2 furniture grade plywood cut into two longer strips (measured to fit) and spray painted with a metallic silver spray paint. Once they were dry we added handles and hinges to finish off our fridge.

For the oven, we used the existing cabinet door, painted it black, but added 1/8″ plywood on top (with liquid nails) painted in the same silver as the fridge doors to give the appearance of the stove door with window.

playkitchen11

Once we had it painted, we used two cabinet hinges on the inside bottom to allow it to be pulled out like a real oven door.

Unfortunately I don’t seem to have any good pictures of the ‘stove top’, but we used more of the 1/8″ plywood, painted in the same metallic silver, and then used 4 square dowels to create the look of the burners.  You can see it a bit in the final pictures down below.

At this point, the kitchen was ready to go, it just needed some decor!

playkitchen12

If the oven looks a little precarious in the picture above it is because it wasn’t actually secured at this point in the process, we hadn’t attached the hinges.

For the final product we added some knobs to the front to control the stove, curtains (hand sewn by mom), some hooks for utensils, a towel rack and towel, and LOTS and LOTS of fake food from Ikea.  Ikea has an awesome selection of felt food that is perfect for a one year old.

OH! I almost forgot, we also added some logos with vinyl from my Silhouette Machine, and those lights?? 10 LED battery operated lights from Home Depot.  They turn on with a push of the button and will auto shutoff if no one touches them for 30 minutes. GENIUS. They totally improve the look of the project!

And Viola! ready for Miss Juliette to play to her heart’s content.

playkitchen15


And play she did… she loved it!!!  (and so did her Nanny!!!)  And yes… they have matching Aprons!

playkitchen1

What shall I have for lunch today? Fish? Bread? Lettuce? They are all so felty!

playkitchen3

playkitchen4

Maybe she’ll learn to wash dishes early?

playkitchen6

This one isn’t really related to the kitchen, but it was so cute I couldn’t help but to share… this is my 94 year old grandmother having a tea party with Juliette and my favorite bear from my childhood.  There are so many things I love about this photo!

playkitchen5


playkitchen