Jewelry Organization

One of the bloggers I stumbled across a year or two ago and just adore is Jen Woodhouse.  She has some of the most beautiful woodworking projects, and a fun personality to go with it (at least on the internet… I of course have never met her!) But right around the time I was searching for a way to deal with all of my jewelry, she wrote a post for another blog I follow, I Heart Organizing, showing off her jewelry organization and I just knew this was the right solution for me.

She has a great tutorial, so go on over there to read how to do it, but if you want to see mine in progress, read on!

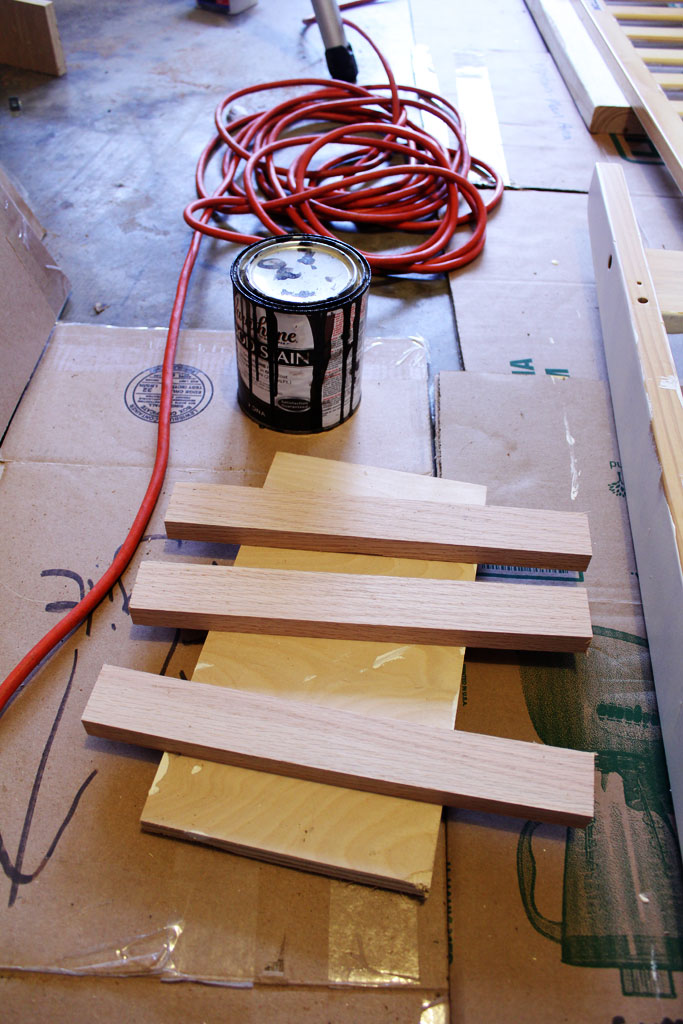
I cut mine down into 3 12″ sections and I used some scrap cedar boards that I had lying around (I’ve promised the husband to try to whittle down our wood pile before I go out and buy more for a project!), but you could use anything that is 1×2 (or even chunkier if you wanted a different look!).
DIY Jewelry Holder

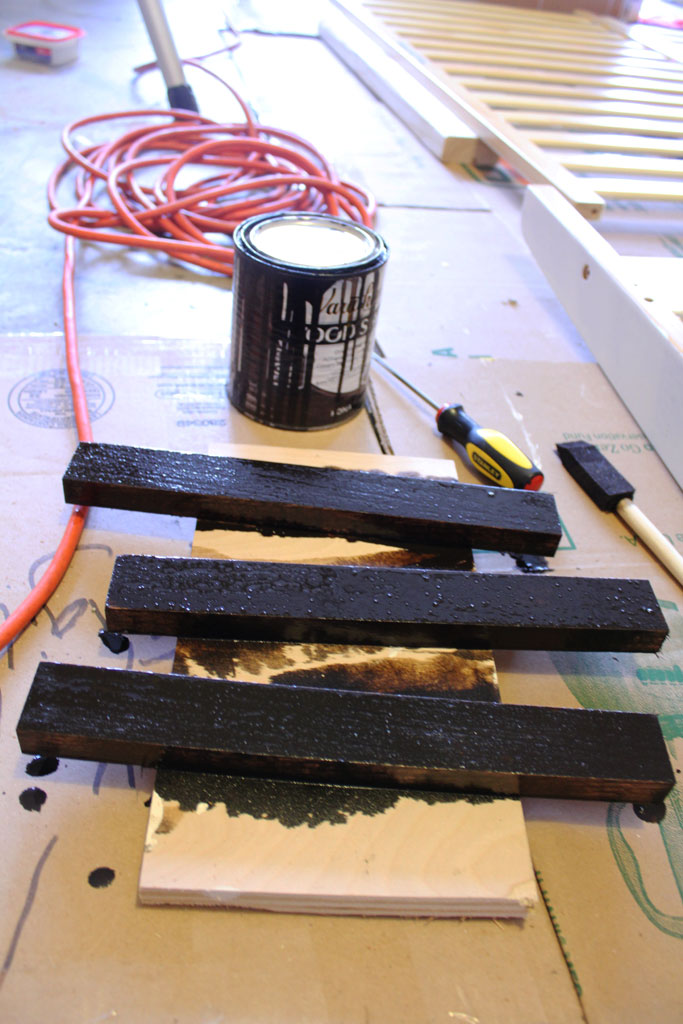
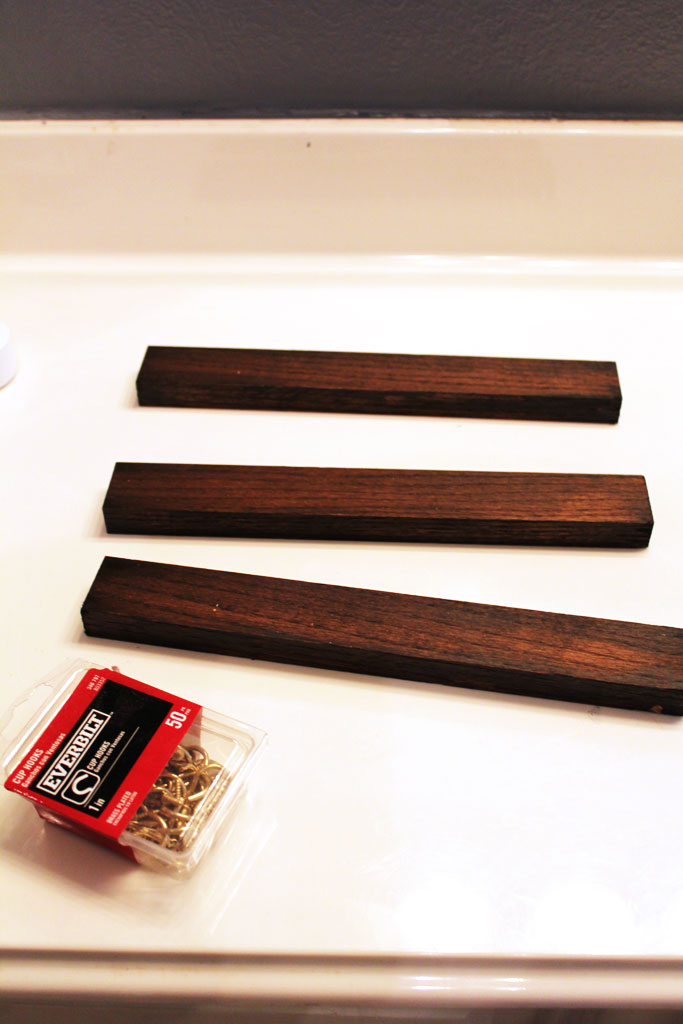
So for my first step, I stained them with some leftover stain (I’m pretty sure it is Kona from Varthane, but the can is getting a little hard to read).

Here they are before I wiped off the excess:
DIY Jewelry Holder

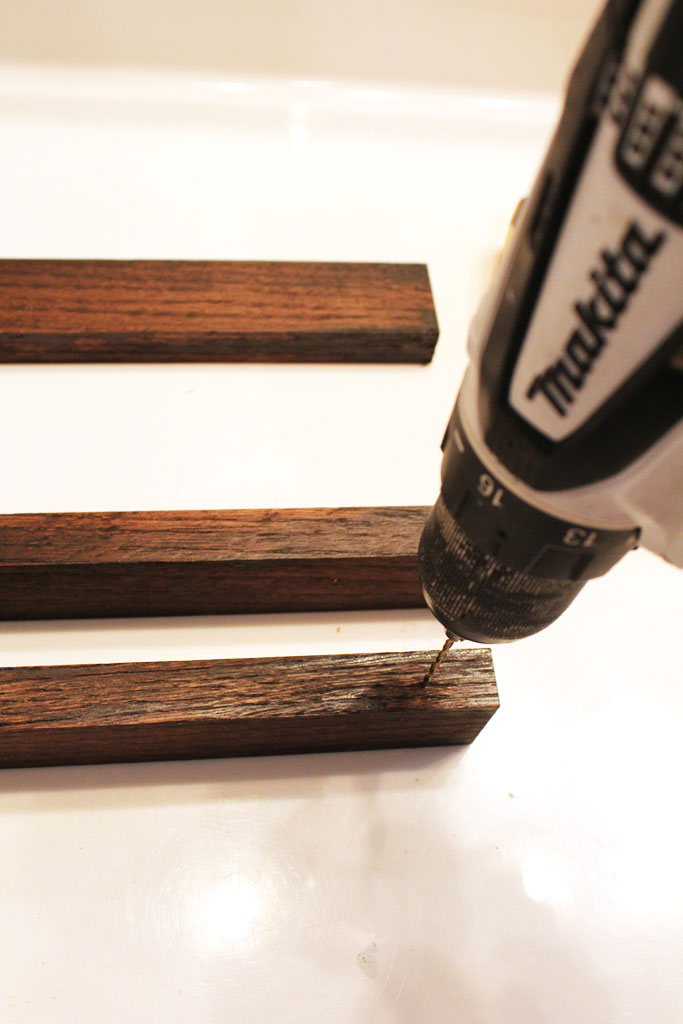
Then I took them upstairs to the bathroom and drilled the holes in them right there (because who doesn’t need a little extra sawdust in their bathroom?!):
DIY Jewelry Holder

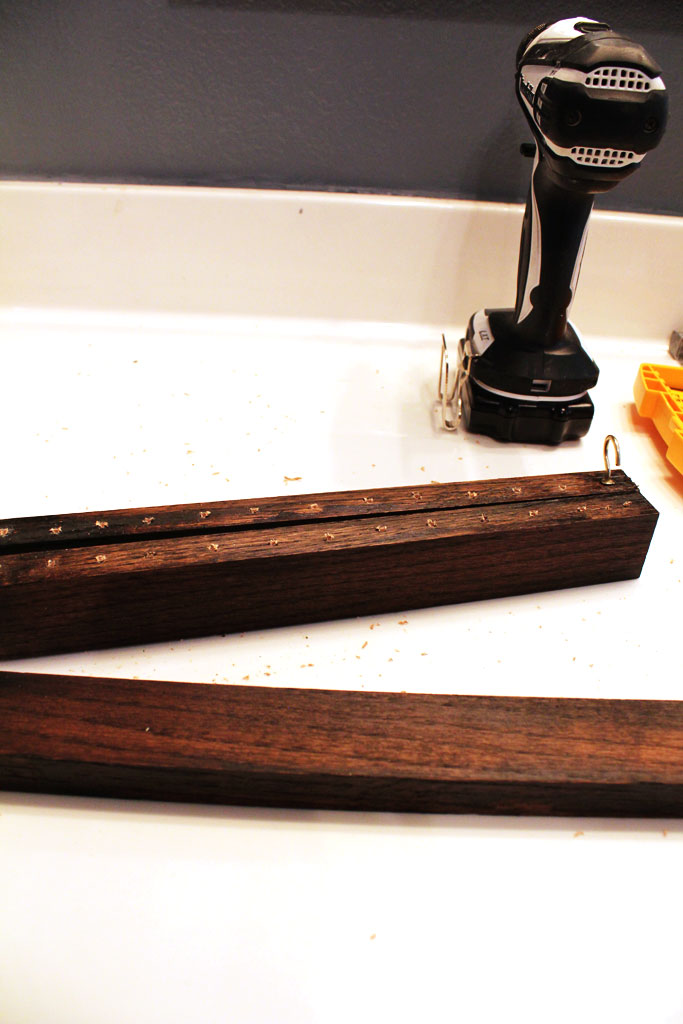
PS those little hooks are monsters to screw in, my fingers were definitely tired after screwing in about 20 of them, but it is worth it!
DIY Jewelry Holder

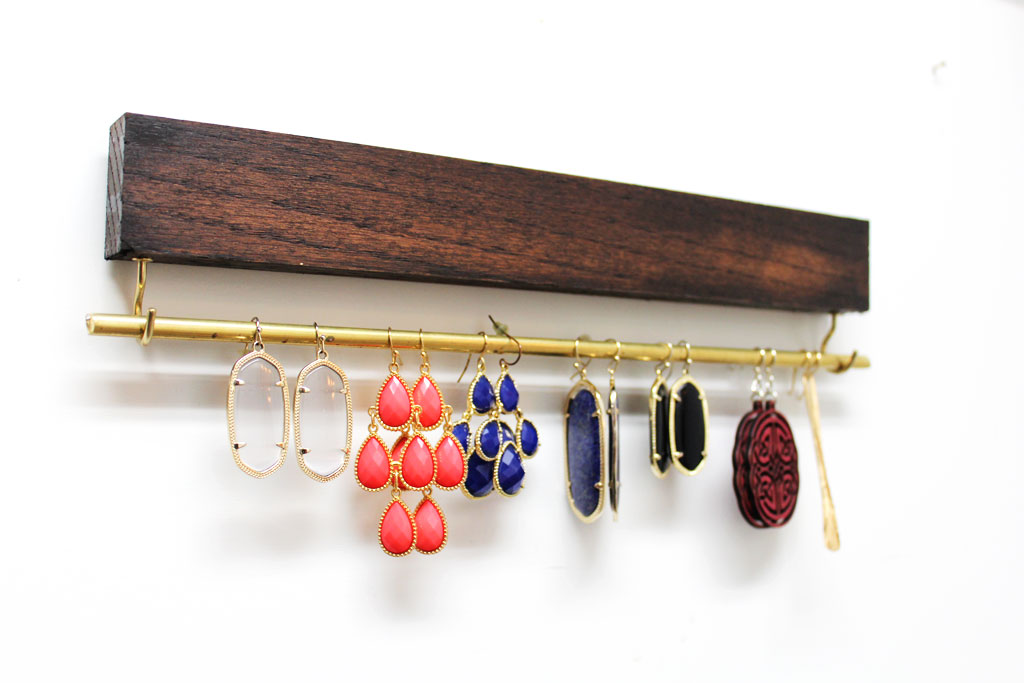
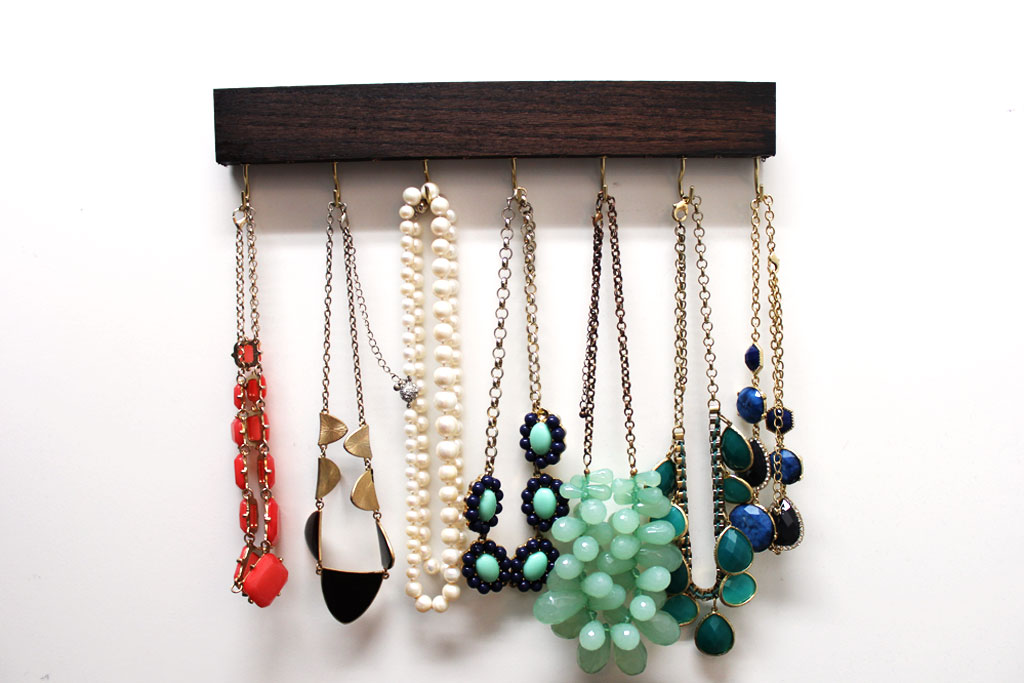
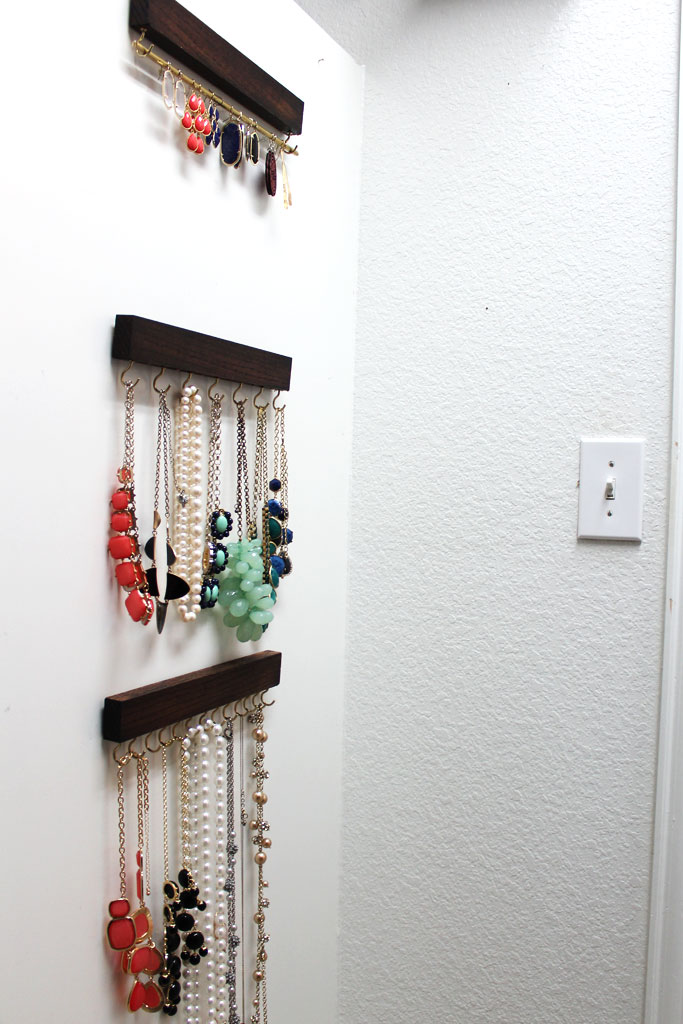
I made three with different uses One with LOTS of hooks for narrower items, one with hooks in every other hole for my chunkier ‘statement’ pieces and then one with the brass rod to hang earrings and other items from.
DIY Jewelry Holder

One thing Jen doesn’t mention in her post is how thick the brass rod is, so the first one I ordered was too thick for my earrings to fit around.  The one I ordered from Amazon is 1/4 inch, but I also think you could get away with the 1/8th of an inch.  A couple of my earrings that have tighter hoops have a hard time staying on the rod.  But I thought this was an ingenious way to display my jewelry and is a perfect use of the blank wall in my closet that is the back of my husband’s shelves!
DIY Jewelry Holder

I love that it makes all my jewelry easy to see and easy to grab!  DIY Jewelry Holder
I may add another shelf under the earring shelf or may just move it down since it is hung a wee bit high… but for now, this works really well!
DIY Jewelry Holder

Now I just need a way to display my bracelets!

My Life in Photos

Update: I had a couple of questions about how the books turned out, so I’ve added a photo of those to the bottom of the post!


I have this weird quirk (okay I have a lot of them, but let’s just talk about one today).  I have always had this irrational fear of losing all my photos. I love looking through old photos, watching slideshows, old scrapbooks, etc.  And for some reason I have always had a fear of losing them all in a tornado, flood or some other force of destruction. This paranoia led me to a project that was only possible due to my single years living in an apartment by myself with not a whole lot to do in my free time. I decided to go through my parents rubbermaid boxes full of photos of my childhood, organize and scan them all (or all the ones with people in them… no one needs the 4 rolls of scenery photos from the Grand Canyon, thank you twin brother) and put them on external hard drives for Christmas for my family.  It was the perfect project: it meant that several people had copies and they all lived in different states plus it was a pretty special gift to be able to see pictures we hadn’t seen in years!

Sidenote: not too long later mom found a few more rubbermaid boxes with more pictures, so it turns out I only scanned about half, but still… it was a good representation of childhood. 🙂

But when this all happened I took the opportunity to sort through my digital files as well.  I’d had a digital camera for about 4 or 5 years at this point, so I was beginning to accumulate quite a few digital photos! (Fortunately for me, it was before the iPhone and I didn’t have any pictures from my every day life to sort).  But I spent a little time here and a little time there and finally had all the photos on my computer sorted into categories.

The good news is that this process really made it so that with the plethora of digital photos I take now (blog photos, life, iPhone, etc) I have a system for organizing them.  And because nothing beats being able to flip through and look at pictures, I have a system that works pretty well for me to print pictures and keep up with my digital life.

I thought in light of it being January and most people are in an organizing/cleaning/purging phase I would show you guys my system (since the only organizing I’m doing around my house right now is taking things out of boxes and putting them where they belong).  And yes, I am totally aware that some of this borders on the obsessive, but just go with me here.

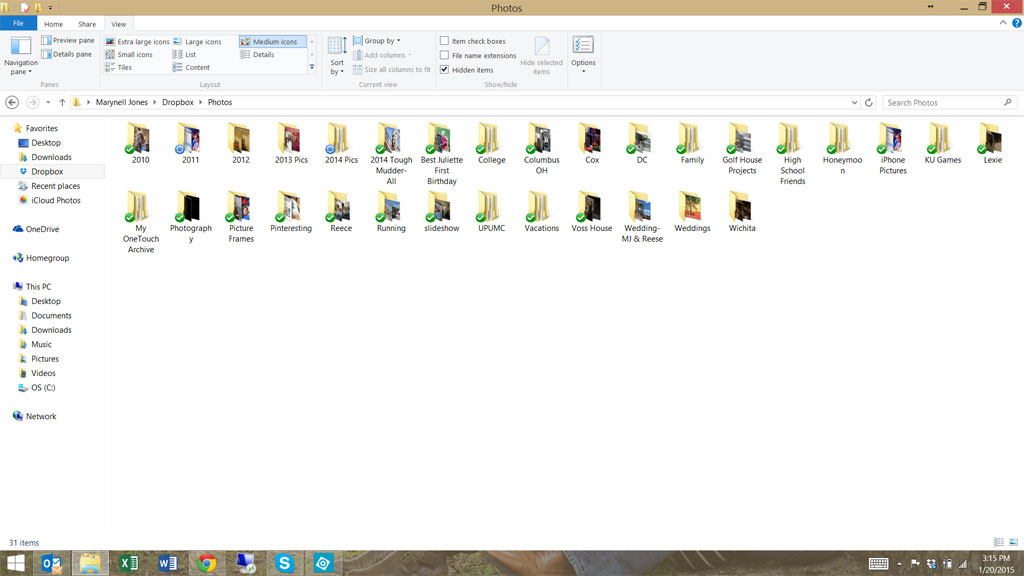
Okay so first of all, I have all of my historical photos backed up on Dropbox (I pay for a subscription, but if you have less than 2 GB you can use it for free) and I also have them on an external hard drive that I keep at the office… just to have backups for my backups :).  I like Dropbox because it acts like a folder on my computer making it easy to move folders and view what is in there.  It also is easy to share folders with family and friends, since I am regularly the only one taking photos in my family! Most of my historical photos I have grouped into categories like family, Weddings, Vacations, etc because I have a hard time remembering what years things happened in.

photoscreenshot1


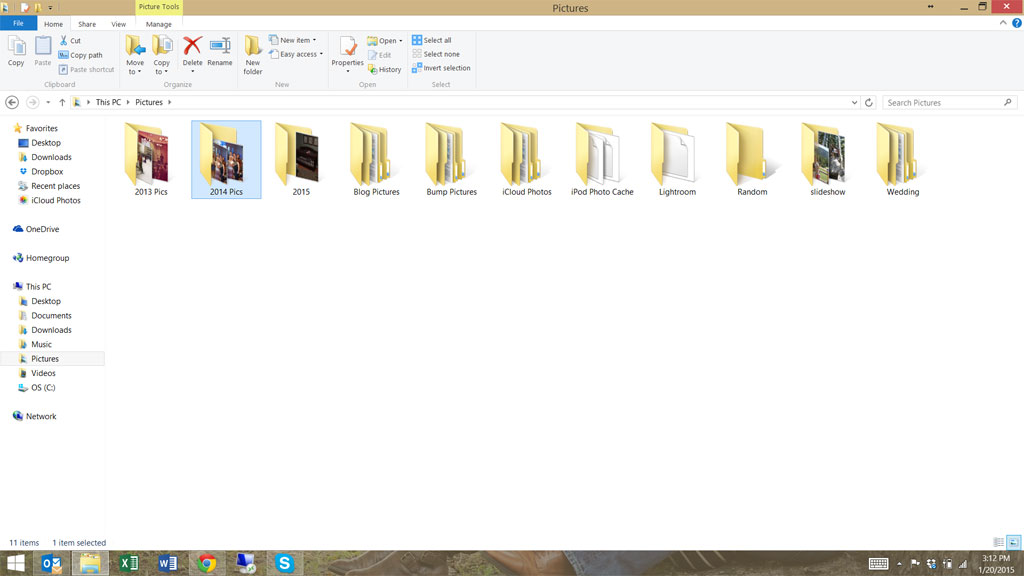
Then on my computer I have things broken down into years as well as some other frequently accessed folders or things I want to keep on my phone.  I have my iPhone sync with several of my folders including the ‘slideshow’ folder I have below that has a random selection of photos from my childhood or funny pictures I may want to access on my phone.

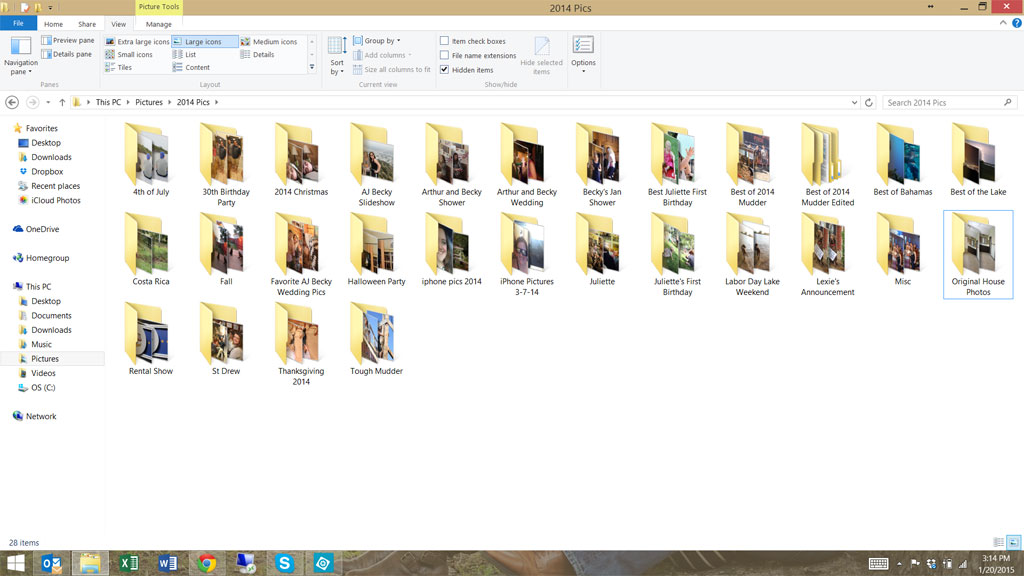
photoscreenshot3 Then within my 2014 folder I create more folders for each different subject/event.  Whenever I import photos from my camera or iPhone (which I try to do periodically… my iCloud is not reliable on getting all my pictures transferred… so I go through Windows import whenever I back up my phone) I try to move them immediately into folders where they belong, although since my life isn’t QUITE that organized, I know that if I have a folder with the date as its name that those photos need to be sorted.

photoscreenshot2

Where you see the “Best of…” folders above is where I have been at an event and taken TONS of photos that I want to keep, but I also want just a few that are really the best pictures from the event.  Sometimes these are edited, sometimes not, but these are usually the ones I share with friends and family so they don’t have to sort through all 400 pictures to find the 30 halfway decent ones. Periodically through the year I make sure that all my folders are copied to Dropbox and since I can access Dropbox from my phone, I can quickly send a link or email a picture to someone wherever I am!

Then my big project that I do ever spring is to make a MyPublisher book with all of the pictures.  I have had good experience with MyPublisher for making photo books.  I’m sure there are ones that are as good or even better, but since I’m now about 4 years into printing these (and they are all uniform… and match the guest book from our wedding) I’m probably going to stick with them.  They usually have a few good discounts in January, so I usually wait until they have one for 60% off or free pages and then print the book.

books

I don’t do anything fancy like write words or descriptions for everything, I just go through my 2014 folder, pick out the pictures I want printed, then tell it to sort by time.  Sometimes I’ll swap out which pictures are big and small, but the whole process takes me about an hour or two to go through. I love flipping through the last few years of photos and we keep the photobooks out in our living room for guests to look through if they are so inclined! The whole process now is pretty effortless and I always know where my pictures are, or can find them easily!  I’m hoping this all helps me out when I have this little kiddo and the inevitable onslaught of photos that is sure to ensue.


Fabric Organization

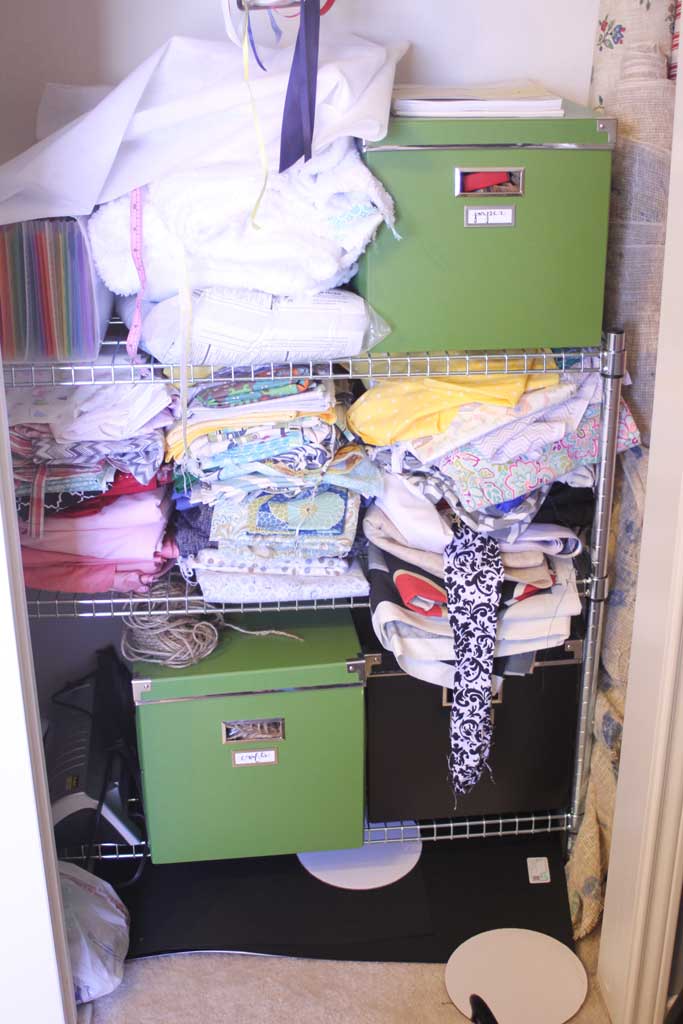
I’m a bit of a fabric hoarder.  I mean… I come by it honestly: my grandmother has the same affliction.  But really… its a good problem to have.  It means that whenever I have the itch to sew something, I don’t have to run out to the store to buy anything.  The problem becomes when it goes to storing it. In my office I have a closet where I keep my sewing machine and a few crafty things.  And while the boxes of craft supplies have suited me pretty well, the fabric was getting a BIT out of hand.

fabric1

So I went to my normal source for inspiration and found that LOTS of people on Pinterest were using comic book boards to wrap their fabric around.  So I went to Amazon, found these and ordered them. (You should have seen the look on my husband’s face when he opened THAT amazon package!)

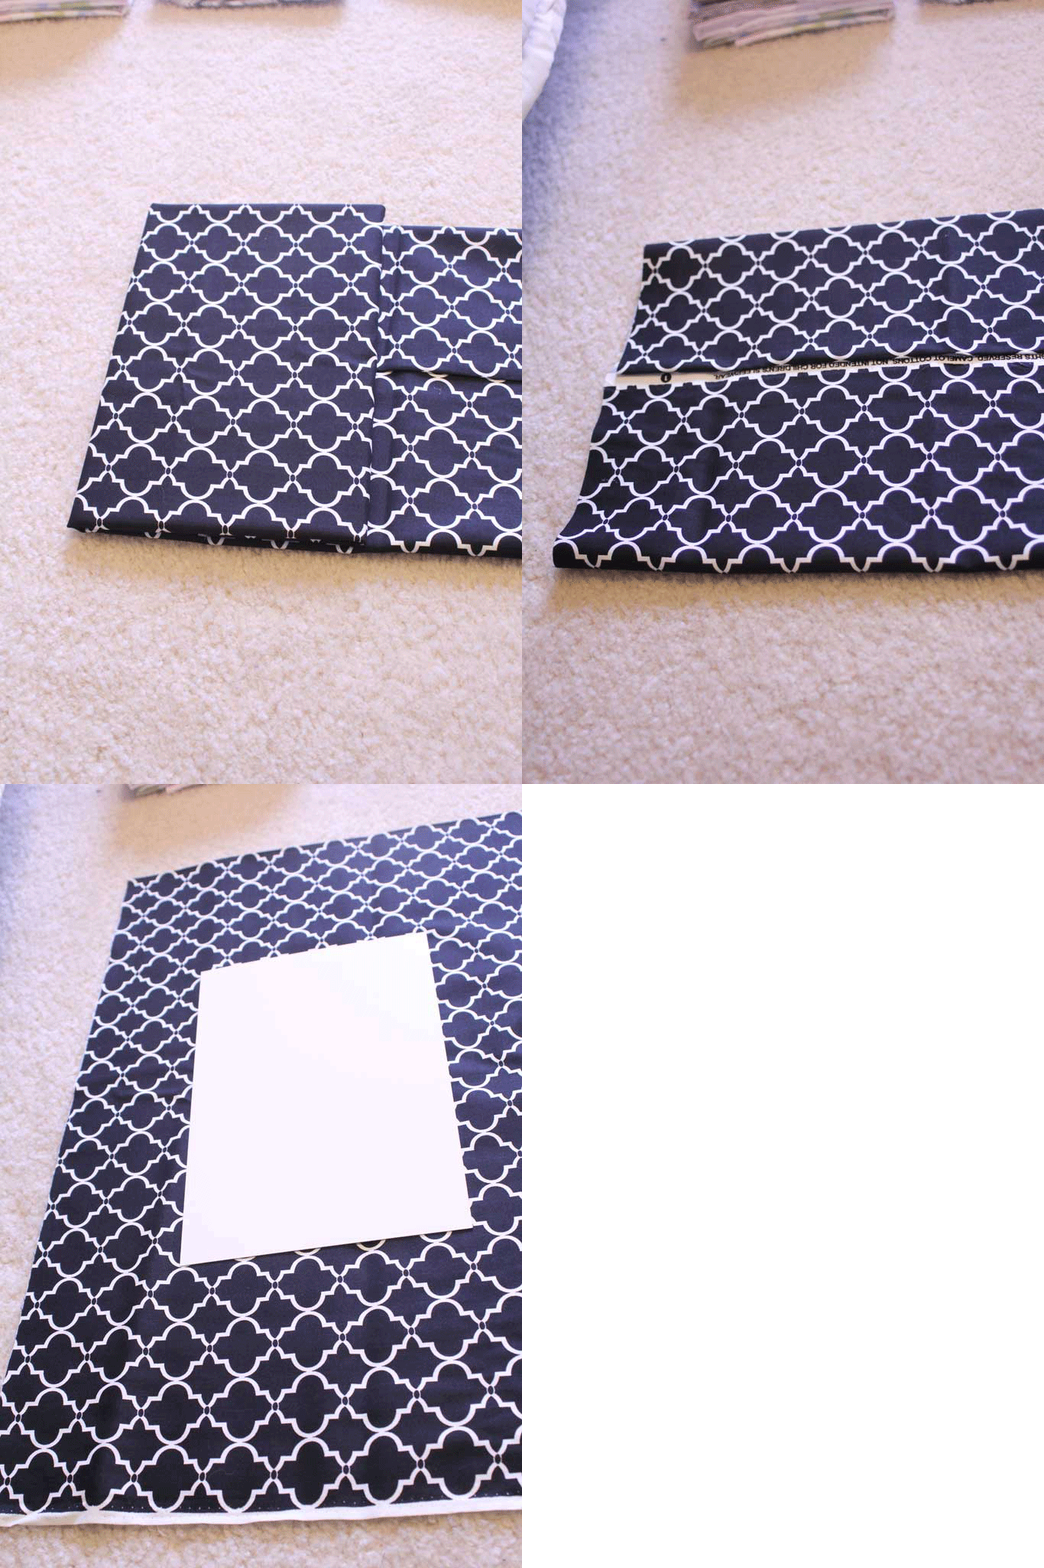
And one quick hour and I wrapped up my fabric onto their little cardboard pieces:

fabricgif


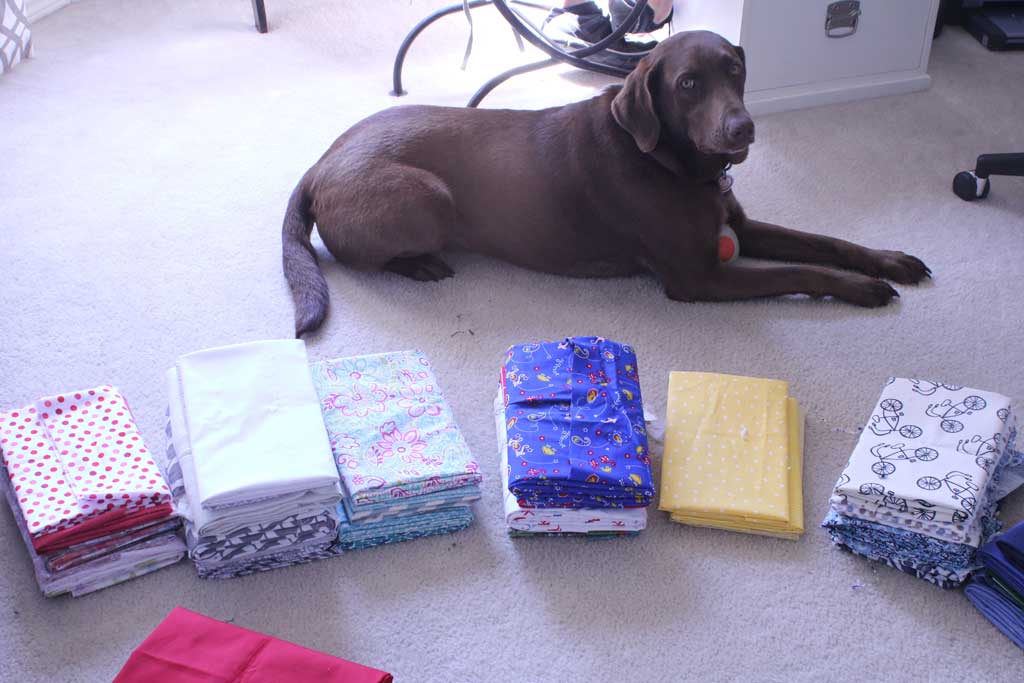
Lexie, of course, decided she needed to supervise.

fabric2


And when all was said and done it looked MUCH improved from before. I added a few Elfa dividers that I had laying around.  They don’t fit perfectly on my IKEA shelf, but they helped keep things somewhat upright and organized.

fabric


Now I’ll have to work on some more sewing projects!