Archives for April 2014

A Tiny Update

I’m popping in here to give you guys a small short update.  I have a larger post later this week on the piece we just finished for my church, but it has a ton of photos and info and I just didn’t get it done this weekend… so I thought I’d share the quick and easy update my husband and I did last weekend that is making a big difference!

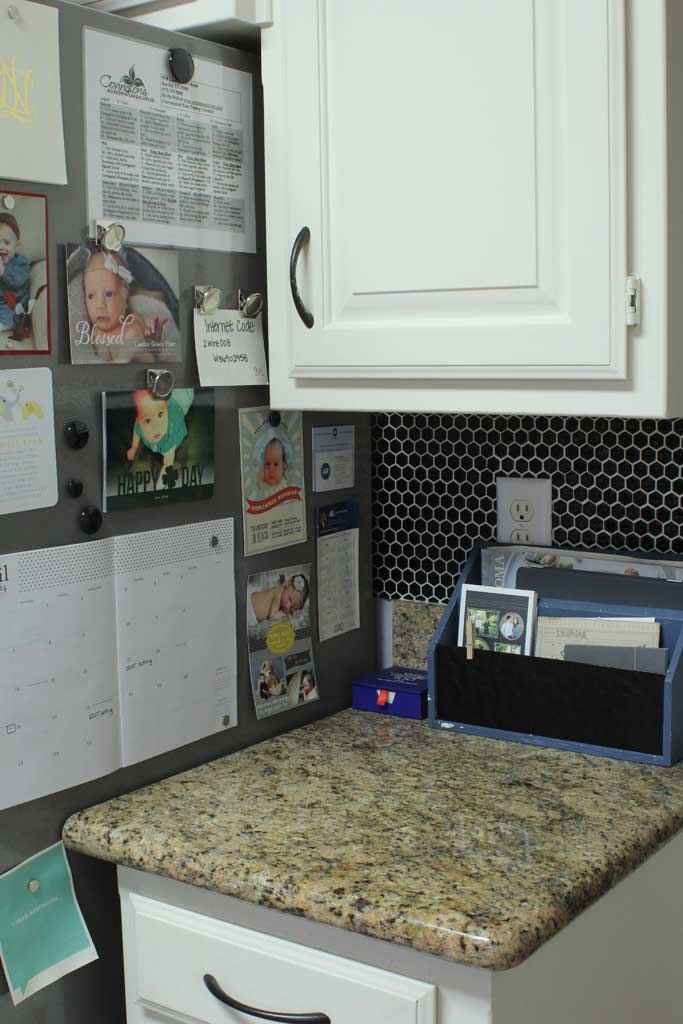
About a year (maybe 2?) ago I saw a USB/Wall Outlet and decided it would be PERFECT for my kitchen/mail area. I can’t remember where I bought mine, but you can buy a similar one here. Anyway, its been one of those projects that just has never surfaced to the top of my list, but last weekend  I stumbled across the box and decided that now was the time to switch out the outlet.  Last week I showed you guys our mini-mail/command center on our kitchen counter. 

junkdrawer2

Well now, that tiny little outlet looks like this:

outlet

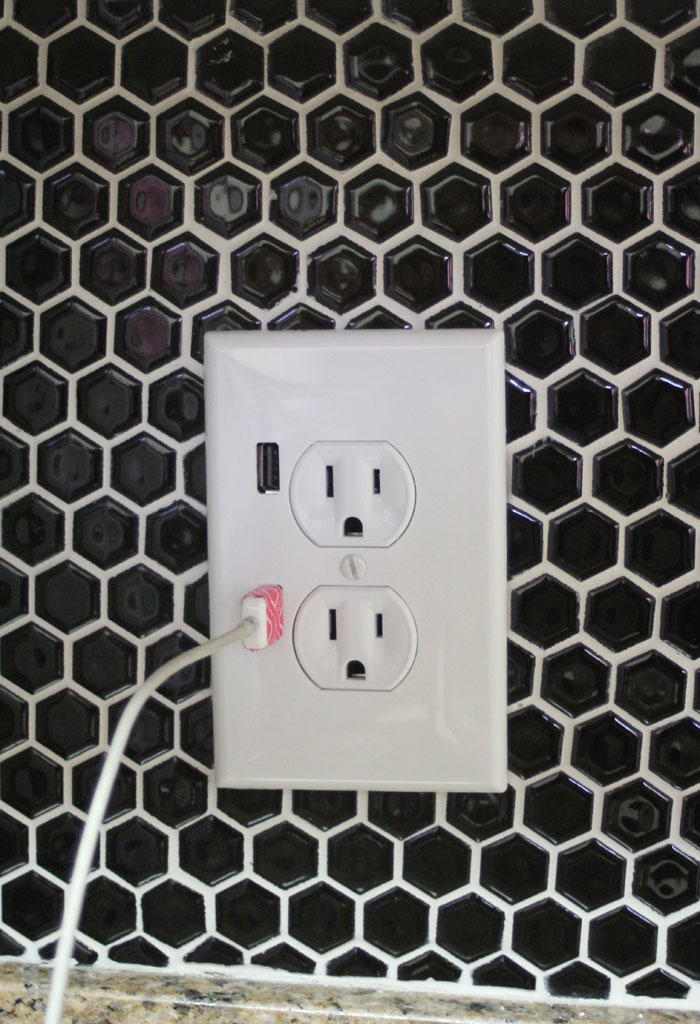
And I don’t have to go scrambling around to find one of those little square adapter things.  BRILLIANT! I would give you instructions but I know ABSOLUTELY nothing about replacing outlets, I just followed the instructions on the sheet of paper that came with the outlet.  The basic gist of it is: pay attention when you remove the first outlet and put EVERYTHING BACK WHERE IT BELONGS. OH… and remember to turn of the breaker for that outlet before doing anything.  I like to do these during the day so that I can turn off the power to the whole house because it makes me feel safer.

Safety side note: for my job I had to attend an OSHA 10 Hour Safety course, which is really an OSHA (Let’s show you pictures of every injury that could happen on a construction site) Safety Course. So I don’t play around with safety.  Neither should you!

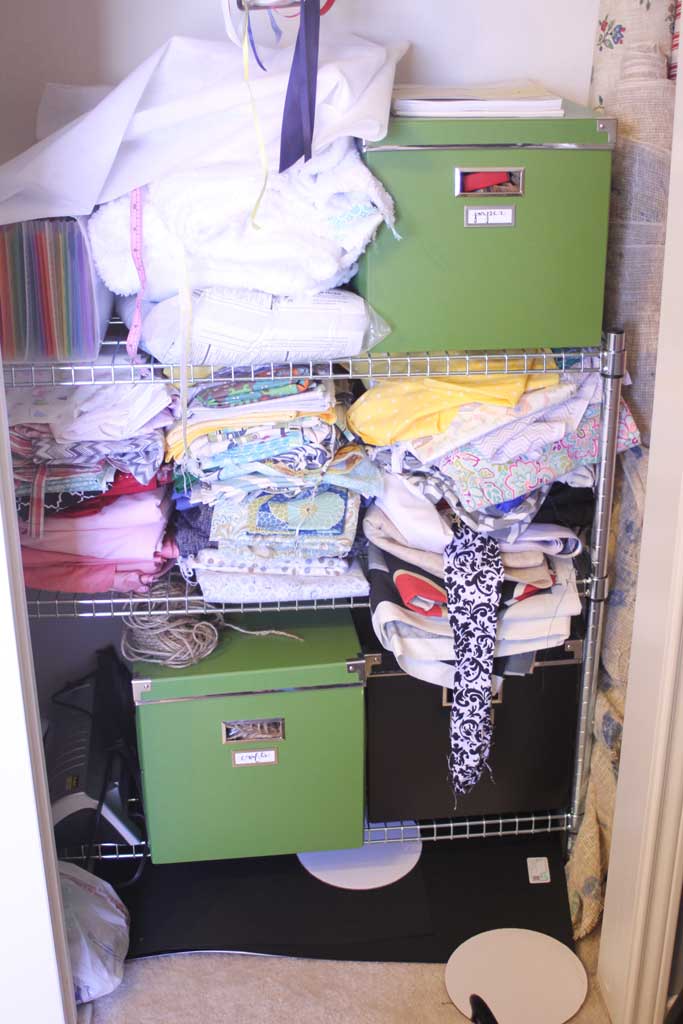
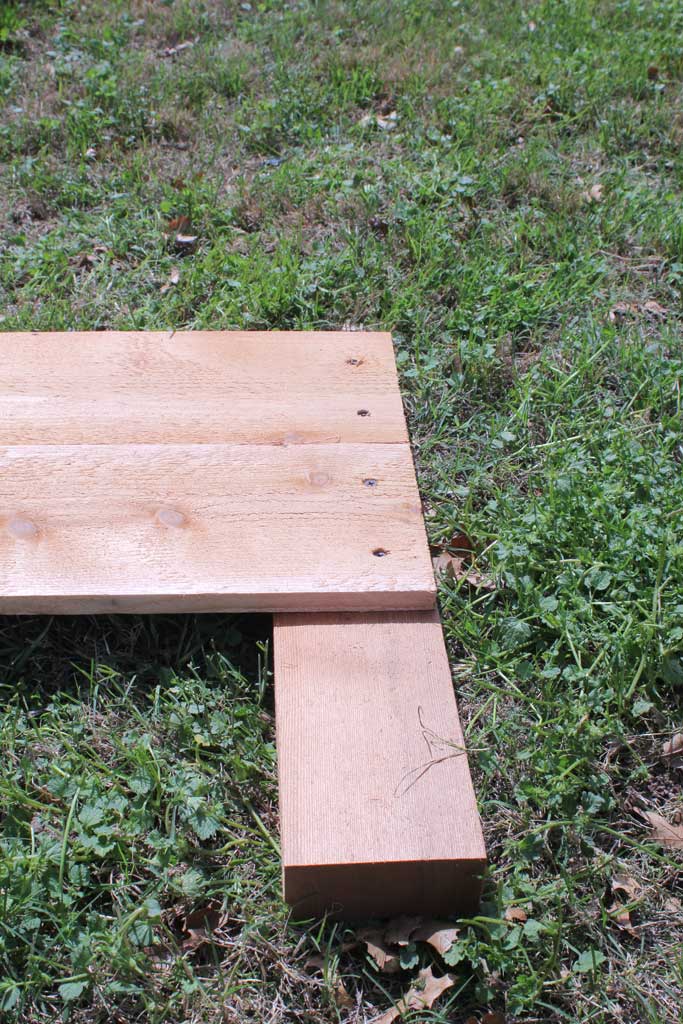
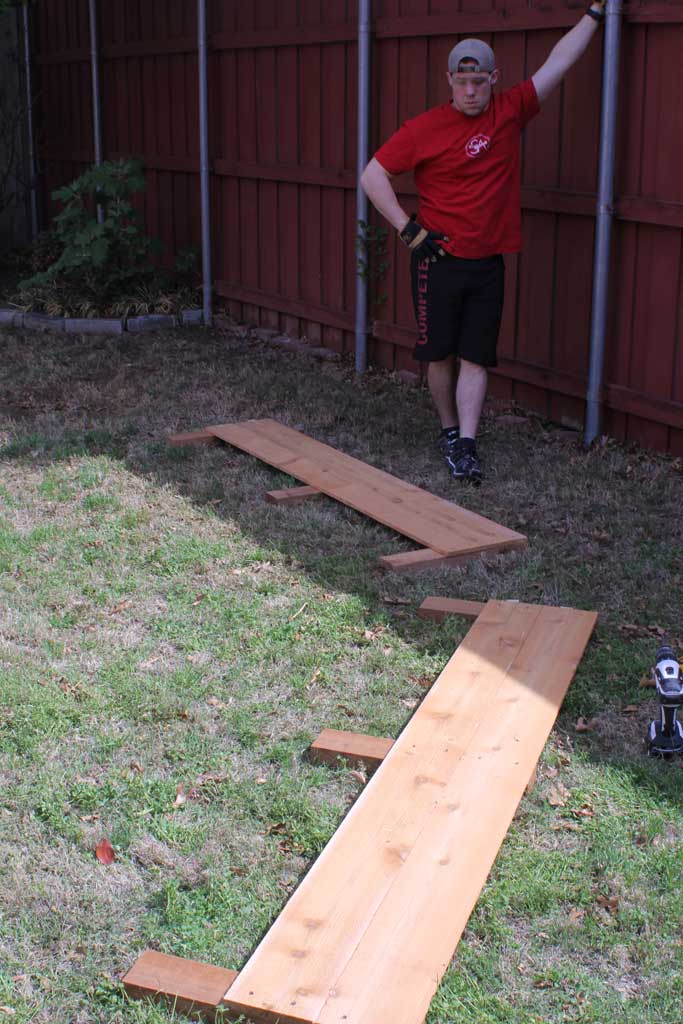
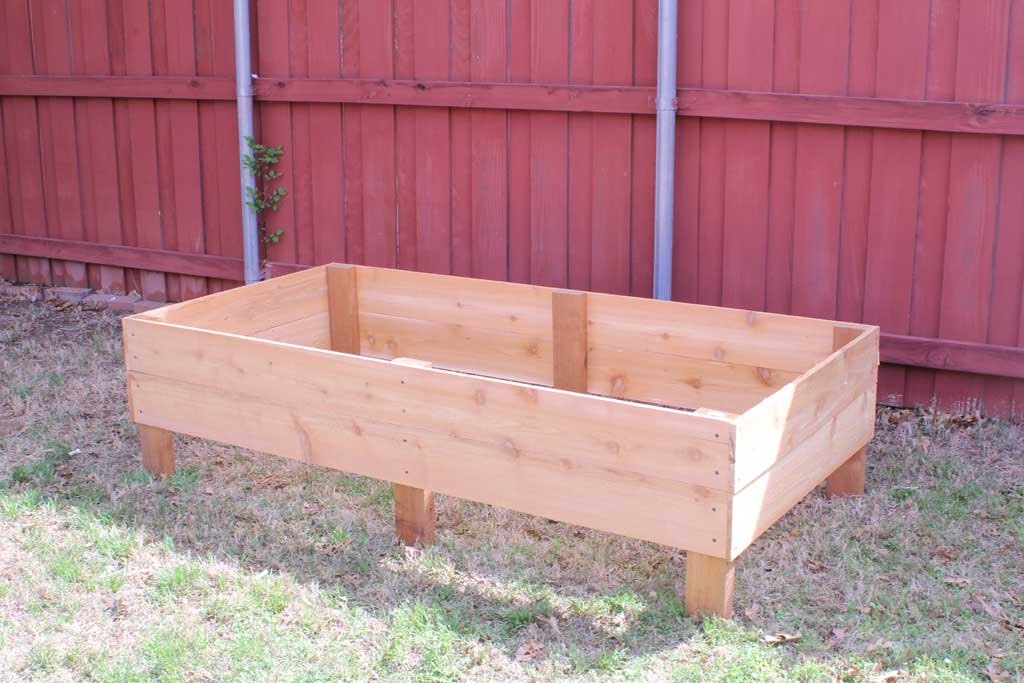
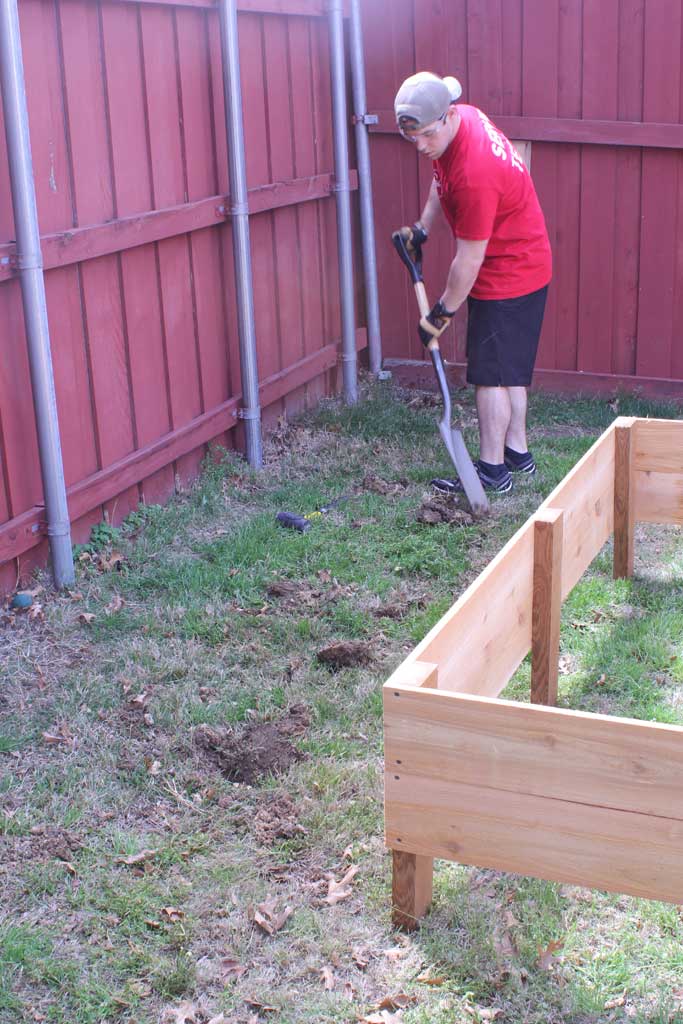
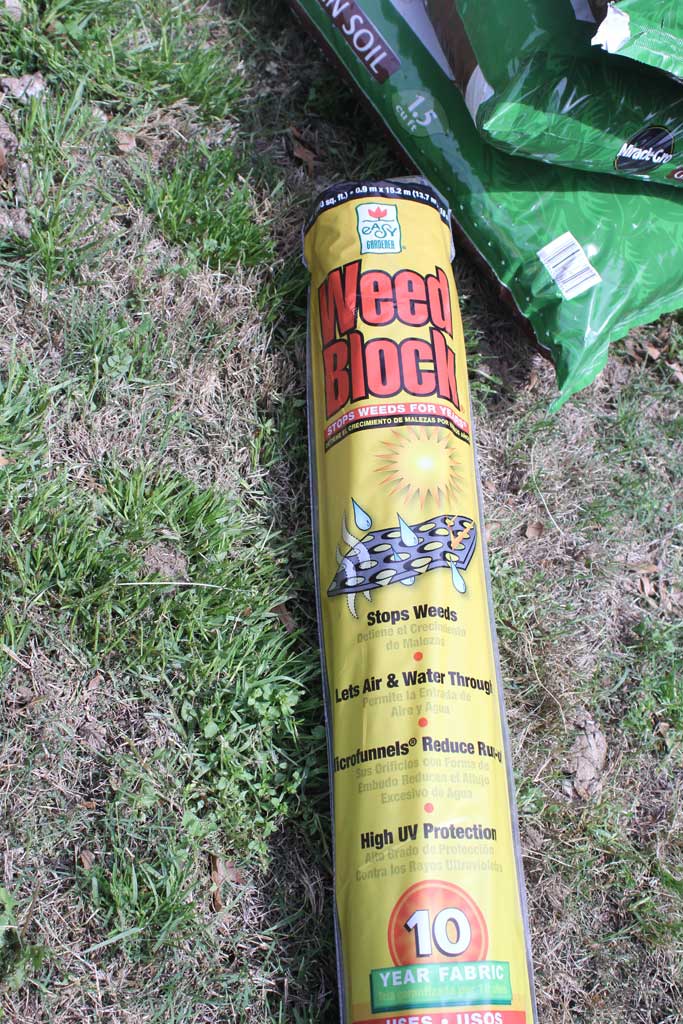
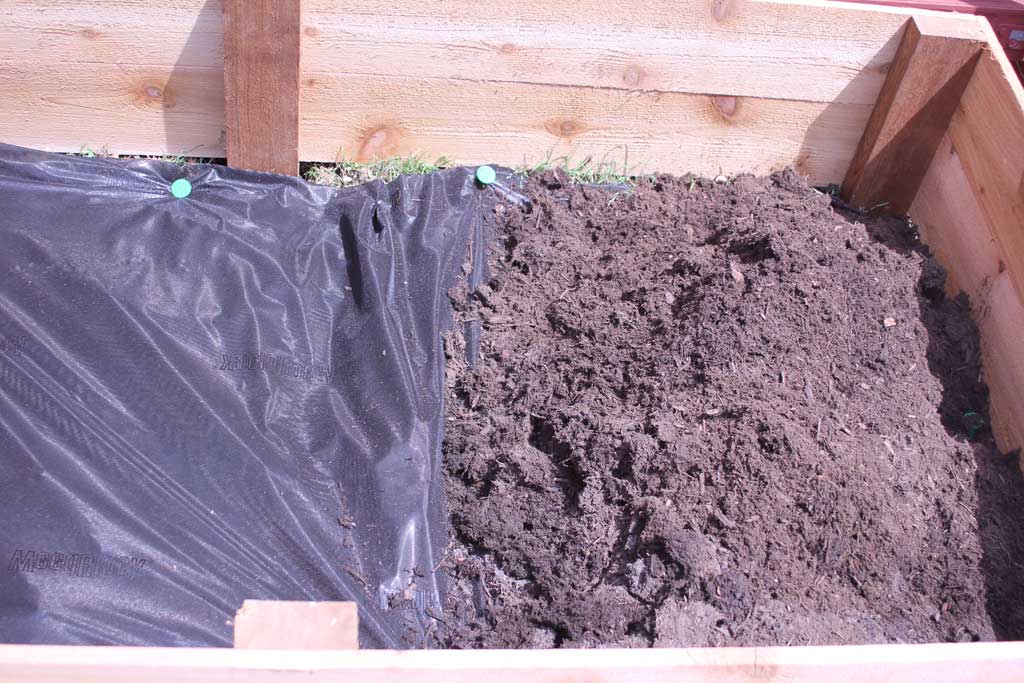
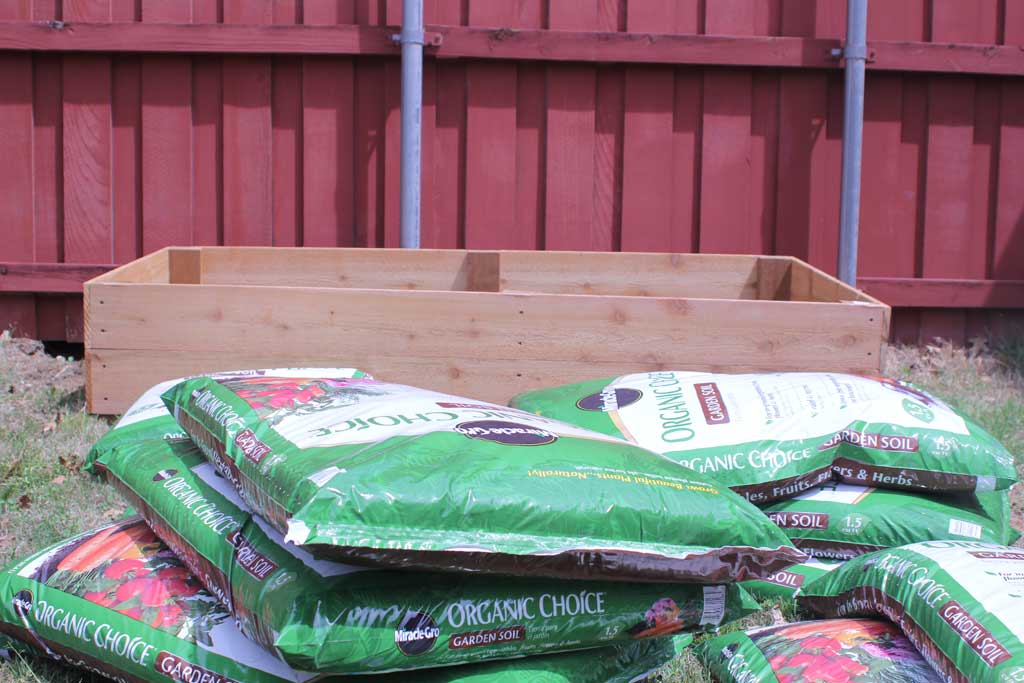
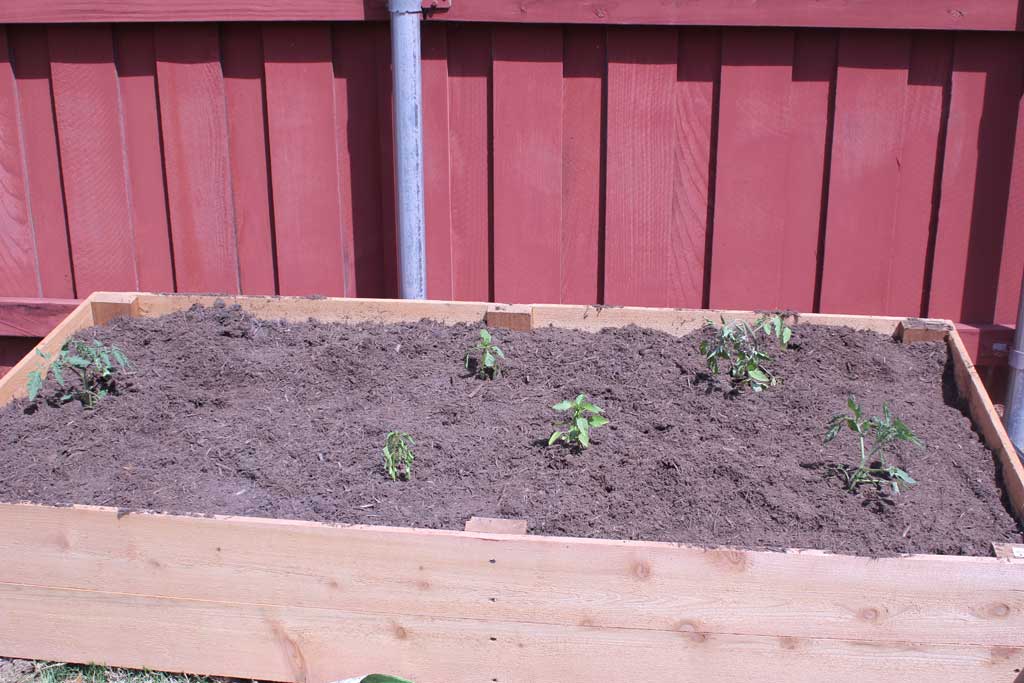
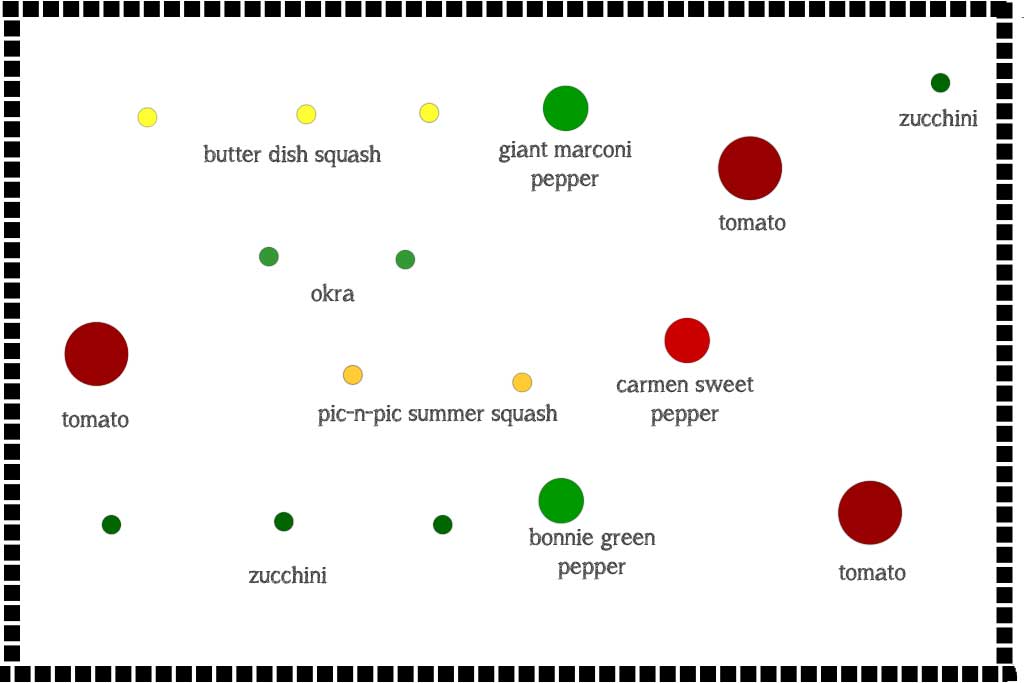
And just in case you guys are as mesmerized by how fast vegetables grow as I am… here is my veggie garden right now:

garden14

Check out how much they have grown from just last week!
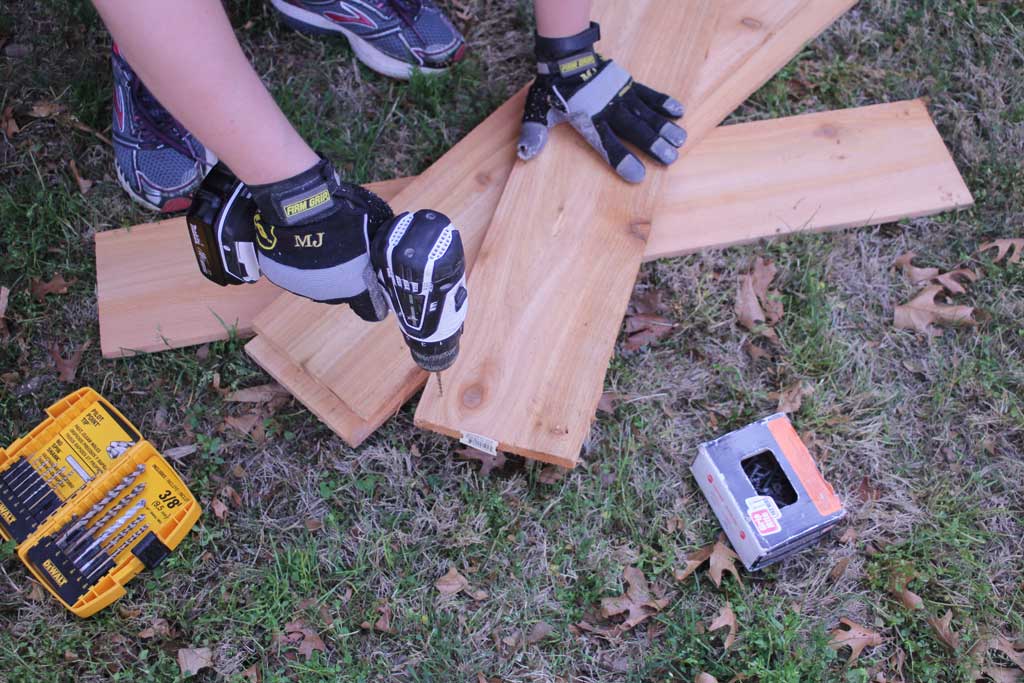


Fabric Organization

I’m a bit of a fabric hoarder.  I mean… I come by it honestly: my grandmother has the same affliction.  But really… its a good problem to have.  It means that whenever I have the itch to sew something, I don’t have to run out to the store to buy anything.  The problem becomes when it goes to storing it. In my office I have a closet where I keep my sewing machine and a few crafty things.  And while the boxes of craft supplies have suited me pretty well, the fabric was getting a BIT out of hand.

fabric1

So I went to my normal source for inspiration and found that LOTS of people on Pinterest were using comic book boards to wrap their fabric around.  So I went to Amazon, found these and ordered them. (You should have seen the look on my husband’s face when he opened THAT amazon package!)

And one quick hour and I wrapped up my fabric onto their little cardboard pieces:

fabricgif


Lexie, of course, decided she needed to supervise.

fabric2


And when all was said and done it looked MUCH improved from before. I added a few Elfa dividers that I had laying around.  They don’t fit perfectly on my IKEA shelf, but they helped keep things somewhat upright and organized.

fabric


Now I’ll have to work on some more sewing projects!

Vegetable Garden

One of the things on my 30 Before 30 List was to build and plant a vegetable garden.  This is one of those “I’ve never done this but always wanted to try” projects… so I’m kinda winging it here.  But as always, I’ll share the results, positive or negative as they happen!

I got the plans for the raised vegetable garden from DIY Diva and the vegetable beds she built for her farm. And true to her info, they cost less than 25$ to build (not counting the soil and plants to go inside).  I bought 6- 6′ ceder fence boards and two 6′ rough hewn cedar 2×4’s.  Other than that you’ll need a drill with a 3/8 drill bit, some screws (I used some I had on hand, but if you are buying some you should buy deck screws 1.5″), a shovel and a mallet.

Building the bed is pretty simple, first step is to cut your boards.  Cut two of you 6′ boards in half, and the 2x4s into 19″ sections (that gives your bed 7″ into the ground)

garden1


Then predrill the holes for the boards. 6 holes in each of the long boards (two on each end and two in the middle) and 4 on the shorter boards.

garden12


Once you have that done, its time to assemble all the pieces.  I just lined up the top of the boards and screwed them in, the long sides first.

garden10


garden9


From there, just attach the shorter ends and make sure the box is square.

garden8

If you have softer soil you can probably mostly just hammer this into the ground with a mallet, but since we have clay soil mixed with quite a bit of rock we found it easiest to dig a few holes first. We picked the placement mostly because I didn’t want to have to reconfigure the sprinkler heads, so we simply placed it between the two in the area we wanted the vegetable garden to be in.

garden7


From there I laid down some weed-blocker and started to put in my bags of soil.

garden5

I pegged down the weed blocker to prevent as many weeds as possible.

garden4

My Home Depot was having a sale on the Miracle Gro organic soil for vegetable gardens, so we bought 12 bags of that.  I only used 11, but I also mixed in some peat moss I had on hand for a little bit more organic matter.

garden6

From there when I got close to the top I started to lay out my pots of veggies.  These came in little pots that you are supposed to plant along with the vegetables.  Just get them moist and peel off the bottoms to put them in the holes. The ones you see below are tomatoes and peppers.  I put a diagram below of what all I planted so I can keep track.

garden3

I filled in the rest of the soil and then gave them a good soaking (the pic below is before watering) and some vegetable fertilizer.

garden2


If you follow me on Instagram you saw this last week and also got to see my post yesterday that the zuchinni and squash seeds that I planted peeked out of the soil on Easter Sunday.  SPRING IS DEFINITELY HERE!

If you want more detail on what all I planted, I drew up a ROUGH diagram on Photoshop and I have some details about the types of veggies I planted.  After I had planted them I did some more research and I think maybe I planted things a little too close together, but we’ll see when they reach full height!

garden13

All the seeds (everything but the peppers and tomatoes) are Burpee Brand from Home Depot, the zucchini are summer squash Bush Bounty, I used two different types of yellow squash: Butter Dish and Pic-N-Pic Hybrid and the Okra is Baby Bubba Hybrid.

The tomato plants are all Big Boy Hybrid Tomatoes.  All the tomatoes and peppers are Bonnie Brand.