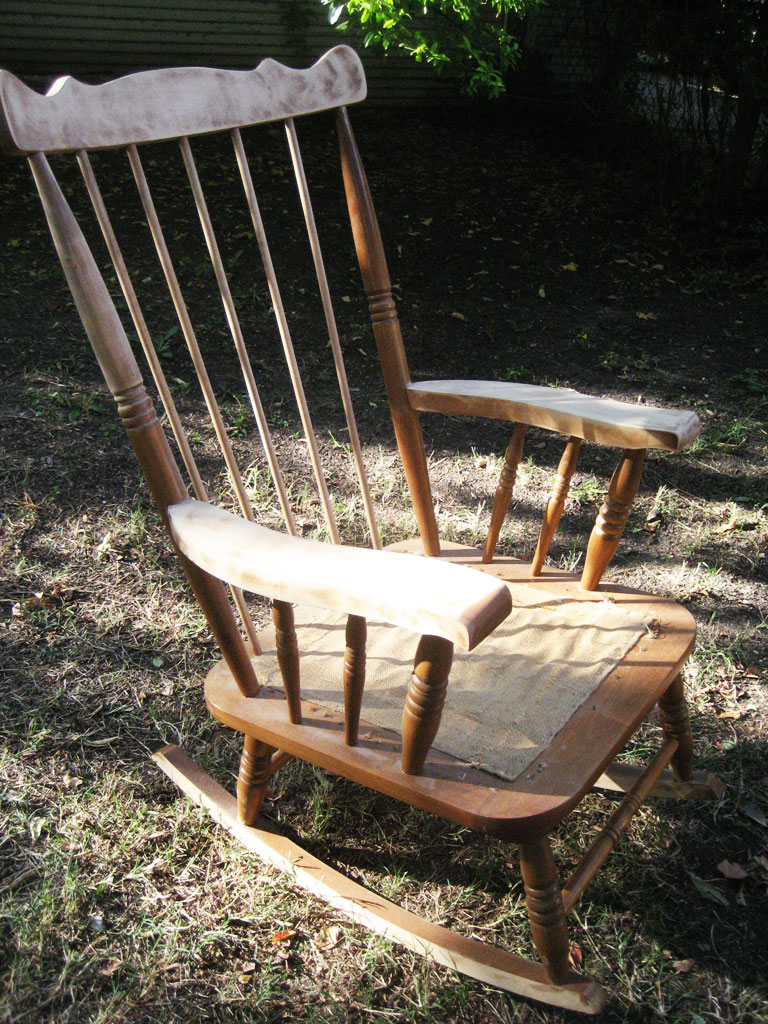
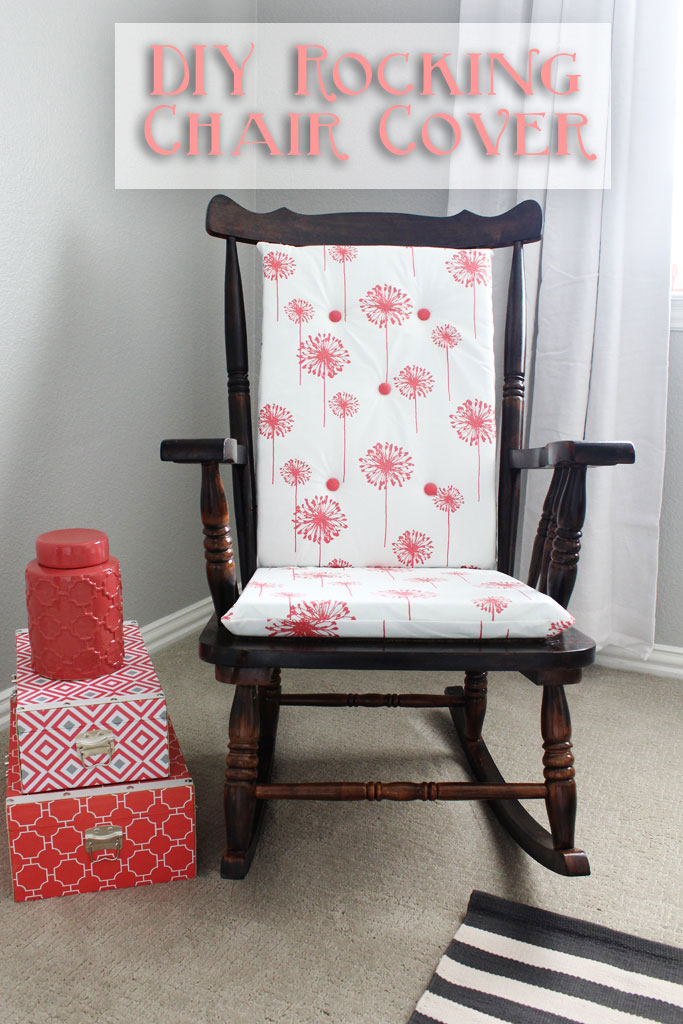
This rocking chair was a hand-me down from my grandmother when she downsized, and it started out a lighter color and was one of the first projects I ever tried refinishing (this was WAY before I started blogging… but I did take pictures of some of my projects to show my mom, so I was able to find an in-progress picture of what it looked like. This thing was a monster to sand down–all those spokes! And this was before I had invested in any power tools, so I did this bad boy all by hand. Which I will never do, ever again. Its been more than 4 years (in fact the date on the picture info says Nov of 2010) since I did this project and I still remember how hard it was to sand it down. But I wanted it stained dark brown, so I did. Sadly there is no picture of the fabric that was stapled over the burlap and springs, but it DEFINITELY had its hey day in the 70s. Ever since then, this guy has been stained a dark brown, had a maroon pillow placed on its seat to provide some cushion and generally been a laundry holder in my bedroom. A really PRETTY laundry holder.

Well there is something sweet about having a rocking chair in a nursery, so we decided that’s what the next phase of life would be for this guy. (and for those of you thinking… you are crazy not to have a nice big plush glider in your nursery, never fear, there is an awesome lazy boy recliner in the bonus room just outside baby girl’s nursery, so if I want big and cushy it is only a few short steps away.) But I also knew this chair would need some ACTUAL cushions sewn for it instead of just a pillow thrown over the burlap if I was ever going to expect to sit in it.
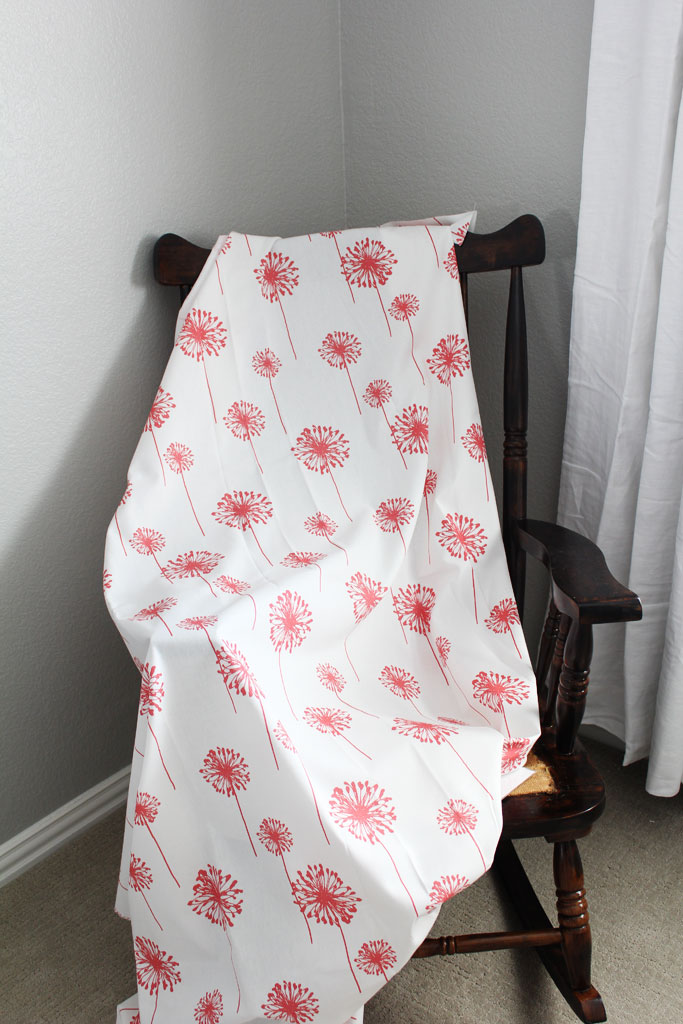
So first step: find fabric. I fell in love with this Coral and White Dandelion fabric from Fabric.com, which they have in many color options! I bought both the Coral with White and White with Coral, thinking I would use the Coral with White to add a lot of color, but ended up liking the white background better. Are you now confused with all the coral and white words?? Here’s a visual of what I decided to go with:

Now time to sew the cushions. Here’s what I used:
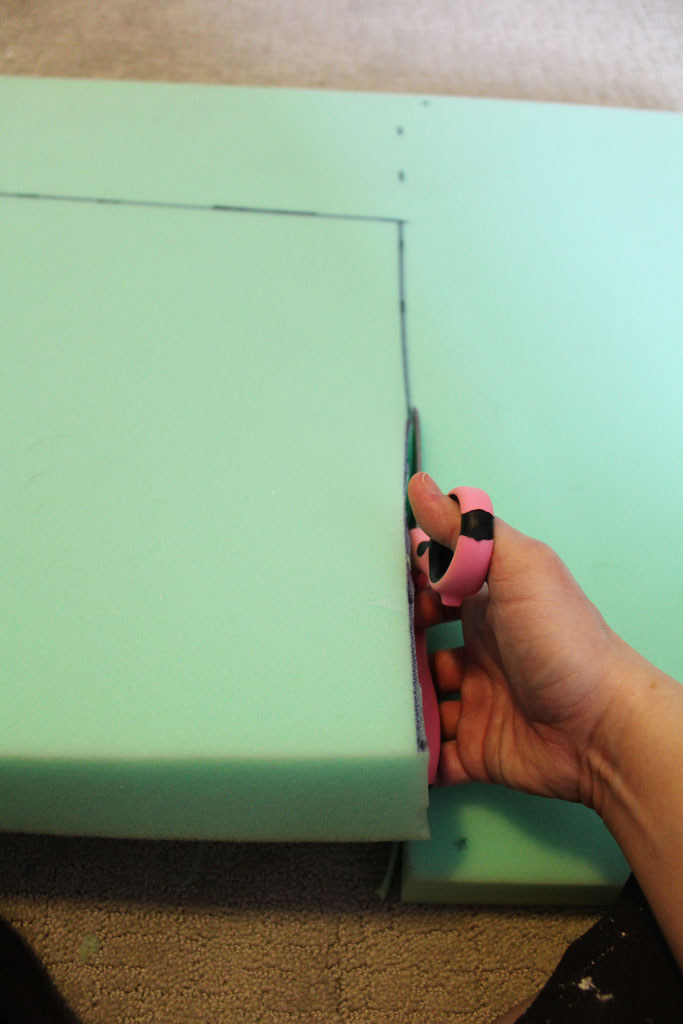
- the green 2″ Foam from JoAnn’s (purchased with a 60% off coupon because that stuff is EXPENSIVE) I needed about 1 yard, but measure your chair
- fabric
- interfacing– I used a fairly heavy interfacing because my fabric was white and kind of see through, but depending on your fabric you could go with something light or just skip this step all together.
- batting (optional)
- thread to match
- buttons to cover in fabric (also optional)
I decided not to make the cushions fancy or weirdly shaped because I didn’t want to make this a very complicated sewing project. So I made a rectangle for the back and a square for the seat cushion.
Cut your foam to the right size for your seat:

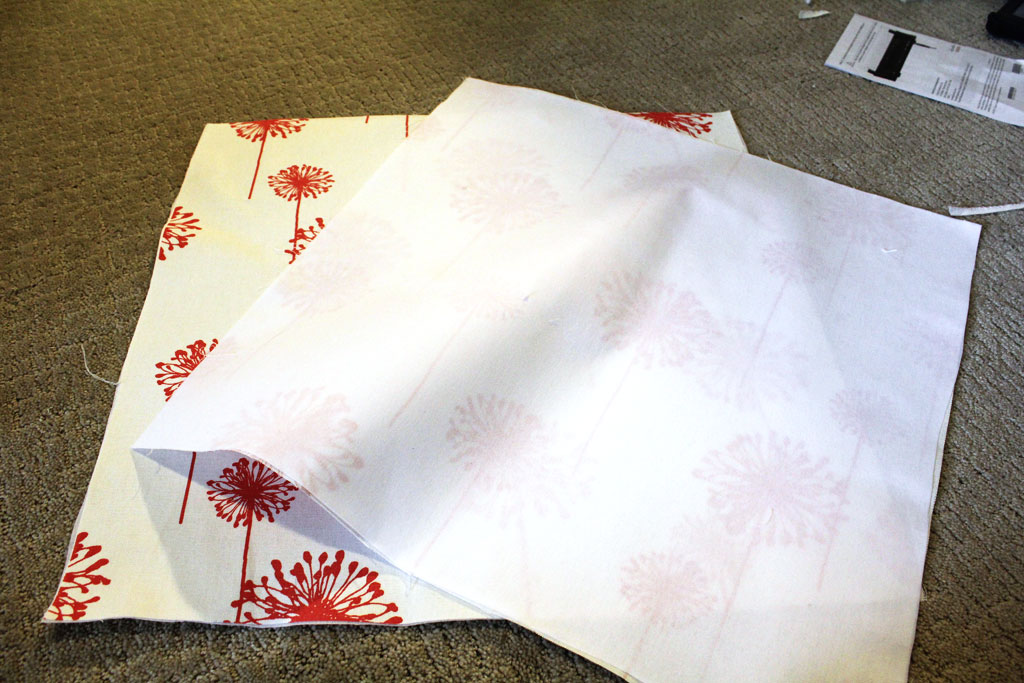
For the seat cushion dimensions measure how wide your seat is, then add 3″ to determine how wide to cut your fabric. One inch for either side to accommodate the height of your foam (so if you are using thicker than 2″ foam this will be more that you need to add) and a half inch on both sides for seam allowance. For mine, my seat was 17″ wide so I cut my fabric in a 20″ square. You will need to cut two square pieces of fabric, two pieces of interfacing (same size as fabric) and four rectangular pieces for ties (mine were about 3″ wide and 7″ long).
Iron on your interfacing onto the backside of your fabric.

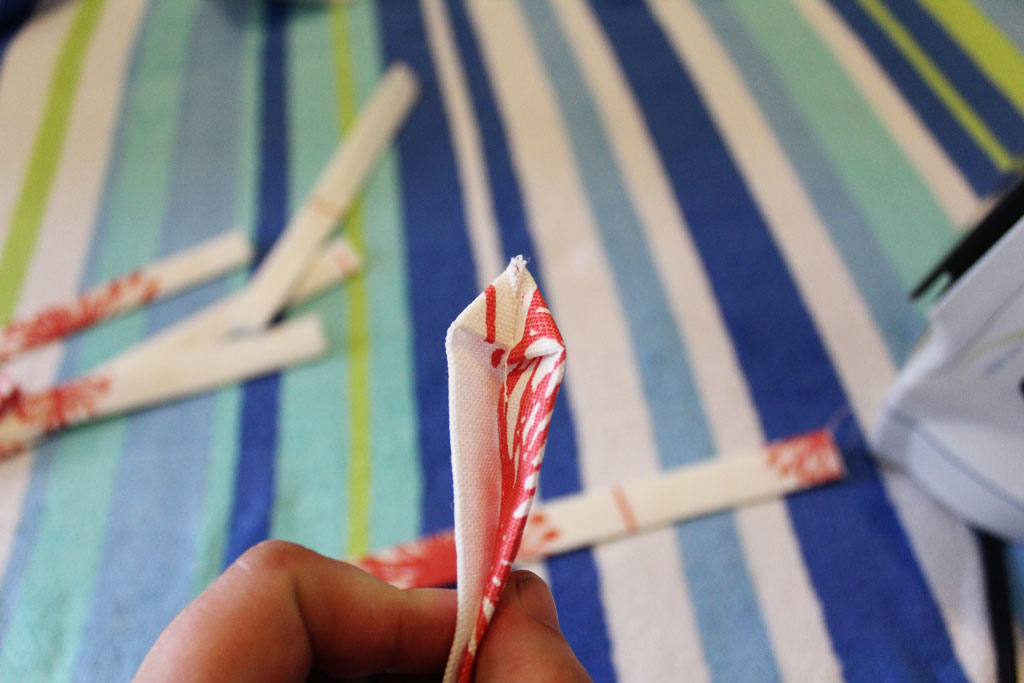
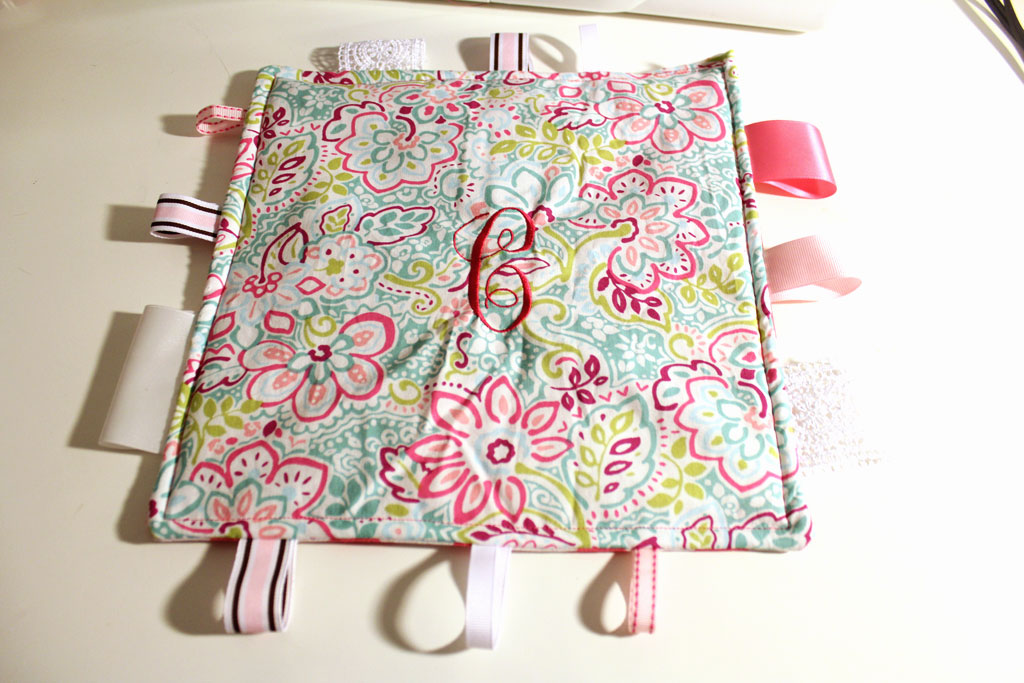
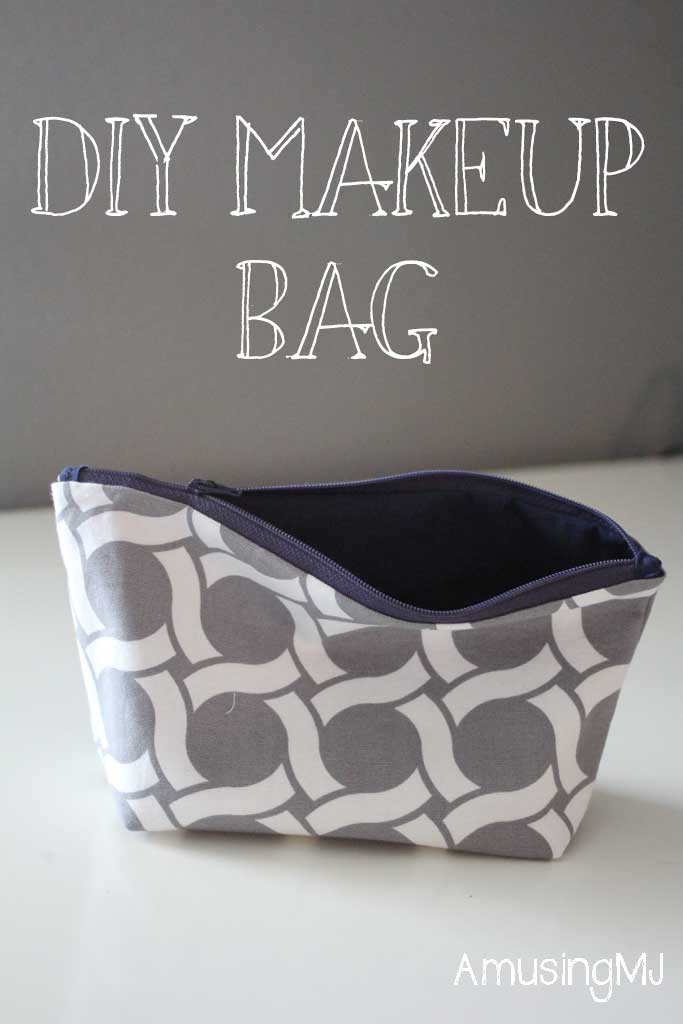
Then make your ties. Somehow I managed to not get any pictures of this step, but you take your rectangular piece of fabric and fold it lengthwise (hot dog style for those of you who remember elementary school lingo), then unfold it and fold both long edges in towards the center, then fold the original fold again. So you should have one long strip with no outside edges showing. (If you are confused, check out this post on my DIY makeup bag because it is the same thing you do for the zipper ends and I did a better job of taking pictures of it!) I also wanted my ends to be pointy, so I just folded both corners in to the center to create a point:

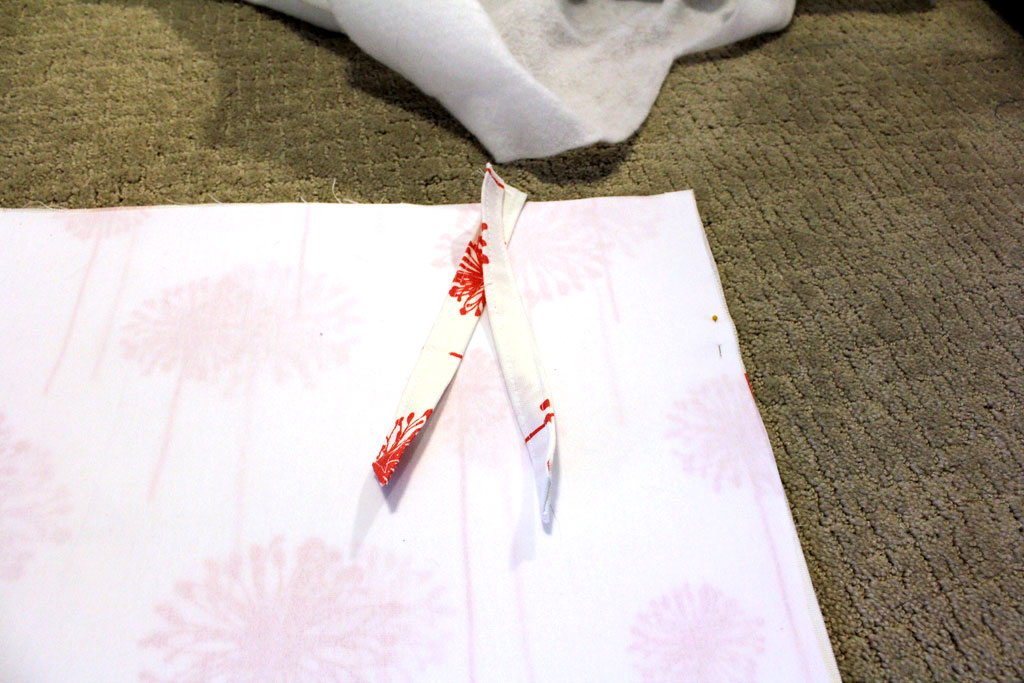
Now sew a topstitch all the way around those ties. Then pin your fabric right sides together and put your ties two each in between those two pieces (in the picture below I am just showing you placement of left to right and how I sewed them in, when I did the actual sewing they were sandwiched in between the two layers of fabric.

I sewed mine from just past one side of the ties, around the other 3 sides and then just past the ties on the other side. Its hard to explain, and since I used white thread, almost impossible to see in a picture, so I drew you a picture:
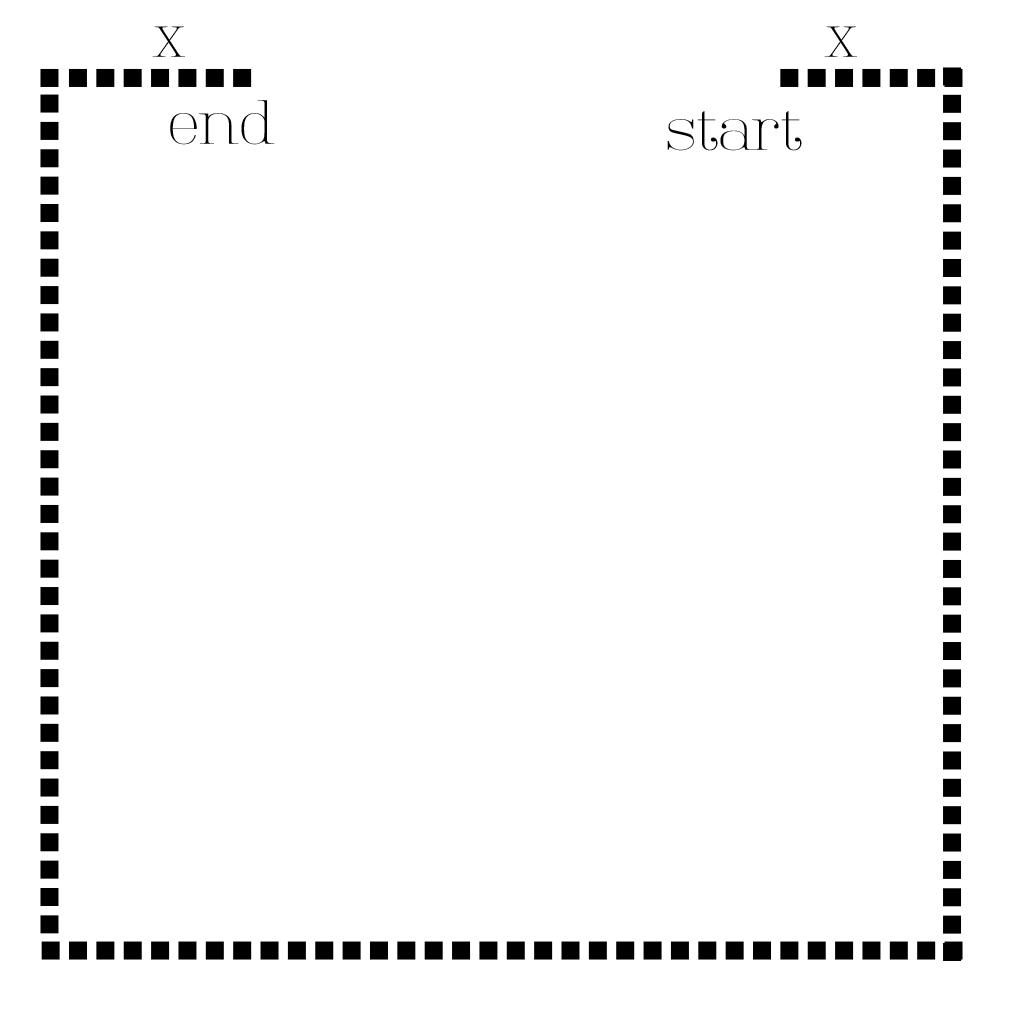
 The Xs mark where the ties were and I sewed from start to end with one continuous line, just moving the fabric at each corner 90 degrees and be sure to backstitch well at the start and end since this is the gap you will be putting your foam in through. Then trim your corners off to get rid of extra fabric and turn your piece inside out.
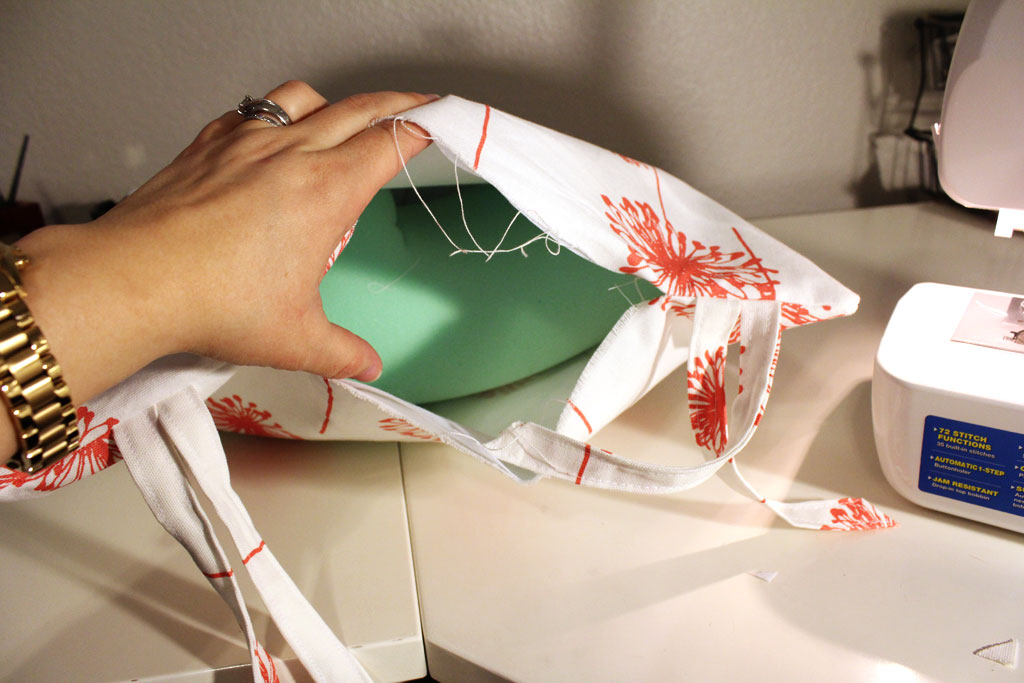
Now it is time to put your cushion in. This is where it gets tricky, and I needed all hands on deck to do it so I don’t have very many pictures! Stuff your foam inside (this is where I have the batting listed as optional for you–I think the green is kind of see through with the white fabric, which I didn’t notice until after I had sewed my bottom cushion and the one I took pictures of, but with my back cushion I wrapped the green foam in a layer of thin batting and you can’t see the green at all… so if your fabric isn’t white, you can definitely skip this step, but if you are using white fabric I recommend the batting to help you not see the green through the fabric). There is no real trick to getting your foam inside there, except to be patient.
If you are good at handstitching you can handstitch your hole closed and be done. But I am L-A-Z-Y and handstitching is not my forte, so I decided to fold over my foam to give me space to use my sewing machine to top stitch this edge closed and then once it had been sewn closed I worked my foam back flat. It ended up not being that hard to get it back into place, so I would definitely go this route.

Then just tie it onto your chair and you can see here what the topstitched seam looks like. Since I put it on the side with the ties it will always be at the back of the chair and is not noticeable at all.


Then just rinse and repeat for the back cushion. For the back cushion I decided to add some fabric covered buttons that I tried to (unsuccessfully) tuft. But they look pretty good the way they are, so I decided to leave them. If you want your own fabric covered buttons I used these from JoAnn’s. They come in multiple sizes, and you just trace the template onto your fabric then use their little mold to secure it around the button. I used the fabric from the Coral with White dandelions so that I would have solid contrasting fabric for mine.
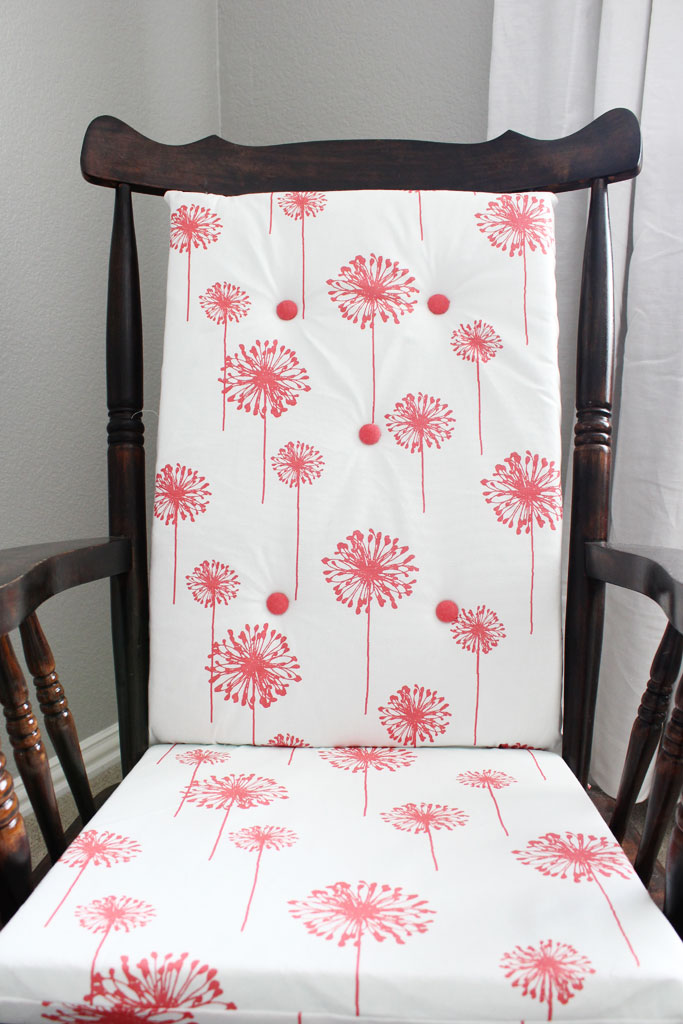

These cushions are actually really comfortable, so I hope to be spending lots of time rocking baby girl in this chair!

Have any questions on my process? Shout them out in the comments and I’ll do my best to answer!


 Hi, I'm MJ! I'm a DIY kind of girl and this is where I share my projects. I'm taking you along for the ride as I learn how to do woodworking, sew, bake, and renovate!


