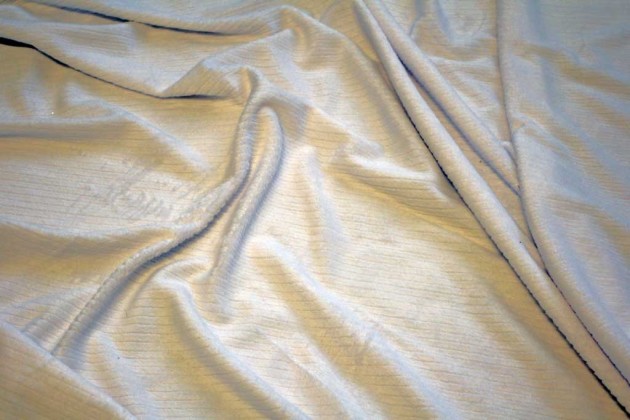
I never had a blanket that I was super attached to, but I definitely had some homemade things around when I was a kid. And I really like the idea of babies having some things made especially for them. I mentioned in this post that I have a bazillion baby showers to attend these days and I am still faithfully making burp cloths for (almost!) all of them. (I’m one or two showers behind right now!) But last weekend I had the itch to try a baby blanket. I have a ton of soft absorbent material that I bought to make the burp cloths, but its thinner than I really like it to be, but I don’t want it to go to waste, so I thought… it will be the great backing to a baby blanket! And I have a really good friend who is about to have her first baby… a little girl! So I thought I’d try to make a baby blanket. It turned out pretty well, but like all DIY projects, I think a few things could be done better next time!
If you have never sewn something and want to learn how, I have a couple of posts that will help you get your machine ready to start this point: how to wind a bobbin and how to thread your machine. So if you want to make this project (super easy… I promise you can do it!) go there, set your machine up, then come back and make a blanket with me! But disclaimer, I am NOT a master seamstress… just someone who has learned a few things, so don’t expect perfection!
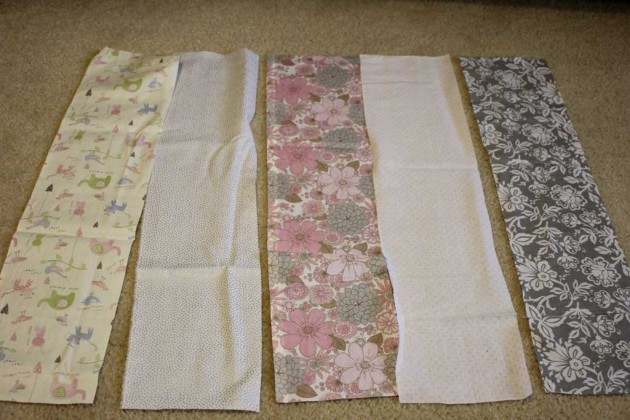
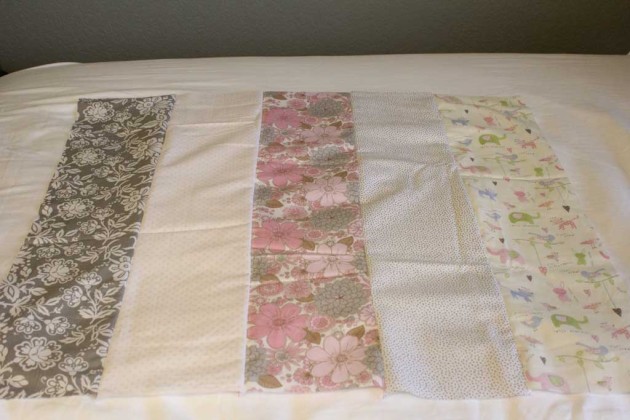
So I picked 5 fabrics that I had on hand and cut 5 long strips out of them 25″ long and about 8″ wide. I picked these sizes because 1. I think odd numbers always look better than even, 2. I wanted it to be rectangular, so if you are assuming 1/2 inch seams… that would make this somewhere around 24″ wide and 35″ long.
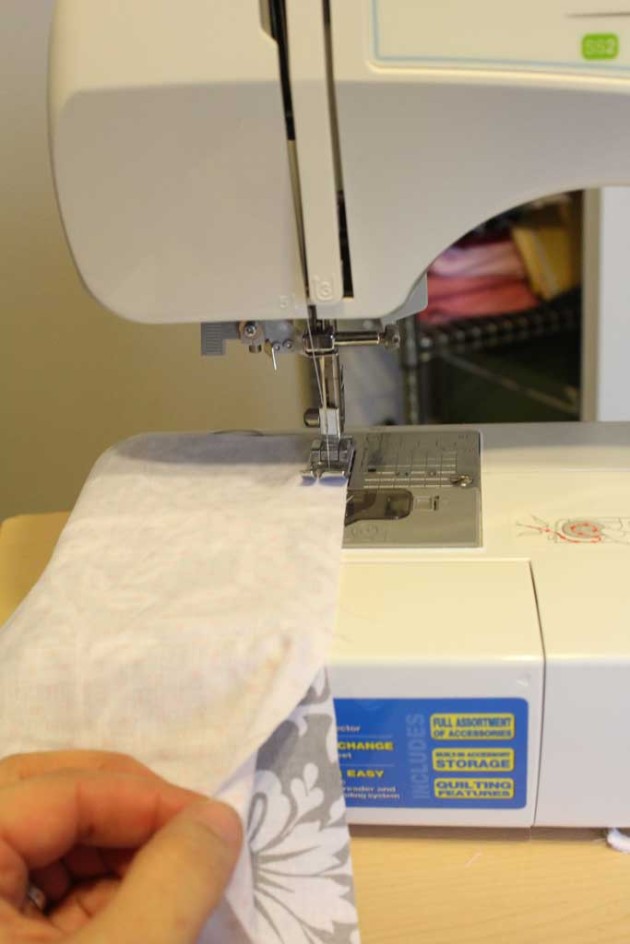
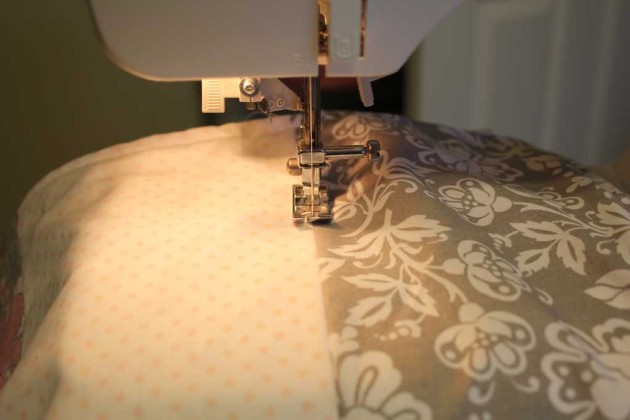
Once I had all of those pieces cut out, it was just a matter of attaching them with a seam down their longest side. To do this, put the pretty sides together and sew with a half-ish inch seam (mine ends up being smaller than that, because I find it easiest to line it up with the right side of my presser foot. )
Line it up and sew a straight (ish) line to attach these two pieces. Then repeat until all 5 are attached. Your third one will like this as you sew it since you will have the two right sides together of the pieces you are stitching, the first piece will be right side up facing you:
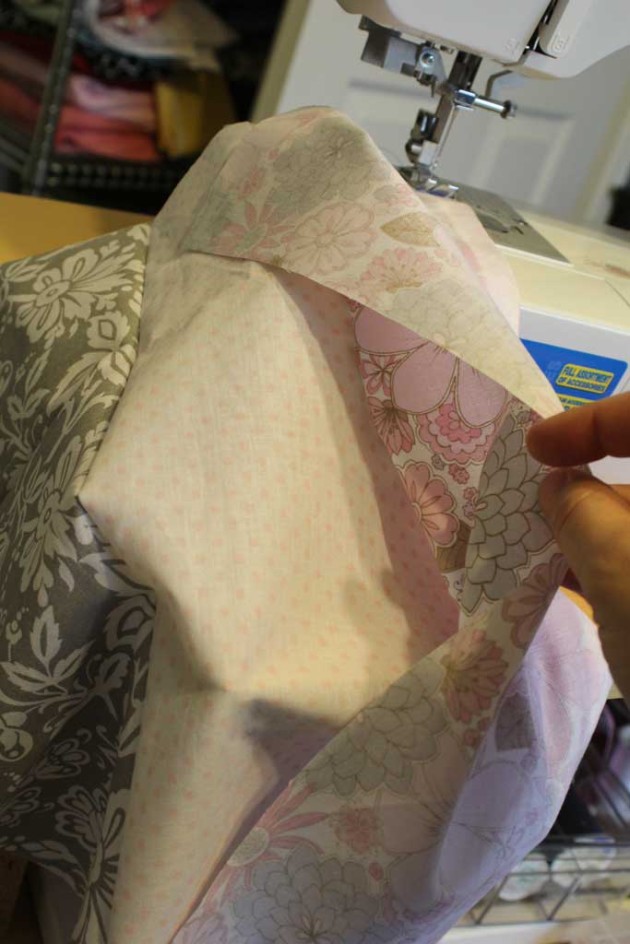
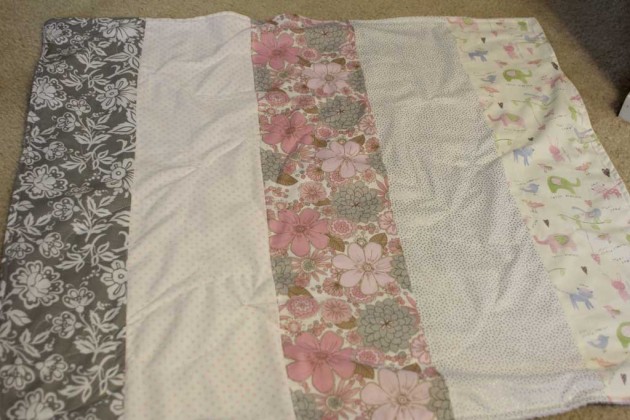
Once you’ve gotten them all attached, it will start to look like part of a blanket:
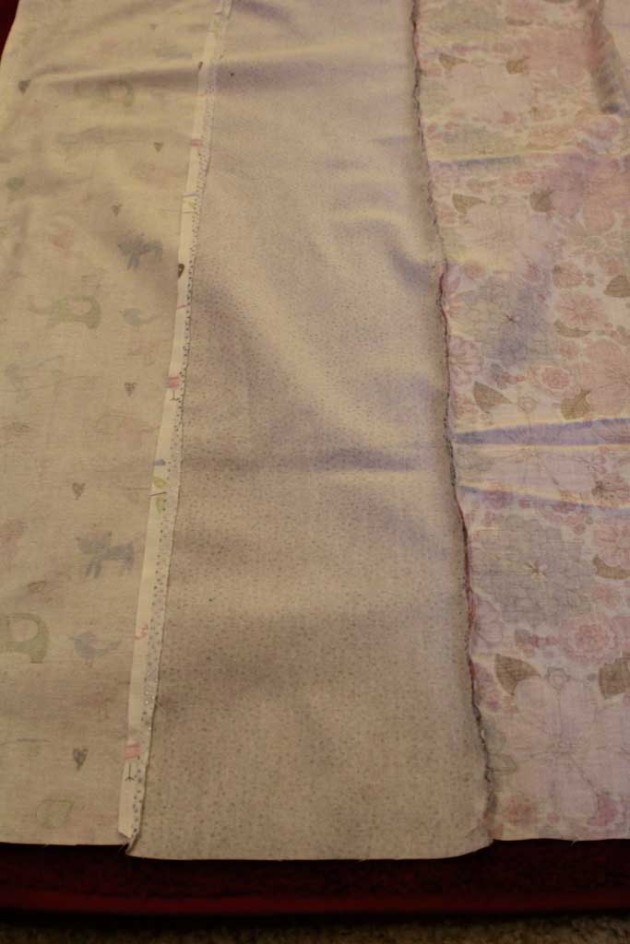
Now it is time to iron. And if you are anything like me you are thinking right now… sweet a step I get to skip! DON’T. For a long time I never ironed anything while sewing… and once I thought to myself: you should do it once just to prove that it doesn’t change how the final product comes out. BUT IT DOES!! I was so surprised! Ironing makes all the pieces look more professional and helps make things lay flat. So for this project, you are going to flip that part you just sewed over and iron the seams flat. I took a picture below to show you what I mean. Flatten out the seam (I find this easiest to do with my finger first and then follow up with the iron.) And you can see in the picture below the seam on the left has been iron and the seam on the right has not. And you can see in this picture just how expert I am at sewing in a straight line and/or cutting in a straight line. And by that I mean… not at all.
Next step is to add the soft plushy side. Like before, you’ll put right sides together and sew all the way around, except for a small hole to be able to turn your blanket inside out.
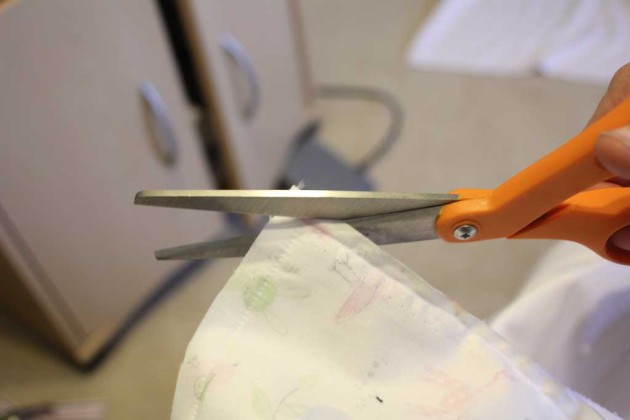
Before you turn your blanket inside out, cut your corners off like this, so the corners will be more crisp:
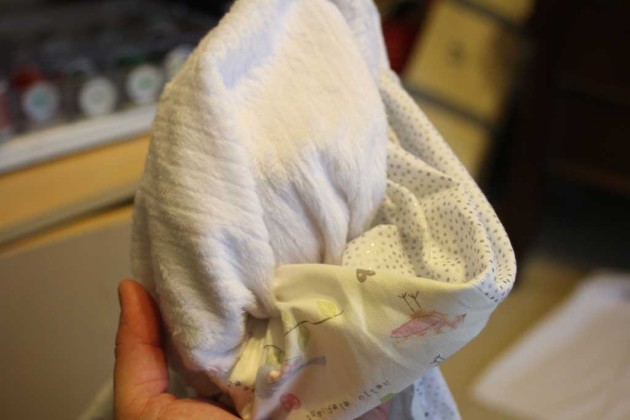
And then turn the blanket right side out:
Much like I did with the burp cloths, I then top stitched the outside. This also gives you a way to close up the hole you used to turn it inside out.
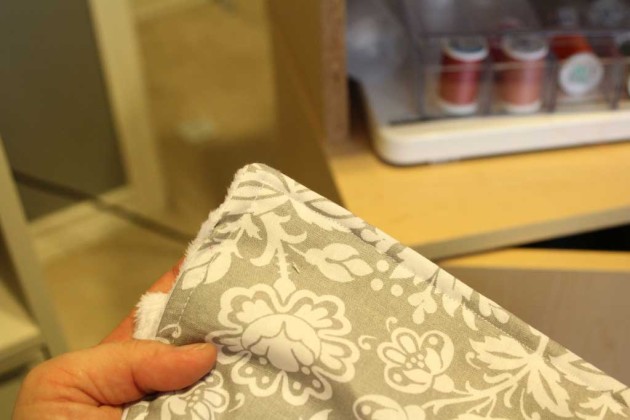
Although I like this look, I think on my next blanket (and of course there will be more!) I will put some sort of edging around it to make it look a little more “finished”. You know me… if I do it, I’ll let you know how it turned out!
Your blanket is almost done! But since we don’t want it to separate in the middle, we need to do some more top-stitching. I decided originally to just trace the seams between the 5 strips with thread to keep the two sides secured together.
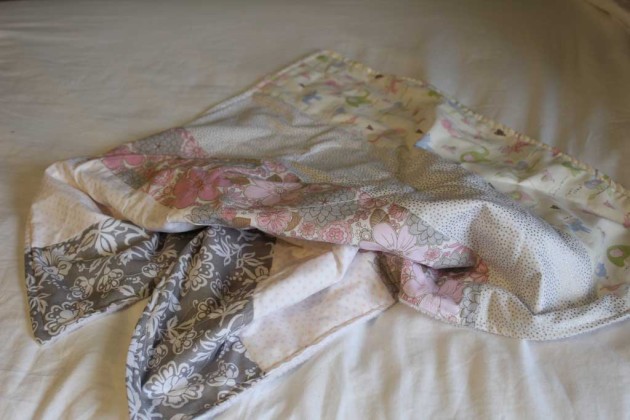
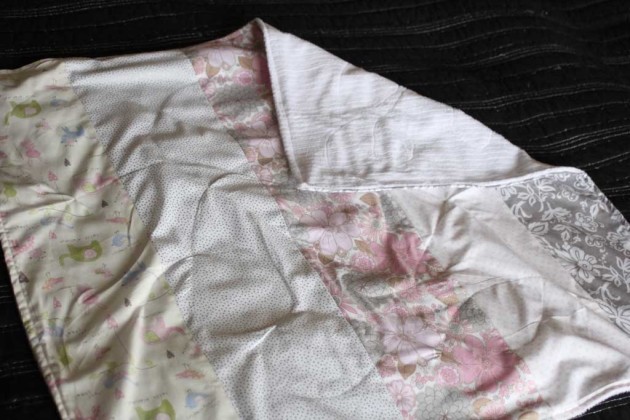
But after one seam I decided that was a boring way to do it. (famous last words!) So I decided to just freehand loops all over the piece. I think this is a cheater’s form of quilting, but since I’ve never quilted anything before ever… we are going to say it counts. I really did just do random loops all over the piece. You can kind of see in the picture below what it looks like. It pinched in a few places, but for the most part it looks okay. Although next time I think I’ll stick to my boring straight lines.
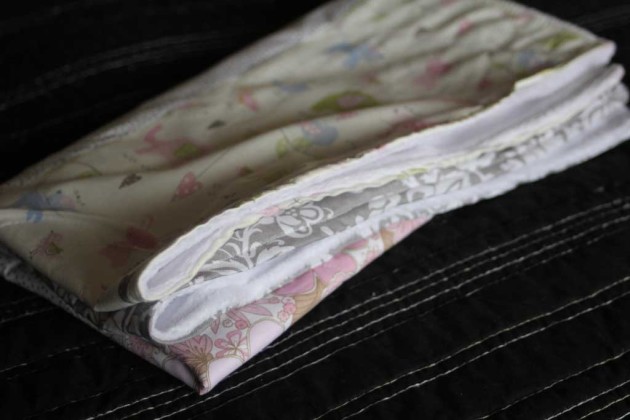
And then you are really done!
A quick and easy, soft baby blanket!



 Hi, I'm MJ! I'm a DIY kind of girl and this is where I share my projects. I'm taking you along for the ride as I learn how to do woodworking, sew, bake, and renovate!


Speak Your Mind