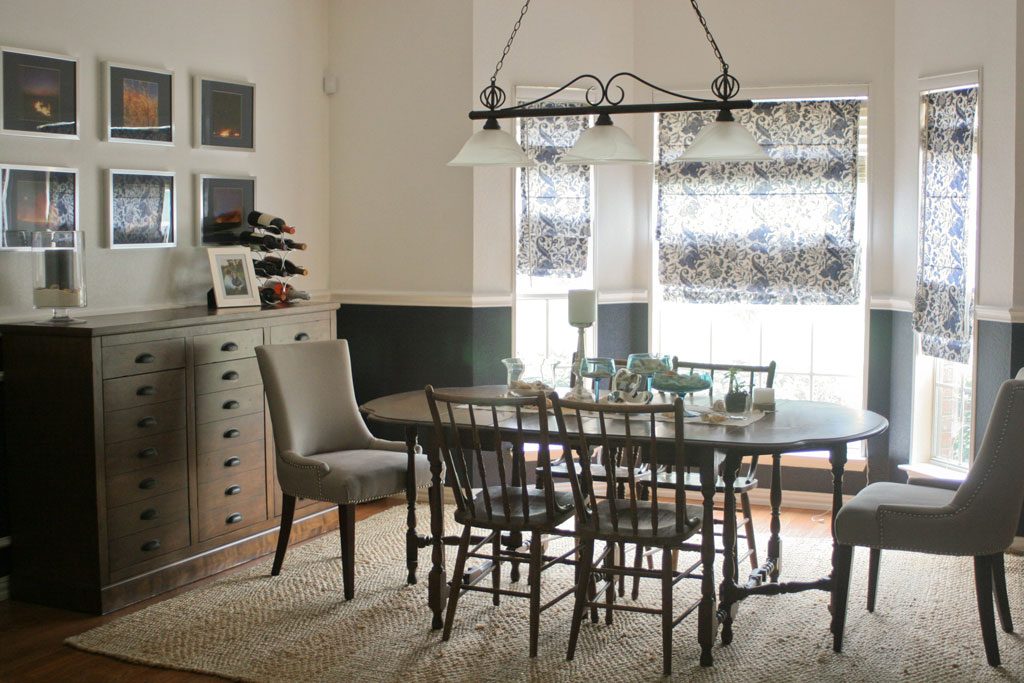
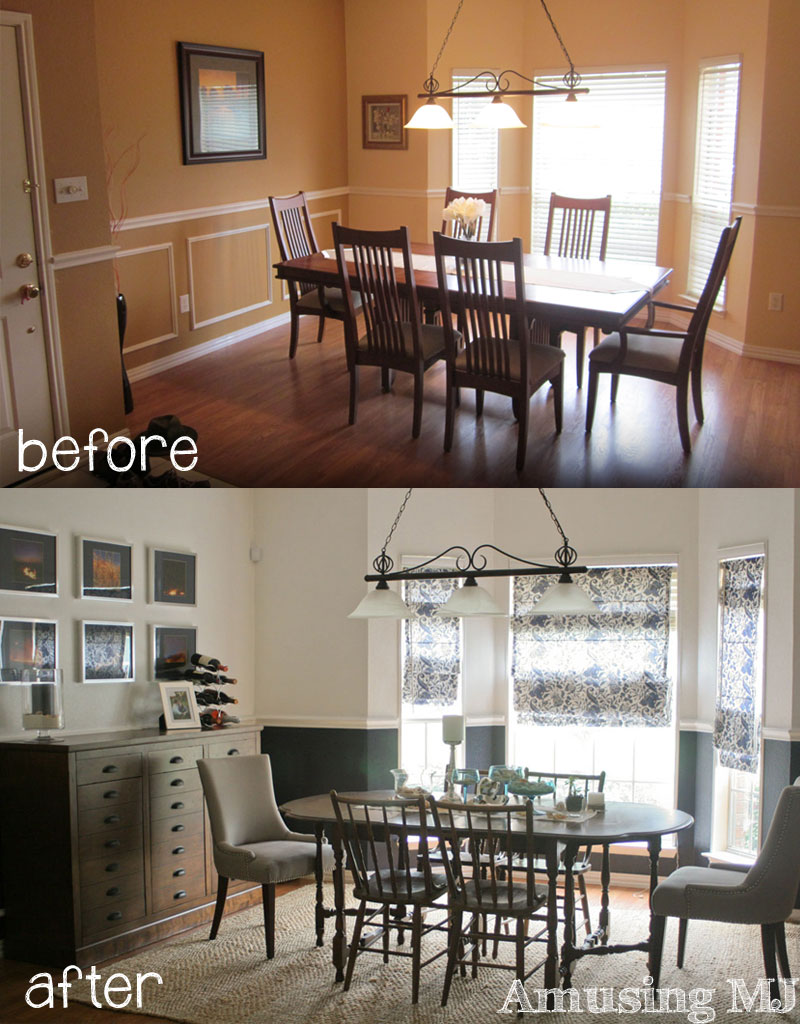
 I love our dining room. I love it mostly because we have already had many, many memorable nights of good friends and good food around that table. I actually nixed one of the houses I looked at because despite my realtor’s knowledge that they weren’t necessary and hardly used anymore, I knew I wanted the ability to host dinner parties. Since I didn’t have a stick of dining room furniture when I moved in, I went to my grandmother’s house and she had this large hutch she was willing to part with (it had been in the basement), as well as a dining table that had been in my grandfather’s office (the dining table actually collapses down without the leaves to make a pretty good sideboard). My grandmother bought the hutch from a neighbor when she and my grandfather returned to Kansas from WWII and paid someone to strip it down to its ‘au naturale’ state it is currently in. And can you see the holes in the sides? I’ve been told that was so you could put pies in there to cool and the holes would allow the heat to escape.
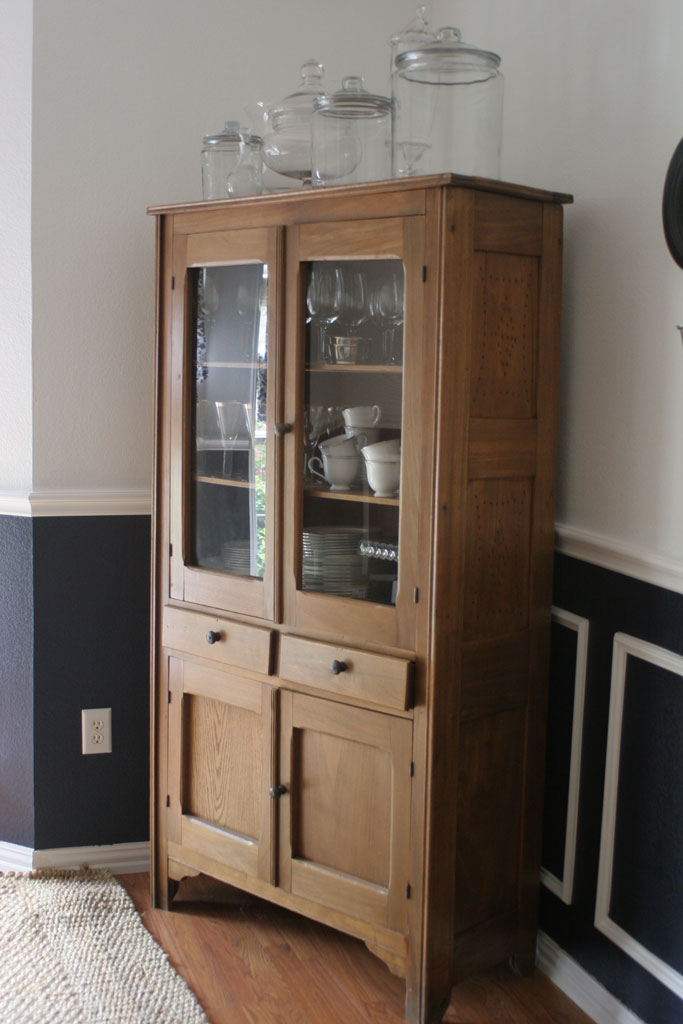

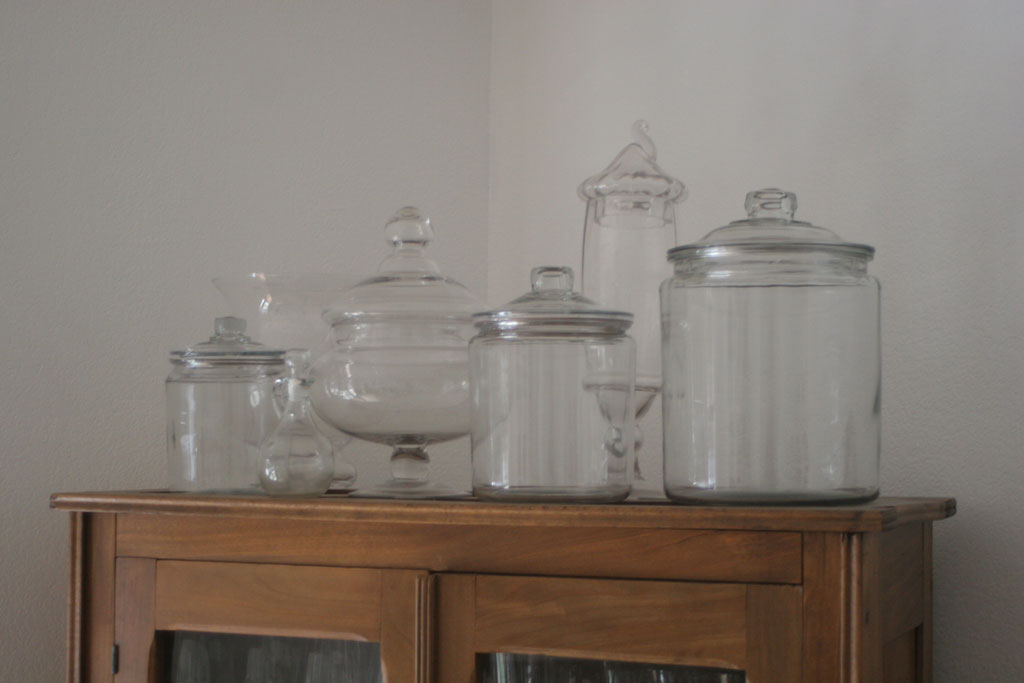
On top of it I have a collection of glassware… in addition to being a great place to store them, I love the feeling it gives off of an old general store.

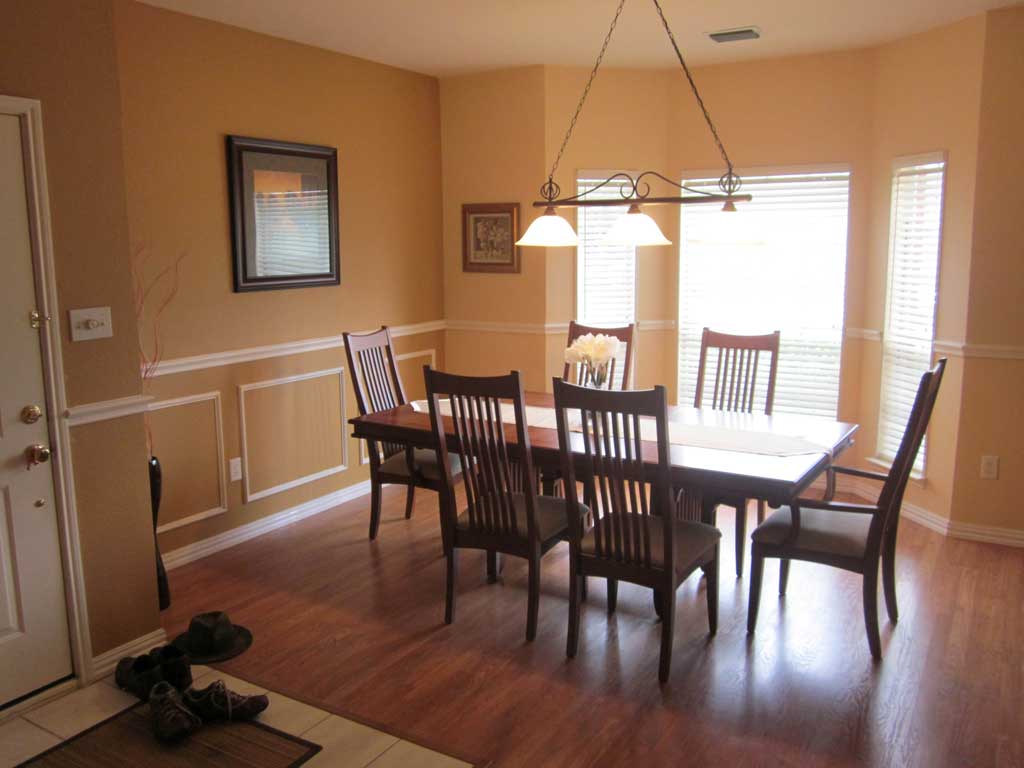
The table is in pretty bad shape with lots of water rings and scratches and dings on the top, but it serves its purpose pretty well! I plan to refinish or paint it in the future, but for now it just means I can relax at dinner parties and not worry about someone’s water sweating onto the table or a stray wine drip ruining my perfectly good finish!
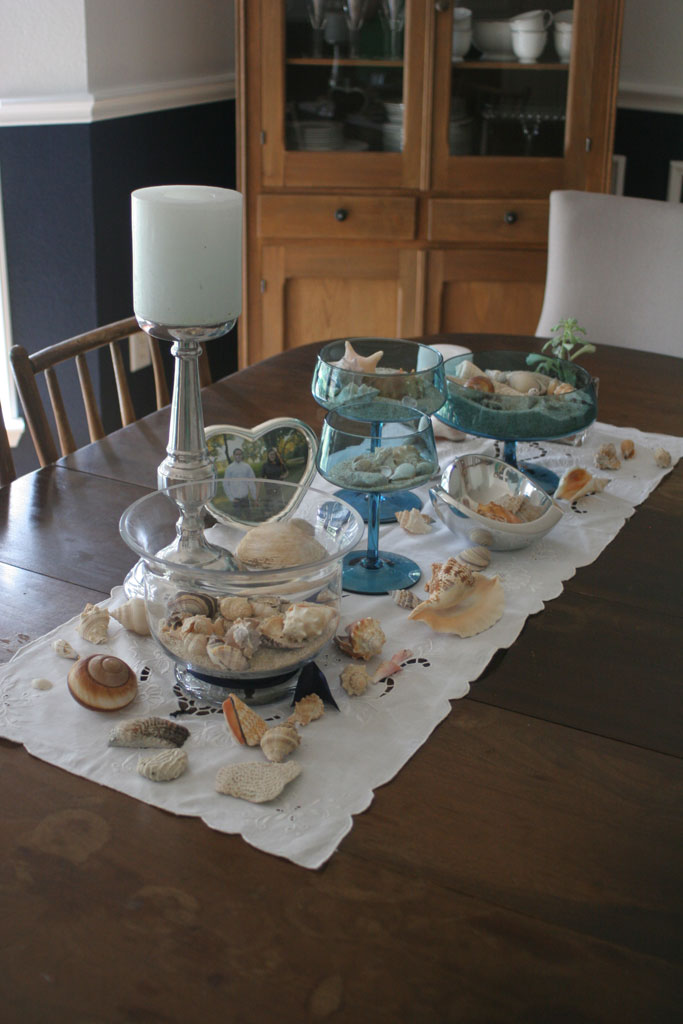

I come from a family in which seasonal decorating is an Olympic sport (you should see our houses at Christmas!!) but the only decorations I change much season to season are my dining room table layout. Right now it is summertime so I have out my beach-y stuff.
Funny side story: after a scuba diving trip with my family I decided to bring some shells I had collected home to use for just this purpose. My ever intelligent father said… you aren’t supposed to do that, they are part of nature; it’s not a good idea. I smartly retorted that I didn’t think customs cared about a few shells in the bottom of my bag. Come to find out… when I got home and dumped out my suitcase, I had brought a (now very dead) crab home in one of the shells. Lesson learned: customs didn’t care… but that crab did! I will now thoroughly investigate my shells before bringing them home.
Back to the dining room… the buffet on the left side of this picture was the first big gift my husband bought me. We had seen it at a store closing sale here in Dallas, marked down from $1500 to $500 dollars. At the time I debated whether or not to purchase, but decided I didn’t have the money to spend and passed it up. But I couldn’t stop thinking about it and told the husband I might go back the next weekend when I returned from a work trip and see if it was still there. While I was gone he went and bought it for me! (and he and a good friend hauled and installed it in the house…. and let me tell you, that thing is SOLID). It has three drawers across the top, but the rest are cabinets that just look like drawers. I’m not sure where I’d have stored all our wedding gifts if it weren’t for this buffet!!
I have two of those triplet window things in my house and curtains are so hard for those! In the Office I just hung two small curtain rods, but decided I wanted to try my hand at Roman shades. The curtains are THESE from IKEA. (Unfortunately that was before I was blogging… so I don’t have pictures of them in process… but if you google DIY roman shades there are tons of tutorials out there). The one thing I would have done differently would be to iron the curtains more carefully before attaching the strings for the roman shades… being a novice sewer I had no idea how important ironing was (hint: VERY IMPORTANT)!!
The rug is similar to this one from Pottery Barn. It works pretty well for the space. When it originally came from PB it had a bit of a musty odor to it, but after a couple of days being rolled out, that went away.
The two end chairs are from overstock found a while ago. The other four I got at an antique place in my grandmother’s hometown… for $25… TOTAL. I keep thinking I’ll paint them white, or do something fun to them, but I haven’t gotten around to that just yet! They have good bones, and are just the right size to fit between the legs of the table, so I’ll be keeping them for the foreseeable future.
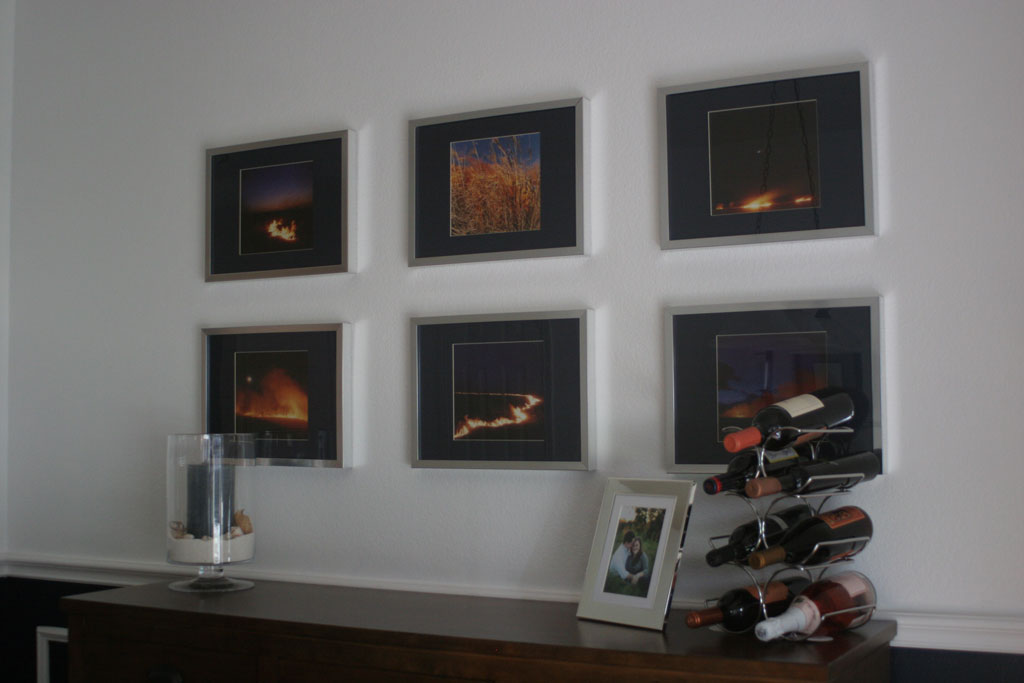

Every fall in Kansas the farmers burn some of their fields (I think to return nutrients to the ground) But they typically do it at night and it is usually a controlled burn and can be BEAUTIFUL to see. For graduation from graduate school my older brother and sister-in-law gave me a gorgeous print from a photographer who catches that process. It hangs above my mantel in the living room, but they also gave me a book with all his pictures in it, autographed by him. I loved the pictures and thought they would look beautiful framed in a collection in the dining room (don’t worry I ordered a second book instead of cutting up the autographed one). I had a friend cut navy mats to fit the pictures and hung these six in a grid on the wall. I think they look AWESOME.
Philosophical moment: I love the idea of the controlled burn because sometimes I feel like that happens in our own lives… we need a little pain and hurt to be able to develop into all we can be. Okay, moment over… back to the dining room.
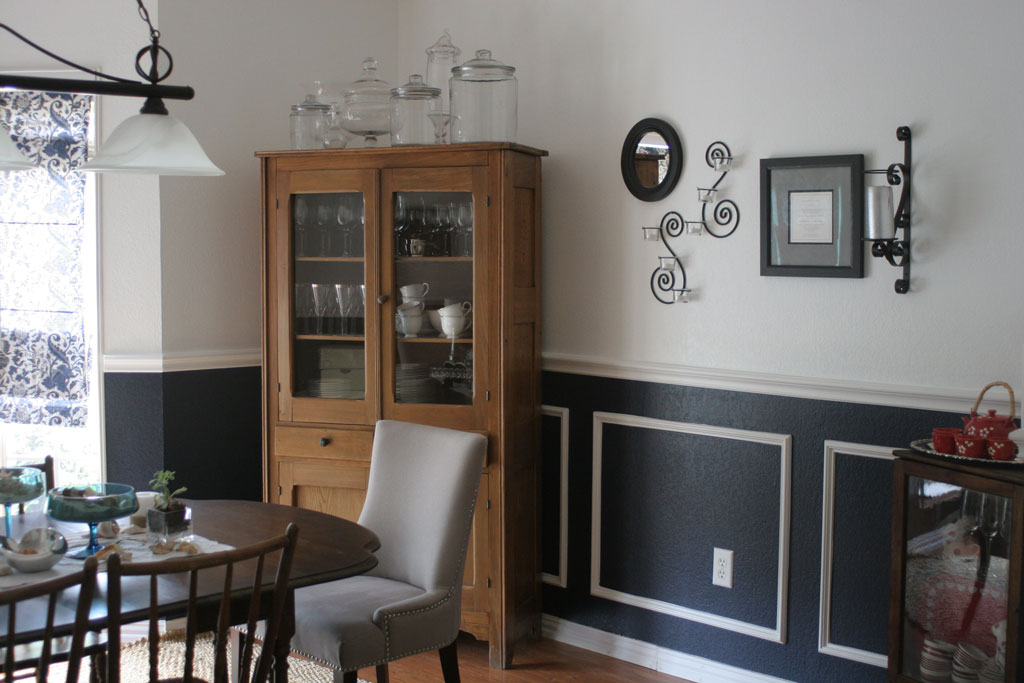

The artwork on the flipside is a framed copy of our wedding invitation (also a gift from my sister-in-law… she is a fantastic gift giver!), as well as some candles and a mirror.
And there you have it… all the details you never needed to know about the dining room!
-MJ


 Hi, I'm MJ! I'm a DIY kind of girl and this is where I share my projects. I'm taking you along for the ride as I learn how to do woodworking, sew, bake, and renovate!


