Pantry

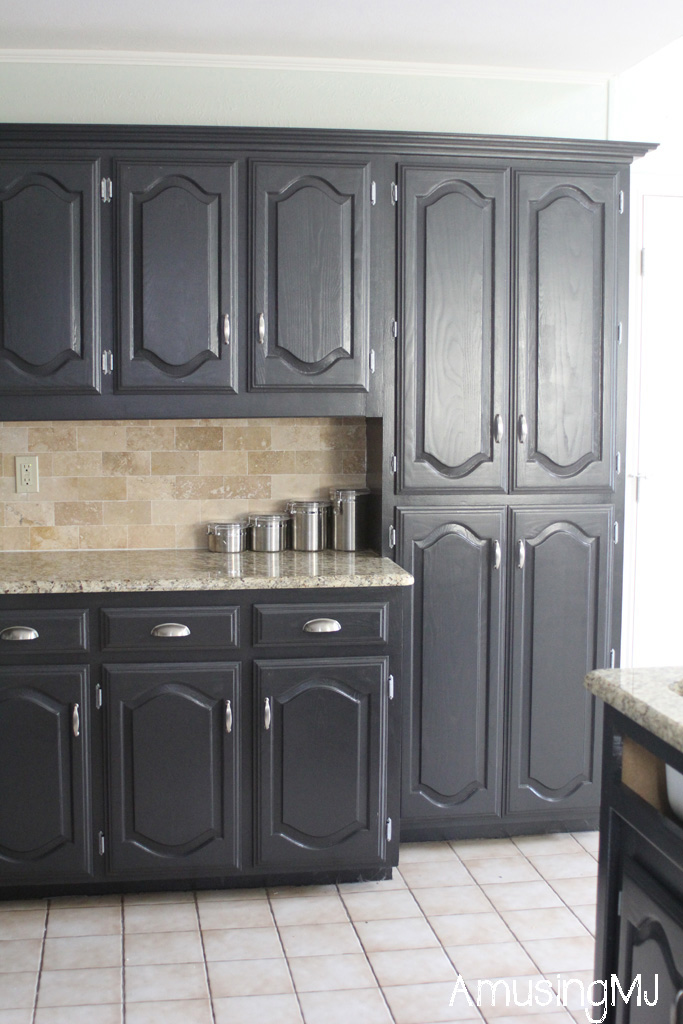
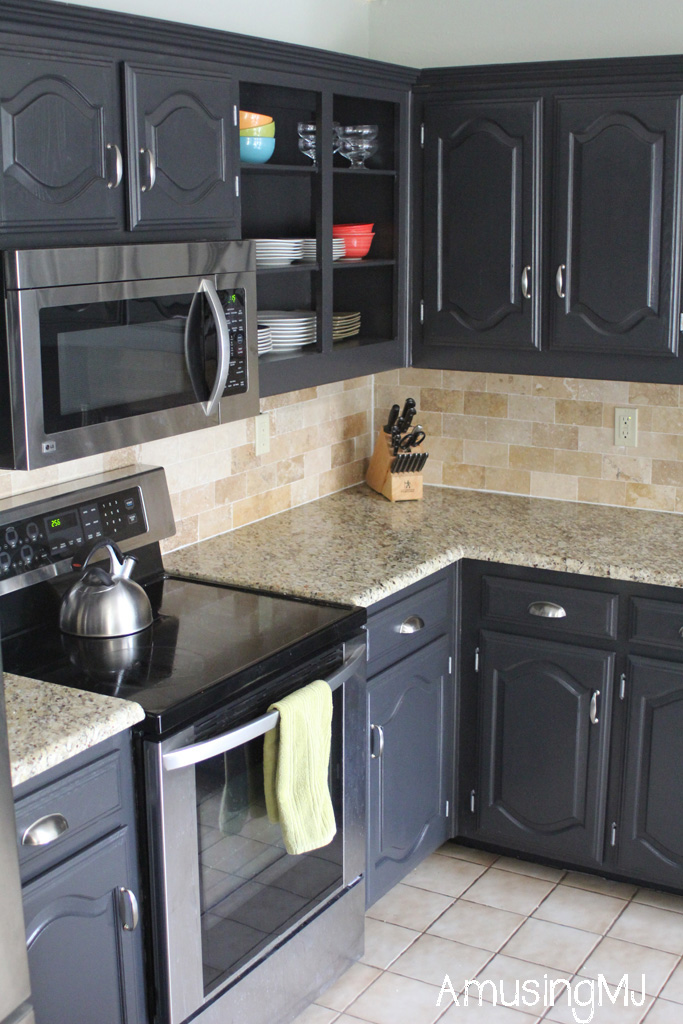
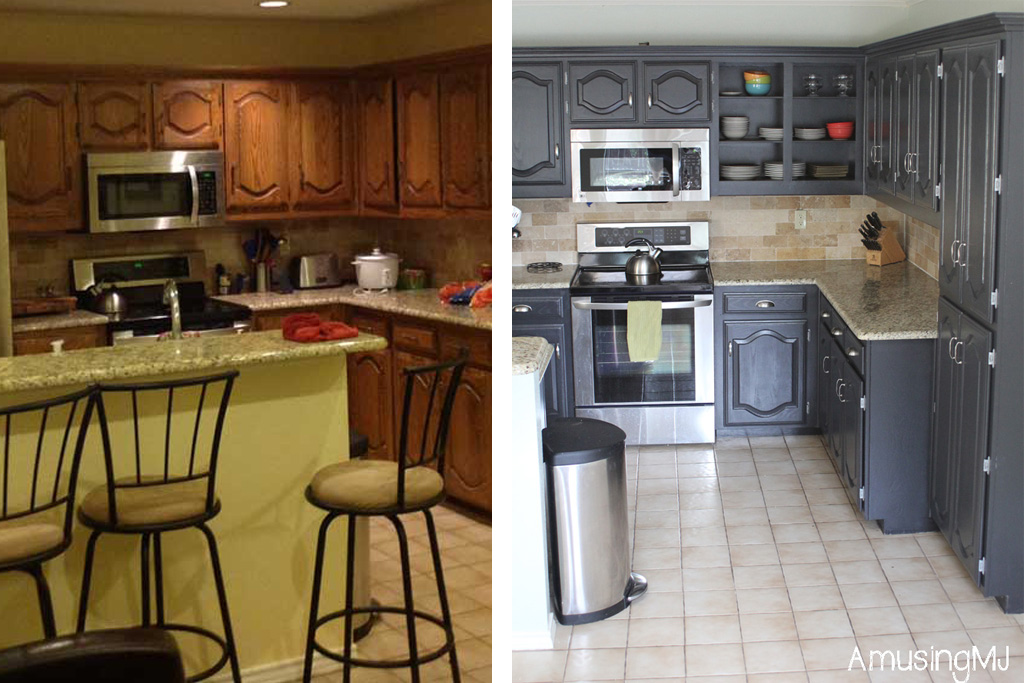
After living for 3  years in a small 1920’s house with 0 counter space and even less cabinet space ( I had 3 cabinets and no pantry).  One of the things I loved about this place when I looked at it, was the HUGE PANTRY.  What I didn’t realize then, was that deep pantry’s only have so much usable space without things getting shoved to the back and forgotten about.  And when you store some things that have a potential to get mold on them… this becomes a VERY IMPORTANT PROBLEM.  Since I discovered that problem pre blog, the pantry has pretty much been organized for a couple of years, but I thought I’d continue on the kitchen organization conversation happening this week and post about it.  (If you missed the other posts see here and here)

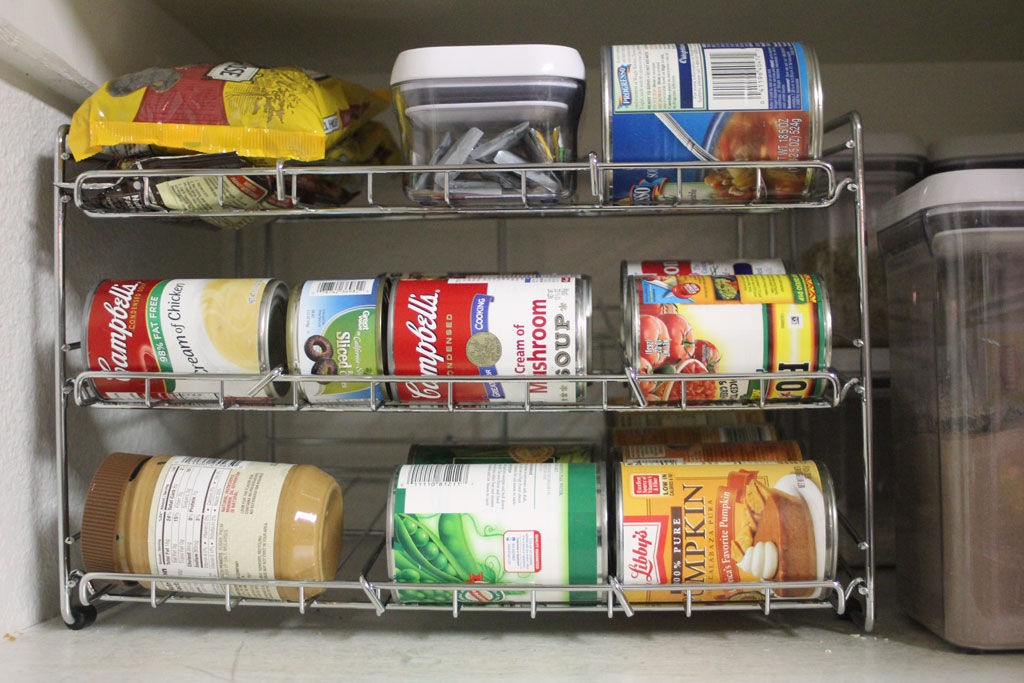
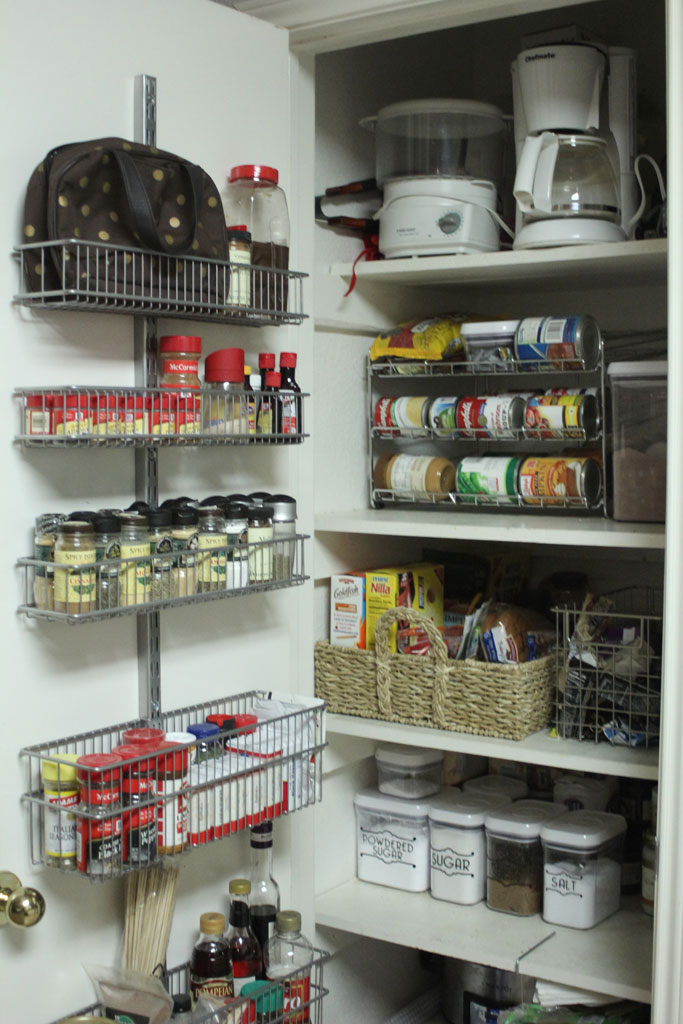
The first step in my organization was to buy a canned food holder.  This thing has been awesome.  Instead of searching through stacks of cans in the pantry, I can usually see everything that is there.  And since we don’t eat a lot of canned goods, but clearly eat A LOT of cookies… its become the go to place to store my emergency bag(s) of chocolate chips.

pantry4


I also bought a short, deep basket to keep our bread and snack stuff in.  This keeps it all corralled, and can easily be pulled out to see the things in the back.  I might eventually buy a rolling drawer like I did in the tupperware cabinet but for now this is working for us.  We also have a wire basket (a gift for our wedding… I think from Crate and Barrel) that we use to put prepackaged individual snacks in, like granola bars, protein bars, etc.  It makes it an easy place to go searching if you want a quick snack.

pantry3

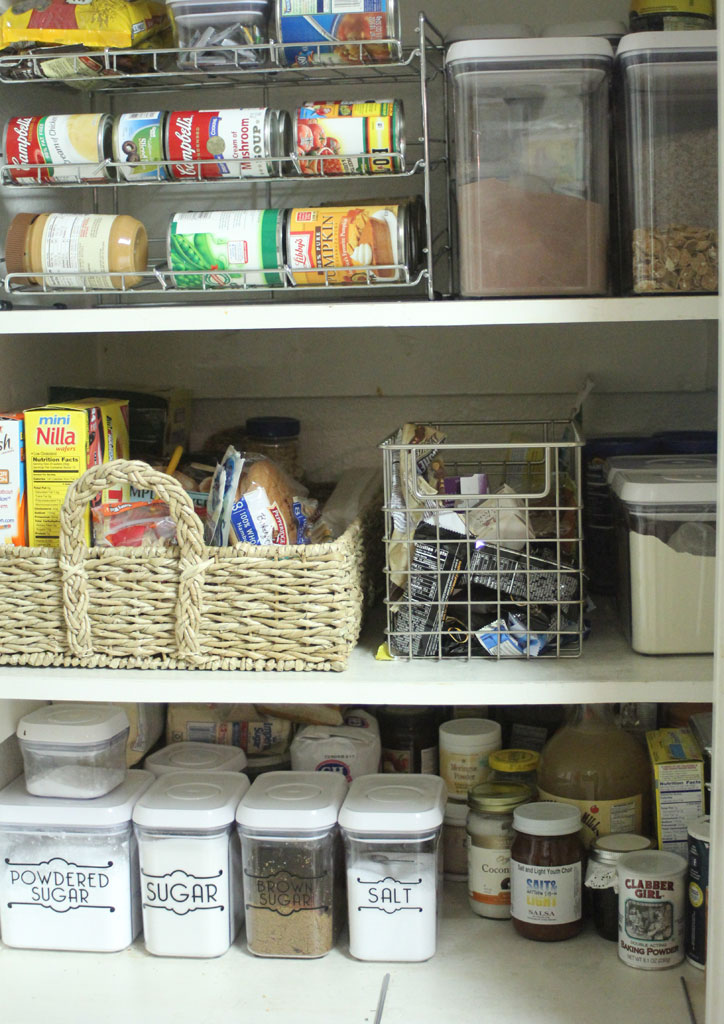
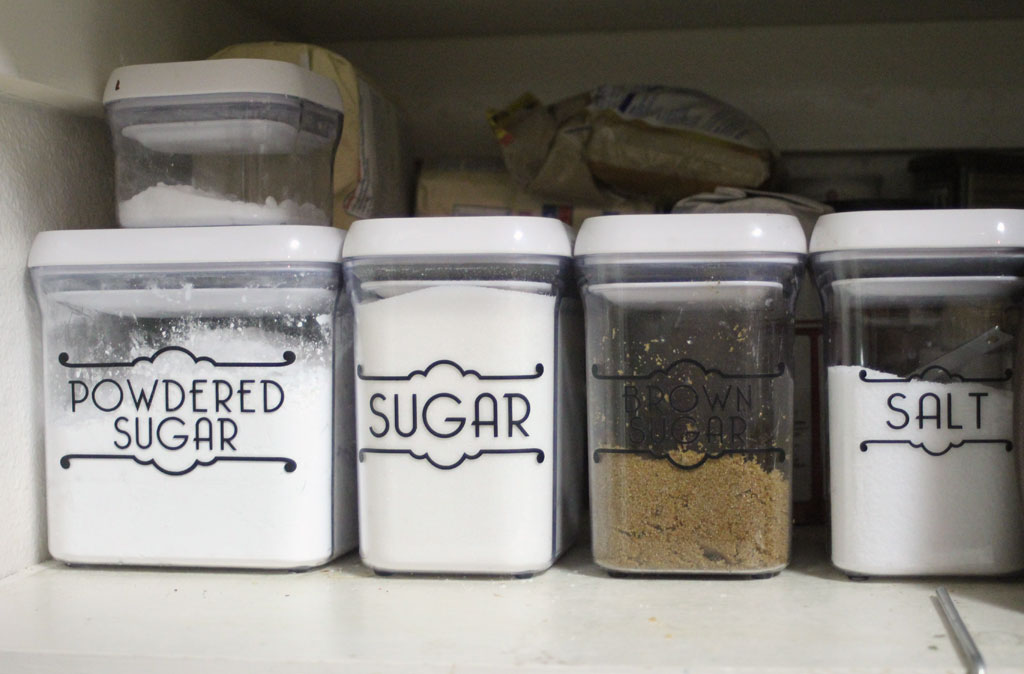
We also registered for a ton of these OXO Pop containers during our wedding and I have loved them.  I find they are most productive with things that you keep on hand for a while.  I make a lot of oatmeal from scratch, we keep the husbands massive amounts of protein powder in them, as well as rice, spaghetti noodles (uncooked obviously), and our baking goods.  I bought the vinyl stick on labels from The House of Smith’s Shop.  This shelf is all baking goods items and I keep the frequently used stuff towards the front with extras in the back for if those run out.

pantry6

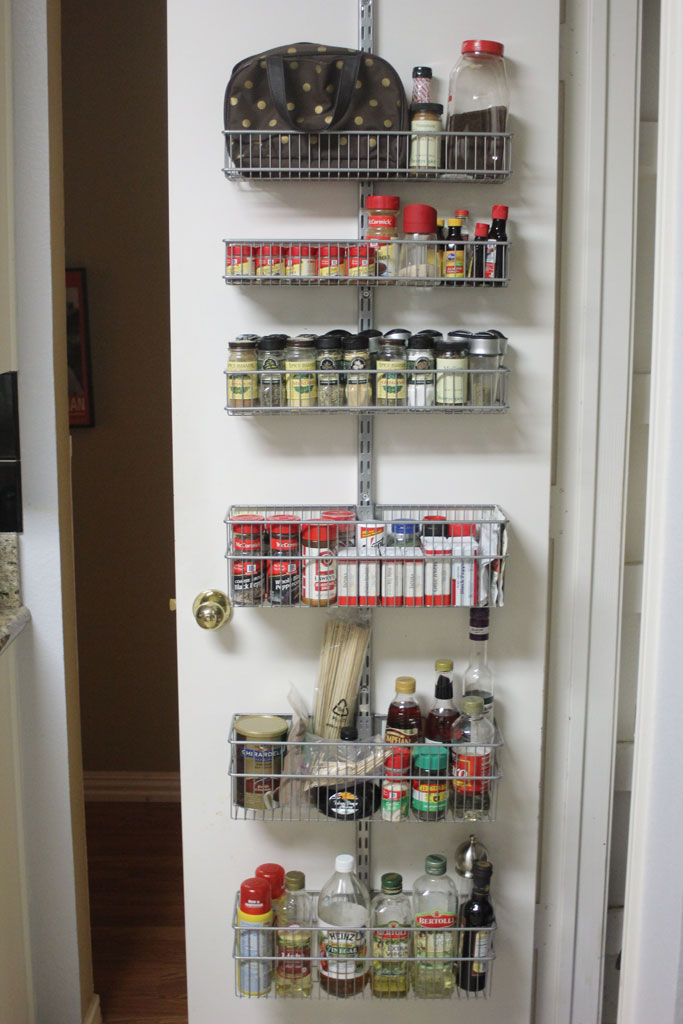
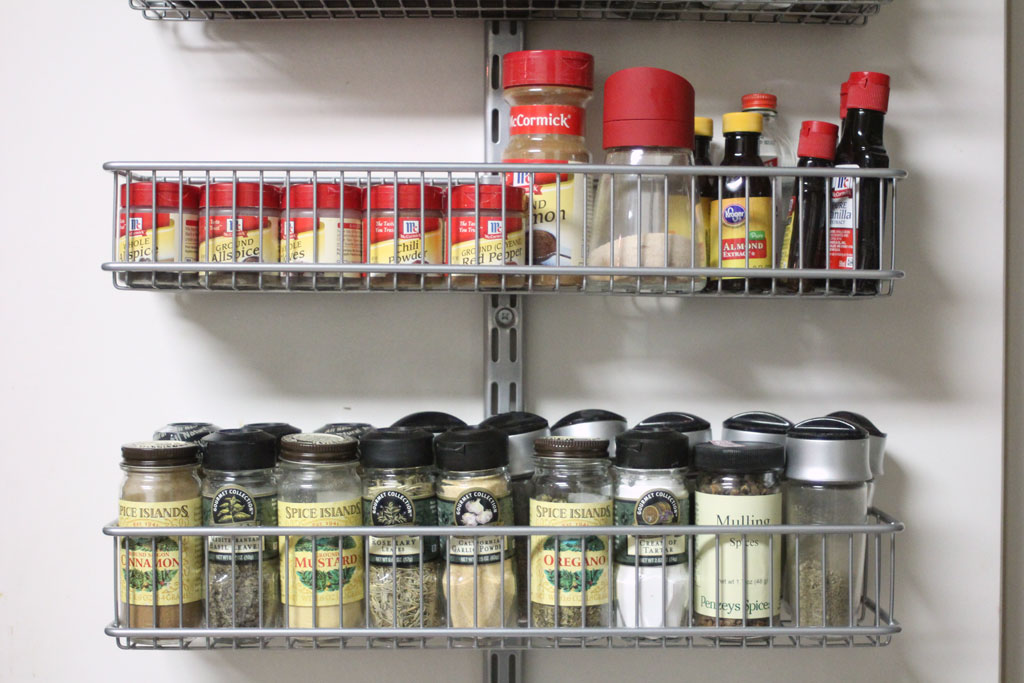
The other major piece of organization I did here was to add in a set of elfa shelves along the door.  I just drilled it into the door following the instructions from the container store.  If I use their smaller set of baskets, the door has no problem closing and it adds a TON of usable space for all my spices and oils and things.  Plus it’s easy to see the labels and keeps them from rolling around on the pantry shelf.

pantry2

pantry5

We store our appliances on the top shelf (remember the husband and I are not so tall… so the top shelf isn’t the most used space in our house, but we can reach up and get an appliance).  We aren’t coffee drinkers, but my mom likes to have coffee at my house, so I keep a pot for when she comes to visit. That appliance on the top left is a steamer.  If you don’t have one of these you should.  We cook the vast majority of our vegetables in it, just cut them up, add water into the bottom and POOF (well 30 minutes later) perfectly steamed veggies.

pantry1


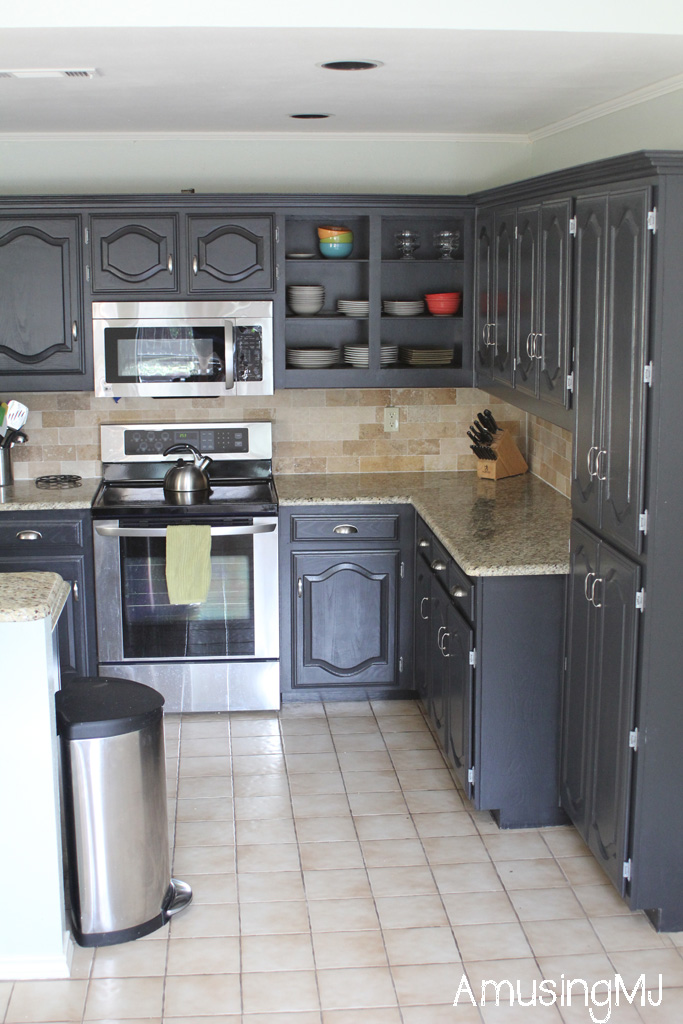
And that’s our pantry! I believe the tour of kitchen spaces is now complete!
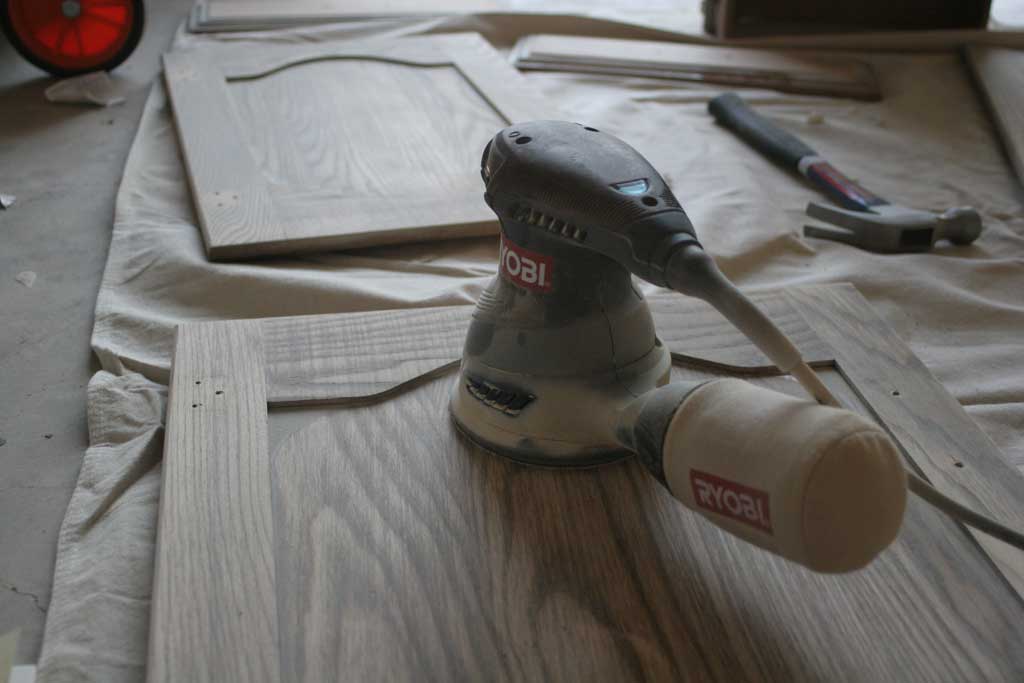
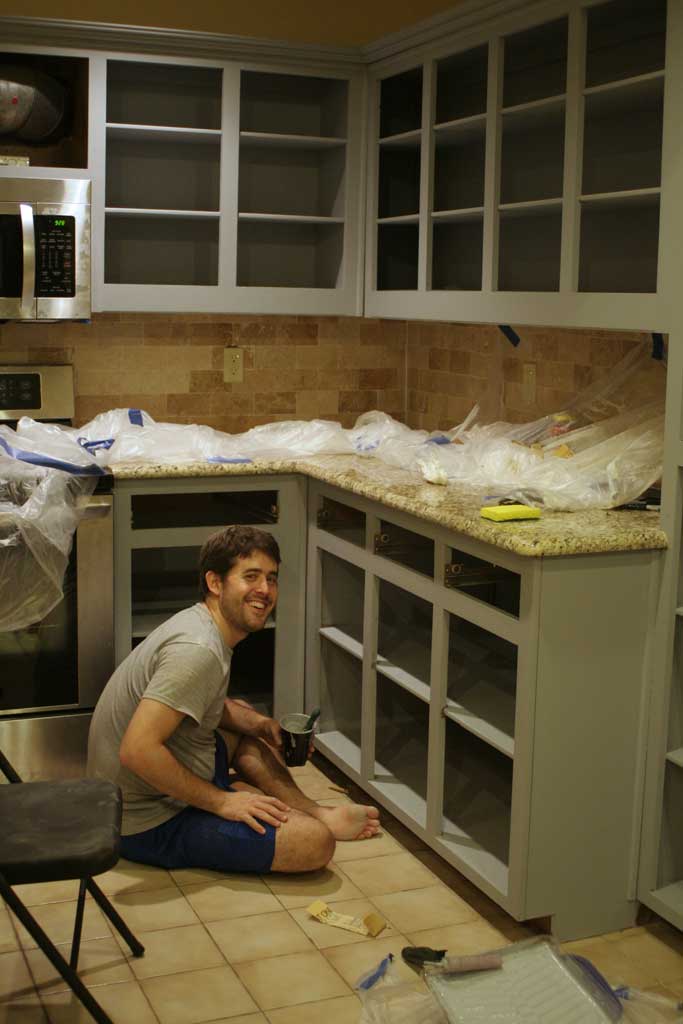
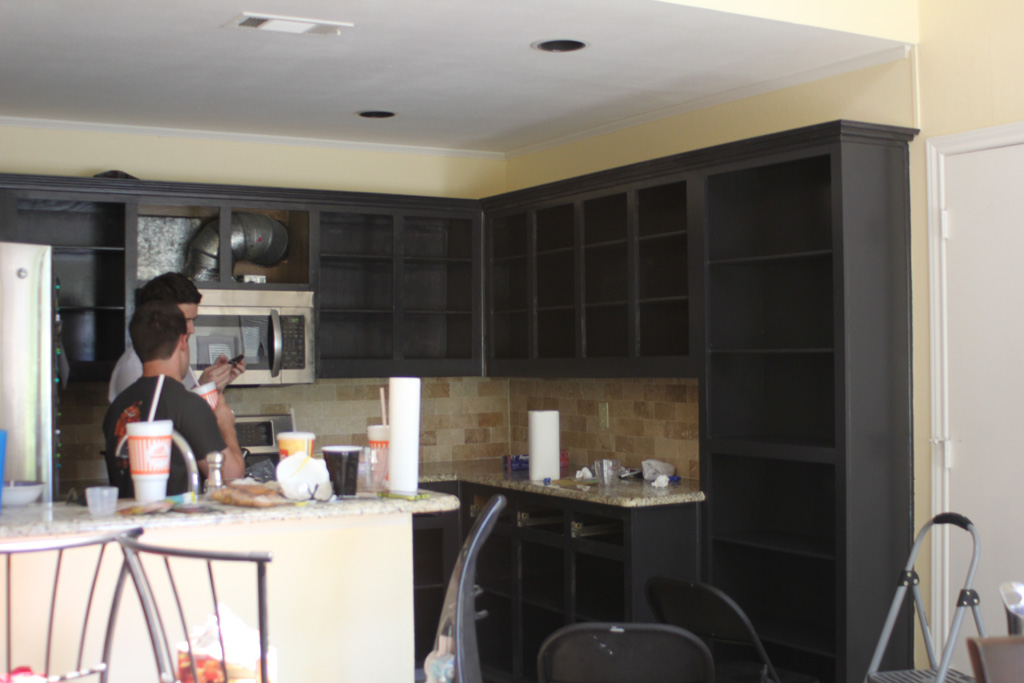
AJ’s Kitchen

Some of you may recall that I made a list this summer of some of the things I wanted to accomplish before my 30th birthday next June.  One of the things on that list was to help my twin brother fix up his house.  We live about 10 minutes away from each other and spend a lot of time hanging out.  Being a twin is this crazy thing… you always have a friend, a cohort, a partner in crime (although more often than not… AJ was tattling on my crime sprees rater than being my accomplice).  People ask what it is like being a twin, but I’ve never known anything else, so it is kind of hard to compare.  We’ve definitely had our moments of disagreement (read: ALL OF HIGH SCHOOL) but have settled into a great adult friendship and I am so lucky to have him.  He will be quick to tell you that he actually set me up with my husband (unbeknownst to my poor husband at the time).

One of the great things about having a twin so close is that they are automatically great help for projects.  Since we bought our houses around the same time, we’ve spent quite a bit of time helping the other one paint, move, fix up etc.  We can’t even possibly keep score at this point of who owes who, since it is just part of our nature to help out when the other one needs it.  In the spring, my brother is going to tie the knot with one of the sweetest, most fun person I know and I’m so excited to be getting another sister-in-law! I couldn’t be more excited for them!

They’ll be living in the house my brother is in now and they decided they wanted to fix up the kitchen a bit.  It has a great layout, fabulous countertops and mostly new appliances, so the cabinets were really the big thing that ‘dated’ this kitchen.  AND the previous owners LOVED yellow; every room in this house started out as yellow. Here is what we were working with:

ajbefore

So we did our research and decided to paint the cabinets black.  This room gets a ton of natural light during the day and with its open design it would still look open and light even with the dark cabinets.  First we removed all the cabinet doors and started the slow process of de-glossing and sanding.  We used this deglosser that I had leftover from painting my bathroom cabinets gray.  It doesn’t take a ton per cabinet, but you basically wipe it on in a circular motion and then wipe it off.  After reading lots of reviews of how to do cabinets, we decided to be extra cautious and do liquid deglosser and sanding.  It may have been a little overkill, but these guys were pretty glossy before and if we were going to do this thing, we wanted to do it right.

So after we deglossed them, we took an orbital sander and sanded down all the cabinet fronts and doors.

ajcabinets3

AJ did the bulk of this work on his own before the weekend that we had planned to come spend helping him out.

ajcabinets2

  We used Benjamin Moore advance paint for everything.  They tinted the primer a gray color since we would be painting black over it. So here they are all prepped and ready to have primer: (ignore the part on the right that already has primer… I started painting before remembering to take pictures!

ajcabinets5

We painted one coat of the gray primer over everything.  We ended up choosing to paint the insides of the cabinets as well because we liked the idea of having some open shelving, but weren’t sure which ones they would leave open, and we liked the consistency of having the same color inside and out.

ajcabinets1

Next up… black paint.  The paint color was Universal Black from Benjamin Moore. It had pretty good coverage after one coat, but was uneven, so it definitely needed two coats of the black paint.  We found it easiest to cut in with the brush first and then use a small foam roller (you can see it in the pic above) for the most even looking coat.  The Advance paint is ‘self leveling’ and it did a pretty great job of leveling out all the brush strokes.

ajcabinets9


All in it took about 10 days of pretty solid work (and 4 people over the weekend) to do all the steps.  This was NOT an easy weekend project, but seriously, take a look at these afters and you will see how much it was worth it:


ajcabinets8

ajcabinets7

ajcabinets6

And just because it is so fun, a before and after:

kitchenbeforeandafter

Doesn’t that look awesome!?


Backsplashin’ It Up

One of the biggest projects we undertook in the kitchen of this house was tiling a backsplash.  I found this black hex tile from The Tile Shop and ordered a box (without even measuring… which I don’t recommend since I have a TON of black hex tile leftover…oh well, I’ll just have to find another project to tile!)

It sat in my garage for about 6 months before I got the nerve to start my first tiling project.  But it turns out, tiling is super easy! The hardest part for us was ‘nipping’ the black hex tiles to fit smoothly around the edges and the outlets.  It was a good thing we had lots of leftover because it took a lot of trial and error to figure out how to do it best.  My best recommendation is to follow this tutorial from Young House Love.  That was our go to way of getting them all cut and laid out to fit.  Is it perfect? Nah… but perfect is boring. And I love how fun the backsplash is and definitely ties the black from the granite counter tops in.

kitchen-backsplash-closeup
Since we did this before I started blogging, I don’t have any in process shots for ya, but its pretty straightforward.  We used the already mixed thinset since this project didn’t take more than the one little bucket HD sold, then placed our tile up in its 12×12 sheets.  For the parts that didn’t take a full sheet, we laid it out on the floor to get the layout/cut the sheets prior to slathering them up on the wall.  And for the larger portions we staggered the sheets so that you couldn’t tell where one started and the other ended.  Once they were all up, we took a step back to make sure there weren’t any obvious seams or gaps since the thinset was still soft enough to adjust a little here and a little there.   kitchen-backsplash-stove

And as you can see there aren’t very many places where is looks uneven, so I was pleased with the results and the process. For the edges we just place black bullnosed subway tile from HD.  I think we ended up needing 8 of them, so they weren’t a big added expense and really provided a great way to mark the edges! kitchen-backsplash-mixer