Archives for November 2013

Let There Be Light

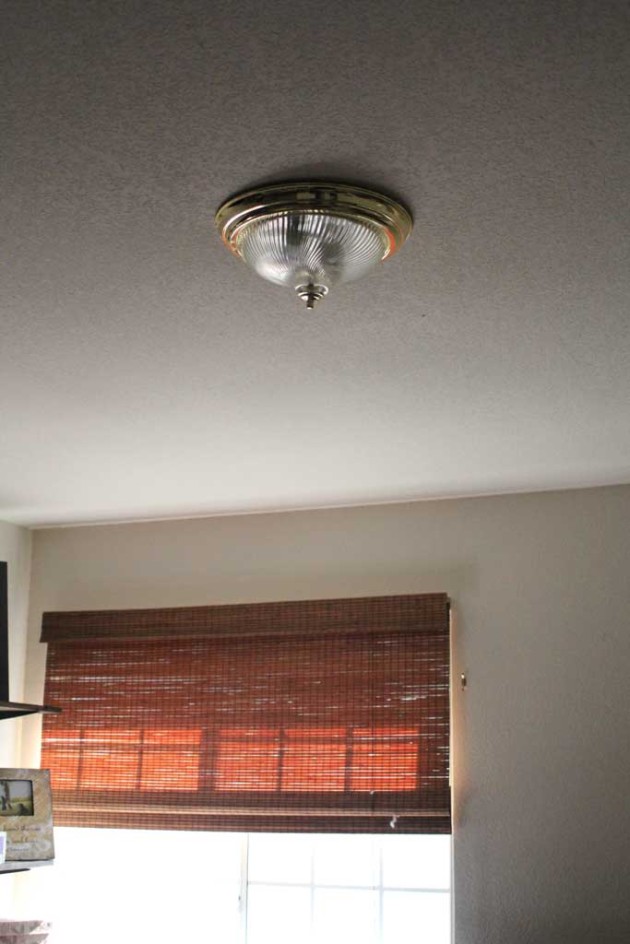
Theoretically, switching out a light fixture is a simple, quick process: unscrew the old light, hook the wires up to the new one, screw the new one into the ceiling and voila… brand new light fixture. The only painful part should be the hit to your wallet (seriously… why are lights so expensive?!).  This project on the other hand… the complete opposite.  We bought a light fixture from Young House Love’s collection at Shades of Light. These lights are designed to be affordable and attractive… mission accomplished.  We ordered the Large Wire Globe Lantern in Rusty Bronze for the Bonus Room.  After it was back-ordered twice… it finally arrived last week.  So this past weekend the husband and I decided to install it.  I was so ready to get rid of this ugly thing:

bonuslight1

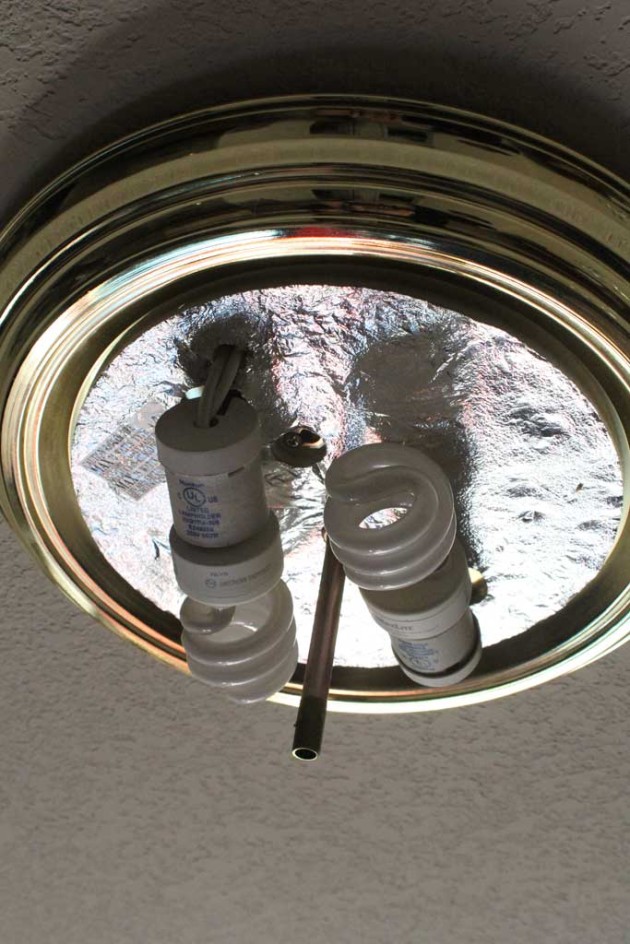
Now I’m not a newbie at installing light fixtures, and most of them have gone off without a hitch, but this one was a bit complicated.  The simple instructions for replacing light fixtures are to remove the old fixture and then connect the new one in the same way… is basically match the colors… black to black, white to white and then connect the copper grounding wire to either a grounding screw or to another copper wire.  So we started by unscrewing the cover and then unscrewing this from the ceiling:

bonuslight9

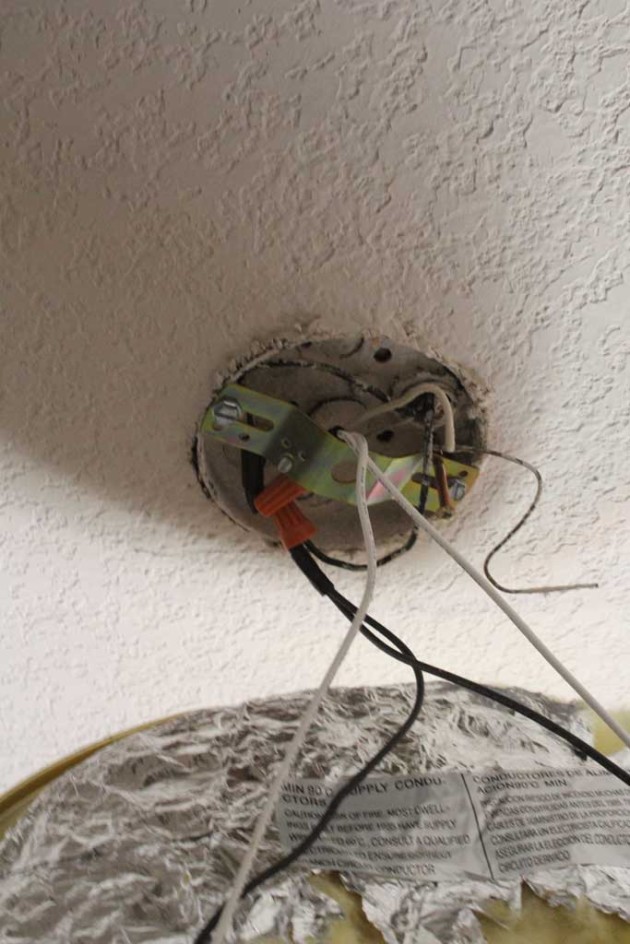
So when we took this cover off, the junction box was TINY. And normally the bolt would be universal and fit into the brace that is already there, but this bolt didn’t fit into the hole, so we had to remove that as well. The new light came with a brace of its own (they normally do), but it was straight across instead of bending out towards the room like this one does:

bonuslight8


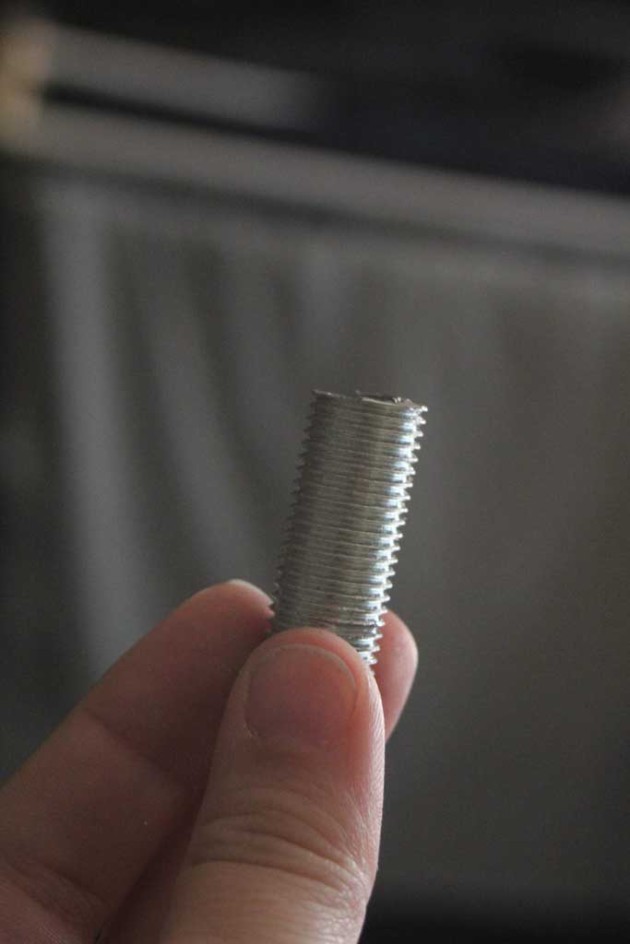
So we had to take a hacksaw to the bolt they provided so that it would fit:


bonuslight14

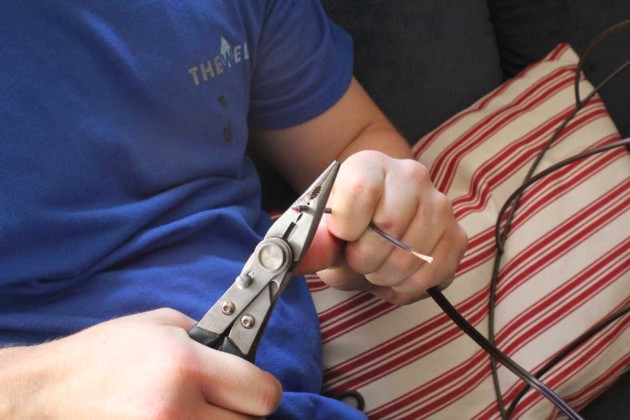
The next step was measuring out the wire and chain to match how long we wanted for the light fixture to hang down.  We cut off the wire with enough extra to strip off the outer plastic coating.

bonuslight7

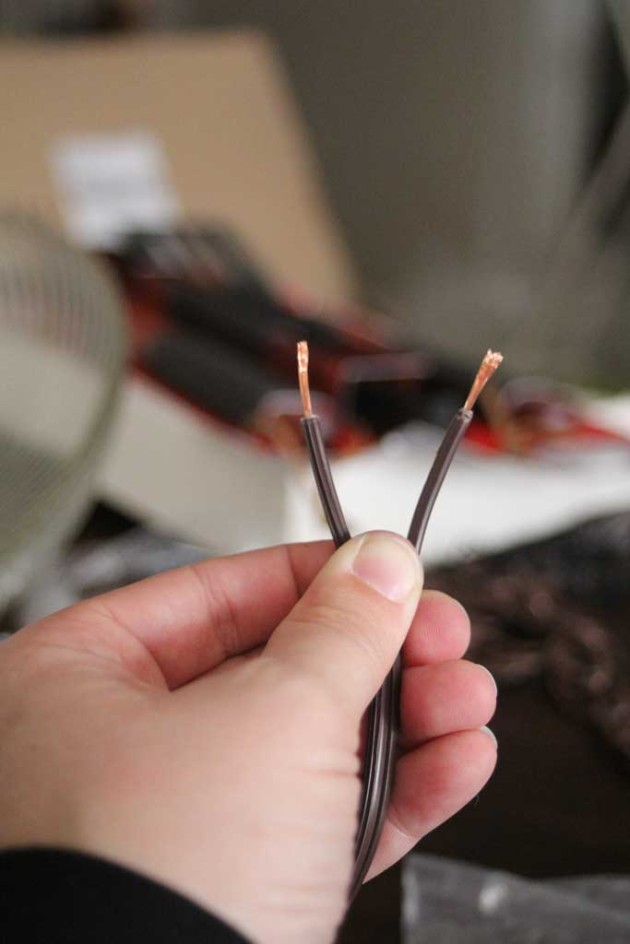
This light fixture didn’t have separate black and white wires to match up to the ones from the ceiling.  When that happens, usually one has ridges on it and one will be a smooth coating.  The one with the ridges should connect to the WHITE wire.  The smooth one should connect to the black wire.

bonuslight6

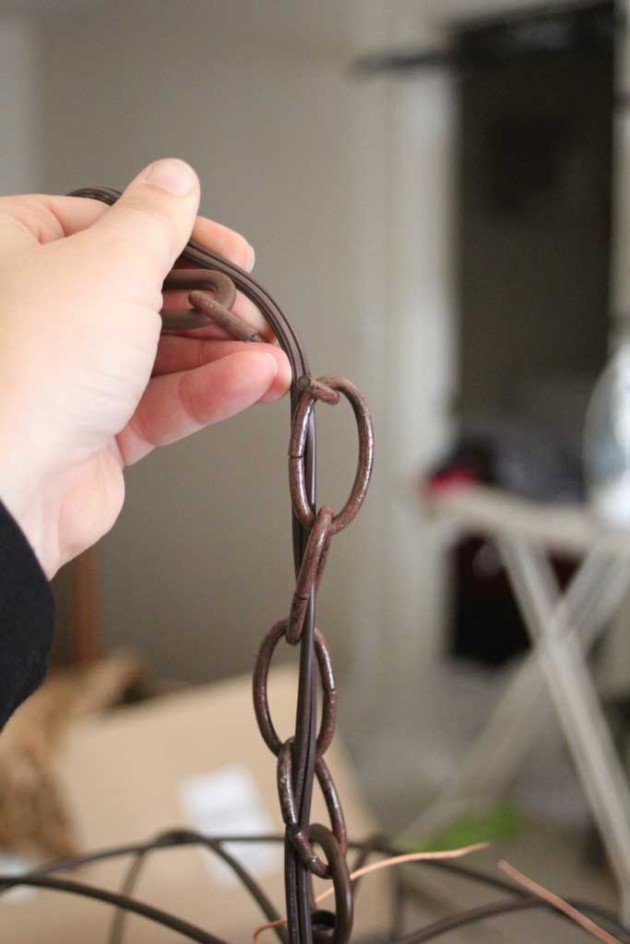
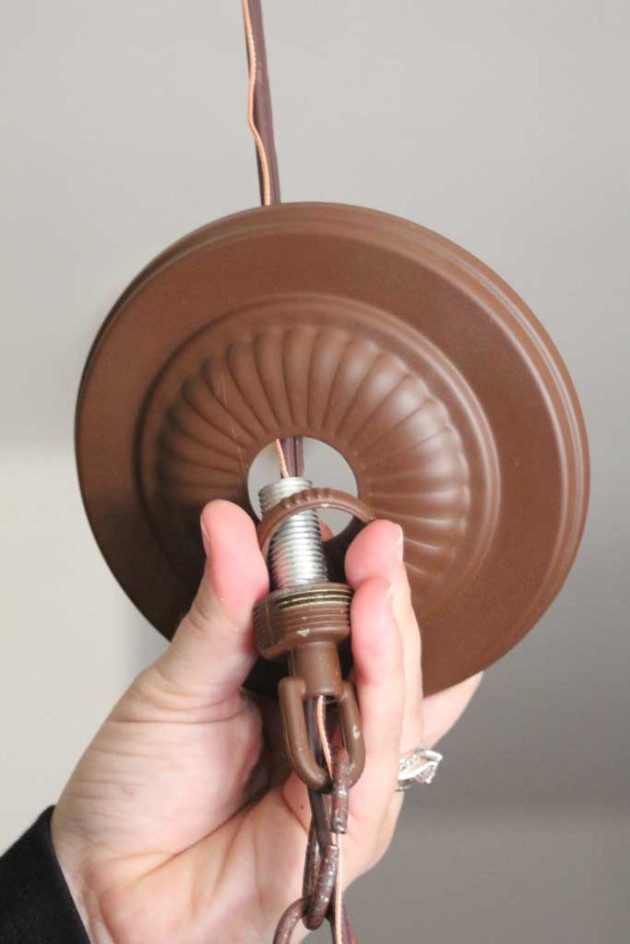
Once you have that all set, thread the wires up through the chain and in through the bolt at the top.

bonuslight5

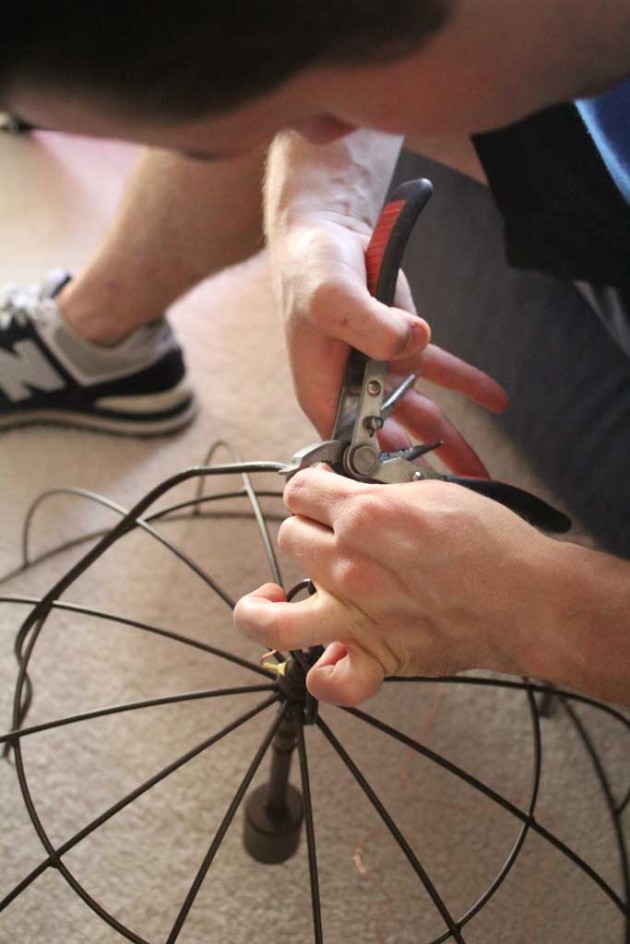
We used pliers to open up the chain links to make it the length we wanted it to be.

bonuslight4

With the junction box being so small, it was a struggle to get everything to connect and fit in through this hole and into the junction box while connecting it, so unfortunately we needed all four hands so I didn’t get any pictures of that process, but basically this is what you want it to look like when it is ready to hang.

bonuslight3

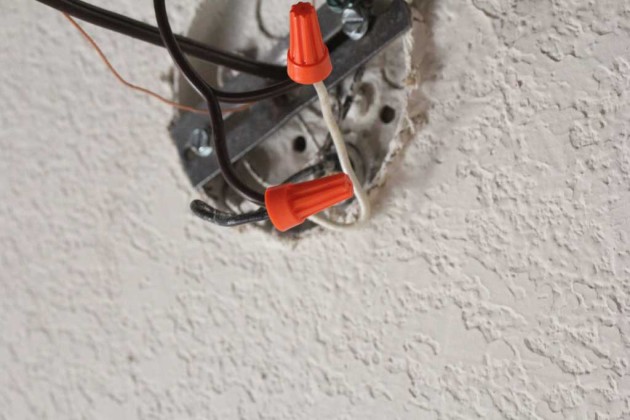
To connect the wires together there should be little orange (or sometimes yellow) plastic knobs that you will put over the ends to both wires (the one from the ceiling and the one from the fixture) and then twist.  Here’s what the connections should look like:

bonuslight15

I took the picture above (seriously check out those photography skills…joke joke joke) before we actually successfully got it attached.  Because our wires were getting twisted and didn’t have enough room above the bracket in the junction box to screw in the bolt, we ACTUALLY got this attached to the ceiling by unscrewing that bracket from the ceiling, screwing the bolt with the wires connected through it, and then screwing the bracket into the ceiling as our last step.  Sorry its a bit confusing… and by this time I was entirely fed up with holding my hands above my head trying to screw in screws so I was just a wee bit grumpy.

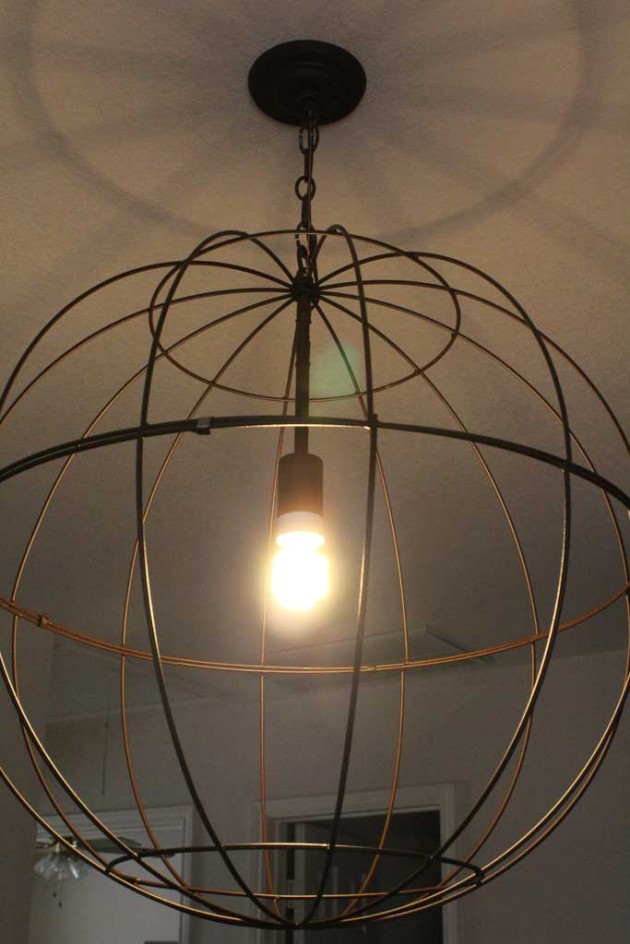
But it was so worth it because here is what it looks like now:

bonuslight2

Sorry for the poorly lit photos, with the time change I am home 0 times during the day when it is light outside. I also ordered this light from Amazon which has a cool antique-y vibe to it (but of course that doesn’t translate to pictures or at least not with my limited photography skills).

bonuslight13

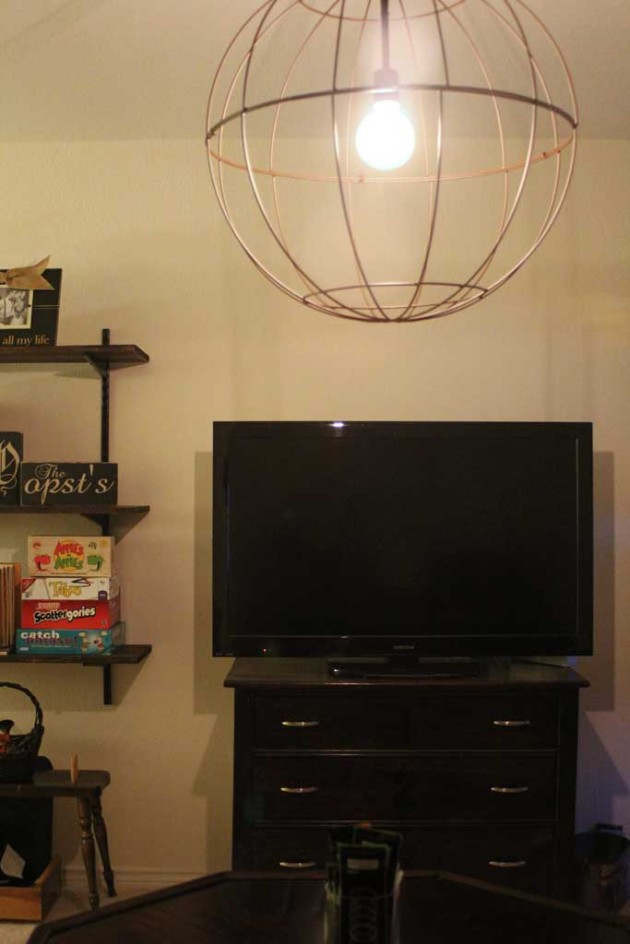
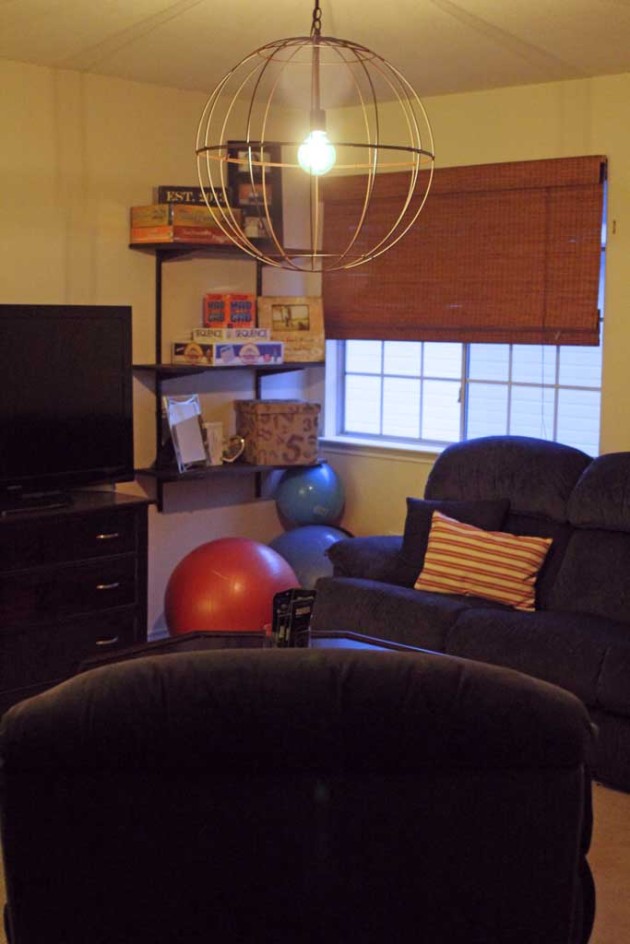
And with that project completed, I’m calling this room DONE (for now).  I’d planned to add some curtains around the window that you can see in the picture below, but the fabric I was going to use doesn’t look as great as I thought it would, so I’m holding off on that for now.  As always… I’ll let y’all know if that changes!

bonuslight11


Happy Thursday… The weekend is almost here!

Jungle Animal Baby Shower

Since we are on the topic of baby showers this week, (see yesterday’s cool baby shower activity) and I’m waiting on a cool Edison bulb to arrive before I can show you the new light in my upstairs bonus room, so I decided to show you the pictures from the baby shower we threw for my best friend a few years ago.  Her precious baby boy Cooper is not much of a baby anymore, but I think the shower we threw was awfully cute.  She and her husband were decorating their nursery using some jungle animals for a theme, so we decided to run with that for the theme of the shower.  I can’t take credit for most of the cute things at the shower, Amy’s sister Beth is a craft genius and artistic to boot… so she painted and created a lot of the decor as well as making the cookies from scratch.  But take a look at all the decor:

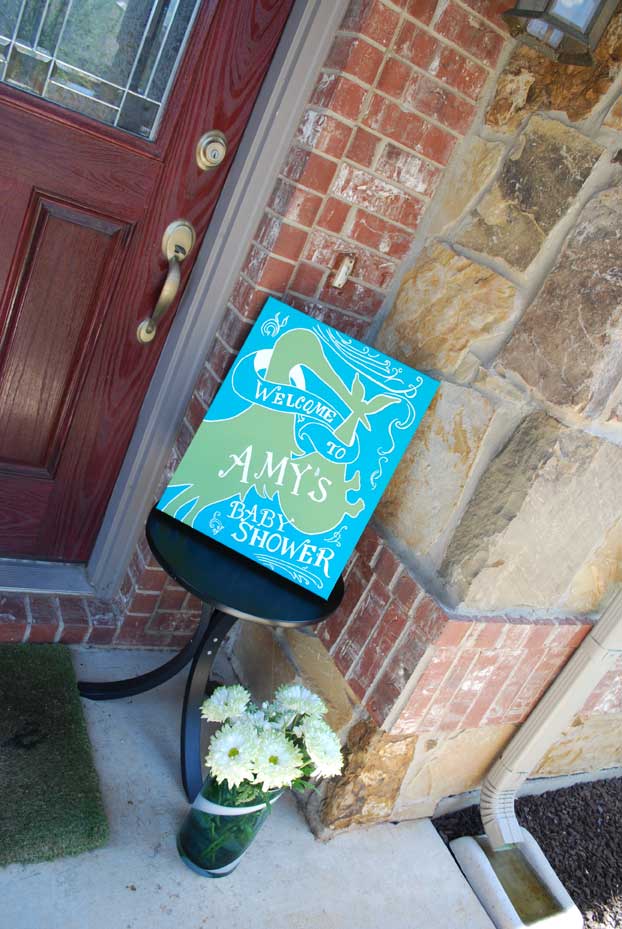
To welcome everyone to the party, Beth painted a canvas with a cute stork.

amysshower6

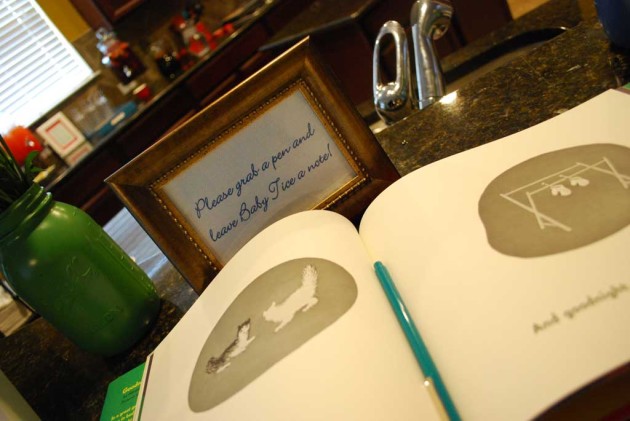
The guest book was a copy of Goodnight Moon that everyone left a note for Baby Cooper.

amysshower2


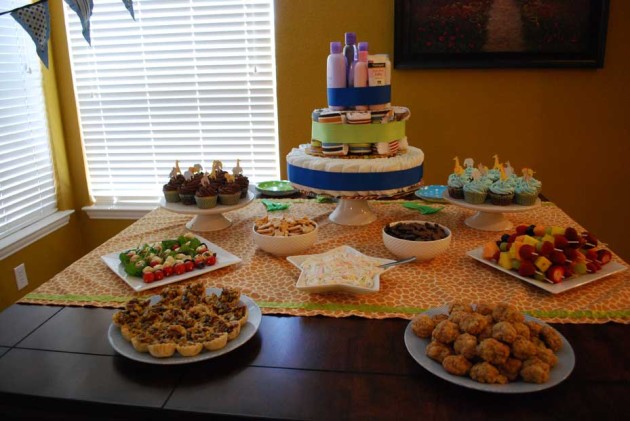
Beth made the table runner, and we had a varying selection of food… including animal crackers and cookie dough dip, cupcakes with cute little animal decor, fruit and caprese skewers.

amysshower5

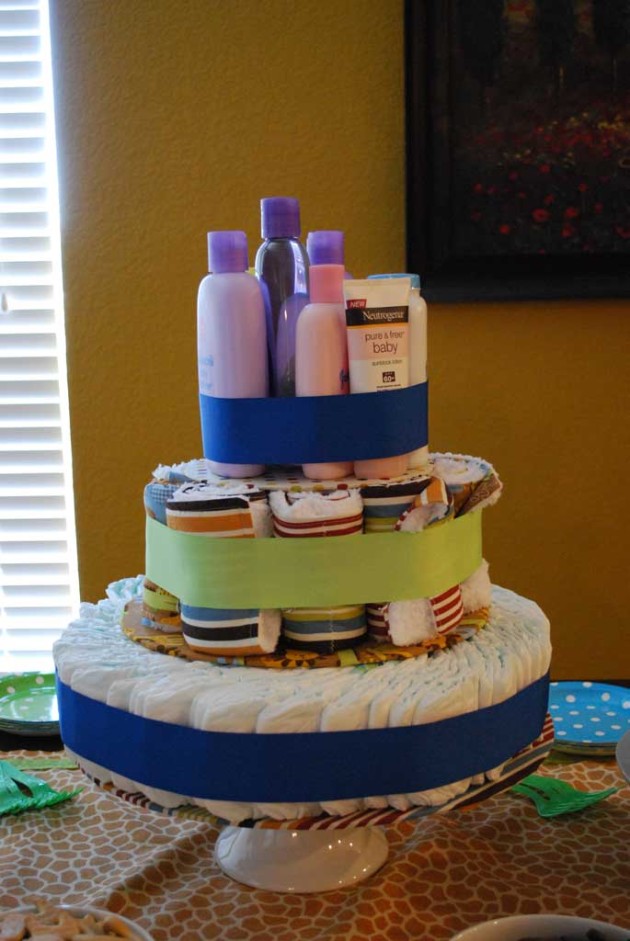
The one thing I can take credit for at the shower was the ‘diaper cake’.  I’ve seen some super elaborate diaper cakes, but I wanted to make one that didn’t require individually re-rolling the diapers and wasting them (I’ve heard a lot of the diaper cake diapers are unusable afterwards).

To make this guy I covered three different sizes of cardboard cake plates (similar to these) with fabric.  For the bottom layer I used diapers just how they come out of the bag.  For the second layer I used 12 of the DIY Burp Cloths rolled up.  Then for the top layer I used some of the full size baby products they had registered for to top it all off.  I finished them all off with some cute ribbon.  I think it turned out pretty well for my first diaper cake!

amysshower1

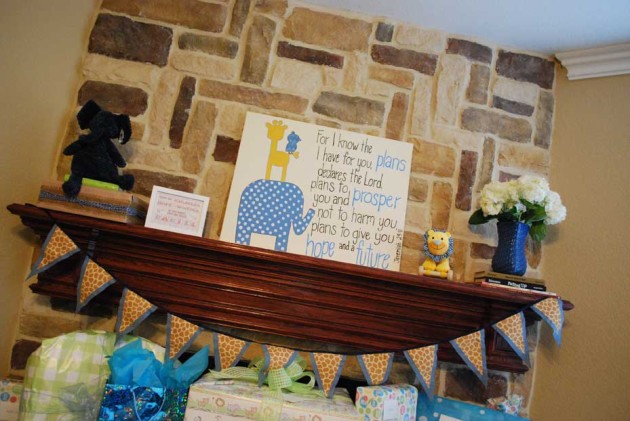
The rest of the decor included another canvas that eventually went into baby Cooper’s room and had the same decor as the invite did.  This was another of Beth’s masterpieces! It also included a cute fabric bunting hanging over the fireplace.

amysshower4


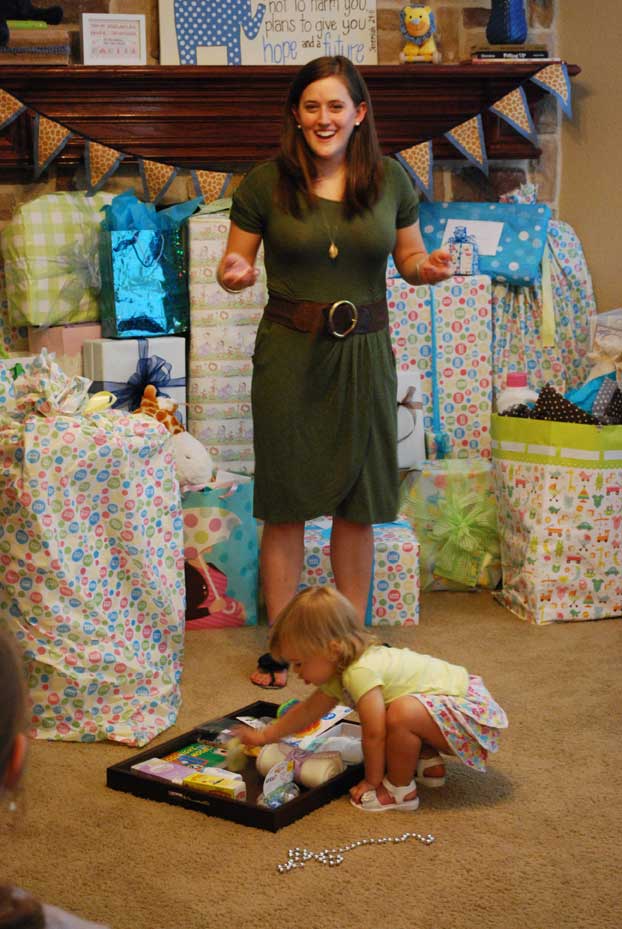
I mentioned in my post yesterday how much I despise cheesy shower games (like the candy in the diaper thing… yuck) so the only game we played was a memory game of how many baby items you could remember off of a tray.  I put the tray out for a minute, and then took it into the other room.  Guests had to try to remember everything they could.  At the end of the day, Amy got to keep all the items on the tray.  I tried to pick a bunch of little things off of her registry or random items that would make the game more interesting.  Here I am trying to explain the game… and my other friend’s beautiful daughter was finding new things to play with!

amysshower7


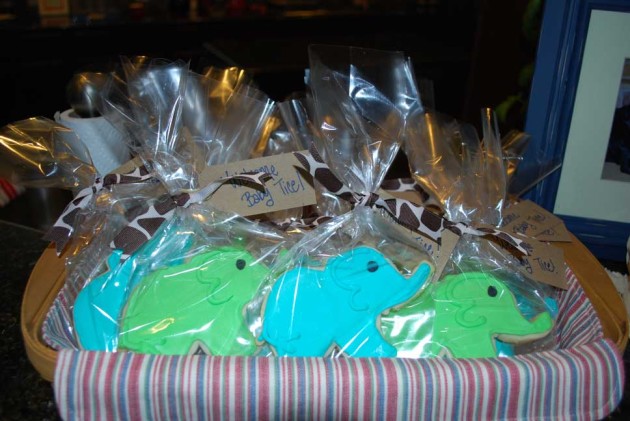
At the end of the day we didn’t want guests to go home empty handed, so Beth made some Elephant cookies to take home as a favor.  She used my favorite recipes from Annie’s Eats for the cookies:  the cookies are this recipe for Sugar cookies from Annie’s Eats with her recipe (and tutorial) forRoyal Icing.  Check back in tomorrow to see the bonus room light installation!

amysshower3

Check back in tomorrow to see the bonus room light installation!


DIY Headband Station

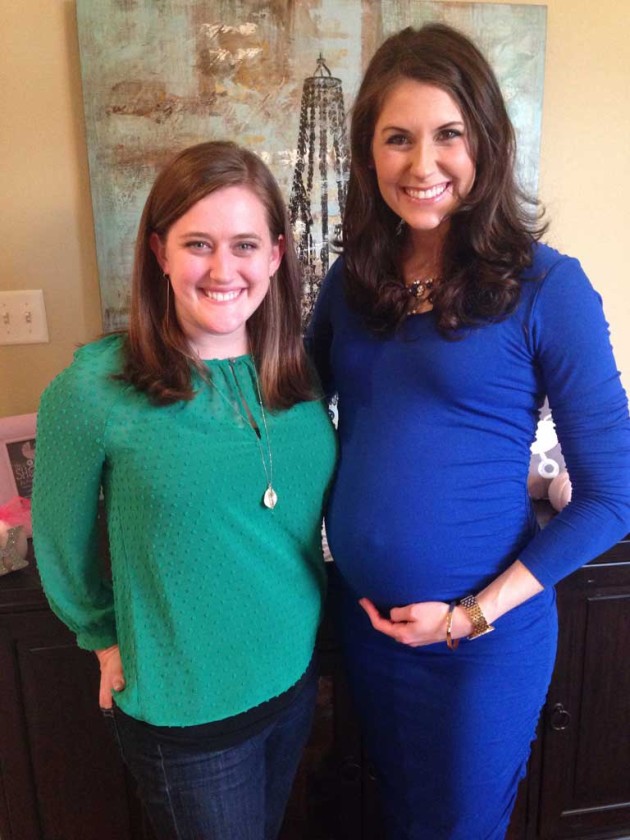
This last weekend I flew out to Little Rock for a baby shower for one of my best friends, Lauren. You can see her here as a bridesmaid in my wedding!  She and her husband are expecting a little girl, Kate, in January.  (PS… that is going to be the most GORGEOUS child because both she and her husband are ridiculously good looking).  We’ve been friends since college and lived together for our senior year of college.  (Sidenote… she explained to her husband just how amazing my master closet is compared to how my closet was in college… they may or may not have had to shove all my crap in and close the door on multiple occasions just to keep the room presentable).

laurenshower1

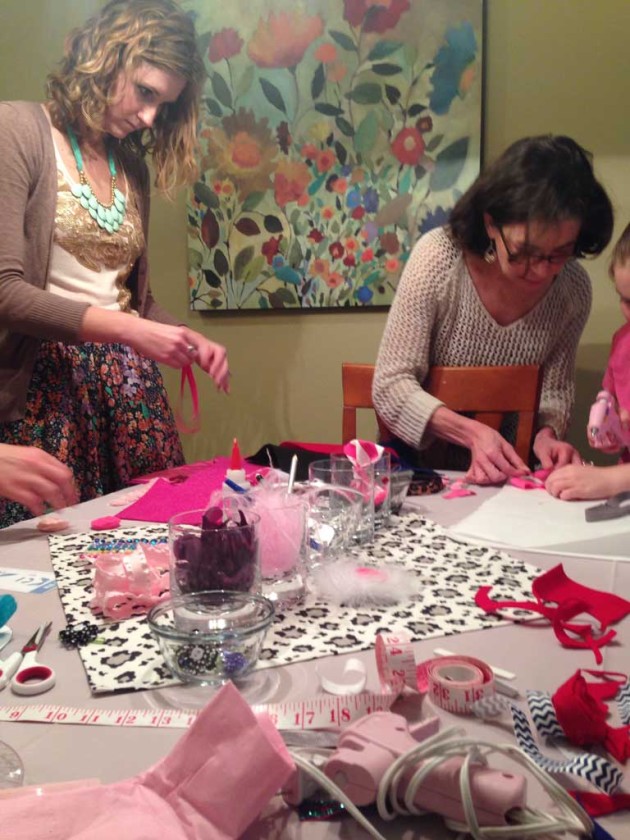
Anyway,  I was so so happy to get to go spend the day with her to celebrate her and her about to be new baby girl.  And I can’t take ANY credit for the shower at all, I was just a guest, but I just couldn’t help but show you guys one of the ‘activities’ the hosts had prepared for us.  This was an awesome shower full of cute decor, great food and while I absolutely love baby showers, I am not a big fan of cheesy shower games.  Fortunately, these awesome hostesses had none of the cheesiness and all of the awesomeness. For the activity, they had a headband making station set up for all the guests to “create their own masterpiece” for baby Kate.

laurenshower2

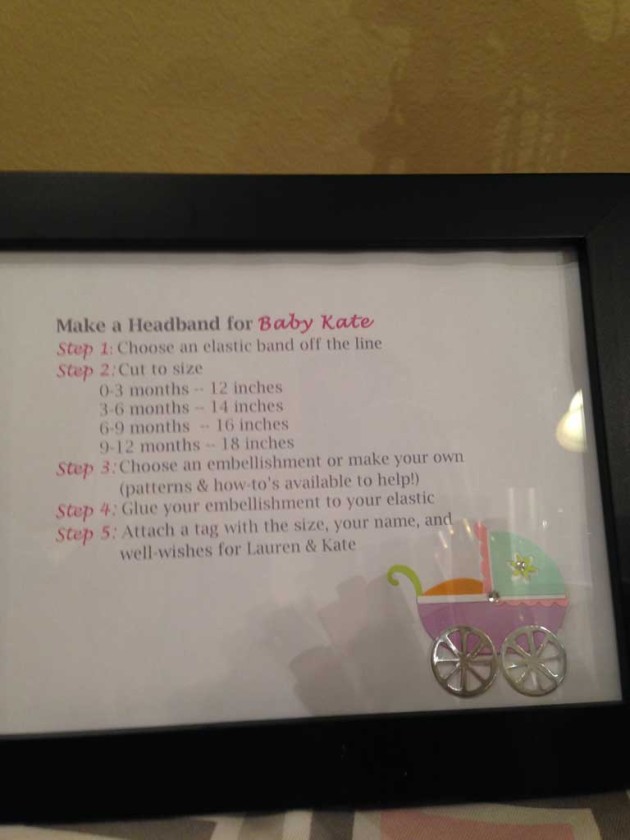
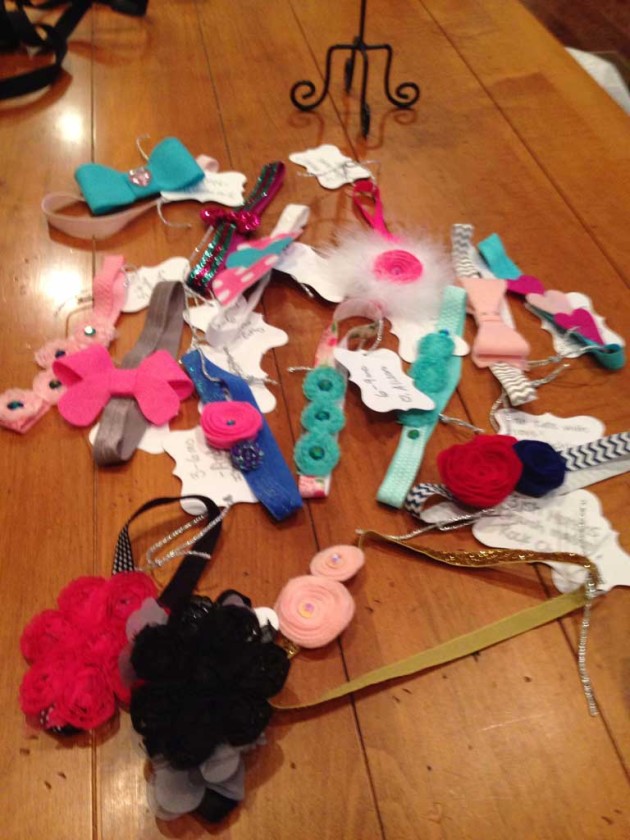
The hosts had purchased some elastic on the internet and cut it into pieces which they hung on a string (bad blogger… I forgot to take a picture of that!  and all my pictures are iPhone pics since I wasn’t planning to blog about the shower!!).  Then on the table they had an assortment of felt, ribbon, flowers, beads, etc and a hot glue gun to apply them.  There were directions on the table that had appropriate lengths for different ages:

laurenshower10

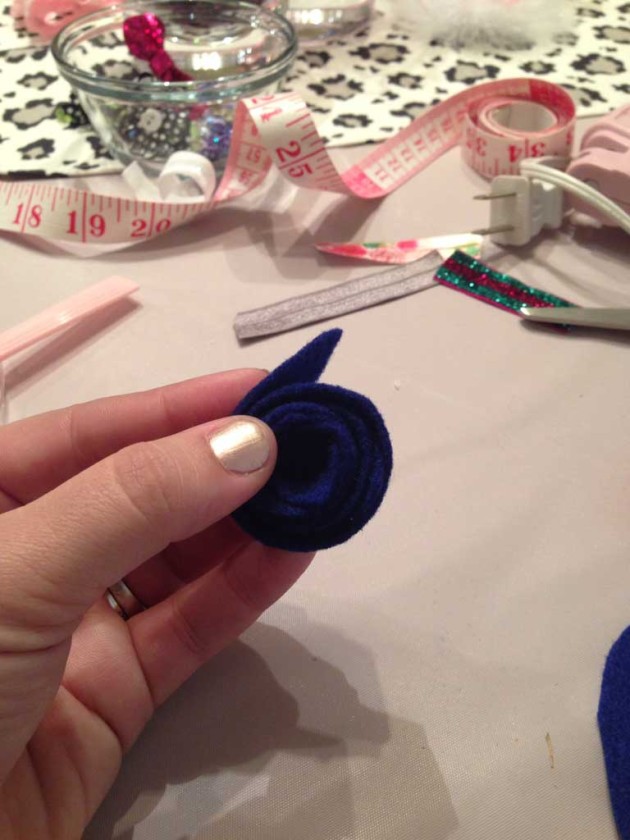
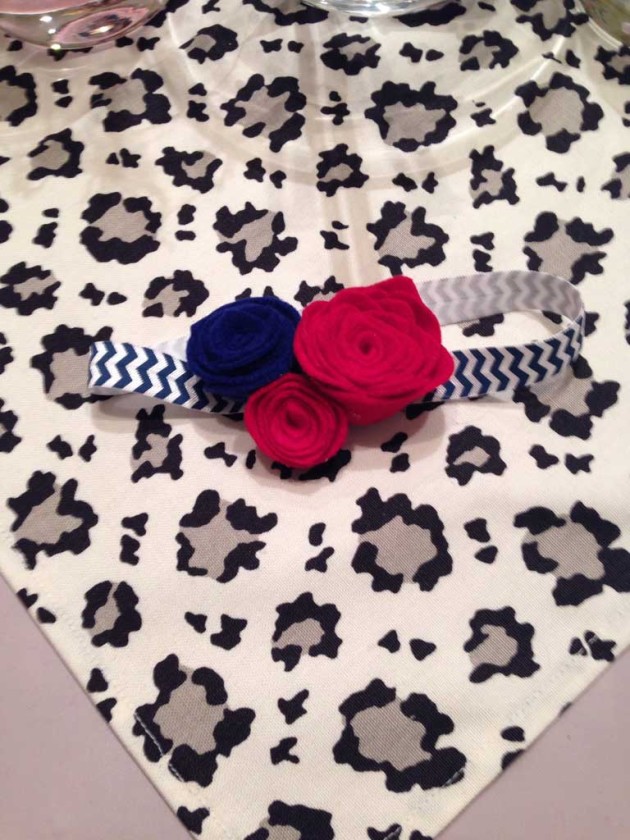
I picked out a cute navy and white chevron pattern and decided to make a cute little Jayhawk headband for precious Kate.  I made a few felt flowers like I did for this wreath in red and blue.

laurenshower4

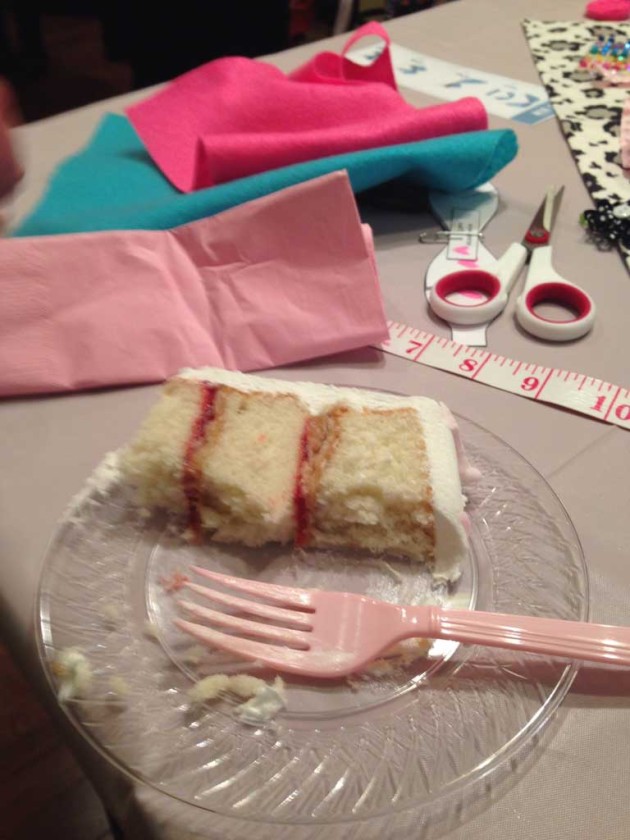
And what project is complete without a bit of cake??

laurenshower5

Here is the final product:

laurenshower3

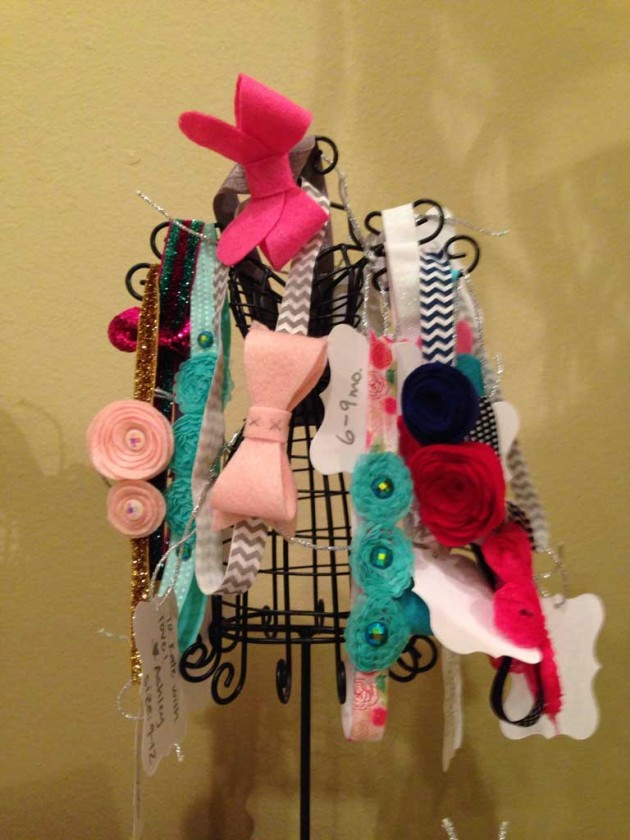
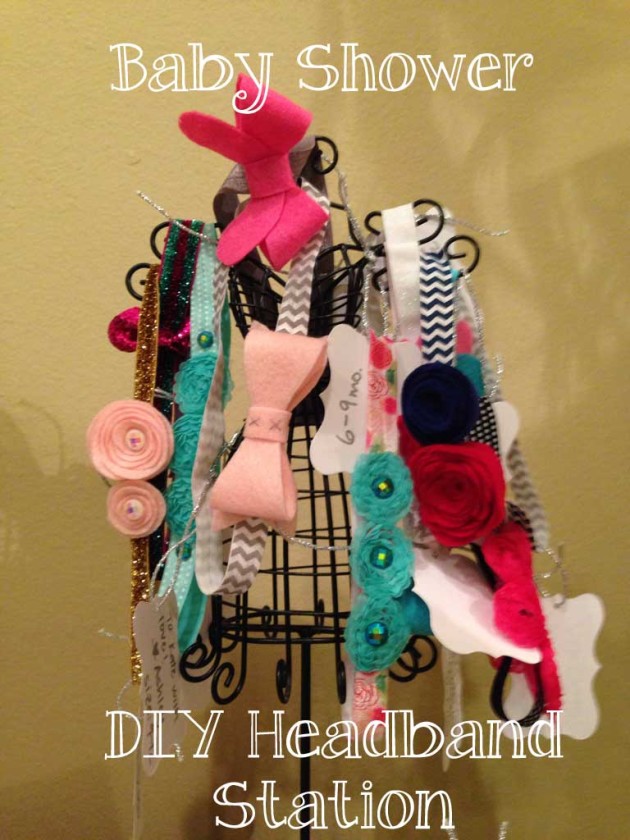
And don’t worry… like any good basketball fan I made it so that it would fit baby Kate right around March Madness! When we finished them up, the hosts had a cute little dress stand to hang them on:


laurenshower9


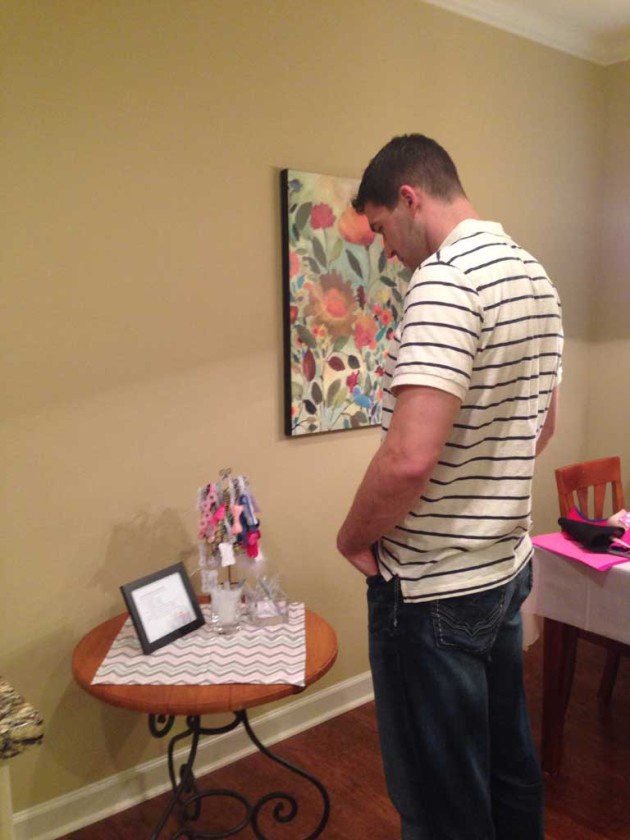
The proud dad to be was checking out all the fun things he’ll have to dress Kate up in.

laurenshower8


Sorry for the blurry iPhone pictures, but check out all the beautiful headbands that the guests made:

laurenshower6


The great thing about this project is that you don’t have to be super crafty to make cute ones! With all the options and pre-made flowers etc, anyone who can use a hot glue gun can make a cute headband!

I don’t know where the host purchased her elastic, but a quick Google search for elastic by the yard and I found this website to buy some from online.

I thought this was a great idea for a shower that I will probably unashamedly steal for another baby shower sometime!!


laurenshower11