Archives for November 2013

Hardwoods

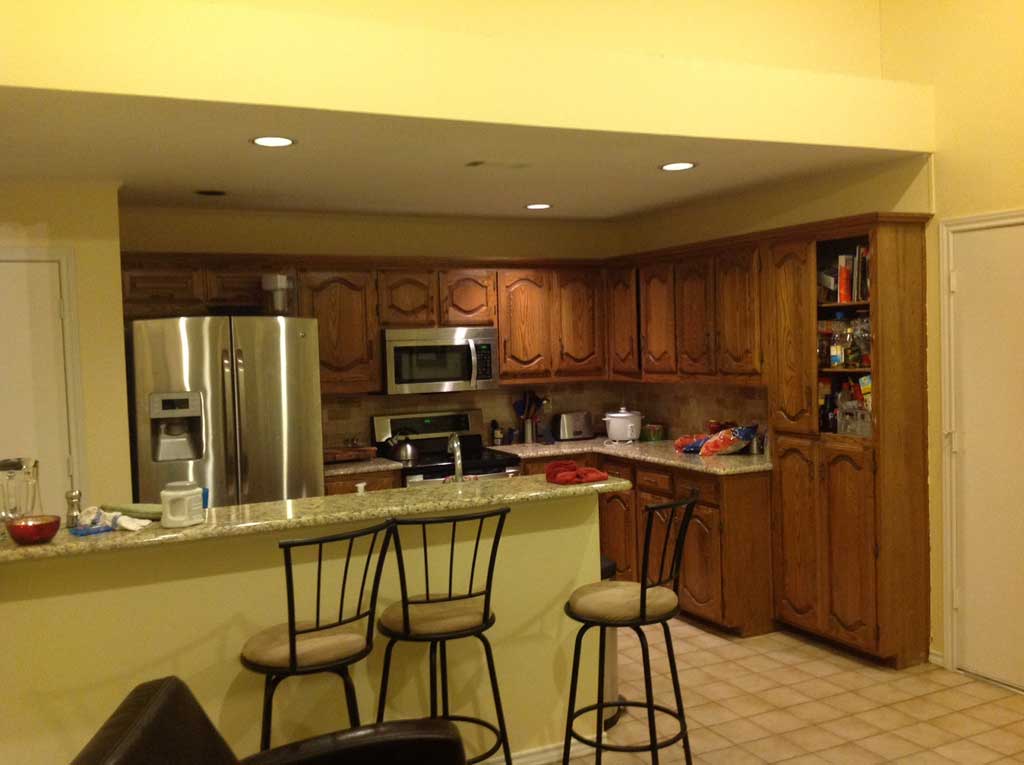
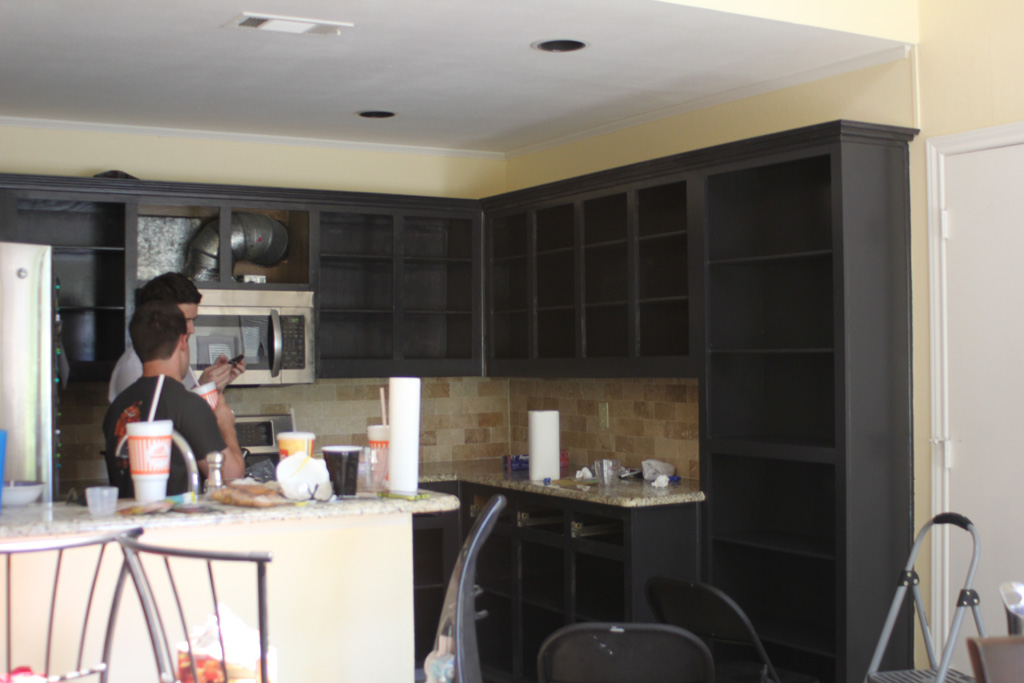
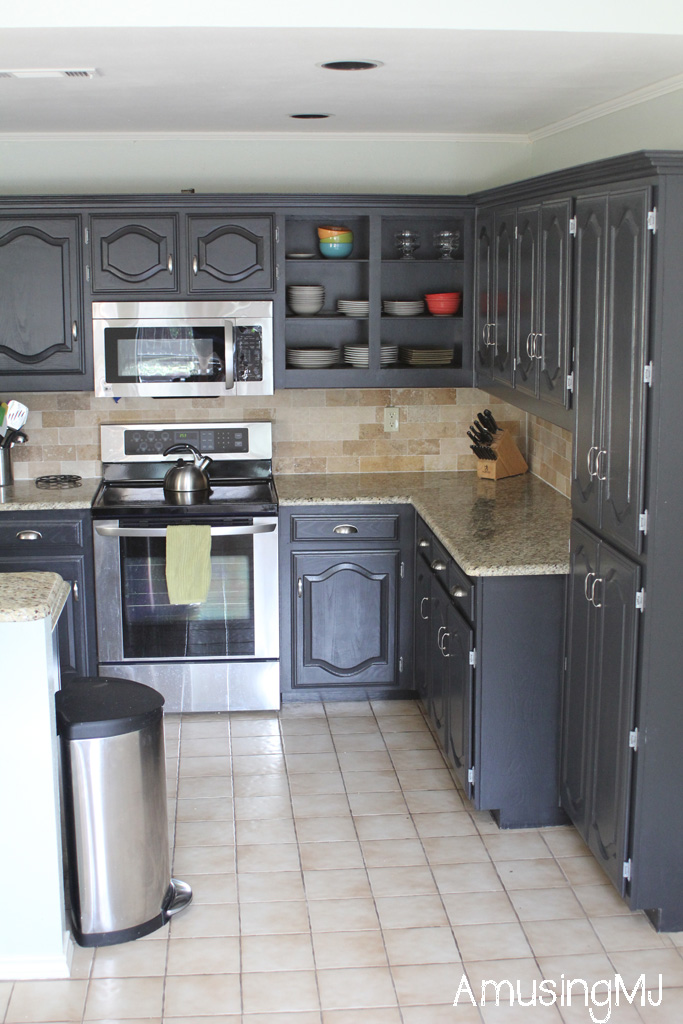
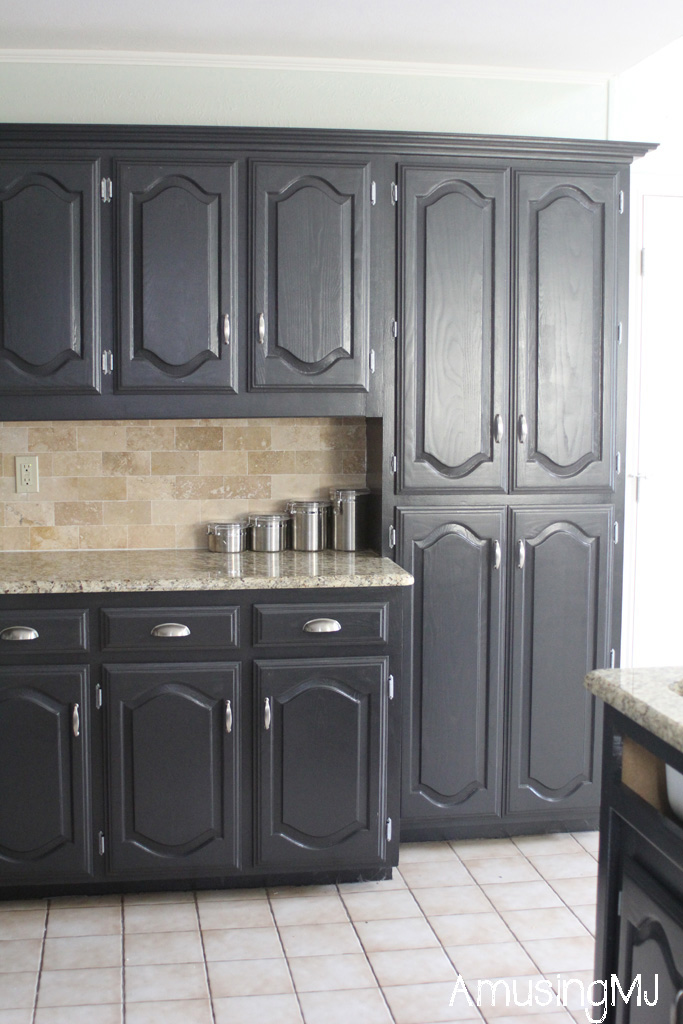
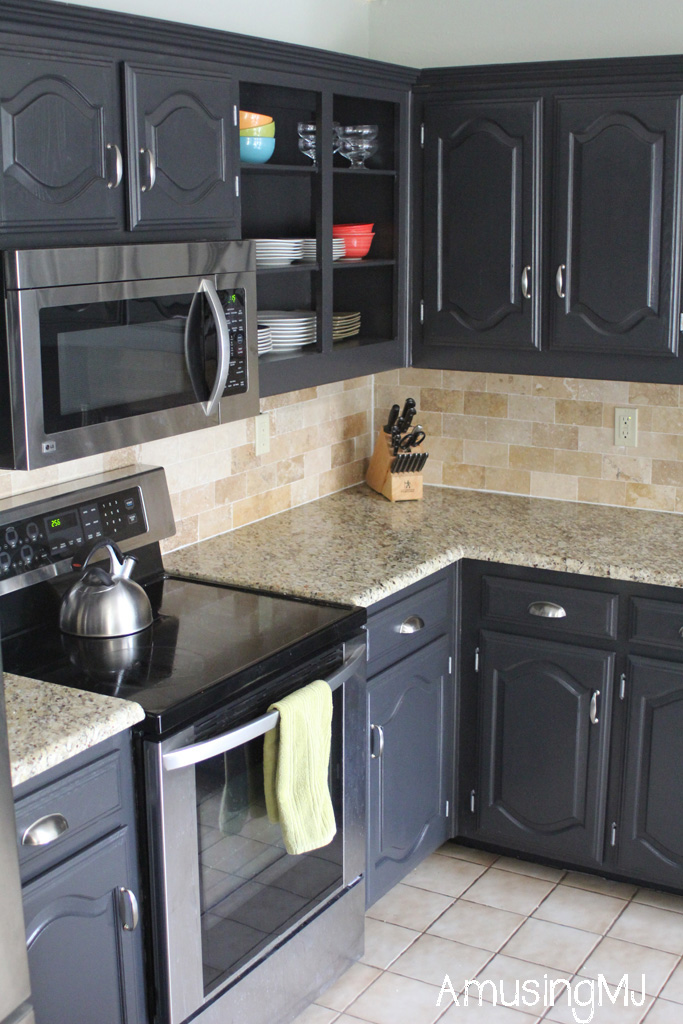
Its gonna be CLOSET WEEK here on the blog!! I have two awesome closets to show you! My about-to-be-sister-in-law (whew that was a mouthful!) is working at the Container Store part-time right now and snagged us a friends and family coupon for Elfa.  At the same time, my twin brother (whose kitchen you got to see last week) is installing it into his closet.  So I thought I’d show you some of the pieces that went into those closet transformations, because who doesn’t love a well organized space??  And The Container Store is the Queen of organization!

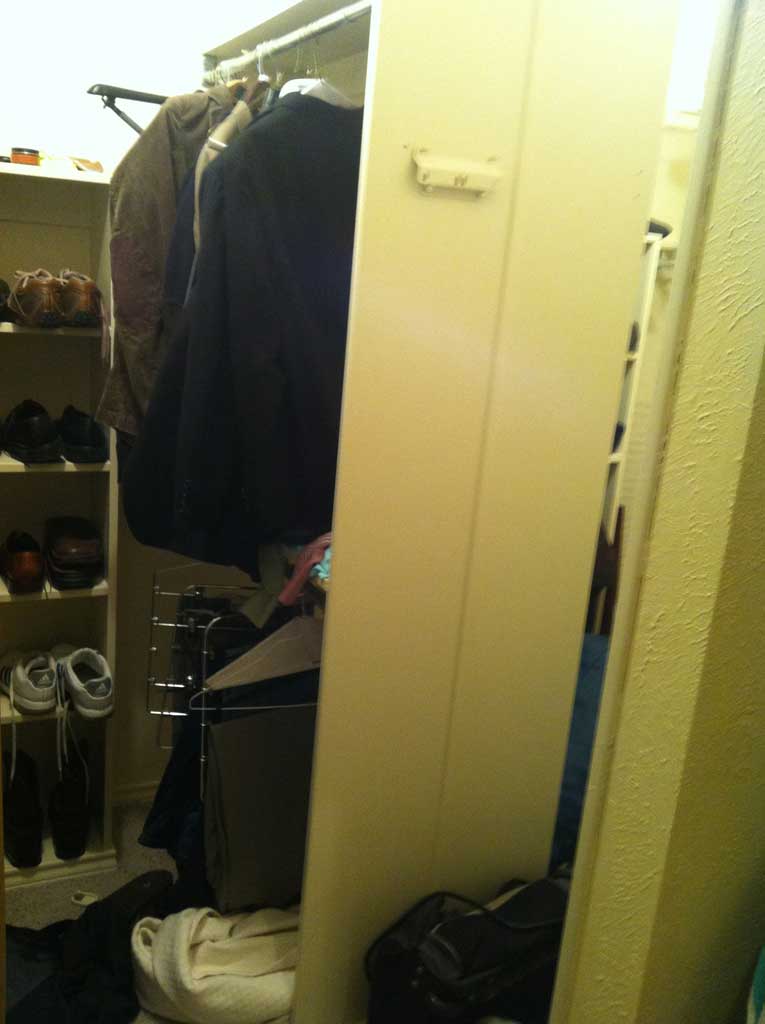
But before any of that can be installed, we had to prep the closet.  AJ’s closet had some built ins already in the closet, but it weirdly broke up the space (I imagine for a his/hers side?) so they decided to go ahead and demolish those and do Elfa throughout the whole closet. The closet is hard to photograph, but here is a ‘before’ for you (that clothes rack came out through the center of the closet):

ajcloset10

From here I feel like the story becomes typical of DIY projects.  You have some wins and some losses:

Loss: the previous owners (or builders) had carpeted AROUND the built ins, not under them, so tearing out the built in shelves meant there were several squares of missing carpet.

Win: The previous owners also left a box of leftover hardwood floors

Loss: Its not QUITE enough to cover the whole closet.

Loss: That particular color has been discontinued

Win: There is a contrasting color in the same size/style that will look pretty good interspersed with the previous color.


So this is where I came in.  AJ had done the demolition, bought the new flooring and the underlayment, but needed some help installing it.  This was my first rodeo at hardwood flooring, but this type was SUPER EASY to install.  Like dummy proof.

ajcloset1

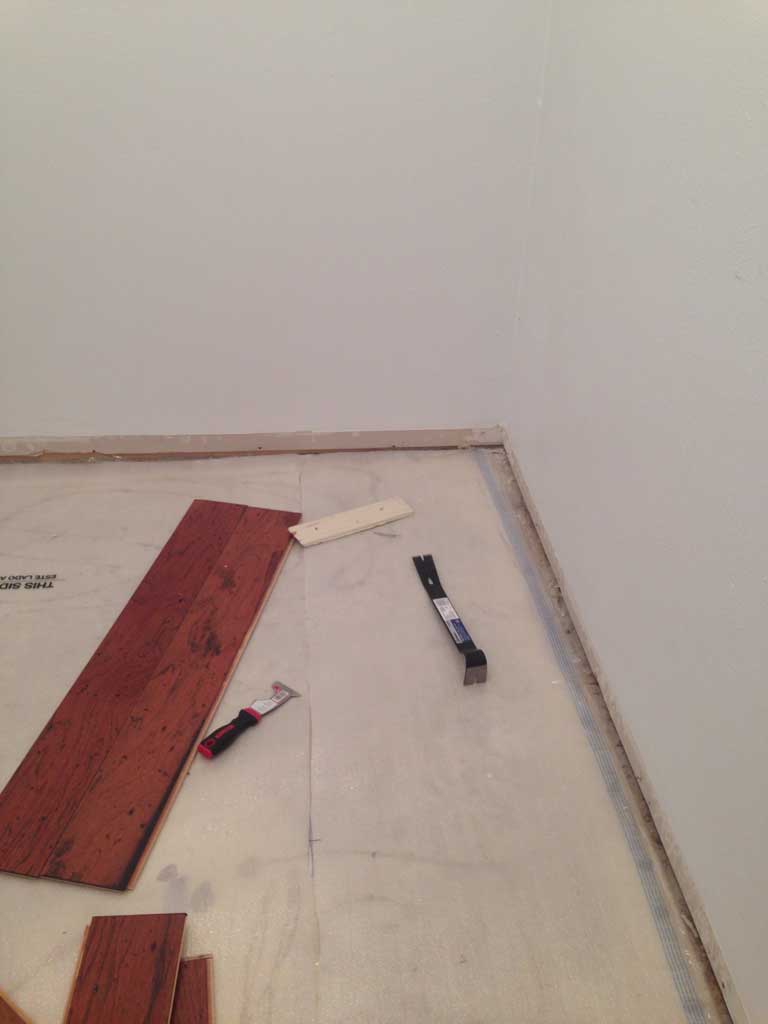
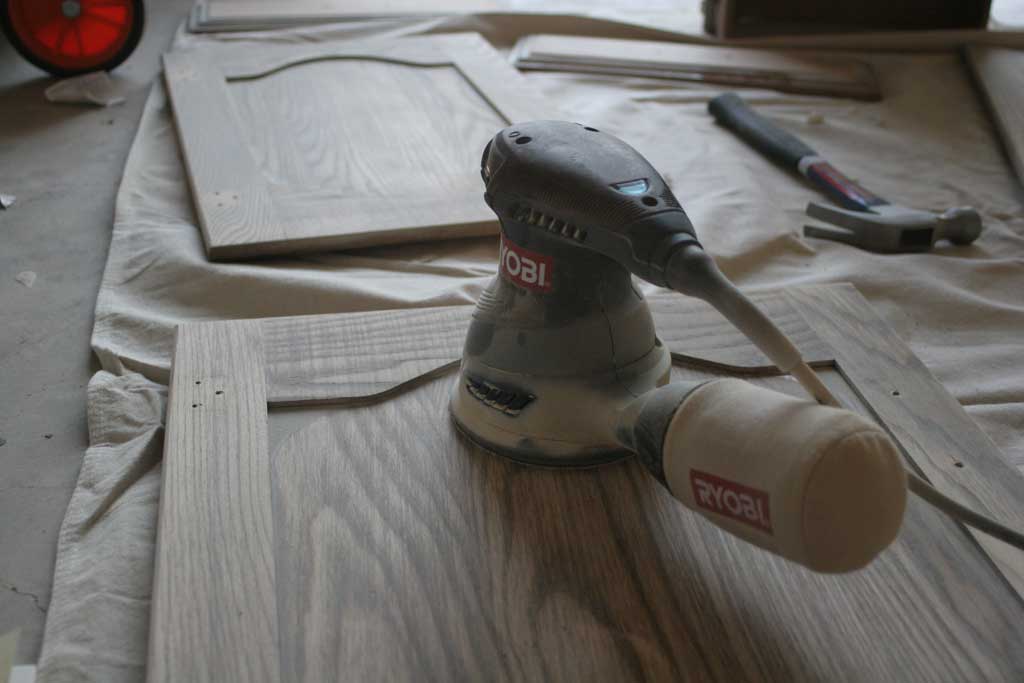
The first step was to remove the baseboards (in the picture below the floor wasn’t actually put in place, just laid out.  So we gently removed each of the baseboards with the intention of being able to put them back on.  I don’t have a good picture of this step, but you basically cut the caulk with a knife, then use a 5-in-1 tool (seen above… like a paint scraper but better) and a crowbar to gently pry them away from the wall.

ajcloset7

Once that was done, it was time to start laying it out. This type of flooring is intended to go on top of the concrete slabs that are frequently in Texas homes.  It requires  simple foam type under-layment and then the flooring ‘floats’ on top of that.  Nothing secures it to the floor.  It seems a bit strange at first, but sure enough it looks great and stays locked in place!

ajcloset8


The pieces are similar to tongue and groove planking, each end has a little ‘extra’ that fits underneath the piece next to it.

ajcloset2


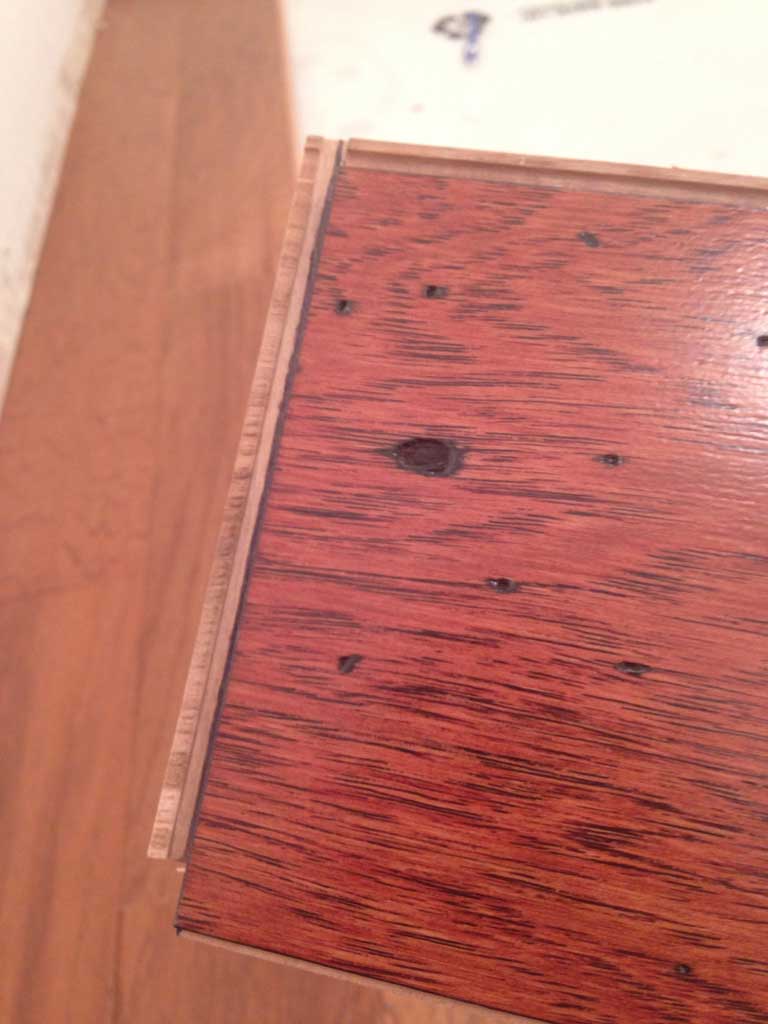
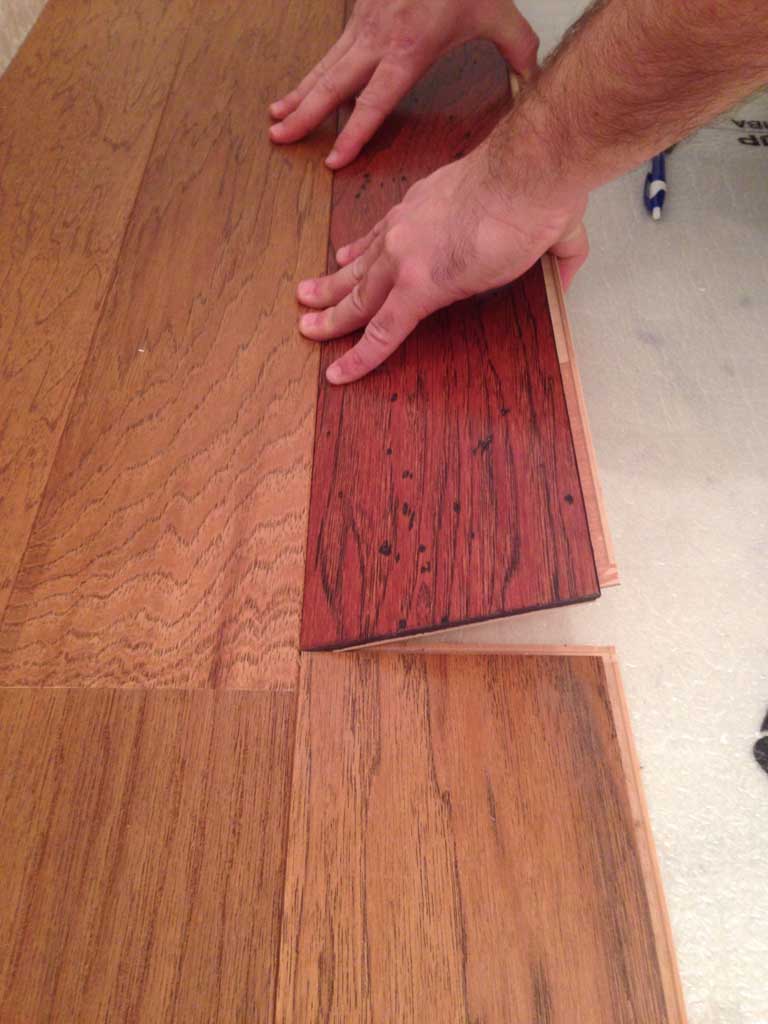
And you interlock the pieces by tilting them up until it slides into the piece above it like this (ps in case you were worried about my extra manly arms… that’s my brother in the pic below):

ajcloset3


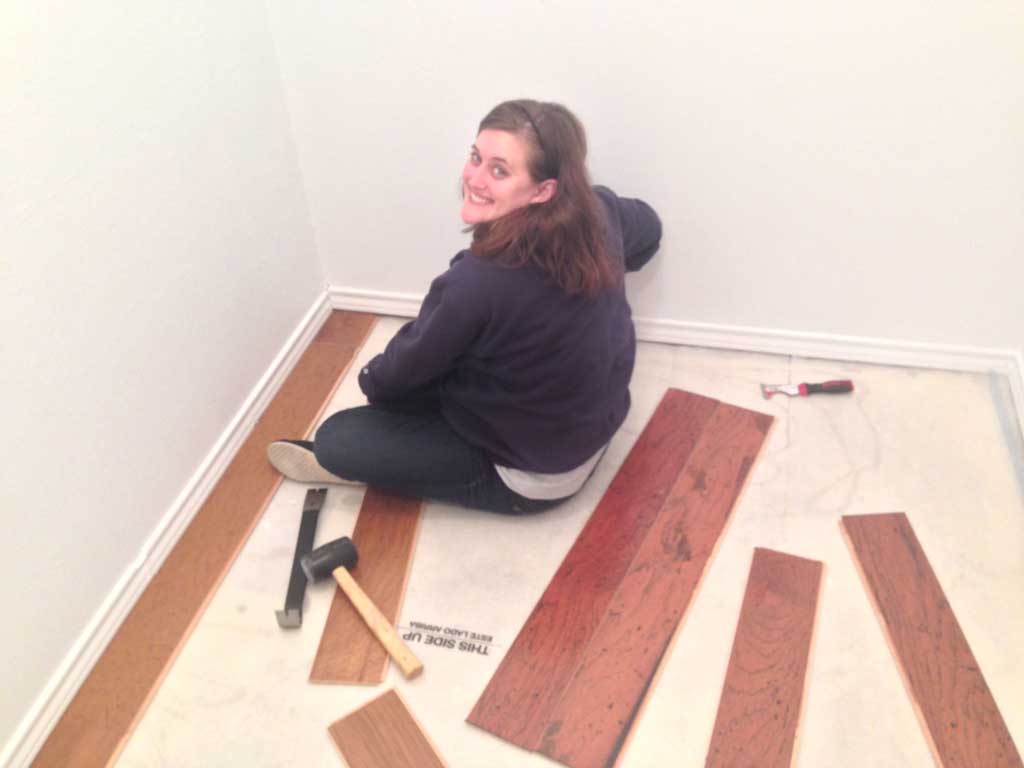
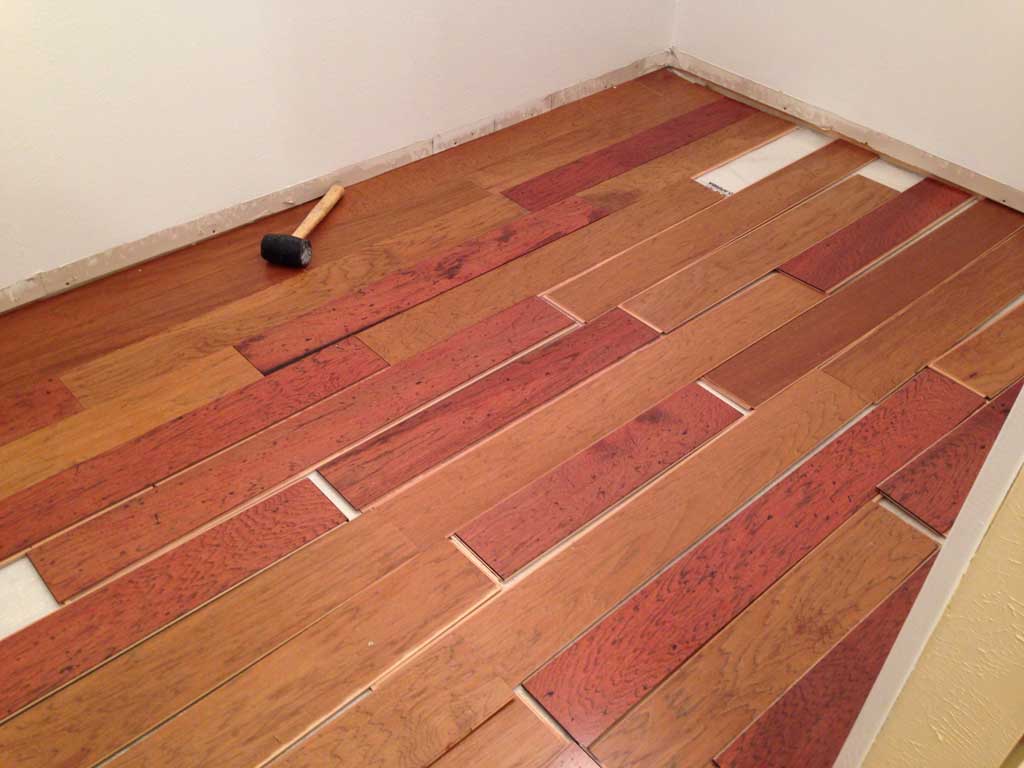
After we had a few rows in, we decided to lay the rest out to check out color placement since we were interspersing two different colors.

ajcloset5


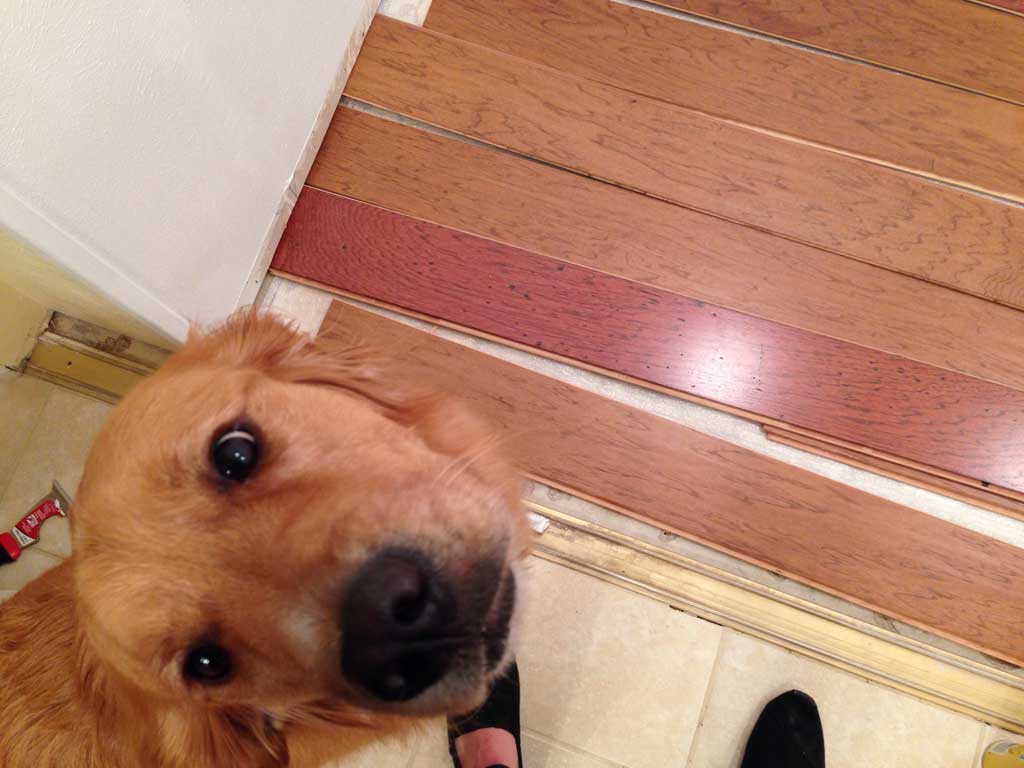
Q gave his supervisory approval…

ajcloset4


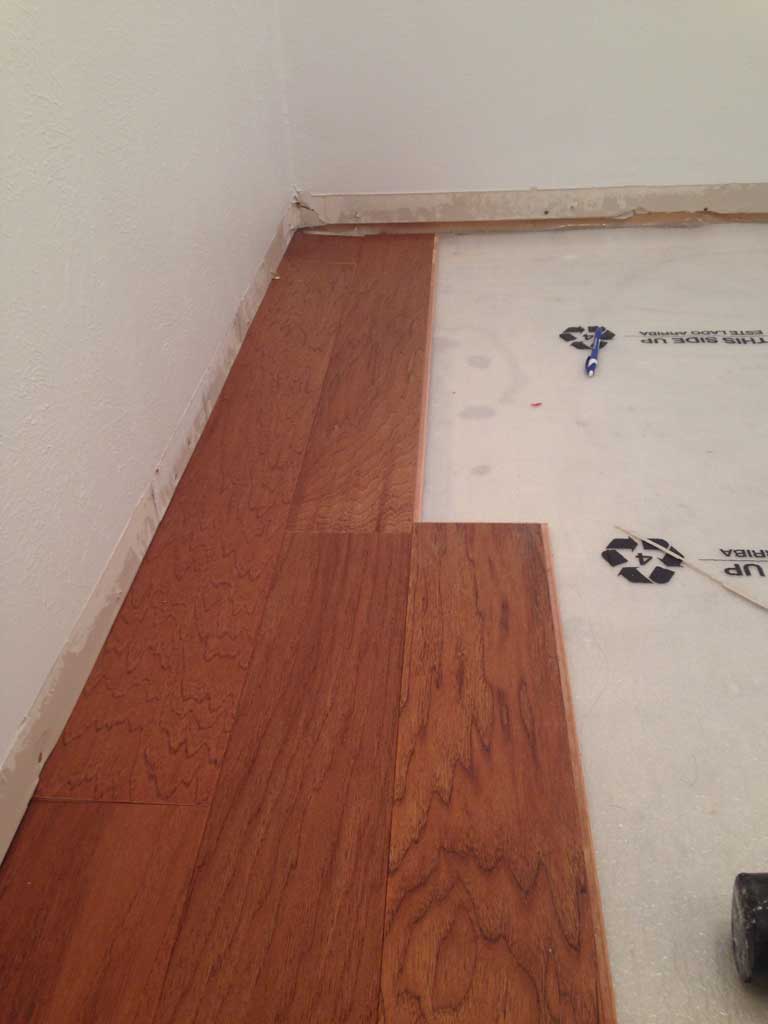
And it was pretty easy to just keep plugging away at the rest.  When we would get to the end of a row, we cut the piece off using a circular saw and used the remainder to start the next row, leaving a 1/2 between the wall and the flooring all the way around.  That 1/2 inch leaves space for the floor to expand and contract because of head and cold without causing any buckling and will eventually be covered by the molding that we put back so you won’t see it. This whole part took about 2.5 hours from start to finish.

ajcloset6


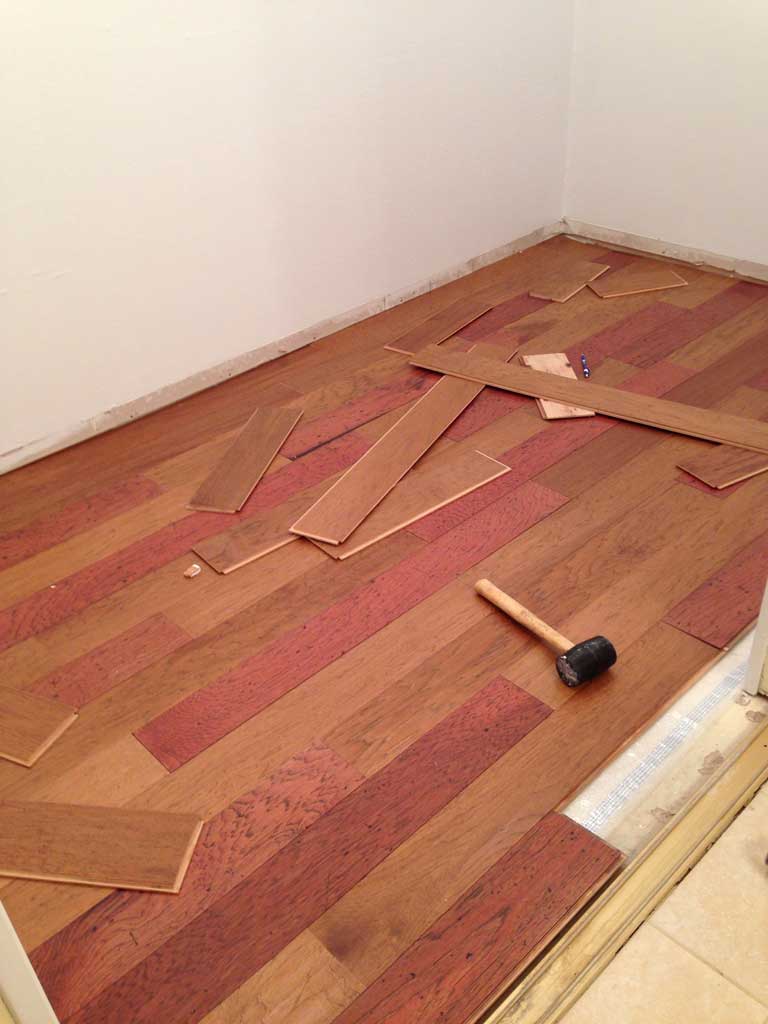
This is the last picture I have of this process, because like a good sister, I left right before he had to make all the complicated cuts to allow for the doorframe.  But I’ll be back with a post tomorrow with the finished floor and the installed Elfa! So check back in tomorrow to see the finished process.

If anyone is curious, the flooring is Bruce Interlocking Hardwood similar to this but I’m not sure of the two colors.  The reddish color is the color that is not discontinued.


Wedding Welcome Boxes

It has been one of those crazy weeks where I have done a little of this and a little of that and accomplished NOTHING.  But I didn’t want to leave the old blog hanging so I thought I would catch up on a couple more wedding posts.  If you missed the previous ones and are interested… start here. I started this blog a few months after we got married, but one of my reasons for starting it was to have a place to store all the details of projects I do around the house and life in general.  One of the things I want to document was our wedding.  I loved some of the details we did and thought I would share.  Today… welcome baskets.

I think some wedding trends are goofy, but as a guest, one of the ones I most appreciate is a welcome basket in the hotel room for out of town guests.  I think it is a GREAT way to communicate information to people unfamiliar with the area and who are invited to multiple events over the weekend.  Plus who doesn’t appreciate a few snacks and bottles of water!  weddingpaper3

For our actual boxes we used brown kraft gable boxes (our wedding colors were navy and white) wrapped with Navy ribbon and secured with a sticker I had printed at Moo. The stickers weren’t very expensive (I think you can get 20 for 17$) and we ended up using them in a few different places for the wedding weekend.  It was a great way to make them a little more personalized!

Inside the boxes we had some of our favorite things:

  • 2 bottles of water
  • Goldfish snack packs
  • 100 Calorie Cinnamon Almond packs (ps… if you haven’t tried these… they are AMAZING)
  • M&Ms
  • Werther’s Original
  • Sunscreen– because its Texas in the summer
  • An envelope with Directions
  • An envelope with Helpful Info

weddingpaper5

For our Directions Envelope I wanted it to be something our guests could pick up and put in their car for the weekend, so they would always have the directions for where they need to go. Since all of our hotel guests were invited to every event, it had directions to the church, rehearsal dinner, and reception.

weddingpaper2


And just for fun in the directions envelope we included a card that had funny driving directions for Dallas.  I originally saw this in an email forward, but it has made its way around the internet, and I unfortunately don’t have an original source.  I took only the ones that I thought were funny or particularly relevant to my guests.  Here is the text of what was on the card (but the actual card matched the format of the cards above.

And now… Its only funny because its true…

Tips for Driving in Dallas (AS STOLEN FROM THE INTERWEBS)

Next, if your Map is more than a few weeks old, throw it out and buy a new one. If in Denton County and your Map is one day old, then it is already obsolete.

Forget the traffic rules you learned elsewhere. Dallas has its own version of traffic rules…”Hold on and pray”. There is no such thing as a dangerous high-speed chase in Dallas. We all drive like that.

The morning rush hour is from 6 to 10. The evening rush hour is from 3 to 7. Friday’s rush hour starts Thursday morning.

If you actually stop at a yellow light, you will be rear-ended, cussed out and possibly shot.

When you are the first one on the starting line, count to five when the light turns green before going to avoid crashing with all the drivers running the red light in cross-traffic.

Construction on Central Expressway is a way of life and a permanent form of entertainment. We had so much fun with that we have added George Bush Freeway and the High Five to the mix.

All unexplained sights are explained by the phrase, “Oh, we’re in Fort Worth!”

If someone actually has their turn signal on, it is probably a factory defect.

Car horns are actually “Road Rage” indicators, and remember, it is legal to be armed in Texas.

All old ladies with blue hair in Mercedes have the right of way. Period.

A trip across town (east to west) will take a minimum of four hours, although many north/south freeways have unposted minimum speeds of 75.

The minimum acceptable speed on the Dallas North Toll Road is 85. Anything less is considered downright sissy.

It is possible to be driving WEST in the NORTH-bound lane of EAST NORTHWEST Highway. Don’t let this confuse you.

The North Dallas Tollway is our daily version of NASCAR. It also ends in Sherman.

Any amusement parks, stadiums, arenas, race tracks, airports, etc. are conveniently located as far away from EVERYTHING as possible so as to allow for ample parking on grassy areas.


For our Helpful information envelope I had 3 things: Schedule for the weekend, things to do at Shops of Legacy (where our hotel was located), and Things to do around Dallas. Our Hotel was the Marriott of the Shops of Legacy and they were FABULOUS to work with.  They were kind and accommodating, great rooms, great food and in a great location!

weddingpaper1


In case any of you are interested, here are our things to do at Shops of Legacy and Dallas:

Here are some of our favorites at the Shops of Legacy:

Places to Eat:

Mexican: Taco Diner ($) & Mi Cocina ($$) are both excellent choices if you want a bit of TexMex flavor- we highly recommend the fajitas at Mi Cocina or the Nachos at Taco Diner. And the Mango Margarita at Taco Diner is fabulous.

Burgers: Twisted Root Burger ($) is a great option for some casual food, they offer excellent burgers, homemade Root Beer and excellent shakes.

Fancier Fare: Jasper’s Steak house ($$$) is an excellent option—definitely choose their blue cheese chips as an appetizer and I highly recommend their beef short ribs… they will melt in your mouth.

Things to do:

The Angelika Cinema is located in the shops of legacy and usually offers an excellent selection of independent and artsy films.

The Gingerman is a pub that offers a huge selection of specialty beers and a great place to relax and enjoy the evening.


And Around Dallas: (most of these are centered around Plano, where our church was)

And a few more of our favorites for around Dallas:

Places to eat:

Mexican: Blue Goose Cantina (there are several around the Dallas area) is a favorite of ours and a regular stopping place for us.

Chuys –located on the northbound side of the Dallas North Tollway, Chuy’s is an excellent choice for an eclectic atmosphere! Don’t miss their queso!

BBQ- Dickey’s BBQ is delicious and good ole Texas BBQ—try their fried okra and sweet tea for the true Texas taste.

Italian- Patrizio’s  located at Park and Preston in Plano is a good option for a good Italian meal—the atmosphere is very Italian—loud and full of good food!


Things to do:

The Sixth Floor Museum- a fantastic museum about the Kennedy Assassination and all kinds of conspiracies: it is a very well done and high quality museum in downtown Dallas. 411 Elm St.  Dallas, TX 75202 $16 dollars per person (free if you are under 5)

Dallas Arboretum- a BEAUTIFUL display of flowers sitting right on the banks of Whiterock Lake, this is a fun place to spend some outdoors time.  8525 Garland Road, Dallas, Texas 75218 $15 dollars per adult, Children 3-12: $10.  Under 3- free.

Fort Worth Zoo- is a wonderful zoo about a 45 minute drive from the hotel. Specifically geared towards children they have over 5000 animals and is an excellent way to spend your day! 1989 Colonial Pkwy  Fort Worth, TX 76109 $12 dollars per adult, $9 dollars per child 3-12, 2& under free.

Arbor Hills Nature Preserve-This is a park with hiking and biking trails in the middle of Plano and boasts a fun playground for children as well. FREE.  6701 W Parker Rd. Plano, TX 75086


Want to see other parts of our wedding?  Check them out here:

Ceremony

Reception Part 1

Reception Part 2

The Dress

Rehearsal Dinner

The Proposal

AJ’s Kitchen

Some of you may recall that I made a list this summer of some of the things I wanted to accomplish before my 30th birthday next June.  One of the things on that list was to help my twin brother fix up his house.  We live about 10 minutes away from each other and spend a lot of time hanging out.  Being a twin is this crazy thing… you always have a friend, a cohort, a partner in crime (although more often than not… AJ was tattling on my crime sprees rater than being my accomplice).  People ask what it is like being a twin, but I’ve never known anything else, so it is kind of hard to compare.  We’ve definitely had our moments of disagreement (read: ALL OF HIGH SCHOOL) but have settled into a great adult friendship and I am so lucky to have him.  He will be quick to tell you that he actually set me up with my husband (unbeknownst to my poor husband at the time).

One of the great things about having a twin so close is that they are automatically great help for projects.  Since we bought our houses around the same time, we’ve spent quite a bit of time helping the other one paint, move, fix up etc.  We can’t even possibly keep score at this point of who owes who, since it is just part of our nature to help out when the other one needs it.  In the spring, my brother is going to tie the knot with one of the sweetest, most fun person I know and I’m so excited to be getting another sister-in-law! I couldn’t be more excited for them!

They’ll be living in the house my brother is in now and they decided they wanted to fix up the kitchen a bit.  It has a great layout, fabulous countertops and mostly new appliances, so the cabinets were really the big thing that ‘dated’ this kitchen.  AND the previous owners LOVED yellow; every room in this house started out as yellow. Here is what we were working with:

ajbefore

So we did our research and decided to paint the cabinets black.  This room gets a ton of natural light during the day and with its open design it would still look open and light even with the dark cabinets.  First we removed all the cabinet doors and started the slow process of de-glossing and sanding.  We used this deglosser that I had leftover from painting my bathroom cabinets gray.  It doesn’t take a ton per cabinet, but you basically wipe it on in a circular motion and then wipe it off.  After reading lots of reviews of how to do cabinets, we decided to be extra cautious and do liquid deglosser and sanding.  It may have been a little overkill, but these guys were pretty glossy before and if we were going to do this thing, we wanted to do it right.

So after we deglossed them, we took an orbital sander and sanded down all the cabinet fronts and doors.

ajcabinets3

AJ did the bulk of this work on his own before the weekend that we had planned to come spend helping him out.

ajcabinets2

  We used Benjamin Moore advance paint for everything.  They tinted the primer a gray color since we would be painting black over it. So here they are all prepped and ready to have primer: (ignore the part on the right that already has primer… I started painting before remembering to take pictures!

ajcabinets5

We painted one coat of the gray primer over everything.  We ended up choosing to paint the insides of the cabinets as well because we liked the idea of having some open shelving, but weren’t sure which ones they would leave open, and we liked the consistency of having the same color inside and out.

ajcabinets1

Next up… black paint.  The paint color was Universal Black from Benjamin Moore. It had pretty good coverage after one coat, but was uneven, so it definitely needed two coats of the black paint.  We found it easiest to cut in with the brush first and then use a small foam roller (you can see it in the pic above) for the most even looking coat.  The Advance paint is ‘self leveling’ and it did a pretty great job of leveling out all the brush strokes.

ajcabinets9


All in it took about 10 days of pretty solid work (and 4 people over the weekend) to do all the steps.  This was NOT an easy weekend project, but seriously, take a look at these afters and you will see how much it was worth it:


ajcabinets8

ajcabinets7

ajcabinets6

And just because it is so fun, a before and after:

kitchenbeforeandafter

Doesn’t that look awesome!?