My First Baby Blanket

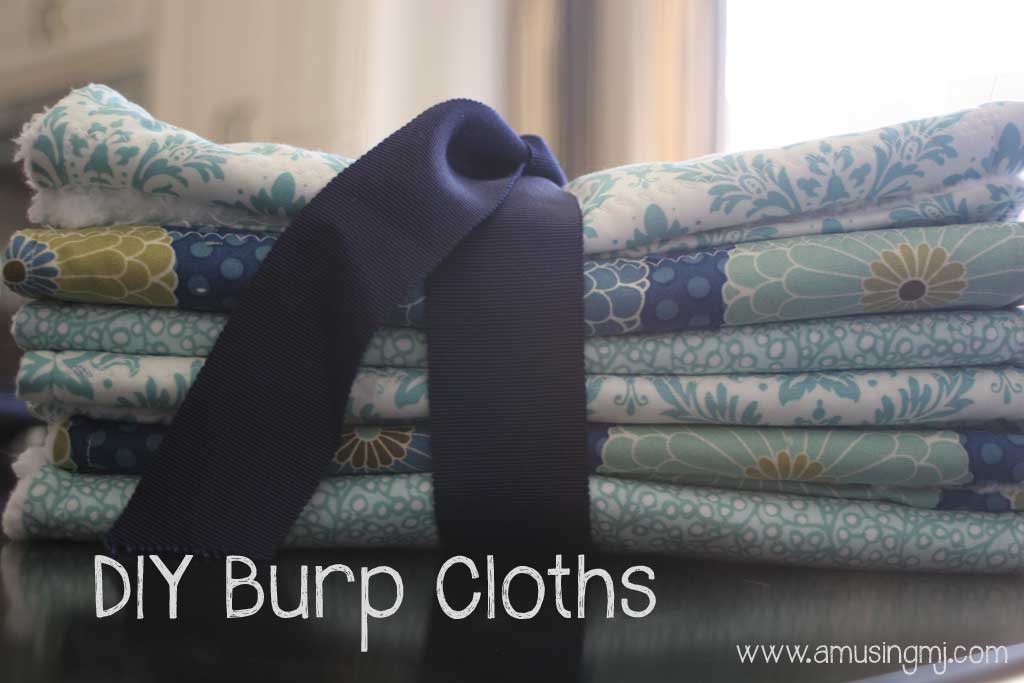
I never had a blanket that I was super attached to, but I definitely had some homemade things around when I was a kid.  And I really like the idea of babies having some things made especially for them.  I mentioned in this post that I have a bazillion baby showers to attend these days and I am still faithfully making burp cloths for (almost!) all of them.  (I’m one or two showers behind right now!)  But last weekend I had the itch to try a baby blanket.  I have a ton of soft absorbent material that I bought to make the burp cloths, but its thinner than I really like it to be, but I don’t want it to go to waste, so I thought… it will be the great backing to a baby blanket!  And I have a really good friend who is about to have her first baby… a little girl! So I thought I’d try to make a baby blanket.  It turned out pretty well, but like all DIY projects, I think a few things could be done better next time!

If you have never sewn something and want to learn how, I have a couple of posts that will help you get your machine ready to start this point: how to wind a bobbin and how to thread your machine.  So if you want to make this project (super easy… I promise you can do it!)  go there, set your machine up, then come back and make a blanket with me! But disclaimer, I am NOT a master seamstress… just someone who has learned a few things, so don’t expect perfection!

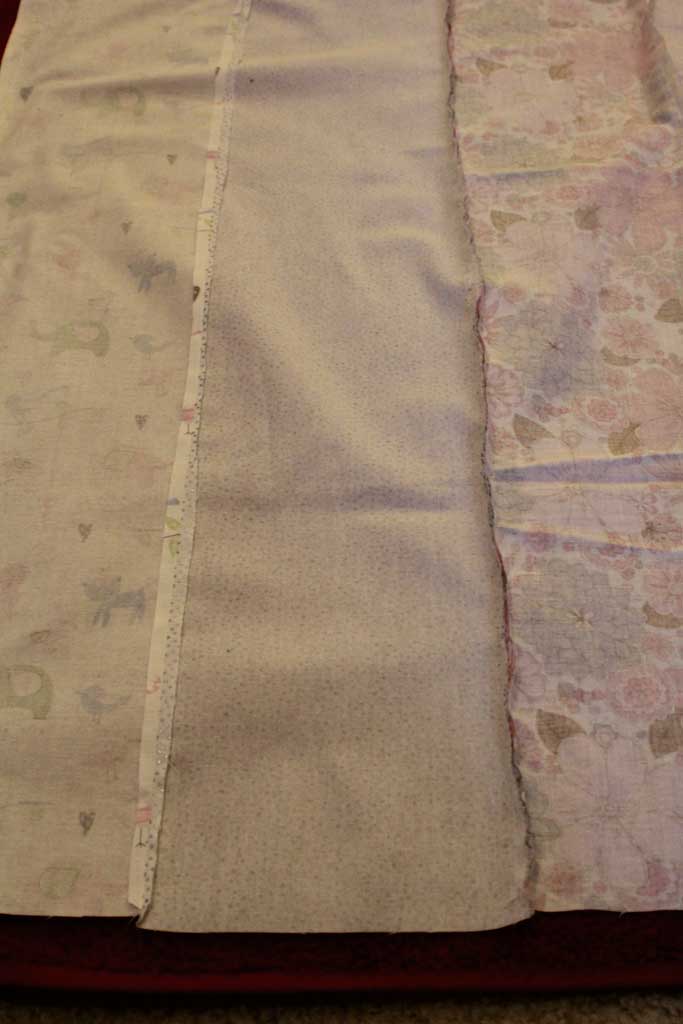
So I picked 5 fabrics that I had on hand and cut 5 long strips out of them 25″ long and about 8″ wide.  I picked these sizes because 1. I think odd numbers always look better than even, 2. I wanted it to be rectangular, so if you are assuming 1/2 inch seams… that would make this somewhere around 24″ wide and 35″ long.

blanket1

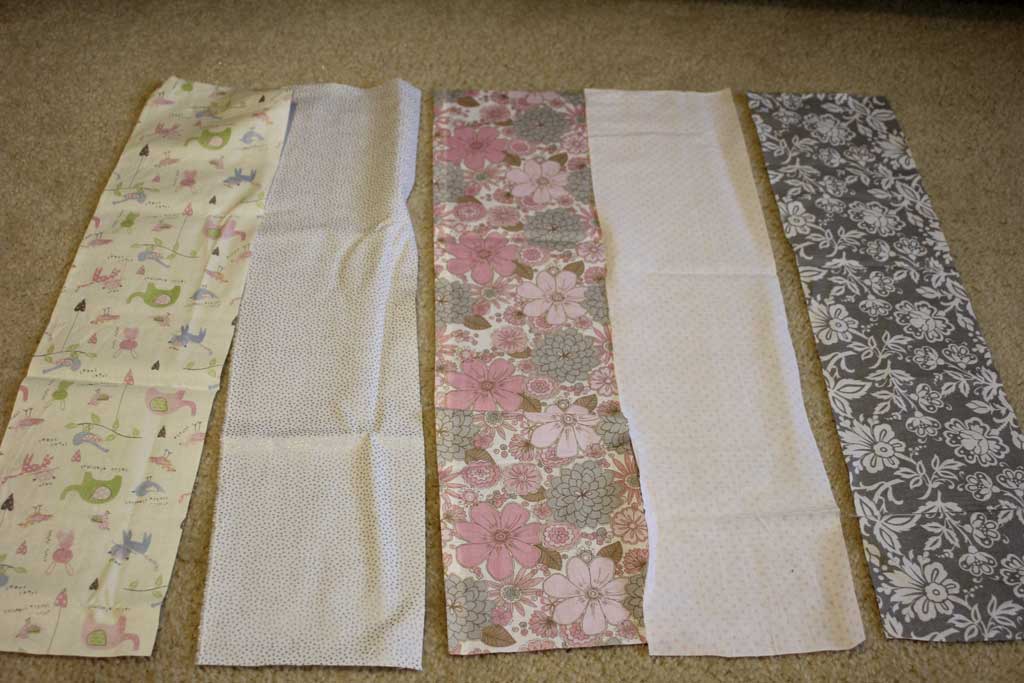
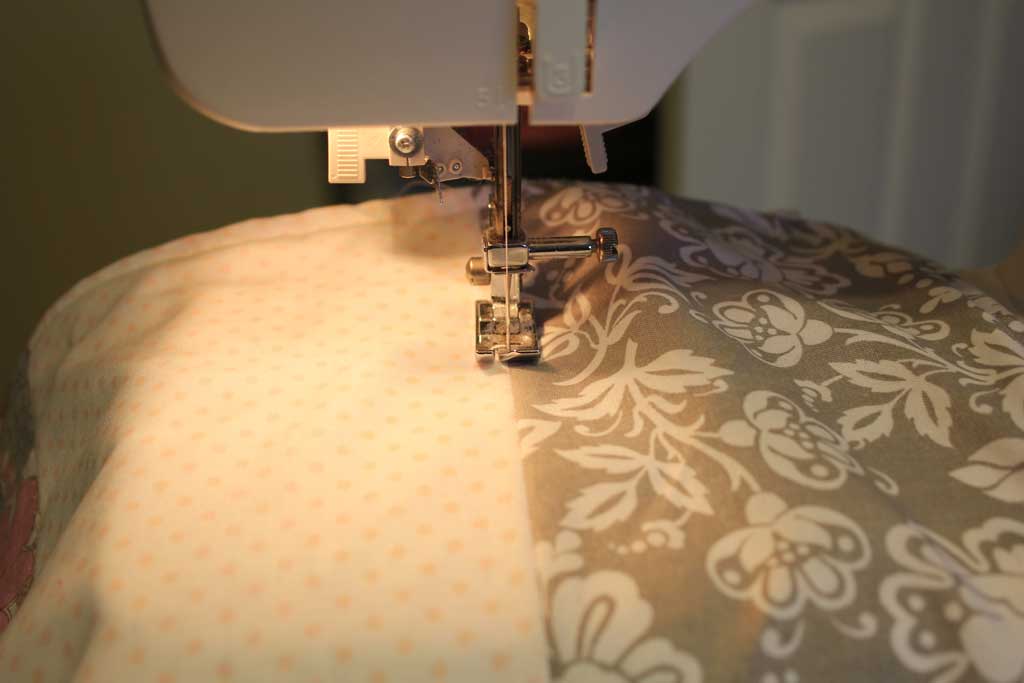
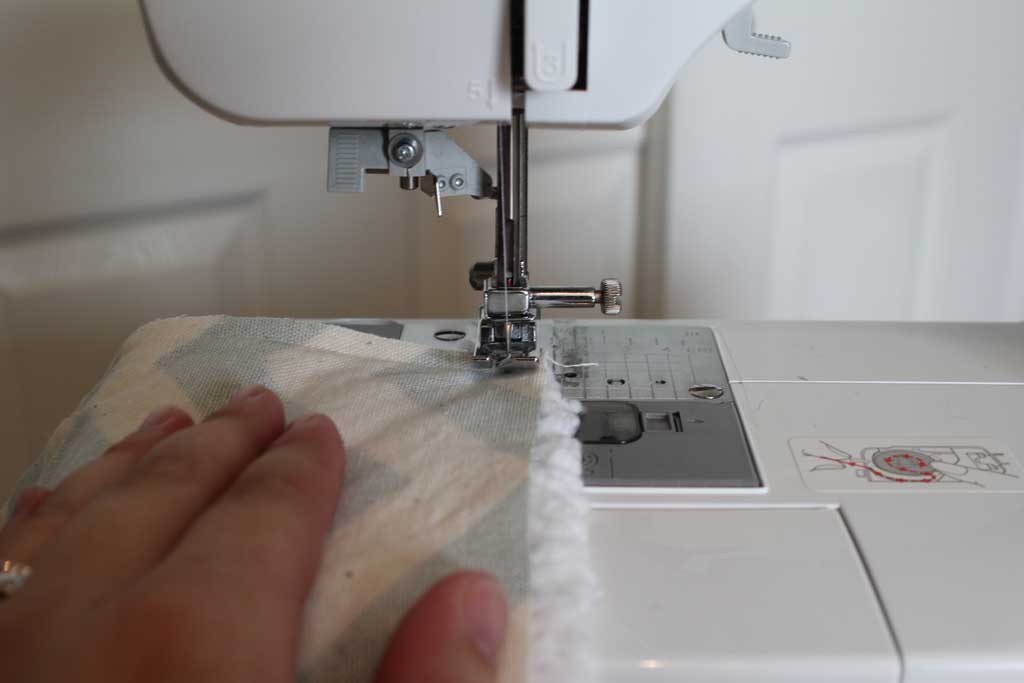
Once I had all of those pieces cut out, it was just a matter of attaching them with a seam down their longest side.  To do this, put the pretty sides together and sew with a half-ish inch seam (mine ends up being smaller than that, because I find it easiest to line it up with the right side of my presser foot. )

blanket14


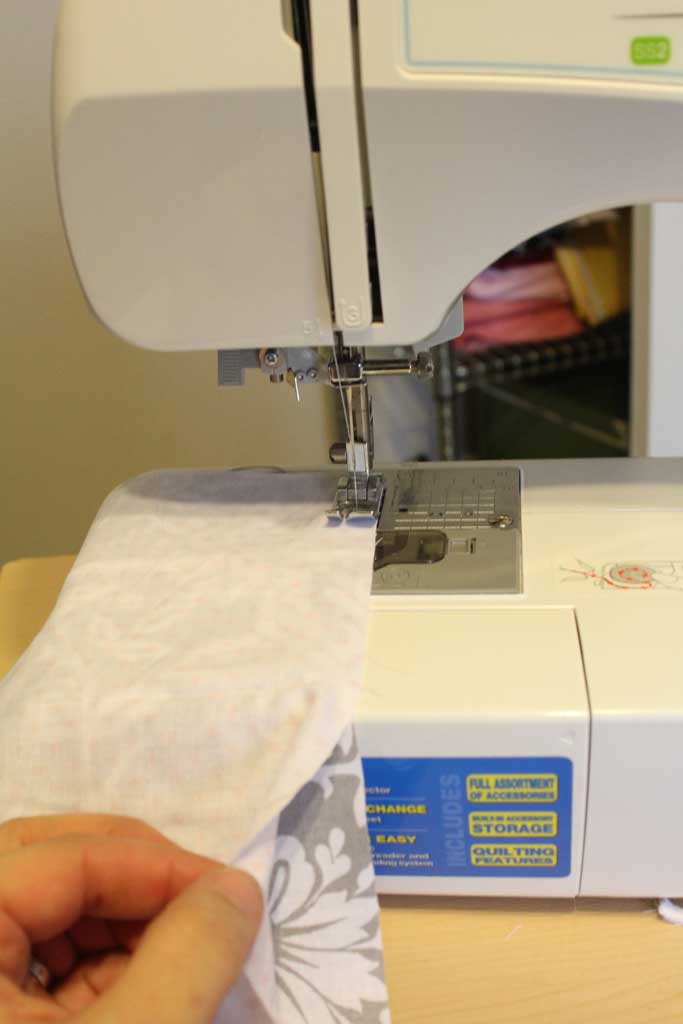
Line it up and sew a straight (ish) line to attach these two pieces.  Then repeat until all 5 are attached.  Your third one will like this as you sew it since you will have the two right sides together of the pieces you are stitching, the first piece will be right side up facing you:

blanket13

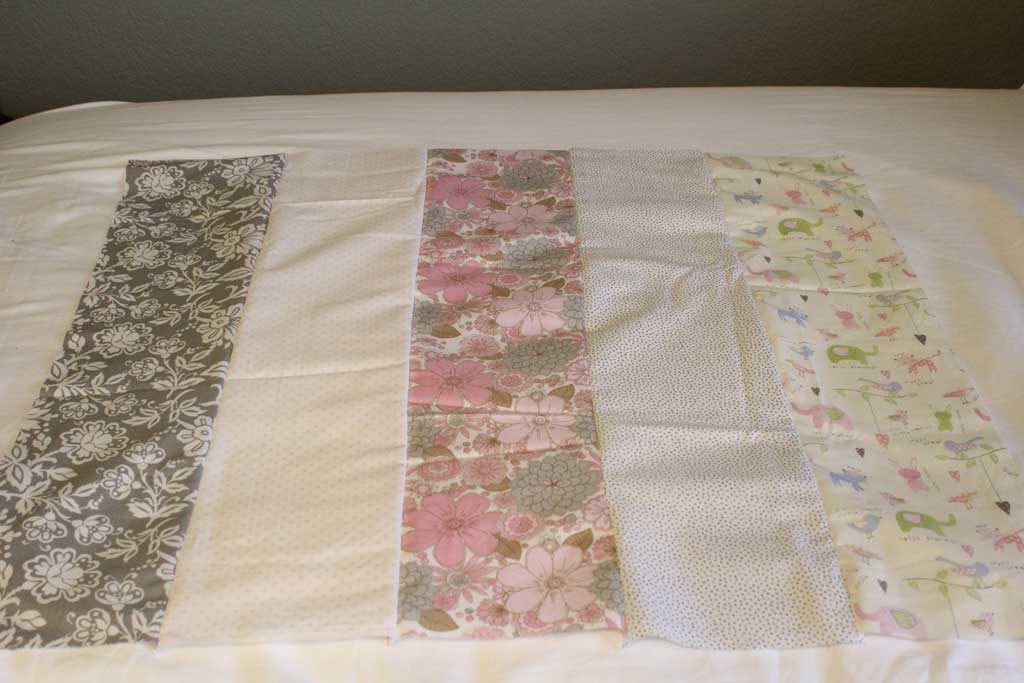
Once you’ve gotten them all attached, it will start to look like part of a blanket:

blanket12

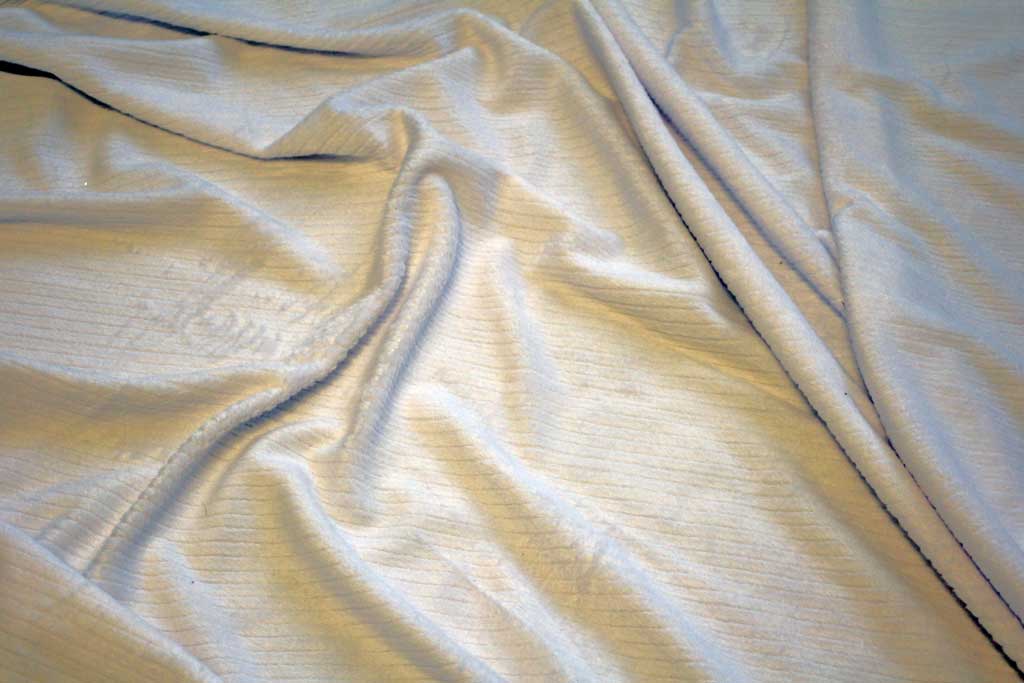
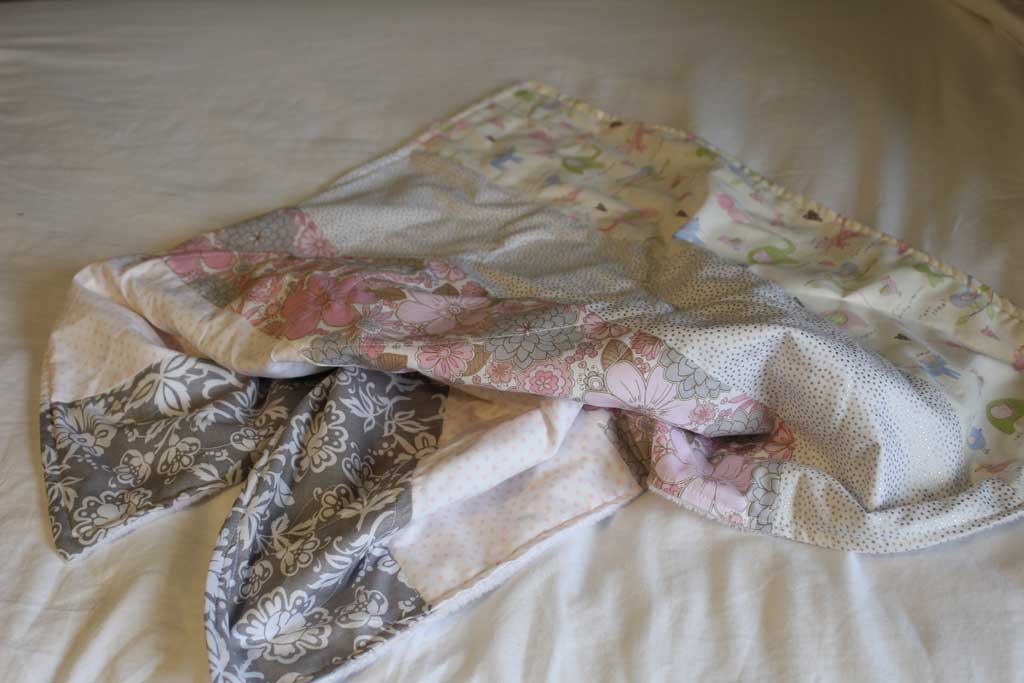
Now it is time to iron.  And if you are anything like me you are thinking right now… sweet a step I get to skip! DON’T.  For a long time I never ironed anything while sewing… and once I thought to myself: you should do it once just to prove that it doesn’t change how the final product comes out.  BUT IT DOES!! I was so surprised! Ironing makes all the pieces look more professional and helps make things lay flat.  So for this project, you are going to flip that part you just sewed over and iron the seams flat.  I took a picture below to show you what I mean.  Flatten out the seam (I find this easiest to do with my finger first and then follow up with the iron.) And you can see in the picture below the seam on the left has been iron and the seam on the right has not. And you can see in this picture just how expert I am at sewing in a straight line and/or cutting in a straight line.  And by that I mean… not at all.

blanket10

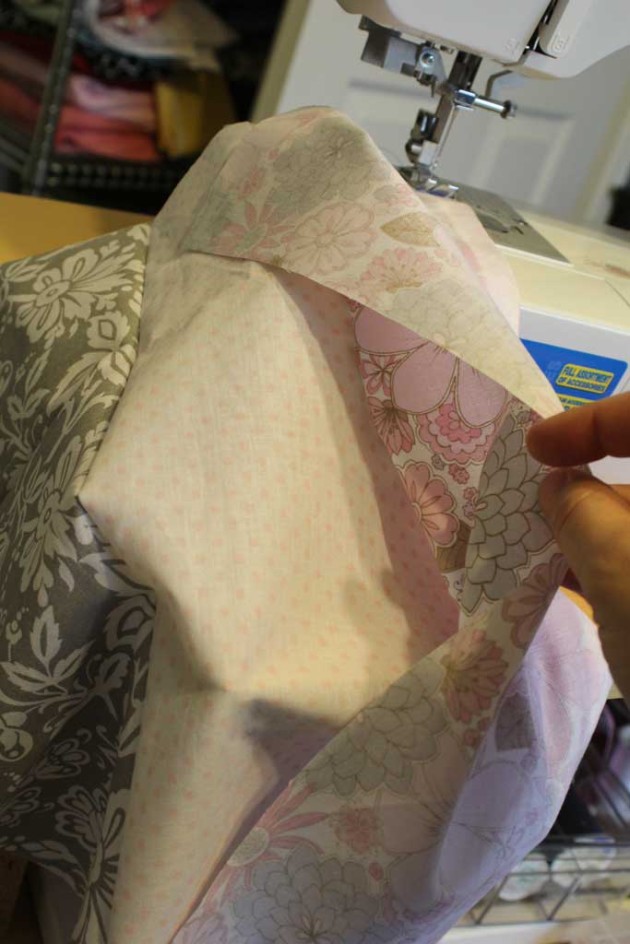
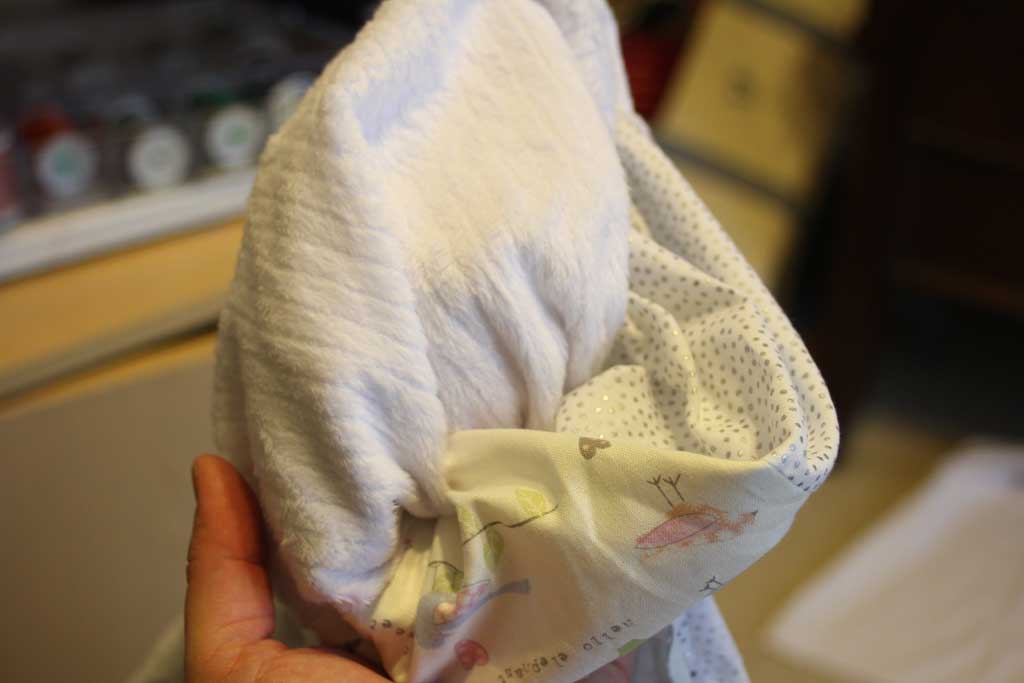
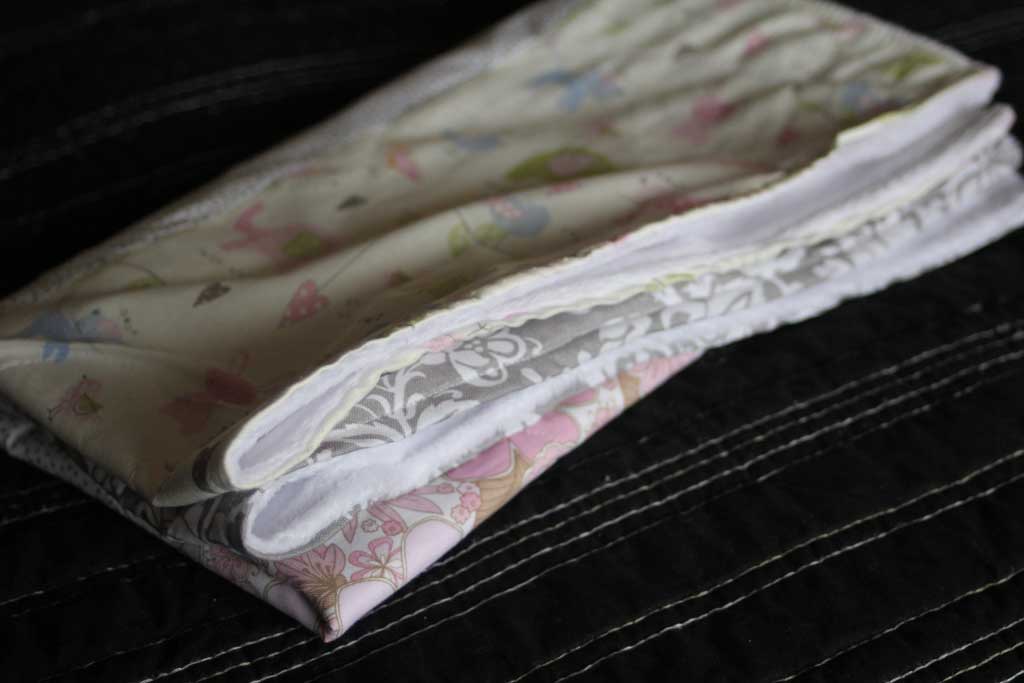
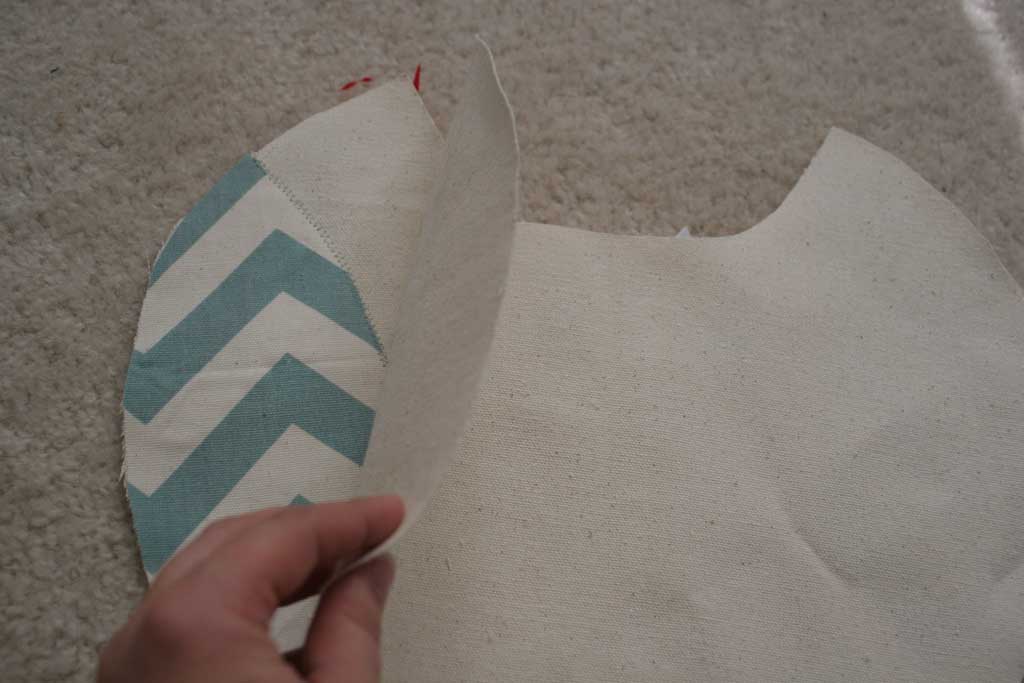
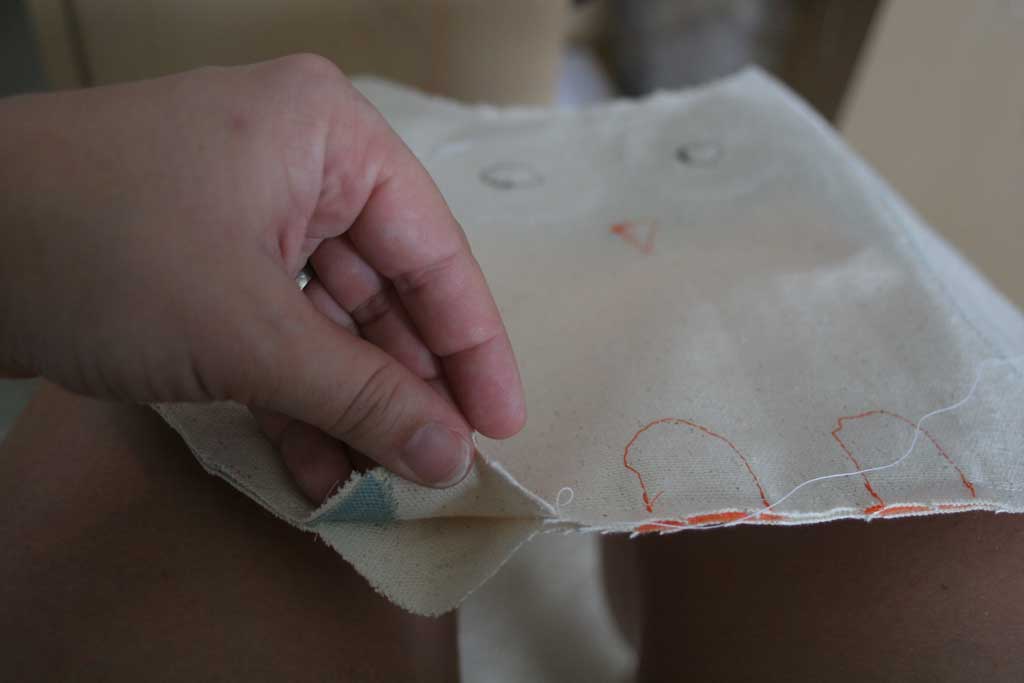
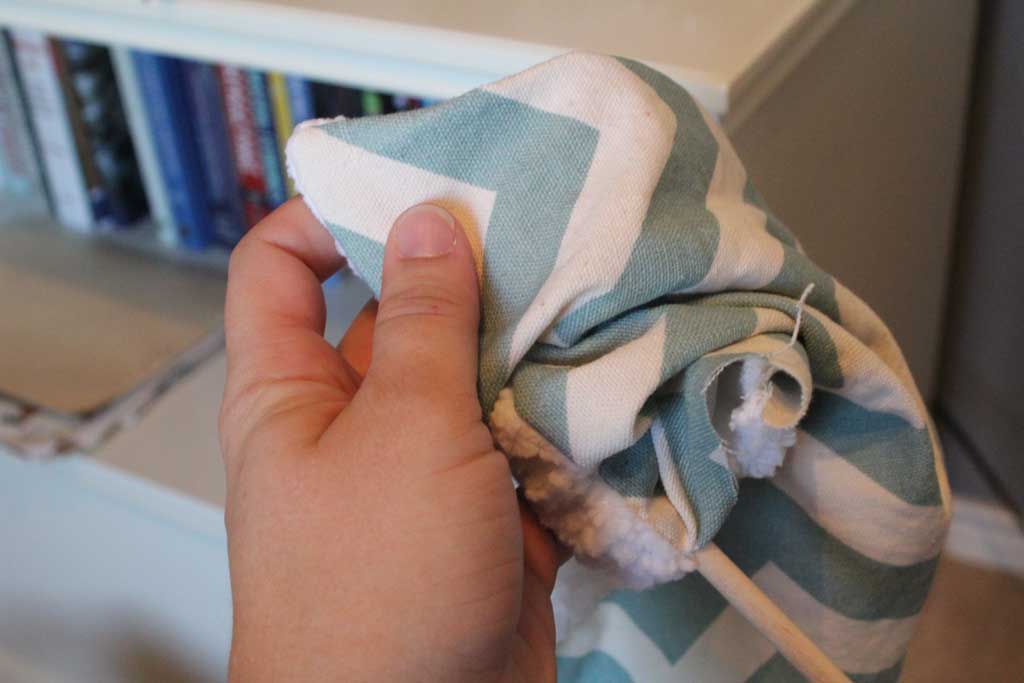
Next step is to add the soft plushy side. Like before, you’ll put right sides together and sew all the way around, except for a small hole to be able to turn your blanket inside out.

blanket16


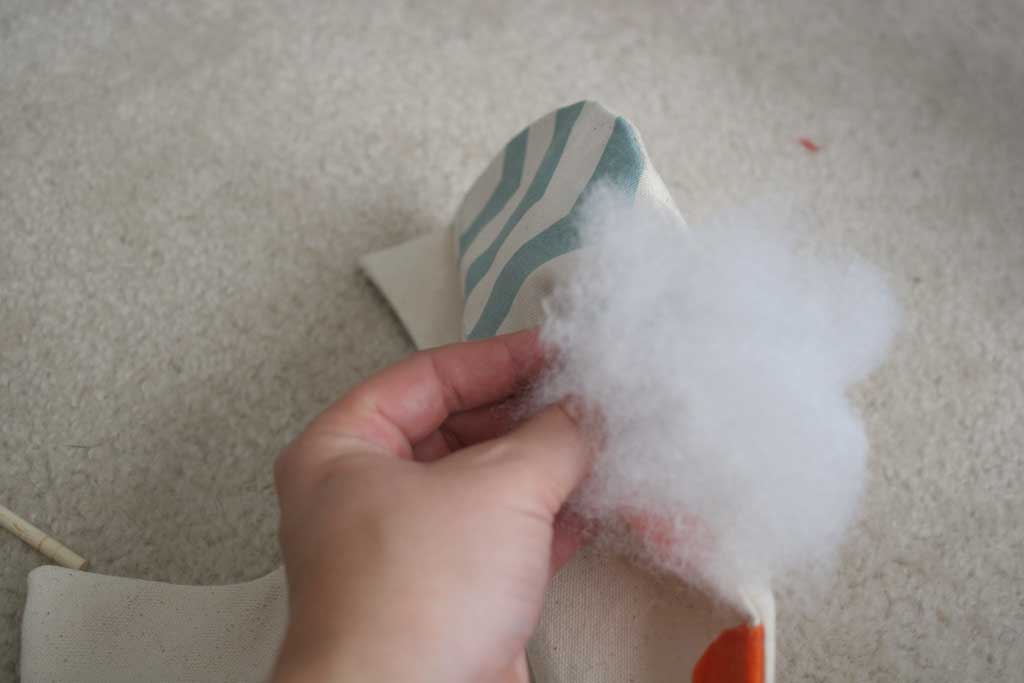
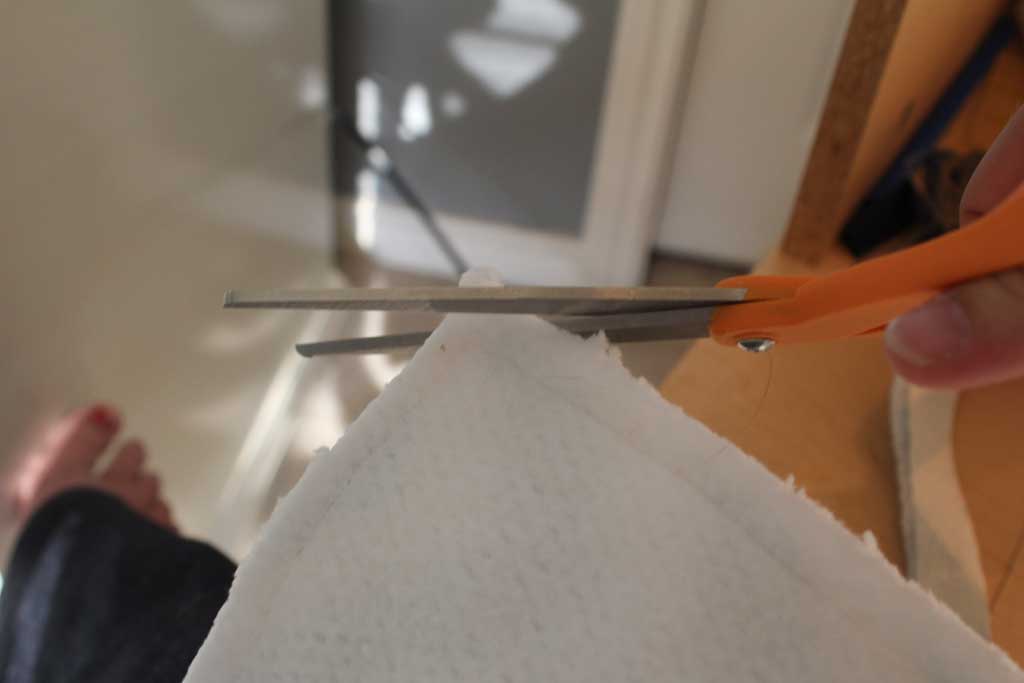
Before you turn your blanket inside out, cut your corners off like this, so the corners will be more crisp:

blanket9

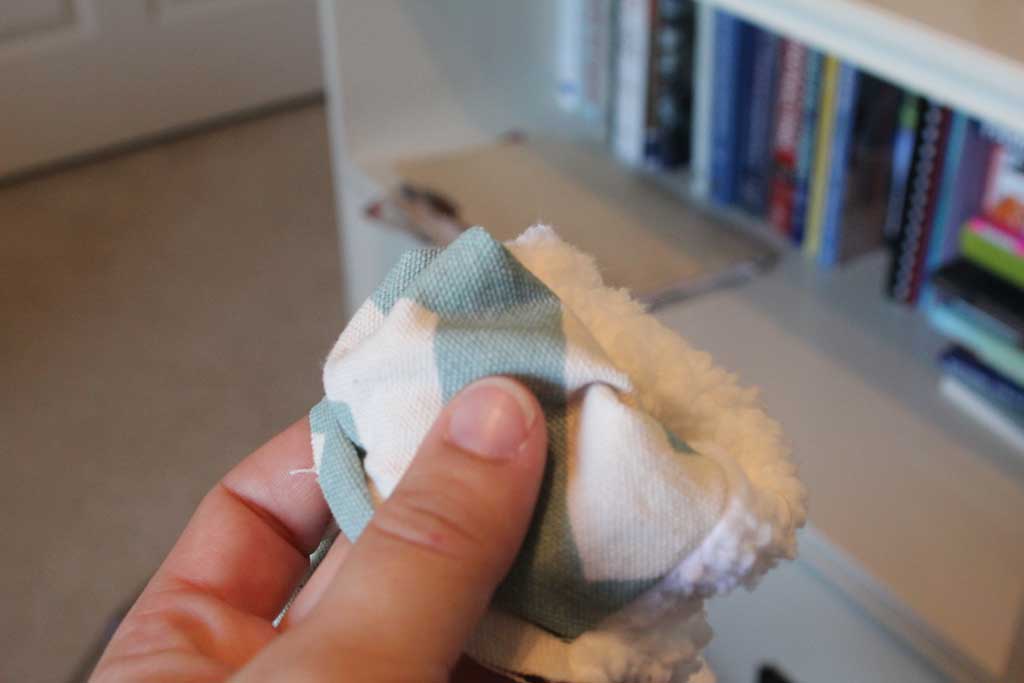
And then turn the blanket right side out:

blanket8


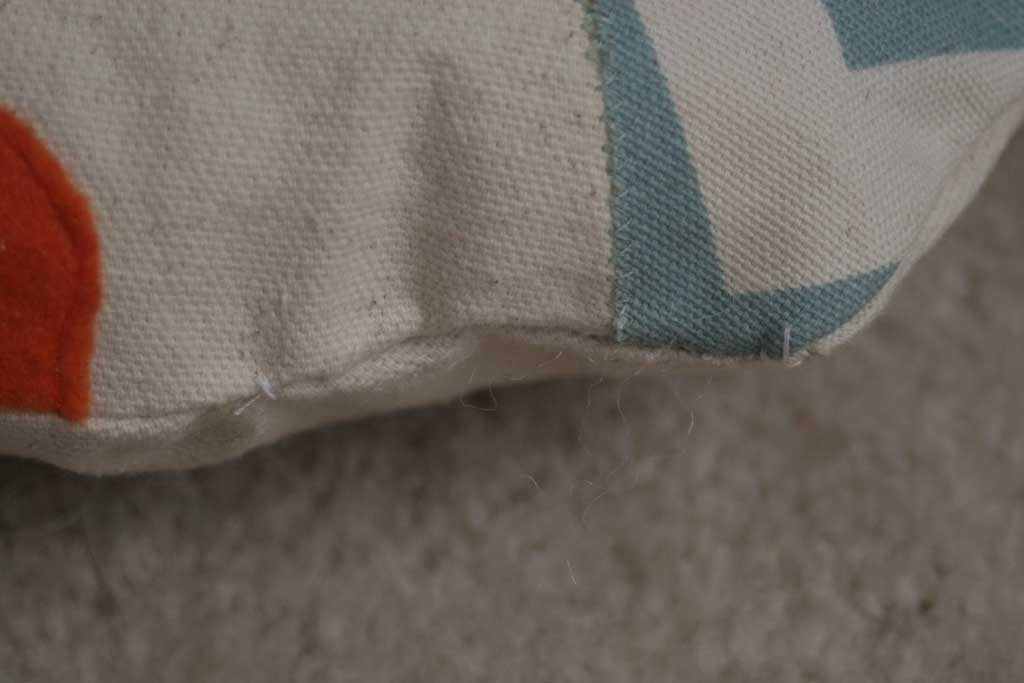
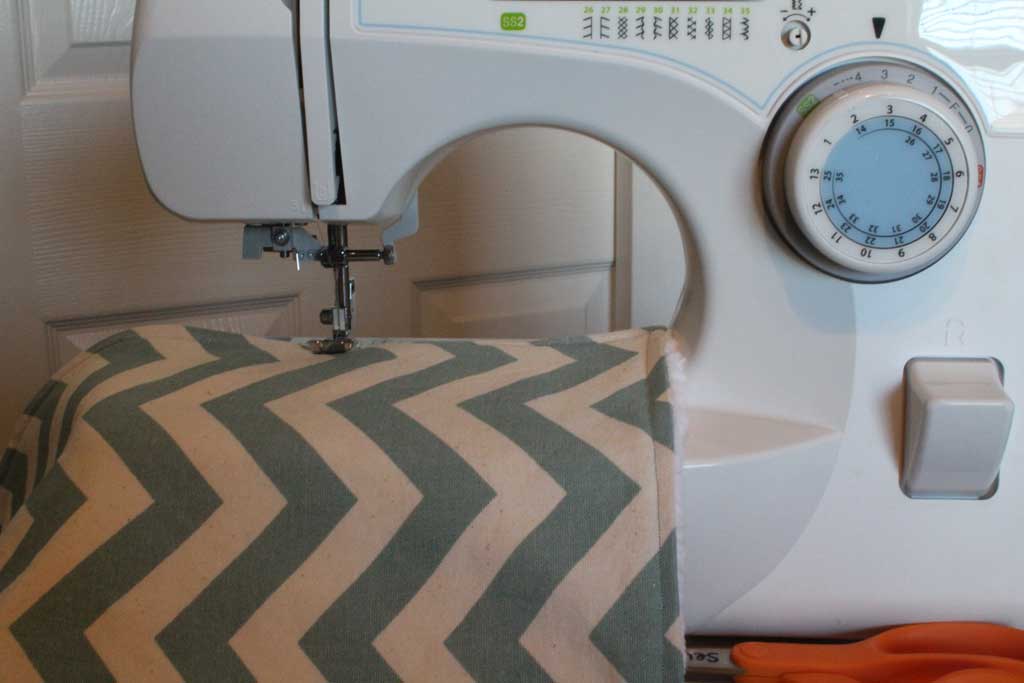
Much like I did with the burp cloths, I then top stitched the outside.  This also gives you a way to close up the hole you used to turn it inside out.   blanket7

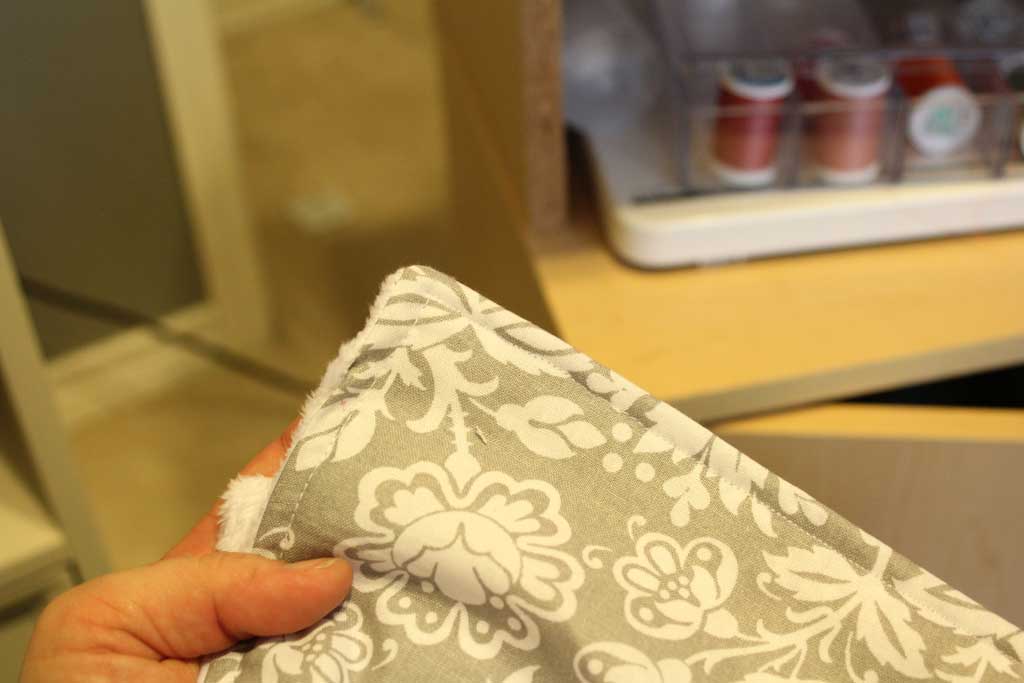
Although I like this look, I think on my next blanket (and of course there will be more!) I will put some sort of edging around it to make it look a little more “finished”.  You know me… if I do it, I’ll let you know how it turned out!

Your blanket is almost done! But since we don’t want it to separate in the middle, we need to do some more top-stitching.  I decided originally to just trace the seams between the 5 strips with thread to keep the two sides secured together.

blanket6

But after one seam I decided that was a boring way to do it.  (famous last words!) So I decided to just freehand loops all over the piece.  I think this is a cheater’s form of quilting, but since I’ve never quilted anything before ever… we are going to say it counts.  I really did just do random loops all over the piece. You can kind of see in the picture below what it looks like.  It pinched in a few places, but for the most part it looks okay. Although next time I think I’ll stick to my boring straight lines.

blanket5


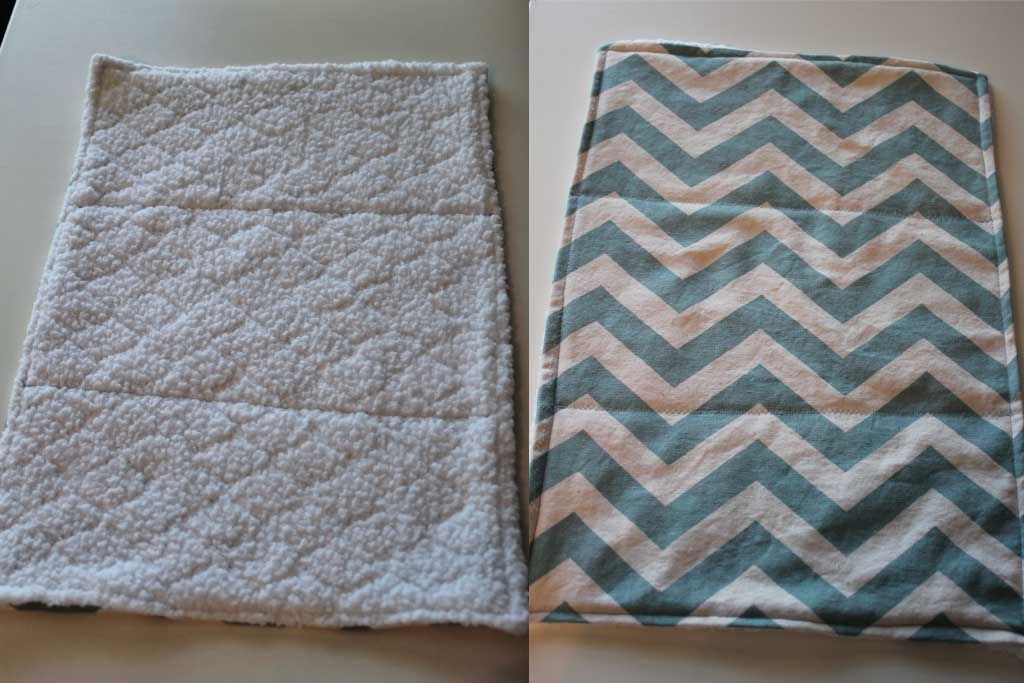
And then you are really done!

blanket4

blanket2

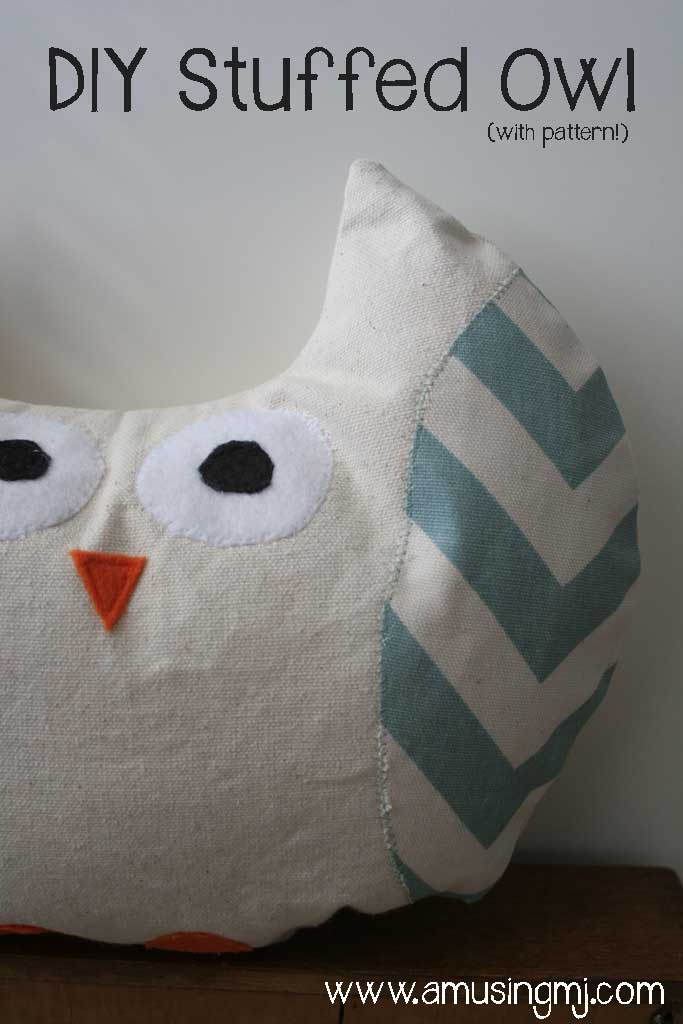
A quick and easy, soft baby blanket!

blanket15


Owl-fully Cute

I shared a post last Friday about my favorite baby shower gift and there is something I just really love about making gifts for little kids.  So a few weeks ago a friend had a birthday and I wanted to make something for her and her brand new baby girl, but I was fresh out of ideas.  So I went to every girl’s virtual wish list Pinterest and scoured her boards for something fun to make.  I saw these cute little owls and thought… I can do that! The one I’m about to show you how to make is version 2.0 which I made for my brand new niece.  I made a few upgrades to this one!

This was my inspiration piece:  pinterestowl


And here is my final result:

owl12

Funny enough, they don’t sell corduroy in Texas in August, so I found a canvas type fabric that I thought would work.  For my pattern I just free-handed half of the owl onto the piece of fabric, but for those of you who want to make this but don’t feel so comfortable doing that, there is a pattern at the end of this post.

owl4 After that I folded my decorative wing fabric into fourths and traced the same arc as the side of the owl. You’ll want to place the owl on top of the fabric where you will want the top and bottom points of the wing to be.   owl3 Now cut your fabric in that arc, since you folded your fabric in fourths, when you cut it out you should have two wing pieces like in the picture below.  (Again… if you are using the same size as me, you can just trace the pieces on the pattern at the end of this post, but if you want to make them smaller or larger, here is how to make your own pattern).

owl2 Now it is time to cut out the eyes, feet and beak.  I used orange, black and white felt for these parts and just eyeballed the sizes.

owl5

Here is where you can have fun with his layout… I tried out several different eye placements:

owl-faces


Once I had him laid out to make sure he was going to look cute I sprayed some basting spray (similar to this kind) on the back to keep all the pieces in place.  Next I took him over to my sewing machine and did a little applique sewing to spruce him up and make sure the fabric stays in place.  But you just want one of the beige canvas pieces (the one that you put all the decoration on… the other one should be blank still… leave it where it is, you’ll use it later.  owl1

Now here’s the deal, I’m not a great seamstress. I have mastered a straight line, but curves? Not exactly my forte.  But since I already sprayed the pieces down with basting spray, as long as I MOSTLY got it covered with thread, I figured he was okay. I used coordinating thread on all the parts, but you could easily use contrasting for an added bonus.

owl13 Here is what he looks like after I’ve traced around all his parts with thread.  I used my zigzag stitch for his eyes and wings and a straight stitch for his feet and nose.  And see even this close you can’t see all the places where my lines aren’t straight.  Imperfection=part of the love of homemade. Now lay your other piece of owl fabric face down on top of the piece above (you don’t want to see all the decorations now). Like this:

owl10

Now take him back over to your sewing machine and start at the bottom, sewing about a 1/2 inch seam allowance, but leave a small opening at the bottom that you can stuff him with.  Make sure to back stitch both sides of your seam since you’ll be turning him inside out you don’t want your thread to start to unravel.  He should look like this now:

owl8 After turning him inside out (my fabric was pretty stiff so it was kind of hard to do, I needed to iron mine.  Once you have ironed him, stuff him full of cotton batting:  owl7

Now I had a problem… I had a hole in the bottom of my owl.  On owl 1.0 I topstitched it with my machine, but it didn’t look quite as good as I wanted him to.  So I did what I always do when I get stuck and Googled it.  I found this tutorial on how to do a blind ladder stitch. It is a pretty simple stitch, but hard to explain… so go watch her tutorial.  But its quite effective, here is an up close of where I did the ladder stitch… and my first time, so I’m sure if you are more patient than I am and guinea pigged on a different piece of fabric yours would look even better, but from far away you can’t even tell!  owl6

And here is my final owl, I think he is awfully cute:

owl14

 Here is the pattern:

NOTE* They are not drawn for perfection… perfection is boring, but they should be good enough for you to make your very own owl!

The owl shape: owl pattern1

The “decorations”: owl pattern2

Best Baby Shower Gift

I read about making these burp cloths from Ten June’s blog several years ago and they have been a staple project of mine ever since. I’m at that age where most of my friends got married 3 or 4 years ago and are starting to have kids, so I have baby showers galore to attend (but you won’t find me complaining… I have lots of little kiddos in my life to spoil). Anyway, right when I was learning to sew I had read about these and thought… well that looks easy enough. And it is!! It’s a super simple project that anyone can do… I promise! Your sewing lines don’t even have to be that straight for these to turn out really cute.  And they make great shower gifts (so all my pregnant friends avert your eyes… I’m spilling my secrets).

If you have never sewn anything before, I have a couple of easy tutorials on how to thread your machine and how to wind your bobbin, so check those out and then come back here to make your first project!

I buy the white chenille type fabric in one large bunch (that way I can use a 40% off coupon and get it much much cheaper) and then I buy the backside fabric in whatever fabrics I think are cute! My grandmother is a fabric hoarder collector who has passed down quite a bit of her unused fabric to me, but I also browse sales or grab some in cute patterns whenever I see it.  You can use just about any type of cotton fabric for the back.

burpcloths11

Your first step is to cut your fabric.  I make mine 18” x 12”.  The final product turns out to be 17.5”x11.5” since I use about a ¼ inch seam allowance on each side.  But if you want yours to be a different size… go for it, just make sure you have one piece of the chenille and one piece of the decorative fabric in the same size.  I use a rotary cutter and mat to cut mine, but a pair of sharp scissors will work just fine.  (if you plan on sewing some you should probably buy a good pair of sewing scissors to use just on fabric… dull scissors can tear the fabric or make it hard to cut, so I have one pair of scissors that is JUST FOR SEWING and says so in sharpie on the side so the husband won’t steal them for other purposes).

After you cut them, line them up and put the two pieces pretty sides together like this:

burpcloths10

Now if you have wound your bobbin and threaded your machine you are ready to start sewing!

Lift up your presser foot (the flat metal thing) using the lever just to the right of it so that you can easily slide your fabric underneath it (the picture below is from a later step, so just ignore where the fabric is, but it shows you where the lever is for the presser foot).

burpcloths7

Line your fabric up under your presser foot so that the edge is aligned with the outside of your presser foot.  On my machine that gives me about a ¼ inch seam allowance. (if you are less confident in your straight line ability, you may want to line it up a little further out like the left hand line of that grid in the picture.  But line it up against something so it will help you keep your fabric straight. Now put the presser foot back down using the same lever so that it will keep your fabric in place while you sew.

burpcloths6

Now turn the circle on the right hand side of your machine towards you so that the needle goes into your fabric in the corner.  This helps you make sure that your thread doesn’t un-thread itself from your needle when you start sewing.

Now push down on the pedal with your foot lightly.  The first thing you want to do is three (or so) stitches.  Once you have these three, push on your backstitch button.  Mine is on the right side of my machine and looks like this (yours may be a little different, but might have a similar picture):

burpcloths9

It will automatically move your fabric backwards while you are holding it down.  So hold it down until you get back to where you started (3 stitches or so).  Once you are there, let the button go and the sewing machine will feed the fabric forwards again.  This makes the end of the stitch strong so it won’t come undone easily.

Your goal is to guide the fabric in a straight line now.  The machine will advance the fabric on its own, so you don’t need to push it in the right direction. This is where that line that you used to line up your fabric comes in handy.  Your goal on this side is to keep the edge of the fabric aligned with that line as the fabric moves ahead.  Keeping it on that line is much easier when it is going more slowly.  Your foot on the pedal is a lot like a car… the more you floor it the faster it will go, so until you get the hang of it (and if you are like me… even after that) go slow. Patience grasshopper.

Once you get to the end of the row (stopping about a ¼ inch from the edge) there is a secret to making a sharp corner: use the wheel on the right-hand side to make your needle go down through the fabric in the corner.  Once your needle is down lift up the presser foot again, but your fabric should not be able to go anywhere because the needle is through it. Now rotate your fabric to the right so that the next edge to be sewn is lined up with the same line you used to line up your fabric before.

burpcloths8

Continue this on all four sides until you are about 3 inches from the corner where you began.  Backstitch about 3 stitches just like you did above.  Now when you are done, lift up your presser foot and use the wheel to make sure the needle is in the top position and pull your fabric out to the right of the presser foot and cut your thread.  Now trim your excess thread off so you don’t have any dangling threads.

For the next step, cut the corners off of your fabric like this:

burpcloths5

This makes it so that there is no excess fabric in the corners when you turn it right side out and you’ll get sharper corners that way.  Now it is time to turn your fabric right side out. Start with the little gap you left at the end of your project and start working the project inside out.

burpcloths4

burpcloths17

Once you have done this take something long like a stick and push it into the corners to make sure they are sharp.

burpcloths3

Now it is time to iron.  (I know I know… GROAN.  Trust me… I don’t even iron clothes… and for the longest time I didn’t iron my sewing projects, but trust me on this one… they look WAY better if you’ll take the 2 minutes it will take to go get your iron, plug it in and iron the project).  I just use an old beach towel on my floor instead of getting out my ironing board and it works just as well.  When you iron be sure to fold the edges in on the spot where you turned your fabric.  You are going to close it up soon by top-stitching, and it will be easier if you have ironed it down like it will look when it is done.

burpcloths2

Now go back to your machine and do exactly what you did before, except this time on the right sides of the fabric.  Leave about a ¼ seam allowance and start in one corner, backstitching at the beginning and tracing the edge of your project with thread.  And again you will treat the corners like you did above, except when you get to the end of the project this time, don’t leave a gap.  (I also don’t start at the same corner that I did before so that my “gap” that I am sewing closed doesn’t end up at the edge) You are almost done; it should be looking a lot more like a burp cloth now! The last step is to sew them into thirds.  This is for two reasons 1. So they will keep their shape even through several washes and 2. So that they fold nicely into thirds and a bonus third reason… it looks cute!

I move my sewing machine to a zigzag stitch.  On mine that means moving the dial to stitch 3 (look at your pictures on your machine, yours might be a different number).  I’m not a perfectionist, so I just guess at where 1/3 of my cloth is, and if I’ve cut them to the same size of 18”x12” one third is conveniently when I have the edge of the burp cloth against the body of my machine like so:

burpcloths1

With a zigzag stitch you can make it wider by using your stitch width dial (check your manual to see where yours is located), but I like mine about in the middle.  I back stitch at the beginning and the end of my line.  Once I’m done with that one, I flip it around and do the other side. This is what it looks like when its done (front and back):

BurpCloths19

Now you are done! These have gotten rave reviews from my best friend’s son who is now a little over a year old and carries them around with him everywhere.  His Instagram pictures are like playing Where’s Waldo with his burp cloths. I think they make the perfect baby shower gift, I don’t even usually wrap them, just tie them up with a bow!

burp-cloths