I may be from Texas, but I still don’t love burnt orange

So if you read the House Tour Before post you’ll remember that when I moved into my house this is what my dining room looked like:

dining-room-before1 
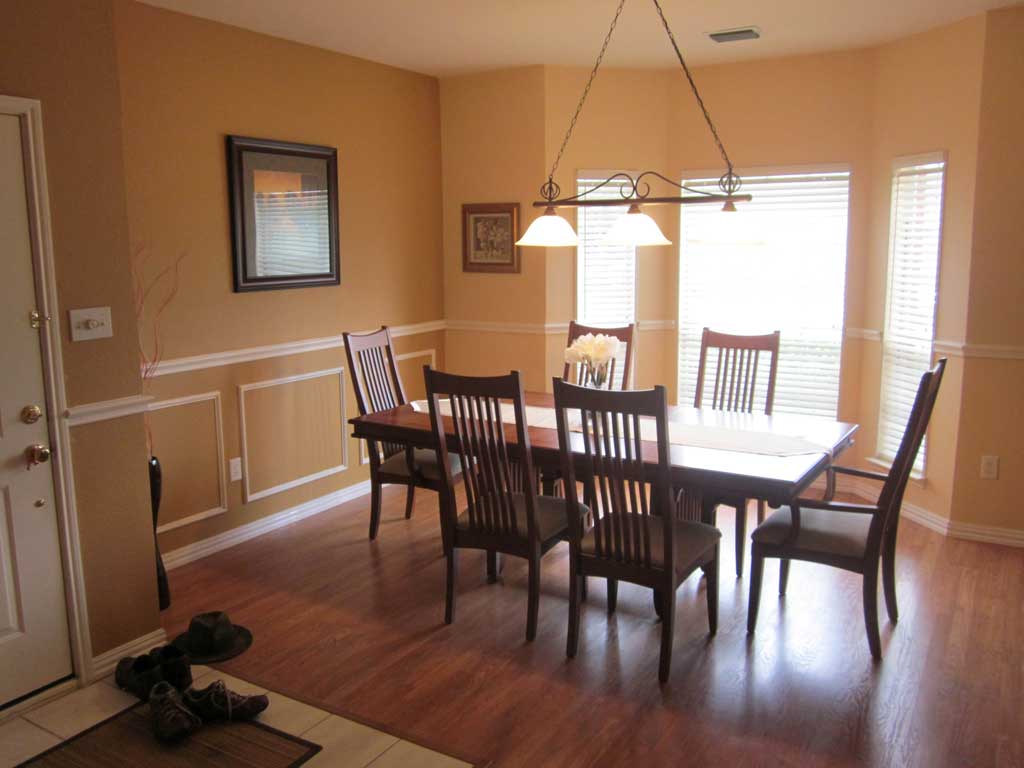
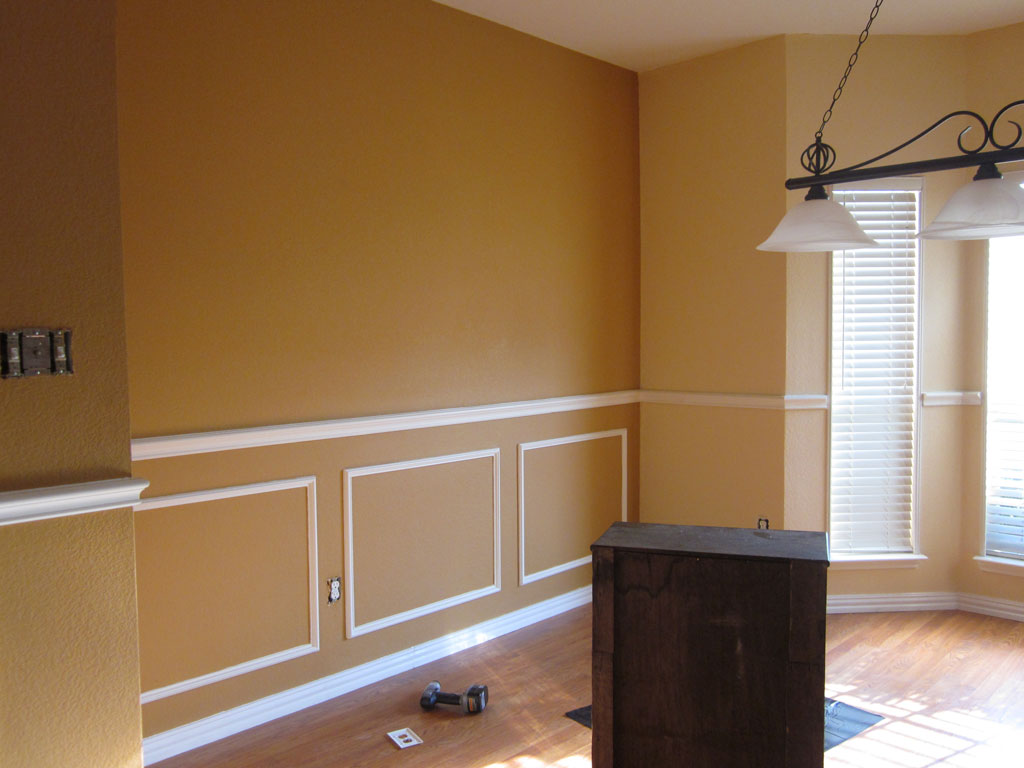
That’s my front door on the left… I have this weird side entry thing going on so the windows above are facing the front of the house, but the front door is to the side.  Moving on… this wasn’t exactly the color scheme I had in mind for my new house, and since it was absolutely the first thing you saw, I wanted it changed PRONTO.  (although we hadn’t even met at the time I painted this room… I married an Aggie, so even if it had stayed it would be long gone by now!). Just one more before pic so you can fully appreciate the intensity of the orange… and with a peach accent wall to boot!  dining-paint7

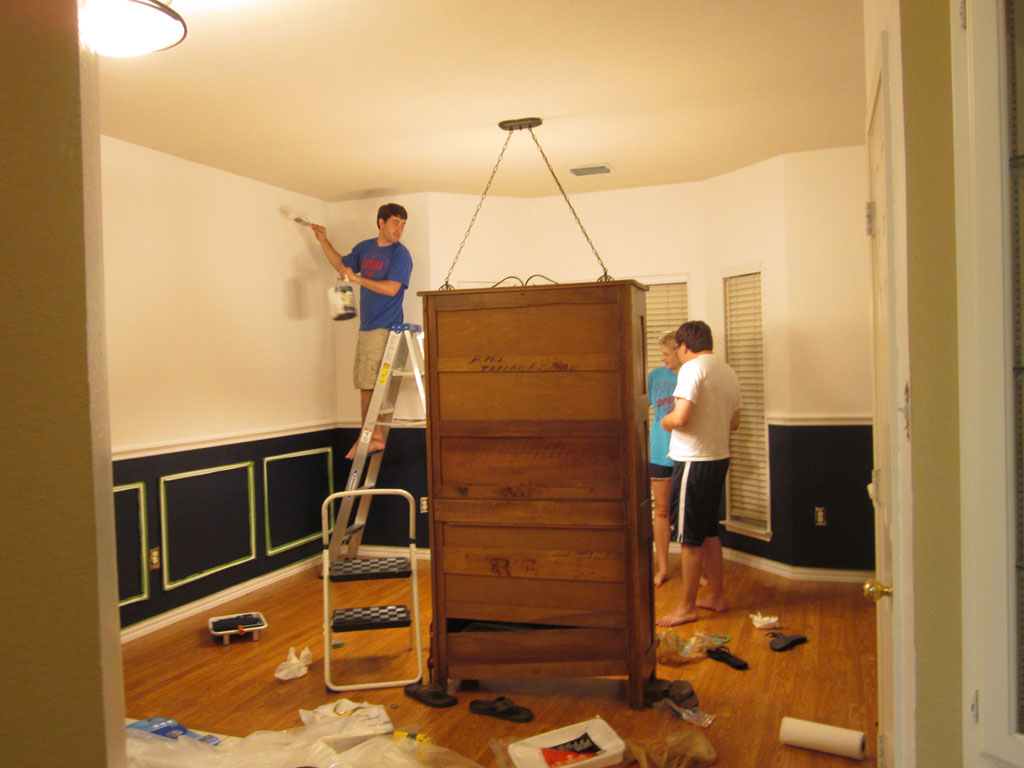
So I did what any single girl on a budget in her first house did… I bribed a couple of friends with pizza and beer to come over and help me paint the orange away.  When I explained to my friend what colors I had picked… he looked at me like I was crazy.  Even crazier when we opened the paint can… and it was SO DARK.  But I loved it, and hoped the white chair rail frames would look super crisp and tone down the dark background.  dining-paint6 
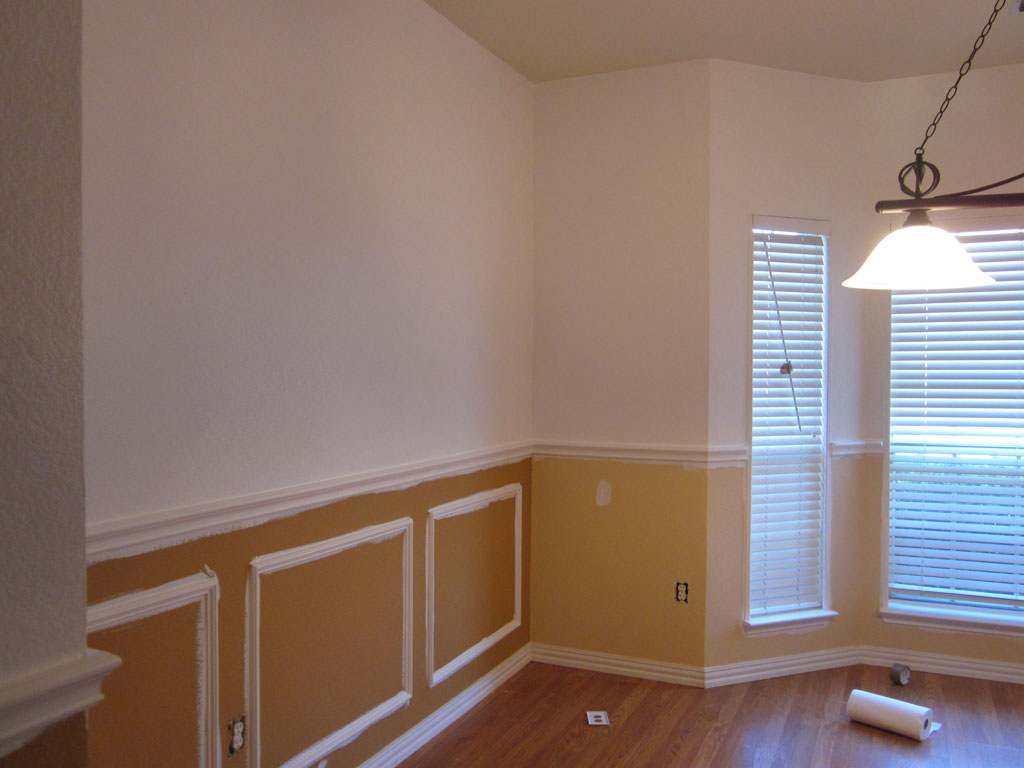
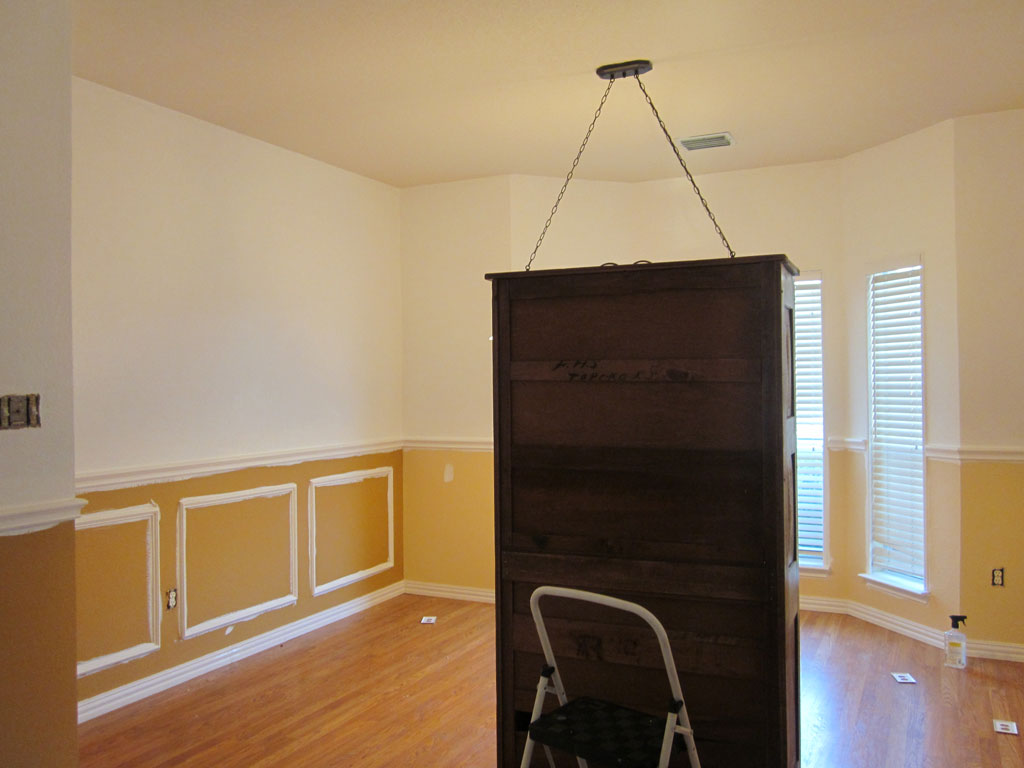
Partway through the process… you can see we painted the chair rail with the same white as the top because they were a bit yellow-y compared to the ULTRA BRIGHT WHITE paint I picked.  I now know that there are a bajillion (scientific number) shades of white out there… and ultra bright white might not be the best choice, but it looks perfectly fine…. and lesson learned.  dining-paint5 
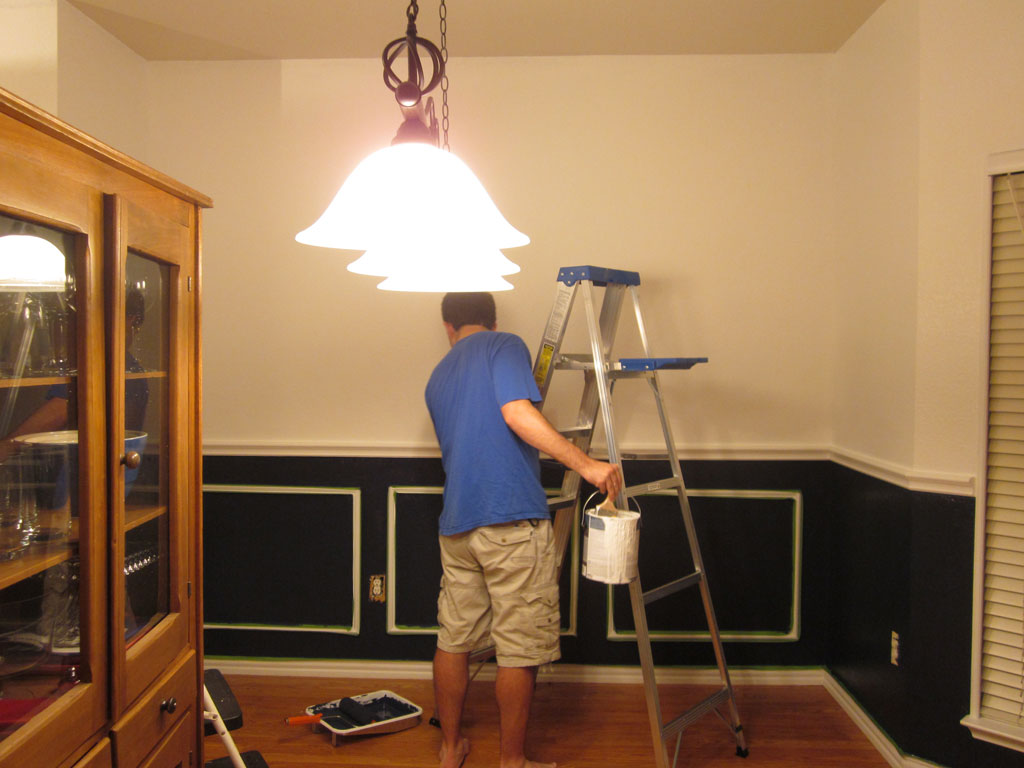
The room already looked a lot bigger with the top half painted white, now to add in the moody Navy color:   dining-paint4 dining-paint3 
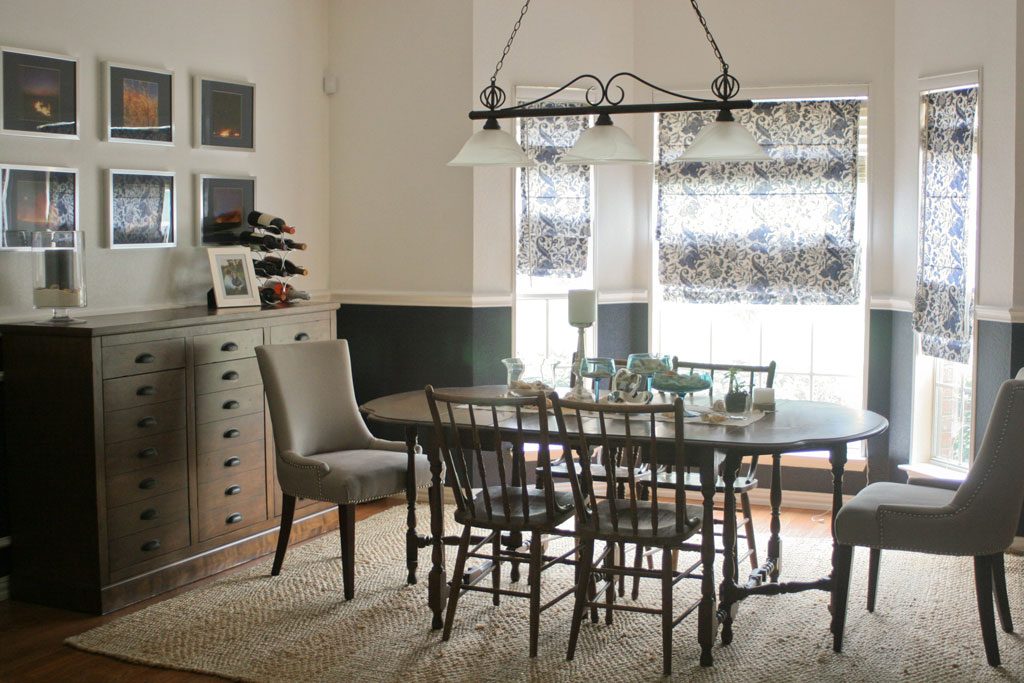
Fast forward a bit and here is how the room looks now (a bit more styled!): 


dining-room-after


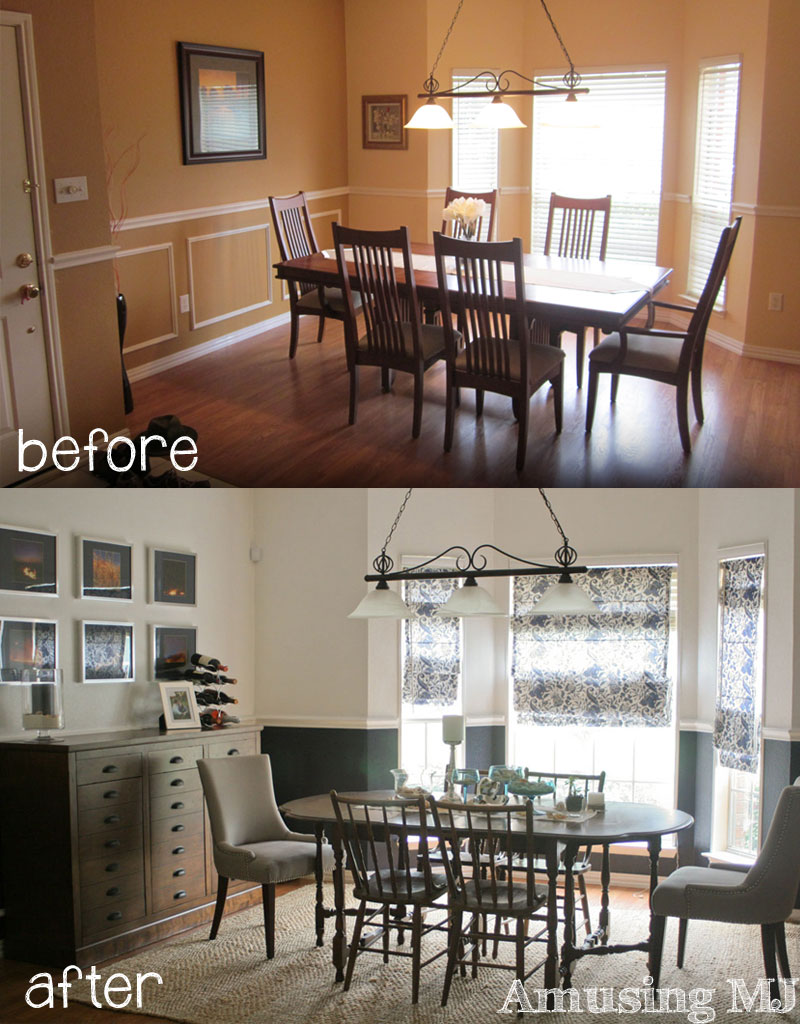
AHHHH much better! And just for comparison… one more before and after:

Dining-Before-and-After

Hacking the Lack

**If  you found your way here by way of IkeaHackers, Welcome!!! Check out some more of my favorite projects on my projects page!


When I moved into my first apartment it was literally less than a mile from IKEA. Since I was a single college grad on a budget, I purchased almost everything I didn’t inherit from there.  You just can’t beat the clean design and did I mention how cheap it was? On that list was a Lack Coffee Table and a couple of Lack side tables.  Seriously a side table for 9.99? Fast forward a few years and I’m slowly but surely replacing some of the cheaper options with a little sturdier stuff, especially since Lexie had turned my coffee table legs into her chew toy when she was a puppy.  (That was actually part of my logic in getting a dog when I did.  I didn’t want her tearing up my nice new furniture, I’d get the dog, then start replacing furniture when she was older… i.e. quit using furniture as teeth sharpeners).

I had my eye on a few tufted ottomans, specifically this one from West Elm:

 Essex Upholstered Ottoman

But coming in around $330 before tax seemed pretty steep for a coffee table.  Especially since the one I was replacing was coming in at $40 bucks. So I googled around and found a few blog tutorials on how to tuft your own ottoman. I sort of merged all the ideas together.  I knew I wanted mine to be thick, so I waited until the 5″ foam batting was on sale at JoAnns. If I remember correctly it was about 75 dollars a yard, and I needed two yards.  I got it for 50% off, so for my two yards it was about 75 dollars.  I already had the upholstery fabric on hand, so I just needed to pick up a little quilt batting, an upholstery needle, upholstery thread, and some buttons I could cover with the fabric. I’d say all together the materials cost me around $100 dollars.  (sorry for the awkward from above angle… but these are surprisingly hard to photograph!)  living-room-ottoman-from-to

Unfortunately I did all this before I started blogging, but its pretty simple and there are tons of tutorials online, I did similar steps to this tutorial from the DIY Showoff.  I added an extra layer of cotton batting on top of my super thick foam along with the already thicker top of the Lack table made my tufted ottoman have more bulk. I also added the ‘tufts’ after staple gunning my fabric and cotton batting, which I think makes it a little tighter of a fit.

living-room-ottoman-up-clos

Since this made my coffee table disproportionately taller than my couch I took the table legs out to the garage and cut about 4″ off the bottom so that it would rest closer to the ground.  But fortunately the shelf still sits about 1″ off the ground, so I can still store my beloved blankets for tv watching in the baskets below.

living-room-ottoman-from-si

And voila, I had a beautiful tufted ottoman!

vertical-before-and-after-o

My 30 Before 30 List

A little over a month ago I turned 29, and while I’m not big on milestone birthdays, this feels like a good time to get a list of things I want to accomplish written out.  I’m not crazy enough to think I’ll actually get ALL of these accomplished before my birthday next year (for some reason life seems to always interfere with my best laid plans). But I’d like to have made significant progress towards all most of them! So here goes:

My 30 Before 30 list:

  • Run another half marathon (bonus points if I beat my previous time: 2 hrs 9 min 10 seconds)
  • Start a vegetable garden
  • Build my own built-in-closet (modeled after Sandra’s AWESOME closet)
  • Book a trip to Europe with my husband (and maybe a few friends)
  • Find a farmer’s market near my house to visit on a Saturday morning
  • Finish my t-shirt quilt (2+years in the making)
  • Learn to cook 5 new meals
  • Take my husband to visit my favorite city: Washington DC
  • Go see Lion King (kind of cheating… I already have tickets to this… but it’s a show I’ve always wanted to see!)
  • Pay off part of my company debt
  • Finish another sprint triathlon (again… bonus points if I beat my previous time)
  • Build a pergola in my back yard
  • Help my twin brother fix up his house (as payment for letting me use his pool whenever I want!)
  • Spend a Saturday without ever leaving the house… no projects, just laziness.
  • Take a weekend getaway to Beaver Creek.  (I bought a couple of free nights at a silent auction… now we just have to use them)
  • Go Skiing with the church youth group… as an ‘adult’ sponsor.
  • Get new Christmas Stockings for my husband and I for our first Christmas as a married couple.
  • Learn how to put crown molding up in my our house
  • Give 10% to charity or the church for 2013
  • Get my husband certified to Scuba Dive
  • Finish changing my name to my married last name… who knew there were so many things to change!?
  • Organize the whole house- no seriously… every cupboard, closet, under every bed.
  • Take a spa day with a friend
  • Host a dinner party
  • Make homemade ice cream
  • Make a wedding book for each set of our parents and ourselves
  • Save enough money to install double ovens in our kitchen
  • Get to my ideal weight
  • Get better at using my SLR Camera (kinda hard to measure… but maybe I’ll know it when I get there?)
  • Throw a 30th Birthday Party for my twin brother and myself

There you go! I’ll keep you updated as the year (11 months now!!) progresses…


UPDATE! I am making progress… check out the updated list here and here!

And just for fun a picture of me (with my twin brother) at a much earlier birthday:

mj-birthday-sailor